
The Details
Time Spent: Weekend Project
Skill Level: Intermediate
Cost: +/- $500
Tool List: Tile Saw, Drill, 18G Brad nailer, Miter Saw, Jig Saw.
Materials List
1/2 Bathroom Supplies (linked here)
-
Brick Supplies (linked here)
-
5 Gal. Homer Bucket
-
4 in. x 9 in. Economy Grout Flooring Float
-
Microfiber Polishing Sponge
-
Schluter Systems Ditra Stainless Steel Square Notch Trowel
-
MultiSet 50 lb. White Modified Thinset Mortar
-
Schluter Ditra Thick Uncoupling Membrane
-
SimpleSet White Pre-Mixed Thin-Set Mortar
-
Brush
-
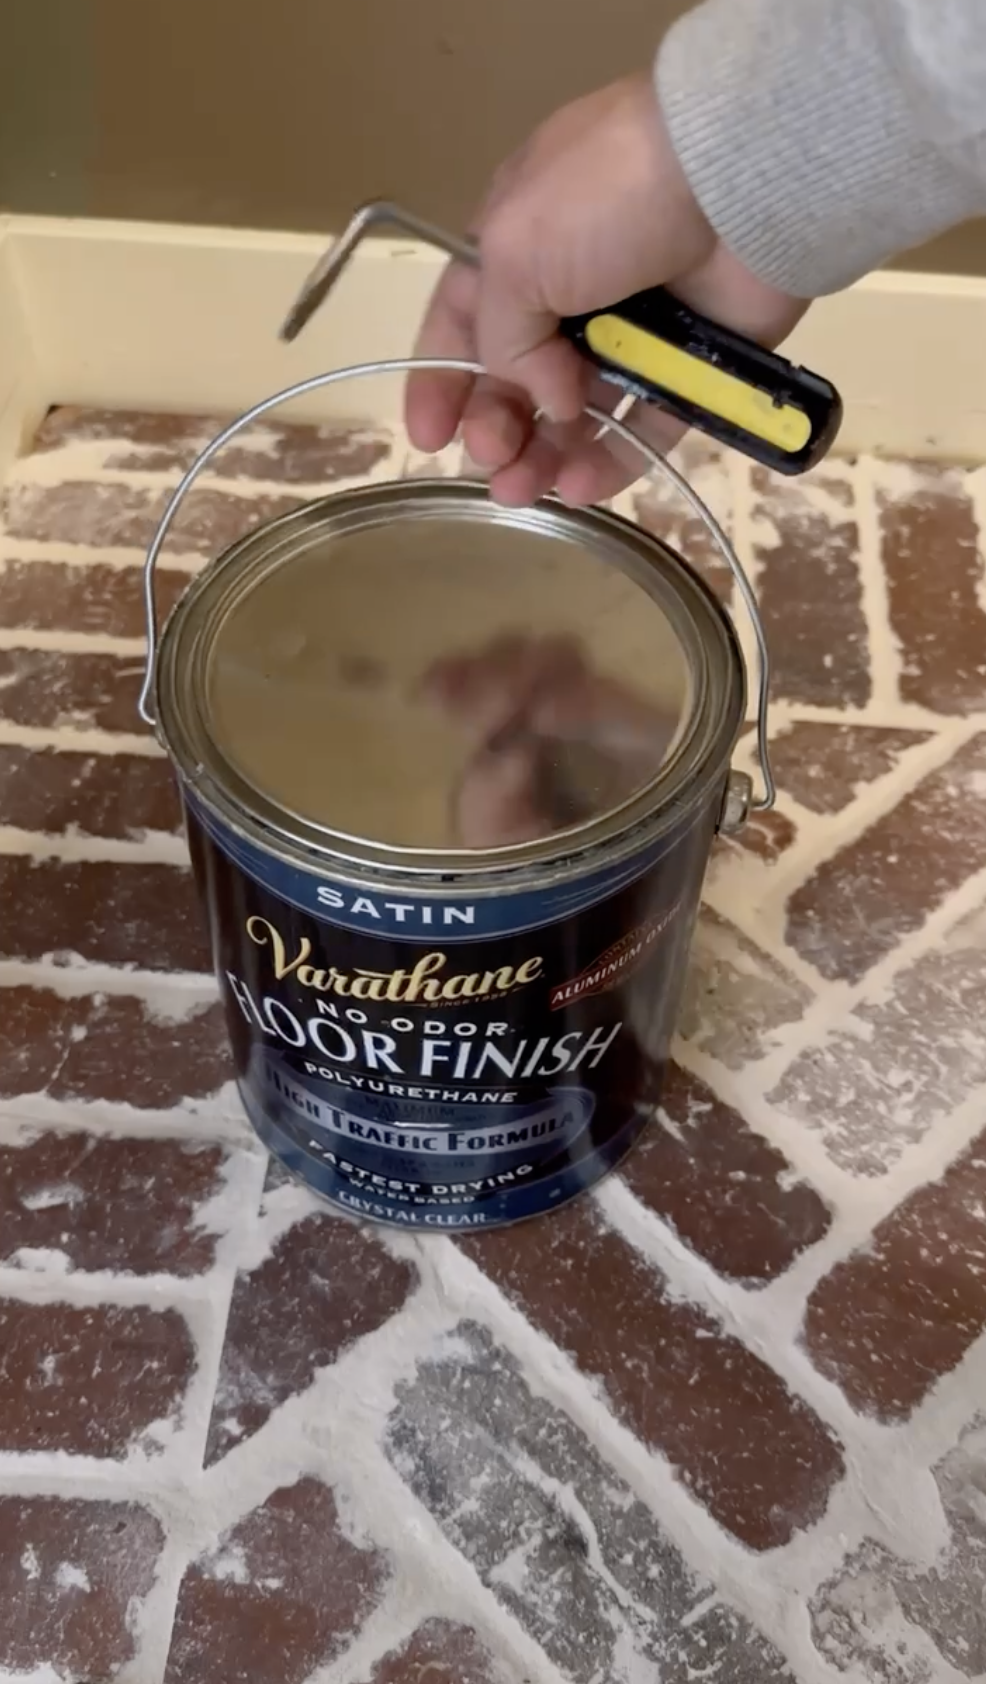
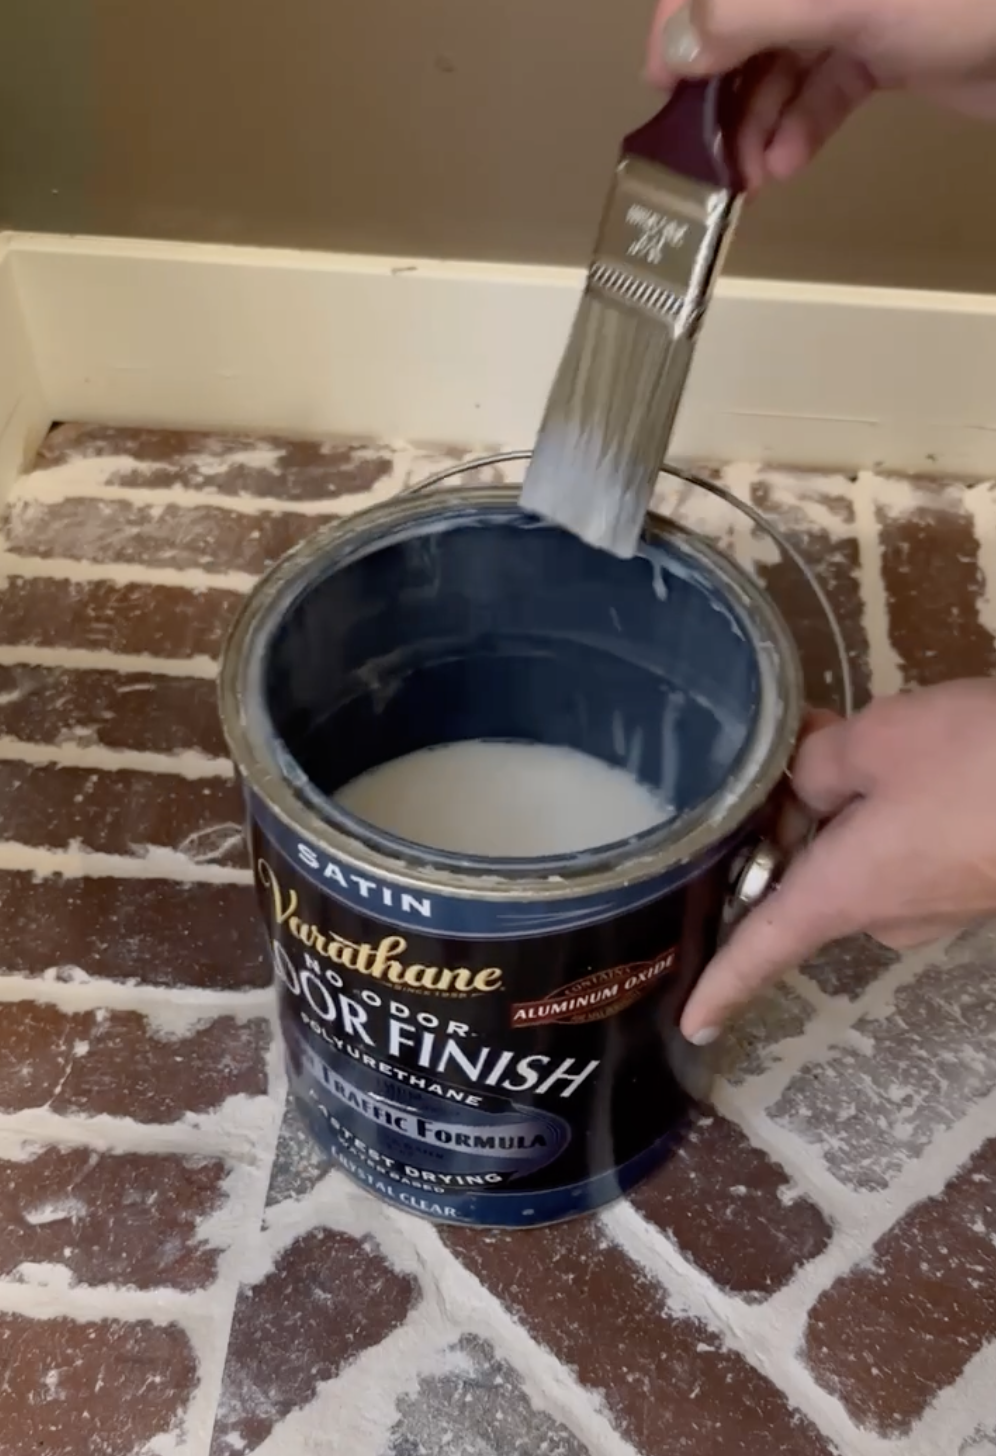
Varathane No Oder Satin Floor Finish Polyurethane in Crystal Clear
-
-
Board and Batten
-
1.5” 18G Brad nails
-
Color 1: Benjamin Moore Glocauster Sage
-
Color 2: Sherwin Williams Into The Gloaming (HGSW2455) into Benjamin Moore Regal paint.
-
Frog Tape
-
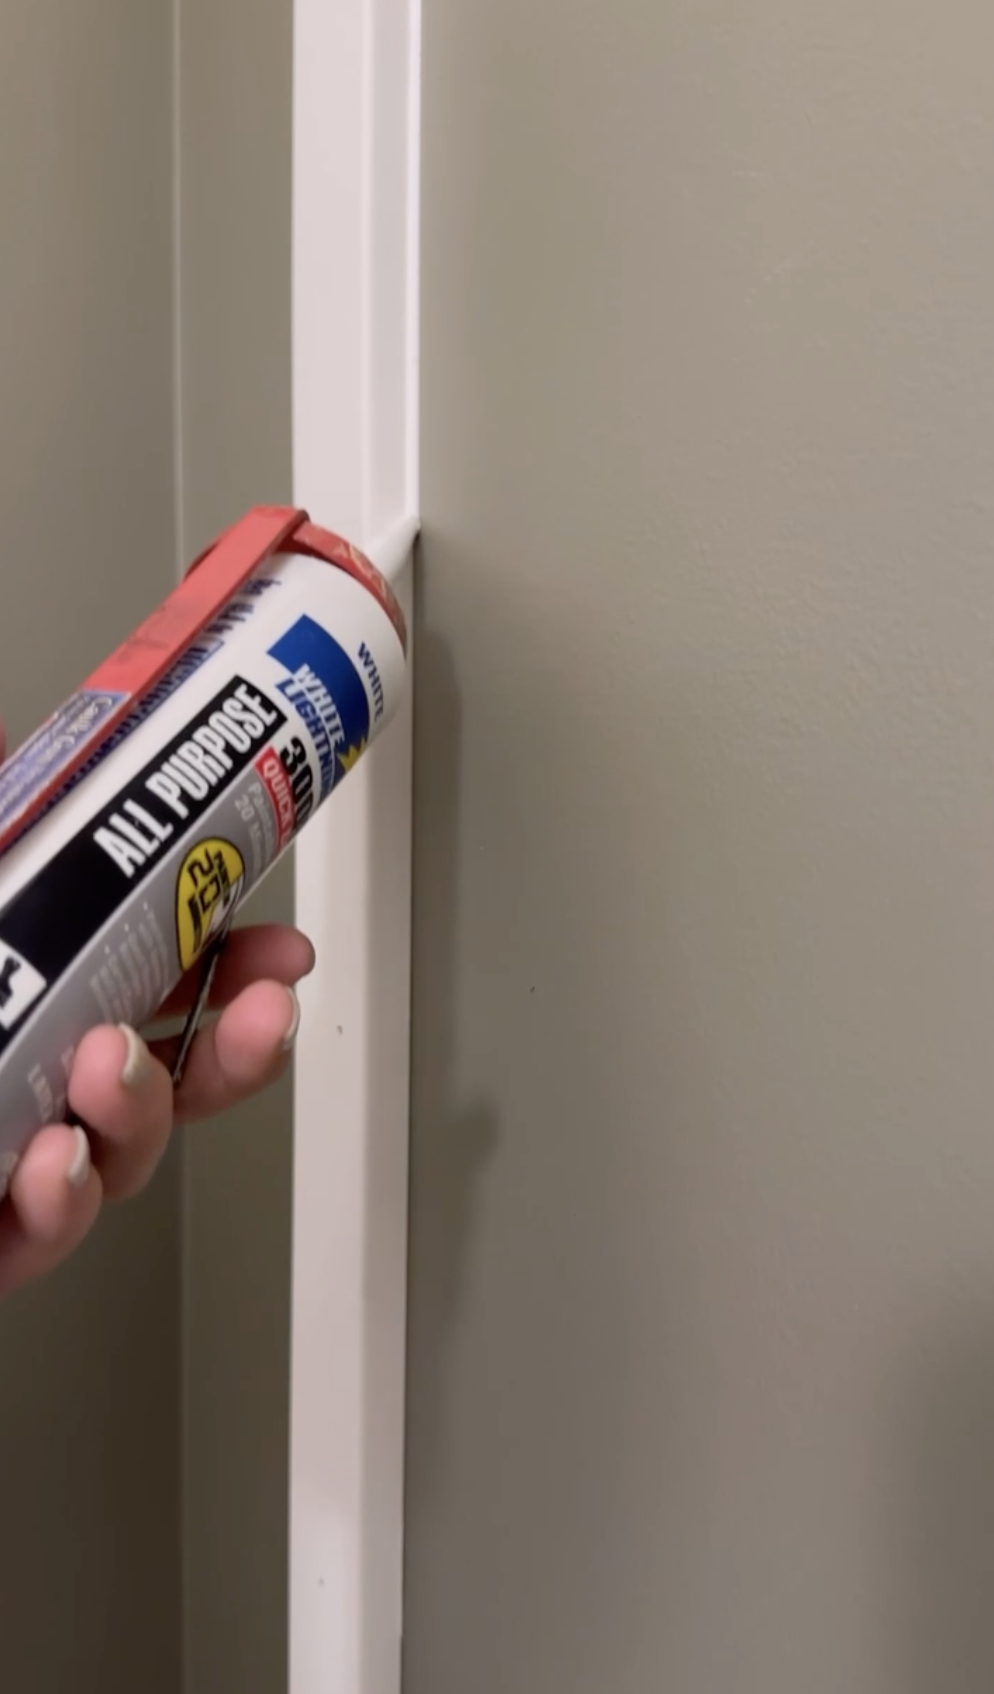
White Lightning All Purpose Paintable Caulk
-
1×3 MDF boards for vertical pieces
-
1×4 MDF boards for horizontal pieces
-
Minwax or Elmers Wood filler
-
-
Ceiling
-
1.5” 18G Brad nails
-
-
Vanity
-
Minawax Stain
-
Golden Oak with Early American over the top
-
-
1×4 Plywood
-
Polewrap
-
Minwax or Elmers Wood filler
-
Spray Paint for Sink Handles
-
Rustoleum primer, Satin Canyon Black and Satin Clear Enamel
-
-
1/2” 18G Brad Nails
-
Varathane No Oder Satin Floor Finish Polyurethane in Crystal Clear
-
-
Misc (Similar Items Linked Here)
-
Toilet Paper Holder
-
Pictures
-
Vase
-
Soap Container
Tile Flooring
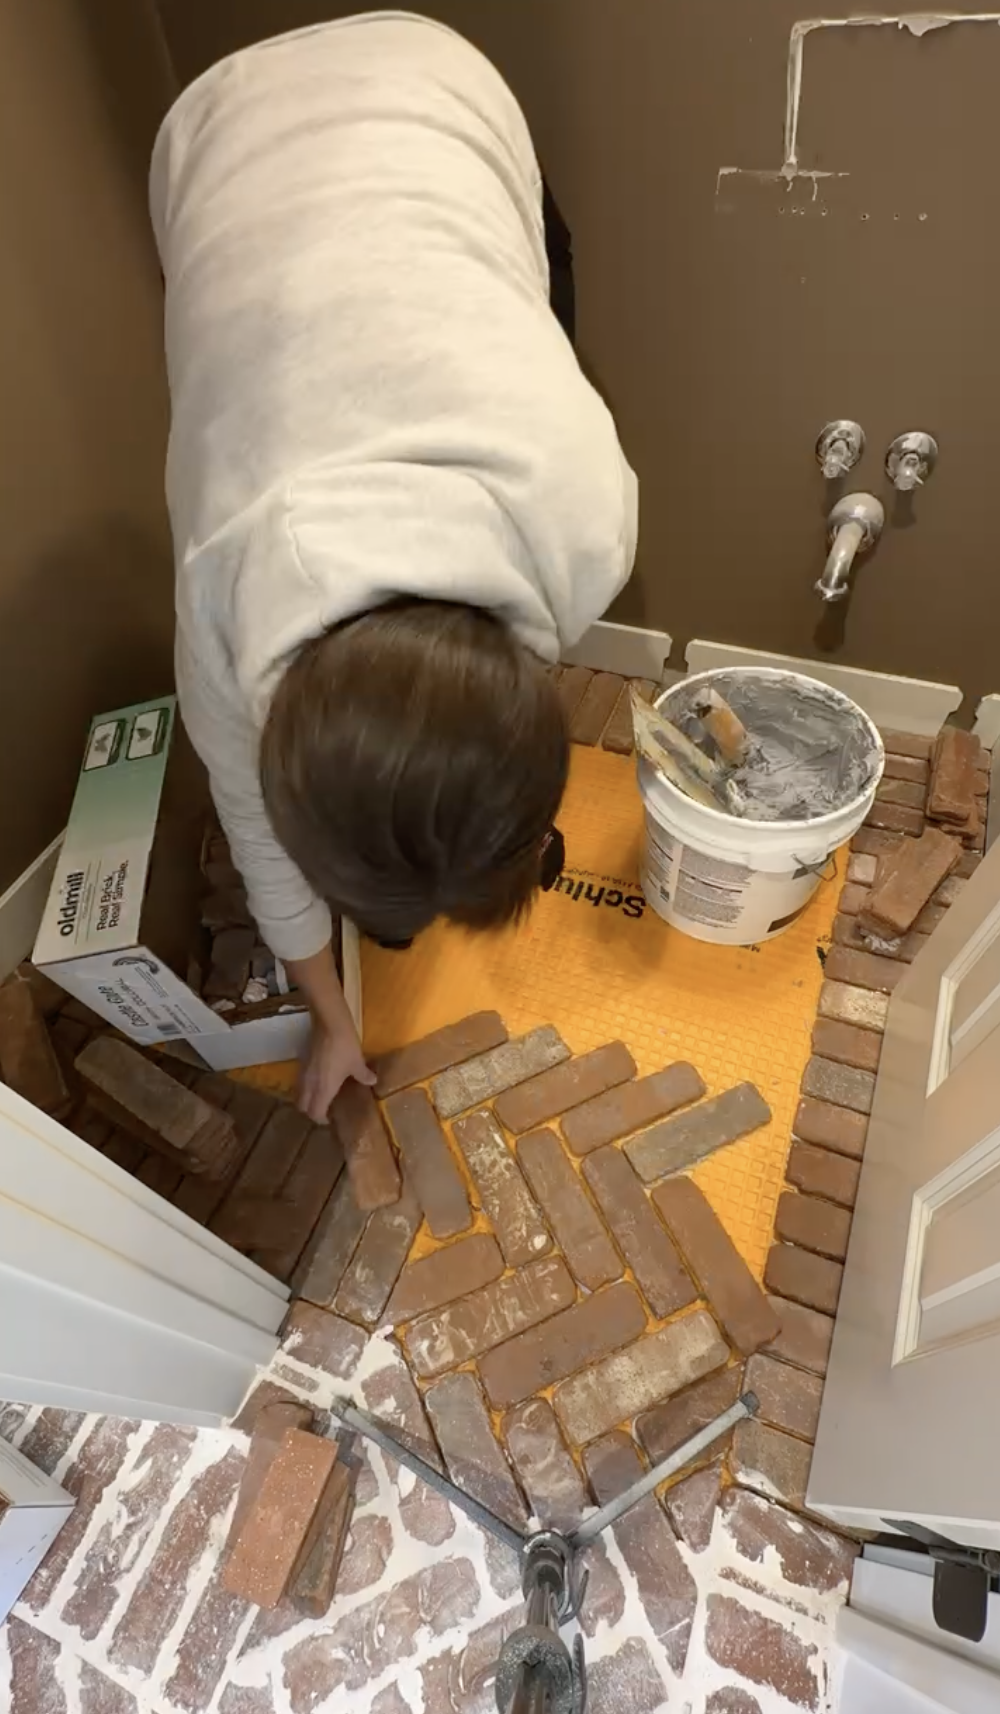


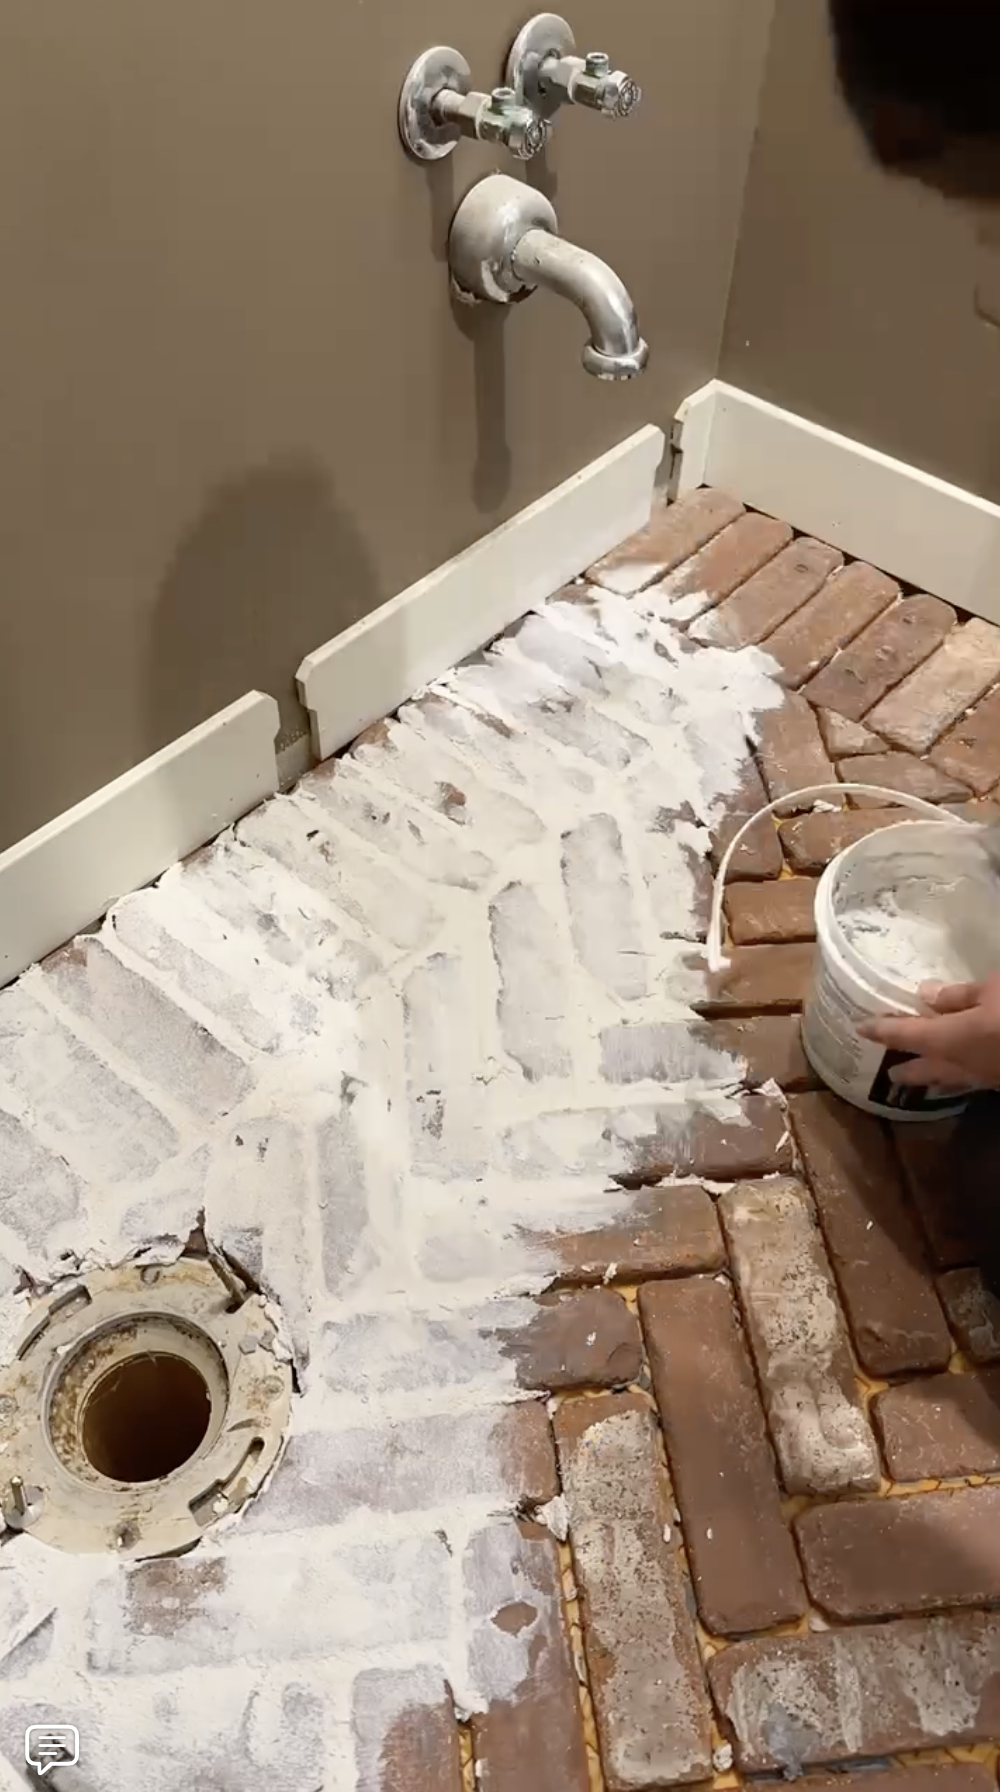


Step 1: Lay down waterproof membrane made by Schlutter Detra.
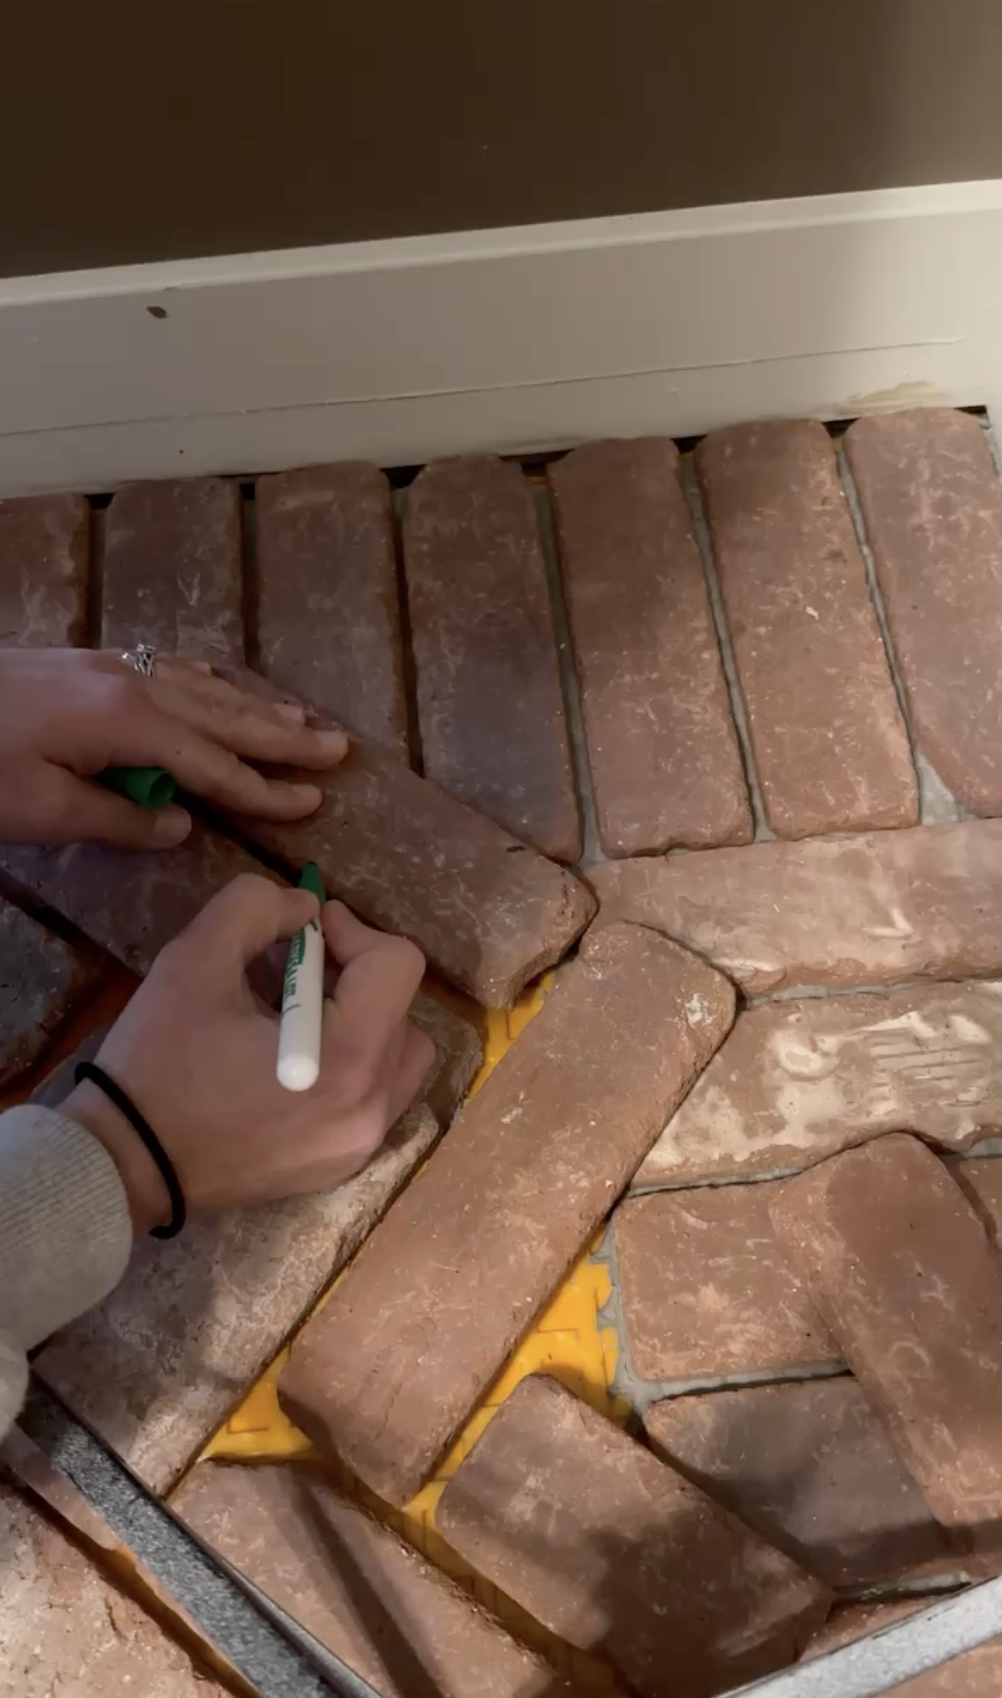
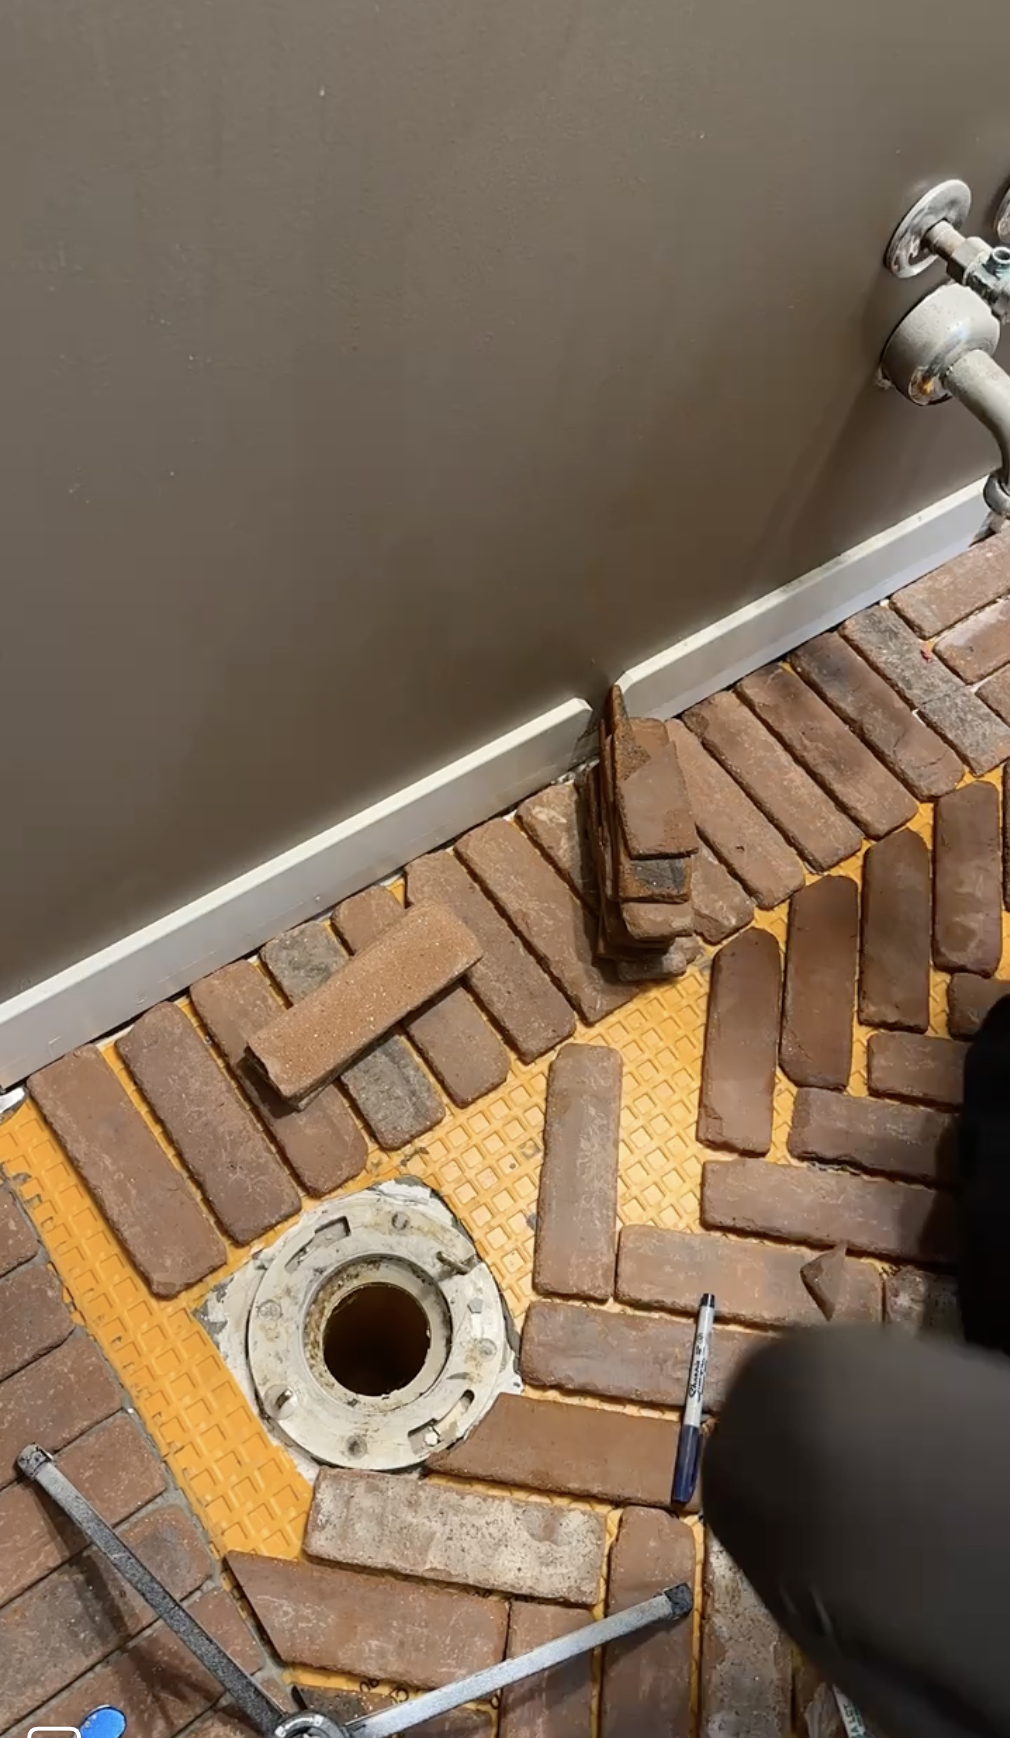
Step 2: Lay tiles down on floor if you are wanting to accomplish a specific design BEFORE you start mortaring them to the ground. For Example: I wanted to have brick on the perimeter of the room with a herringbone and border design. By laying it out I was able to make specific cuts for the tile prior to being halfway through the project.
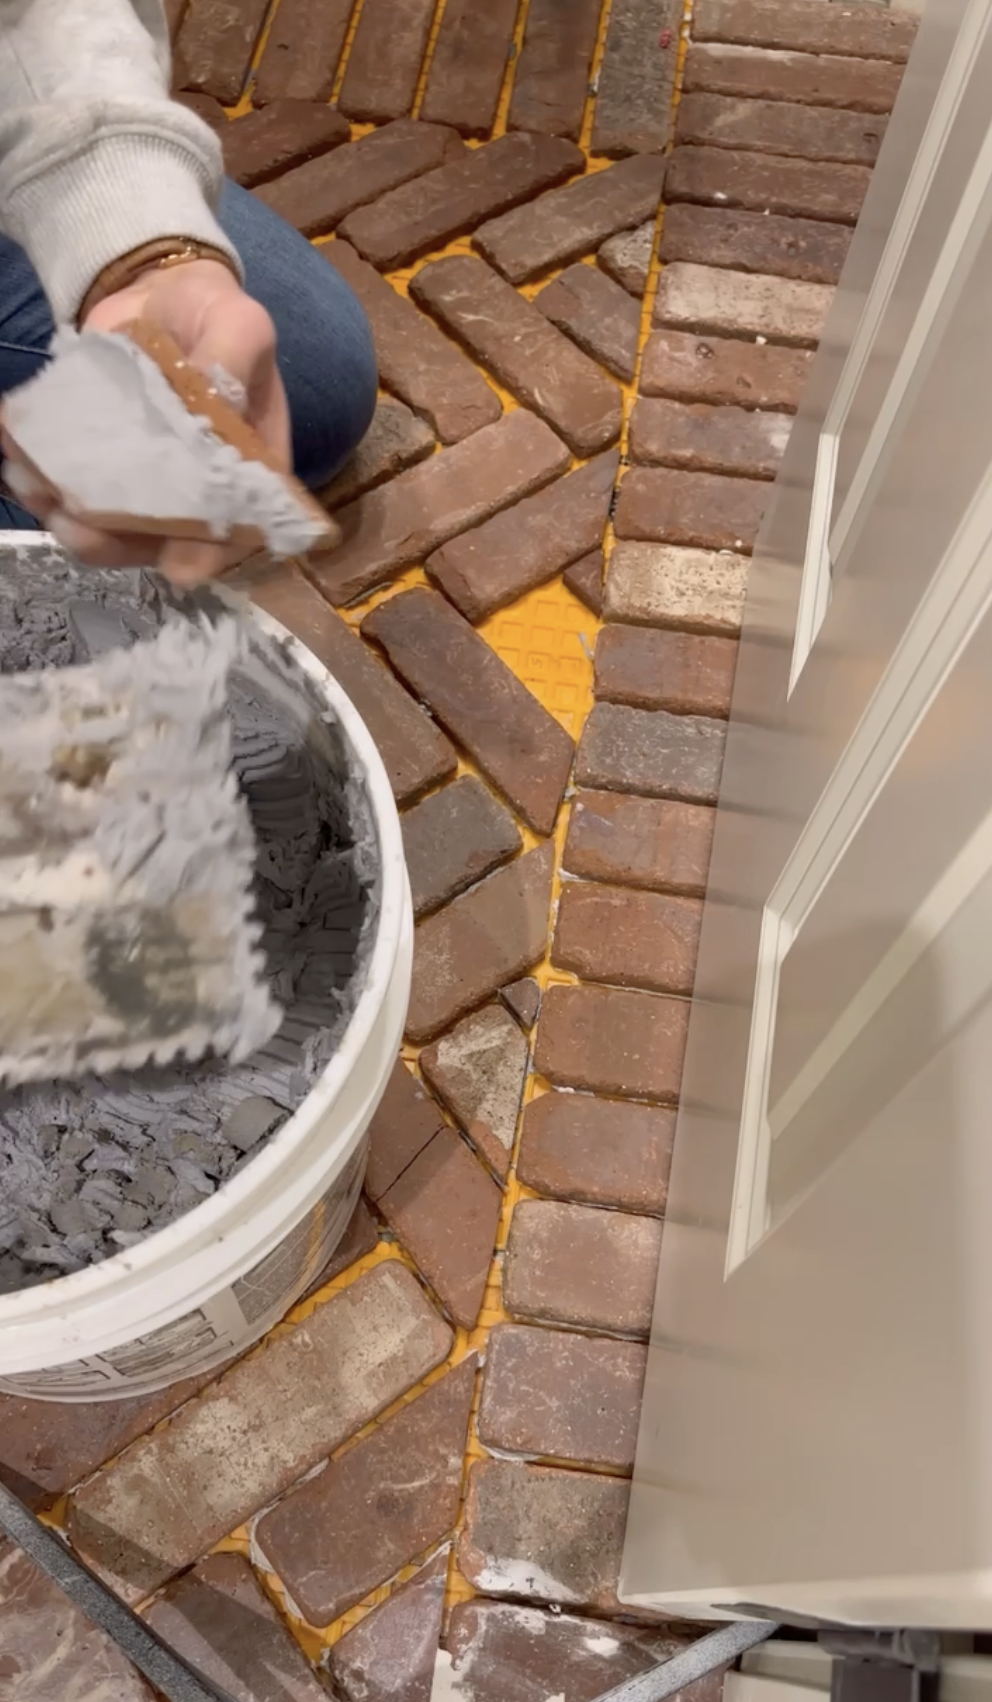
Step 3: Back butter the backside of the brick with Mortar using a square notch trowel and place on the membrane. This will dry quickly so this is why it is important to know your pattern ahead of time. When you place brick you don’t need to measure of be exact with the spacing, this gives it character!
Back Butter definition: To apply mortar directly to the brick and then place directly on the membrane. It’s kind like adding glue to a button or goggly eye that will go on paper.
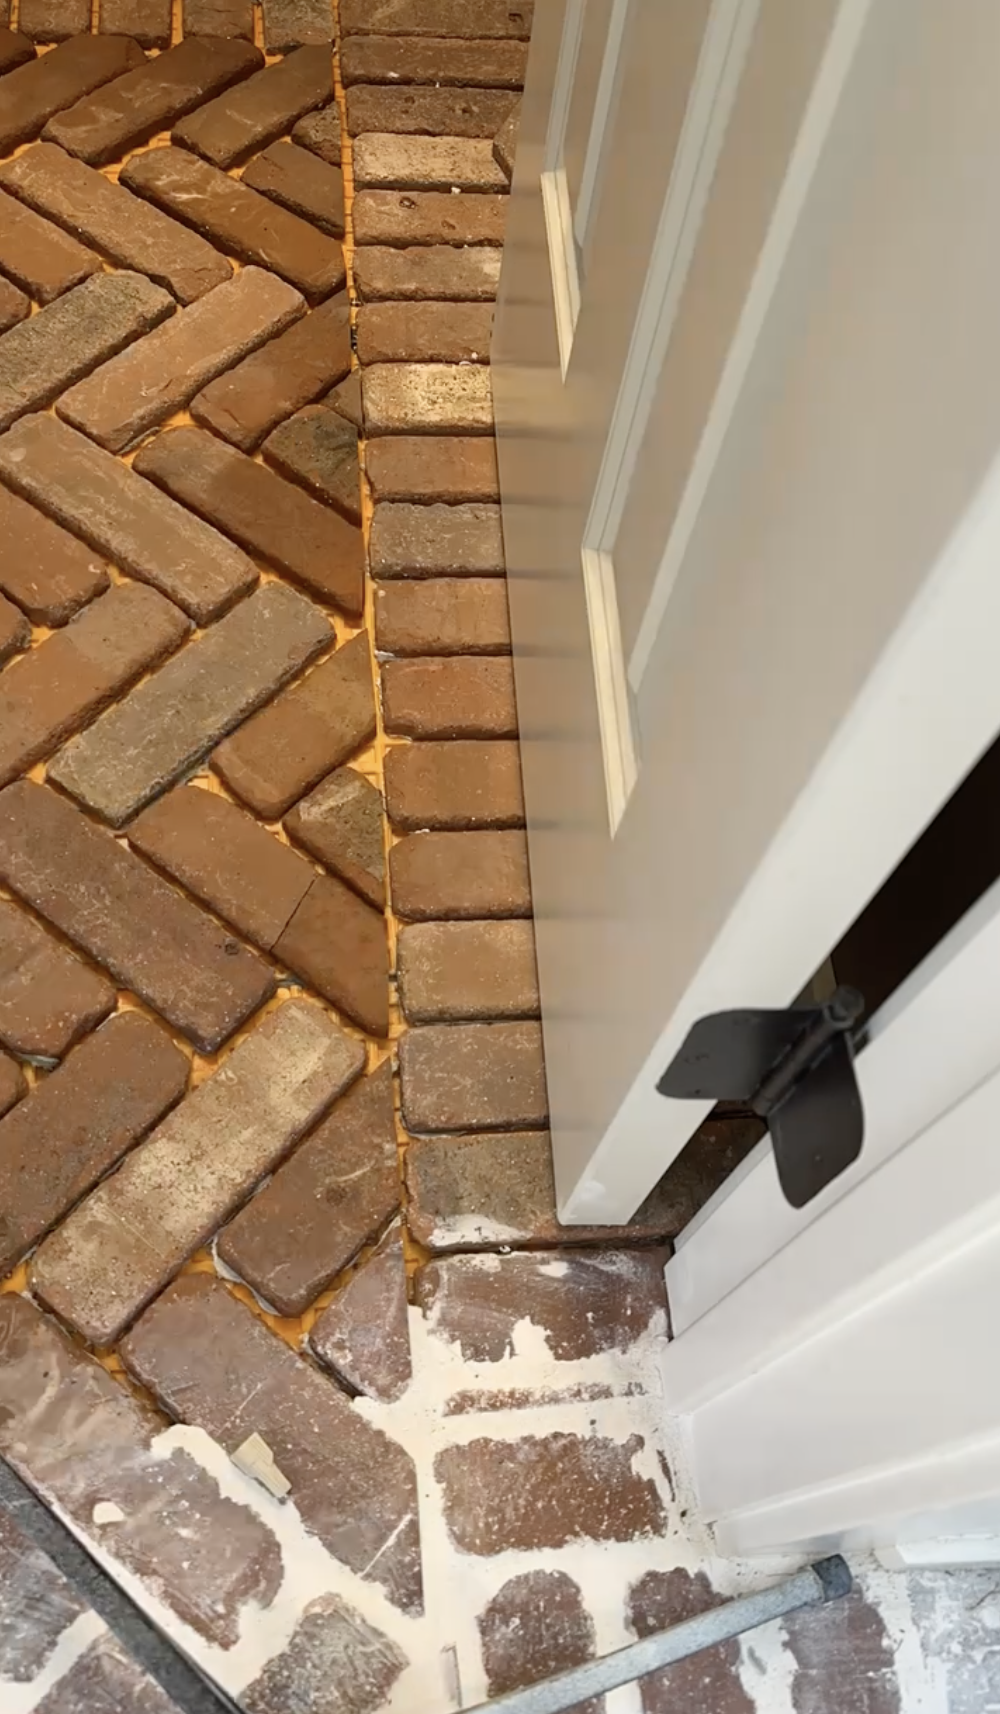
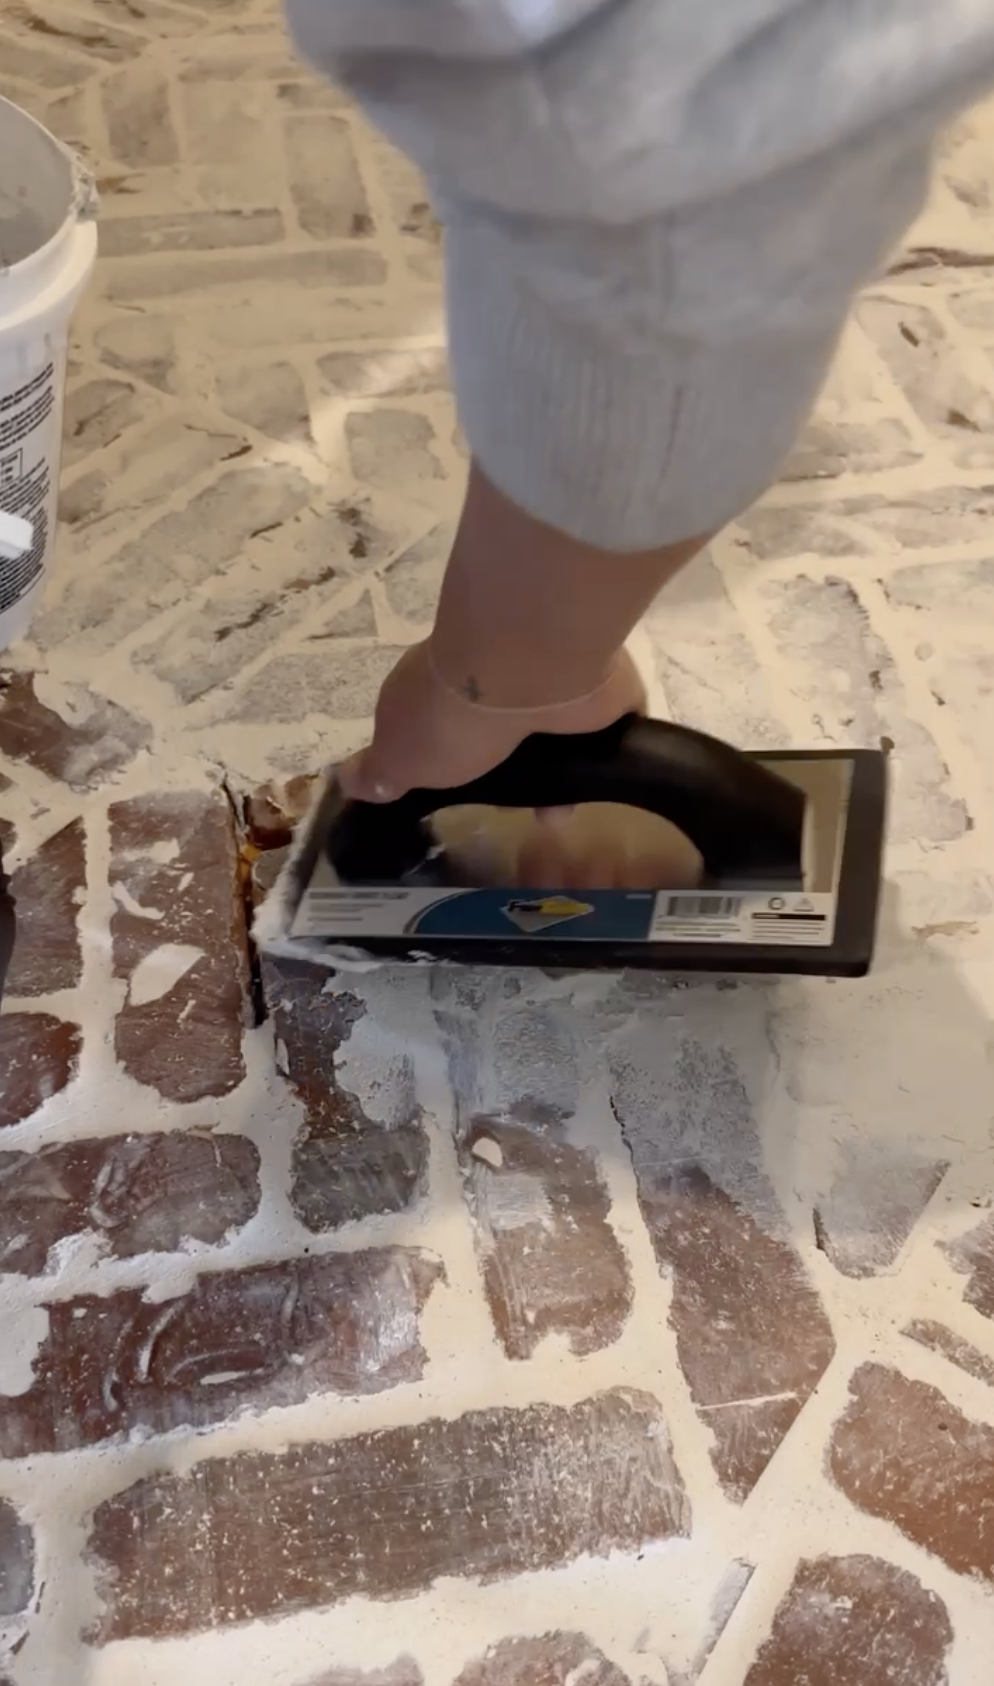
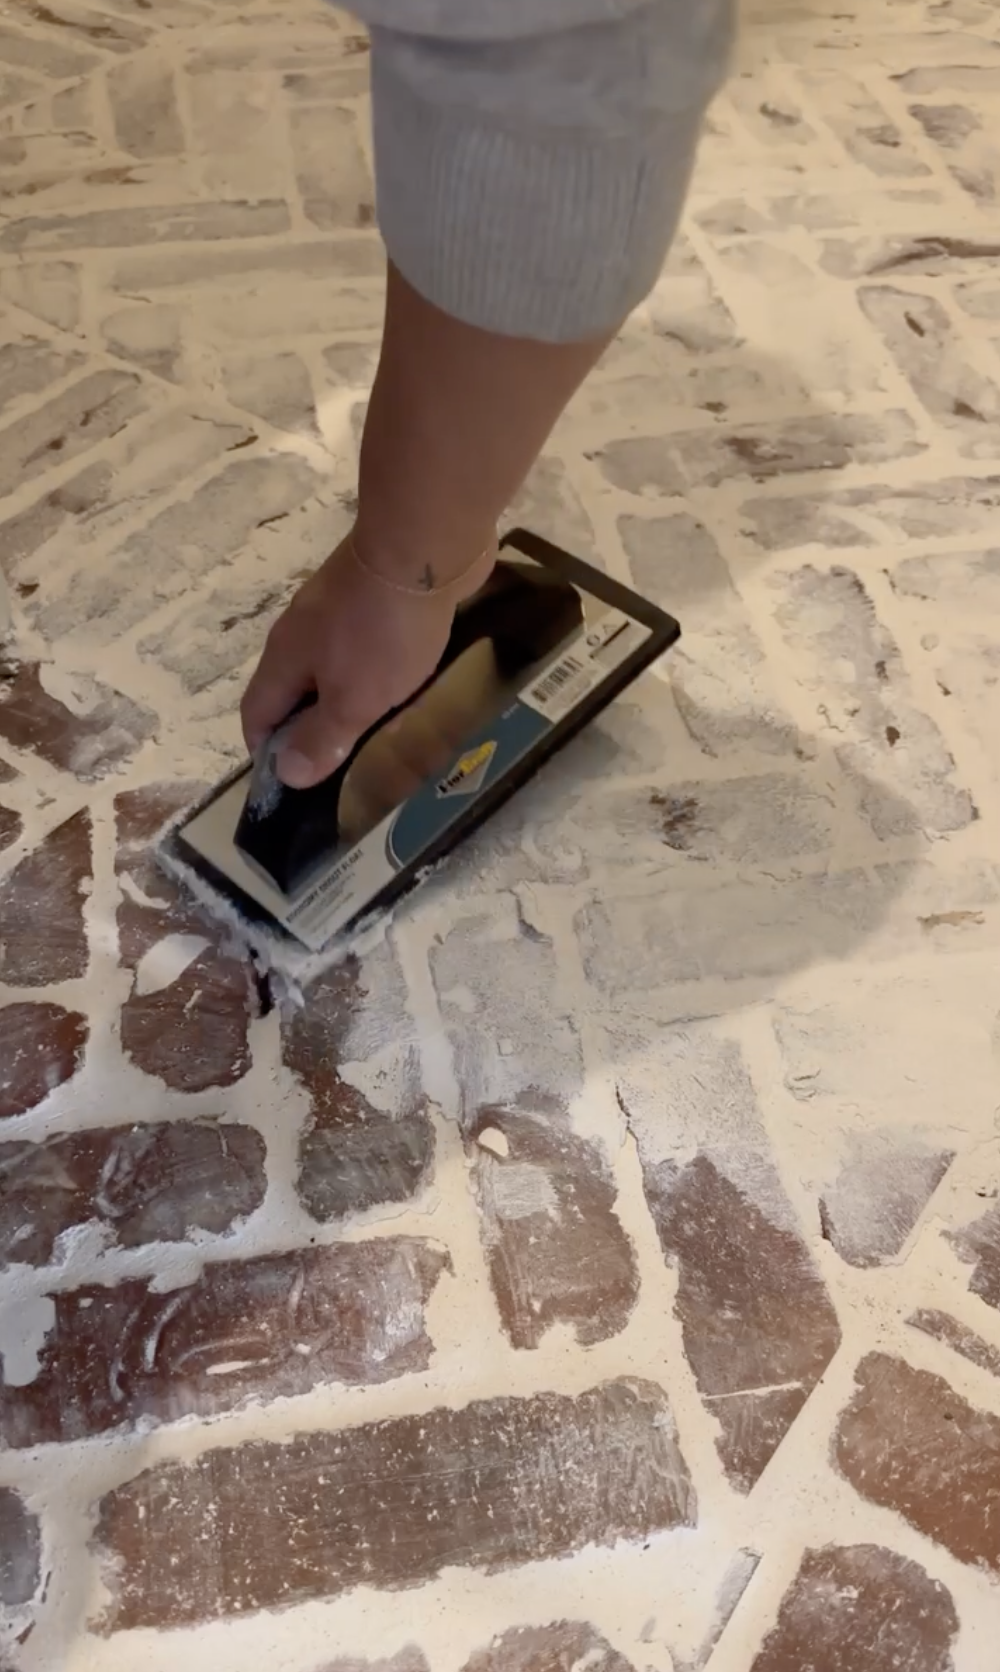
Step 4: Grout over the entire tile using a flooring float. You really cannot mess this part up. Just make sure to get in every crack and crevice.
Step 5: I usually do one container of grout and turn around and wipe it with a sponge right away. The harder it gets the harder it is to wipe. So I would say within the first 15-30 minutes of laying the grout you want to wipe it clean
Step 5: Let dry for 24-48 hours hours.
Step 6: Apply Sealant to the tile with a brush. I recommend you go in with a brush to make sure that each groove of the brick is sealed! Once you apply this sealant it will be soooo smooth but make sure to give it 2 hours for light use, 24 hours to fully cure before walking on it!
Board and Batten
Step 1: Clean the wall from floor to ceiling with mildly soapy water to allow paint to adhere correctly.
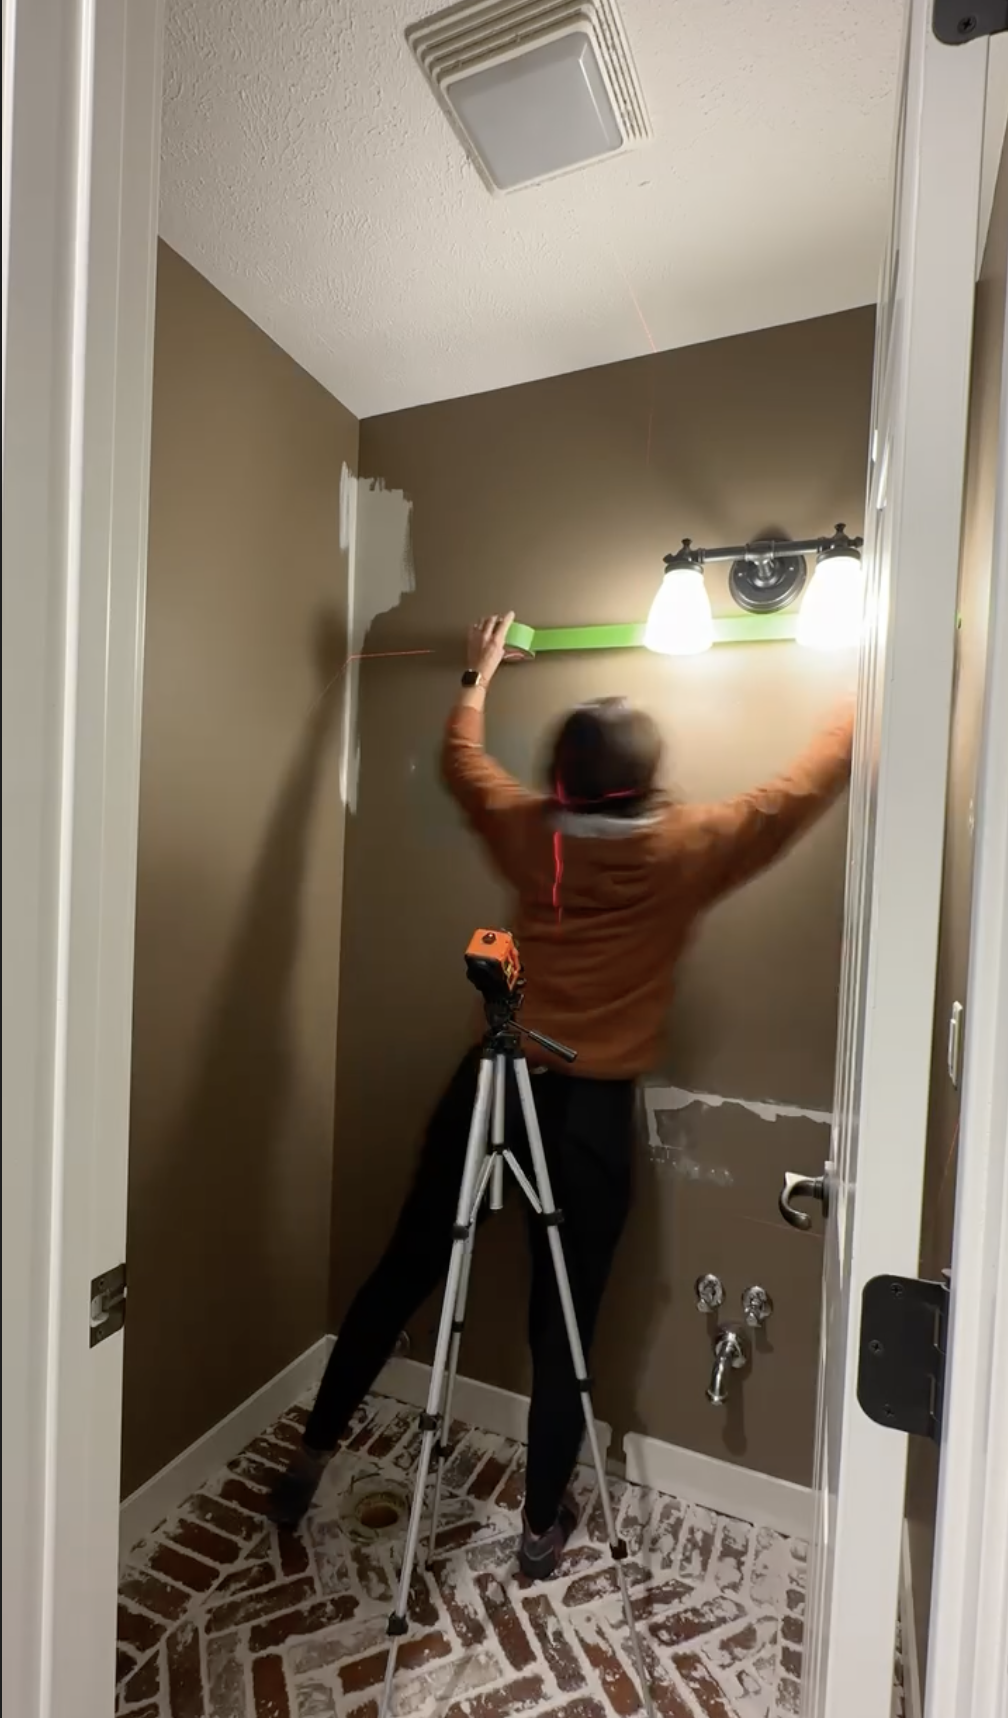
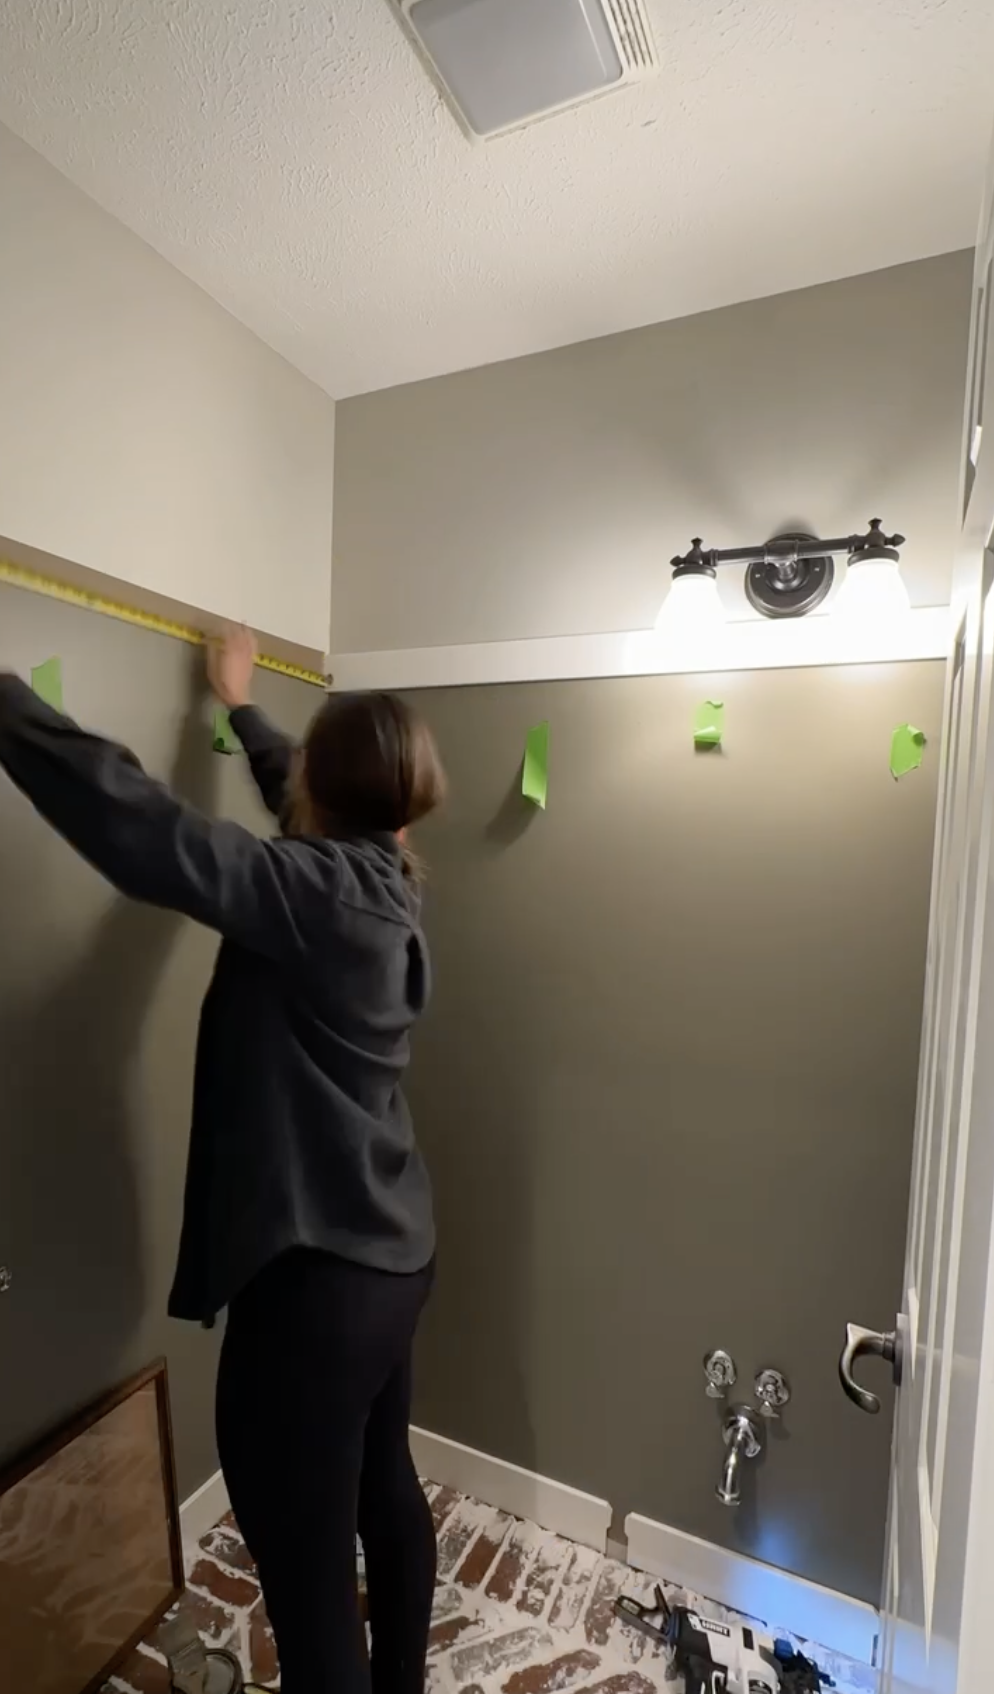
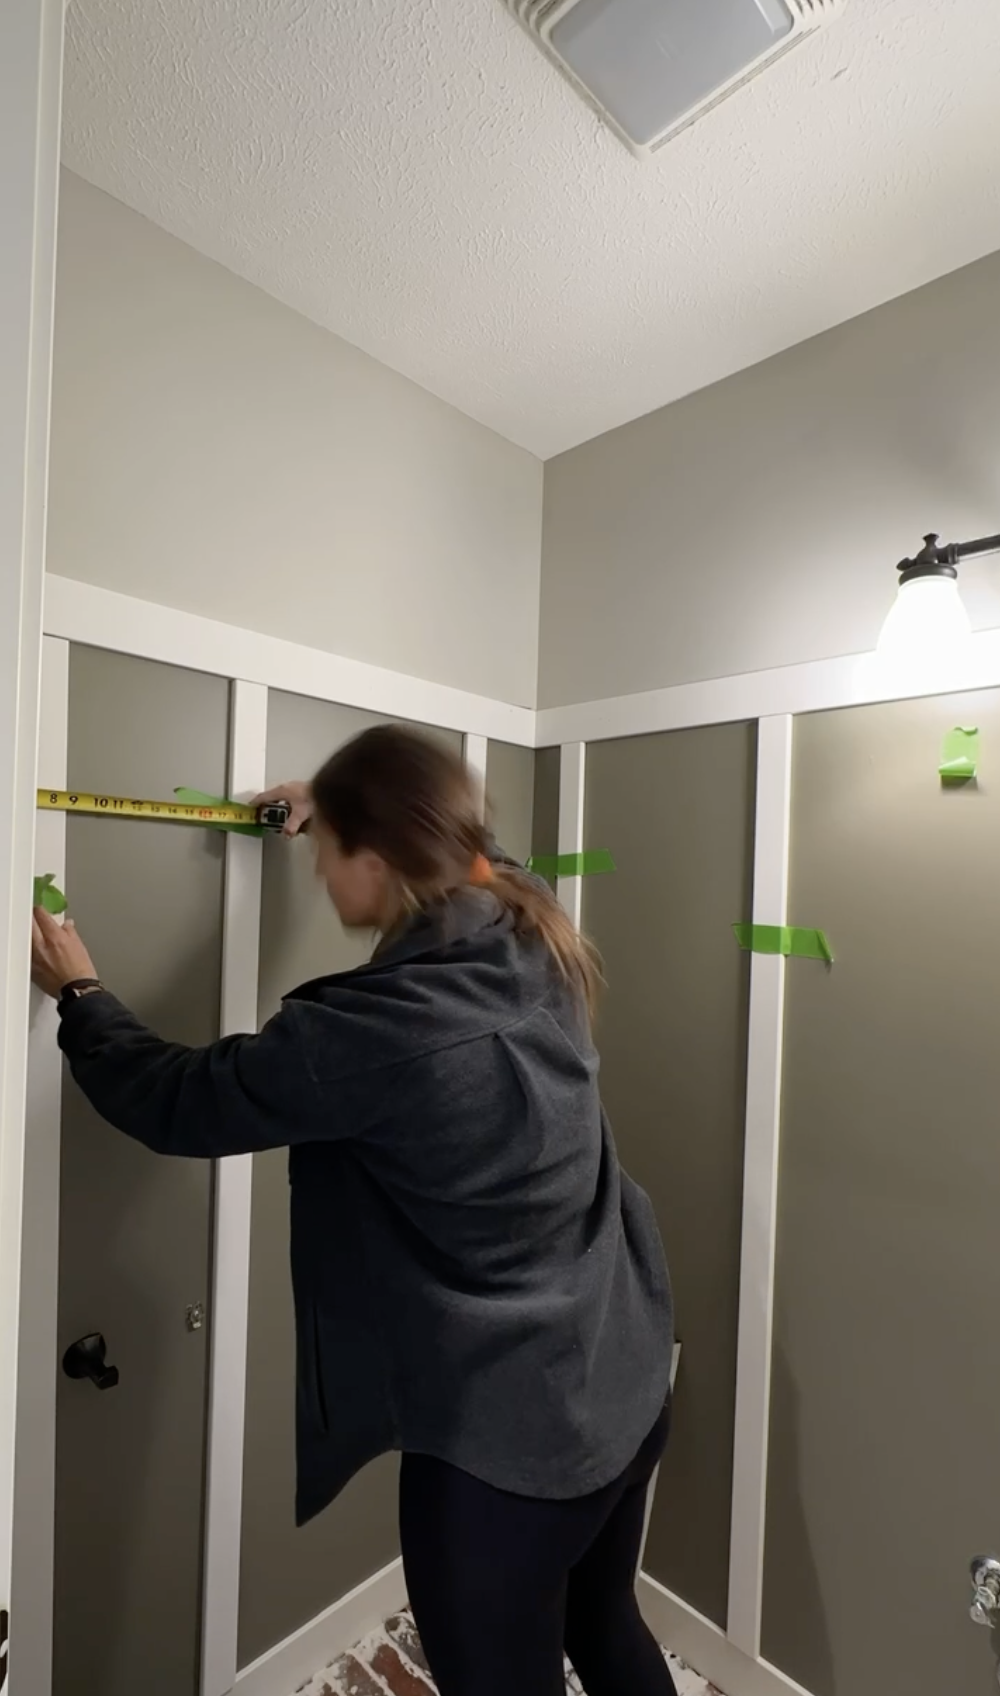
Step 2: I then used a laser level to create the line to where my board and batten will go up to on the wall. Tape off the maximum height you want to paint.
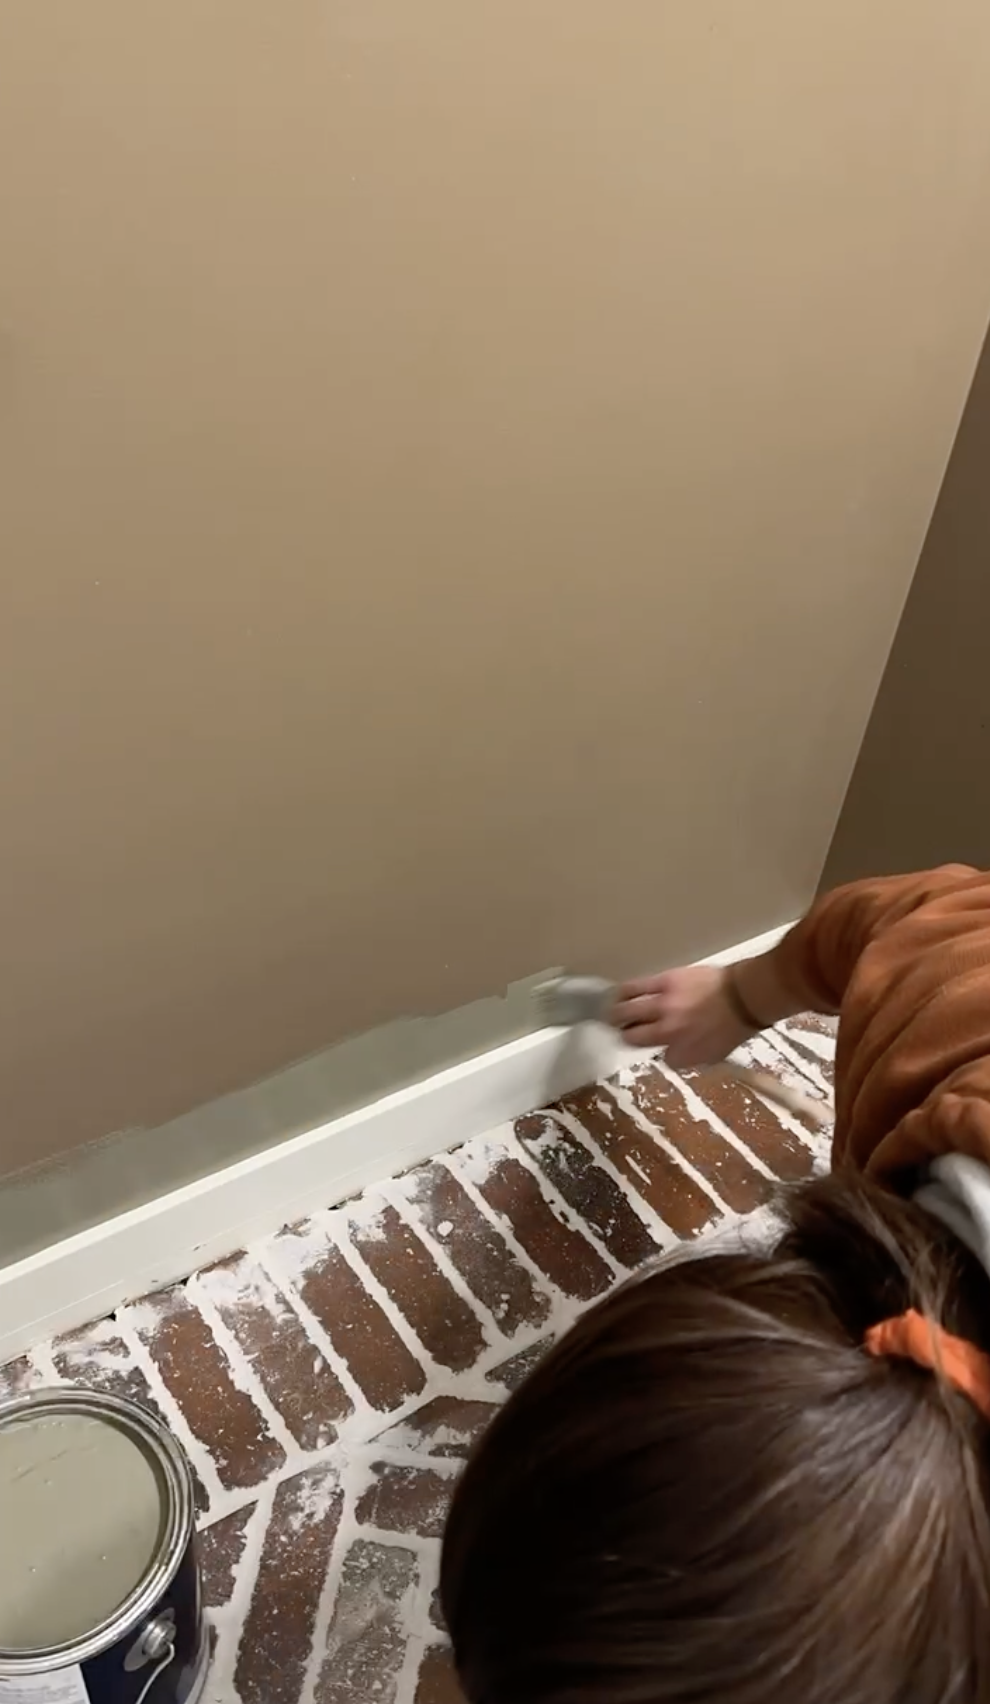
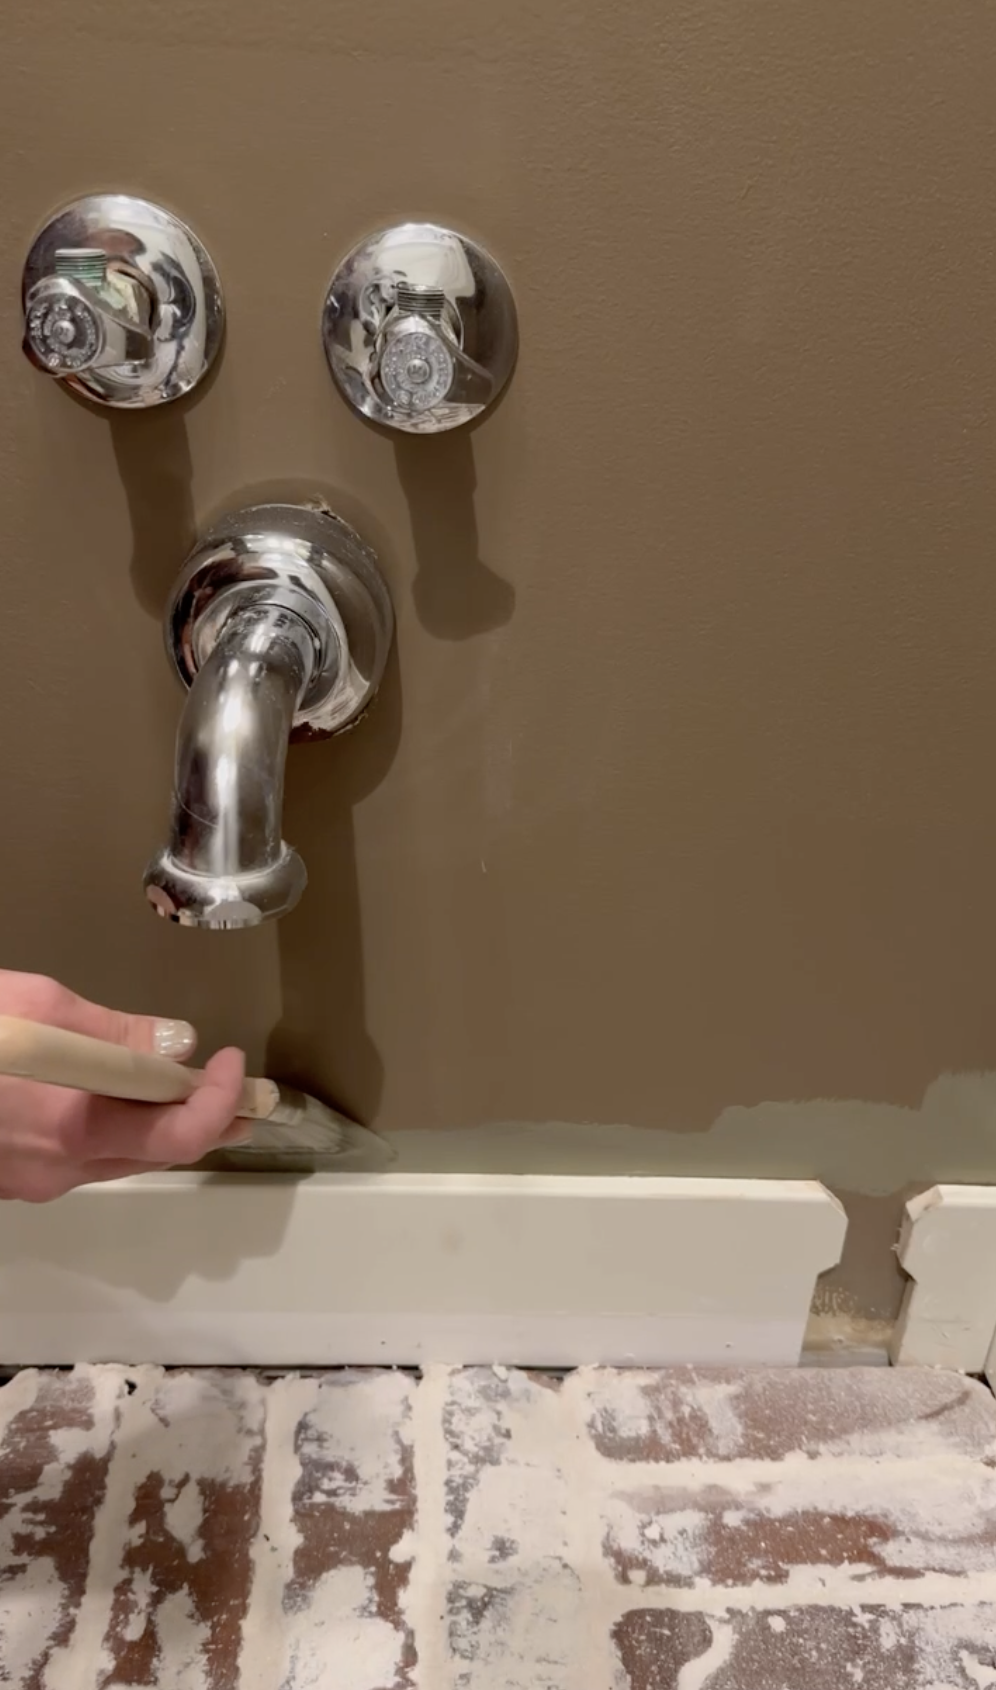
Step 3: Cut in with the paint carefully along the baseboards. If this is your first time painting or if you aren’t comfortable using a brush, tape off the base board prior to painting.
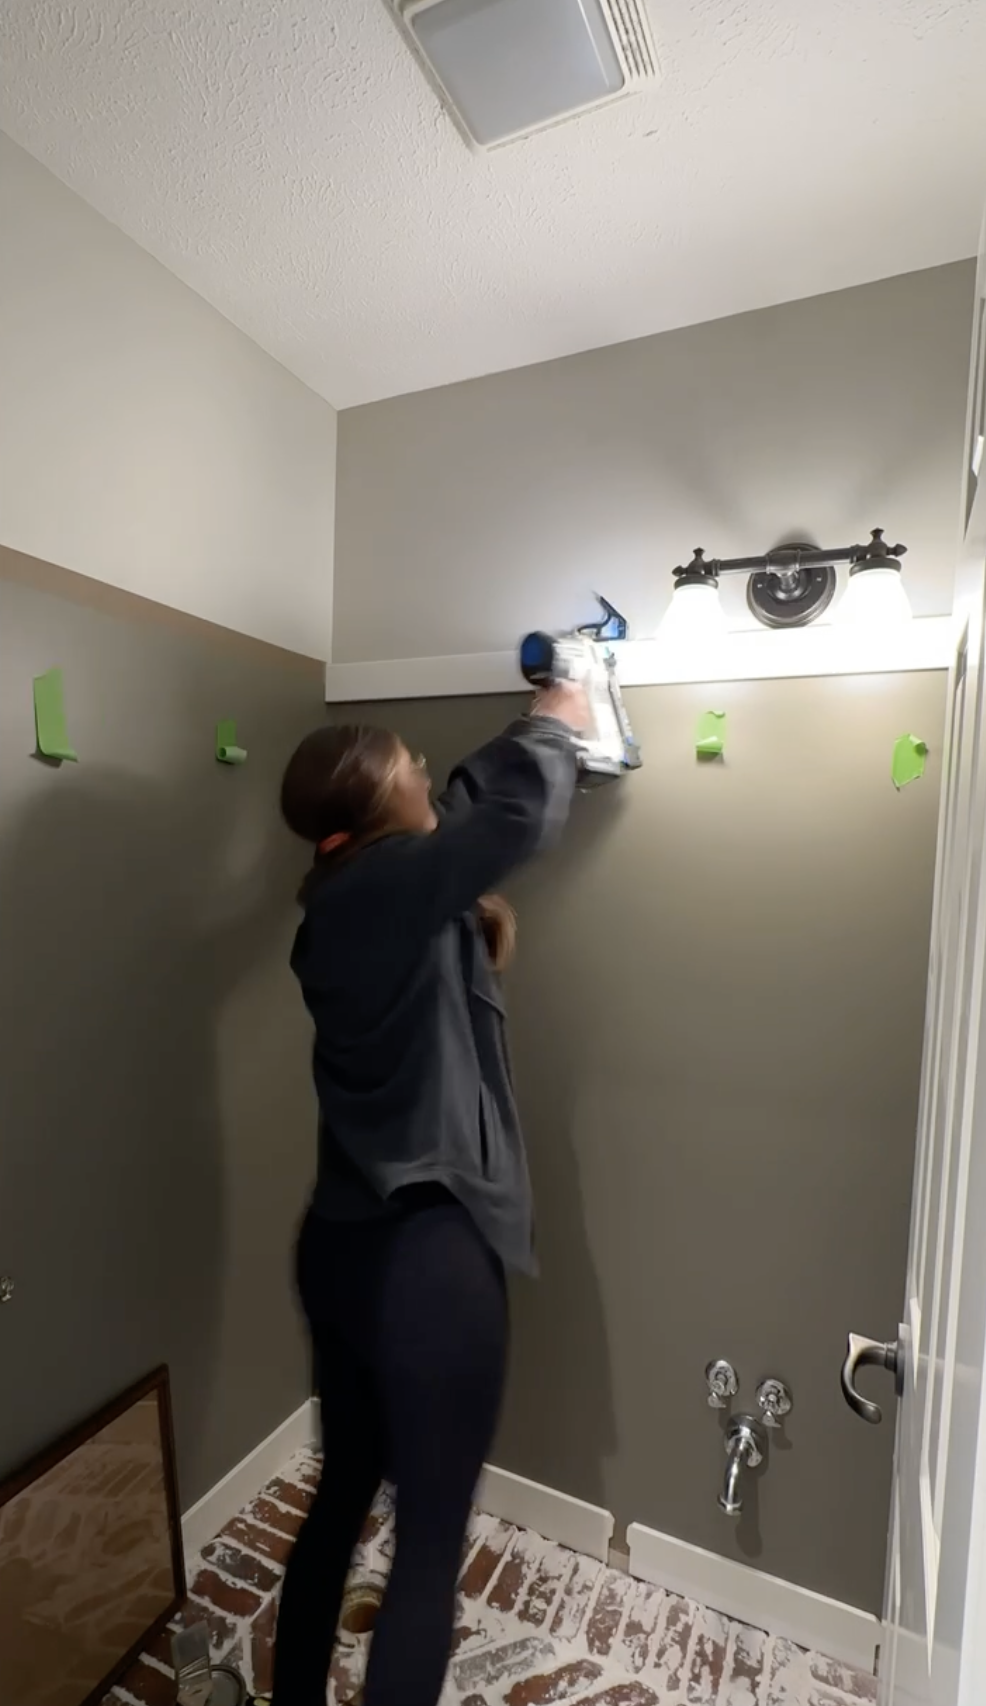
Step 4: Paint the rest of the walls with a roller. Repeat 2x.
Step 5: Painted above the tape in my second color up to the ceiling.
Step 6: Let sit for until it is dry to touch. Then carefully peel the tape off the wall.
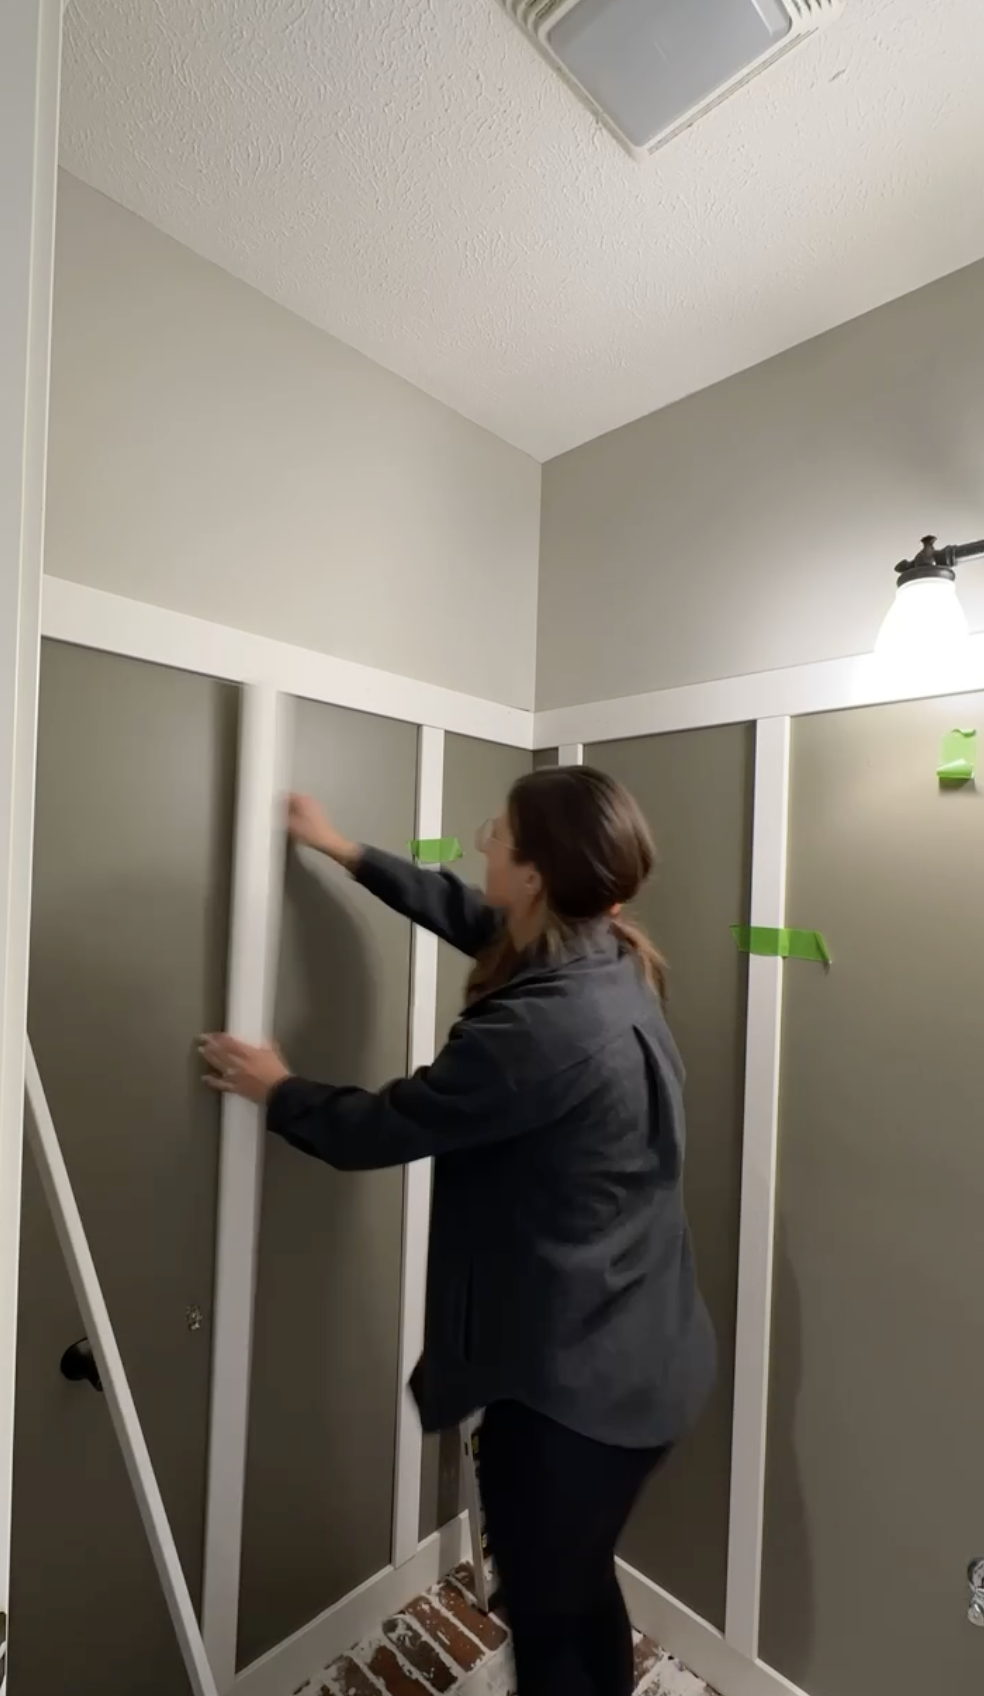
Step 7: Add top boards (1×4) for the Board and Batten to the wall covering the section where the tape was previously using a brad nailer and 1.5” 18G Brad nails nails.
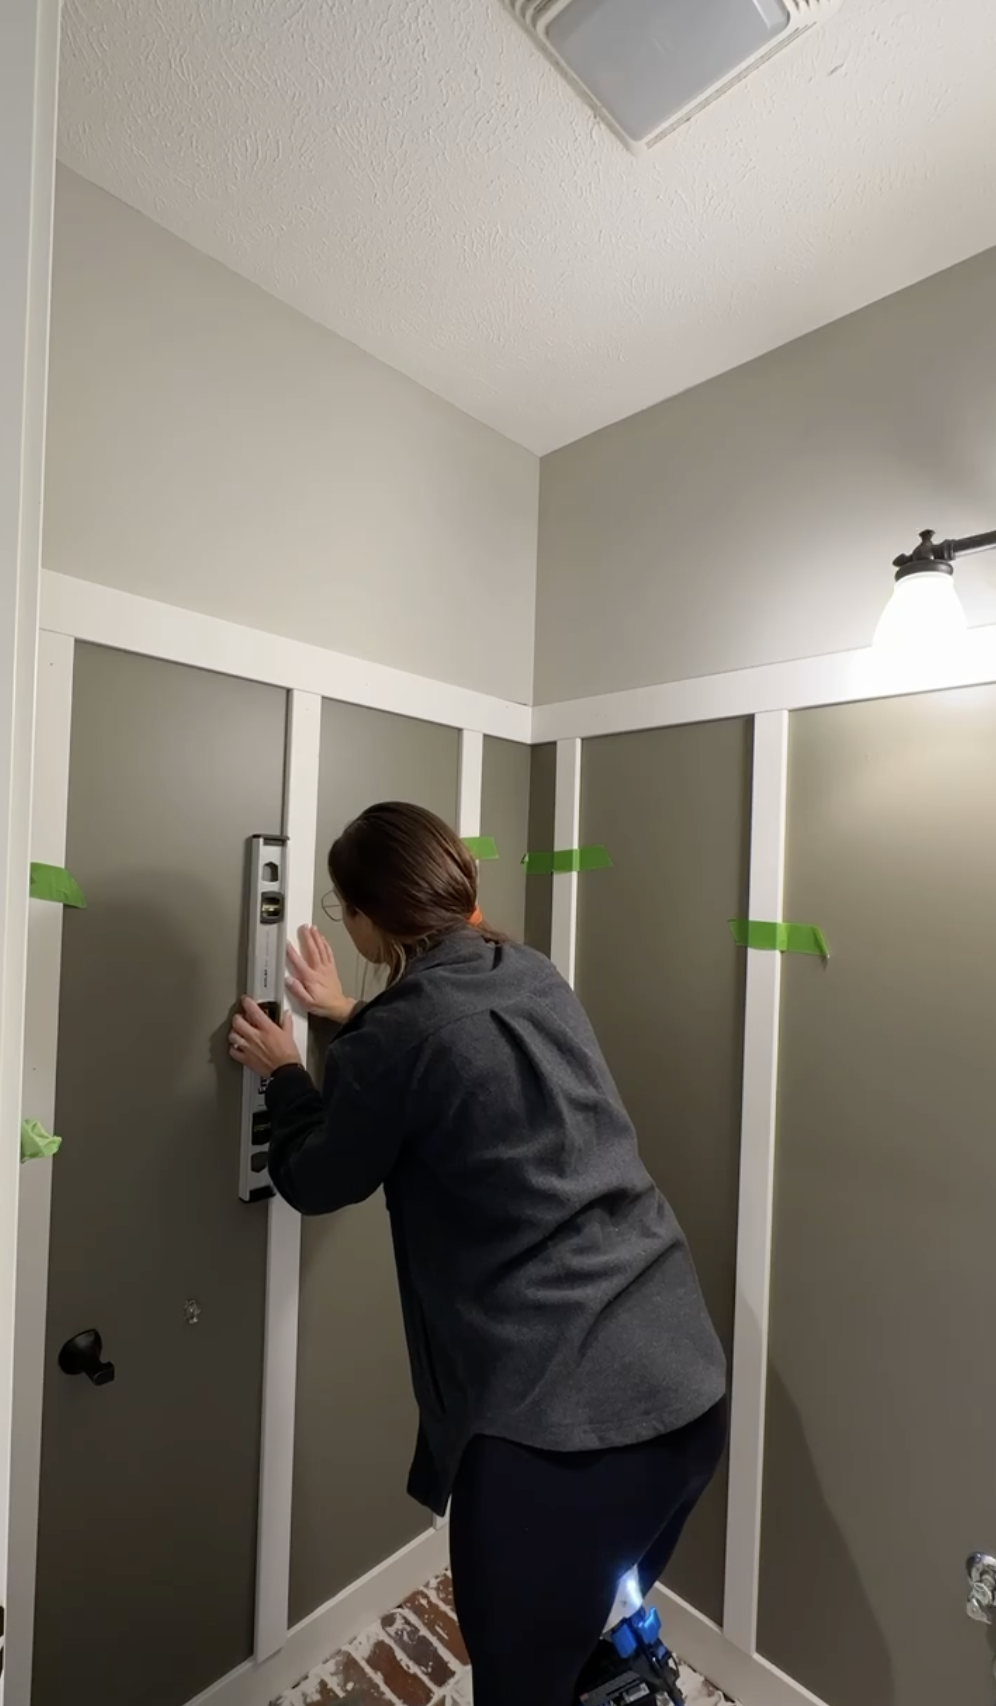
Step 8: Add section boards aka the vertical 1×3 boards to the wall using 1.5” 18G Brad nails. I recommend using tape to hold them up and ensure they are evening spaced prior to officially nailing them in place. This will allow you to play with the look and add or subtract boards to achieve desired look.
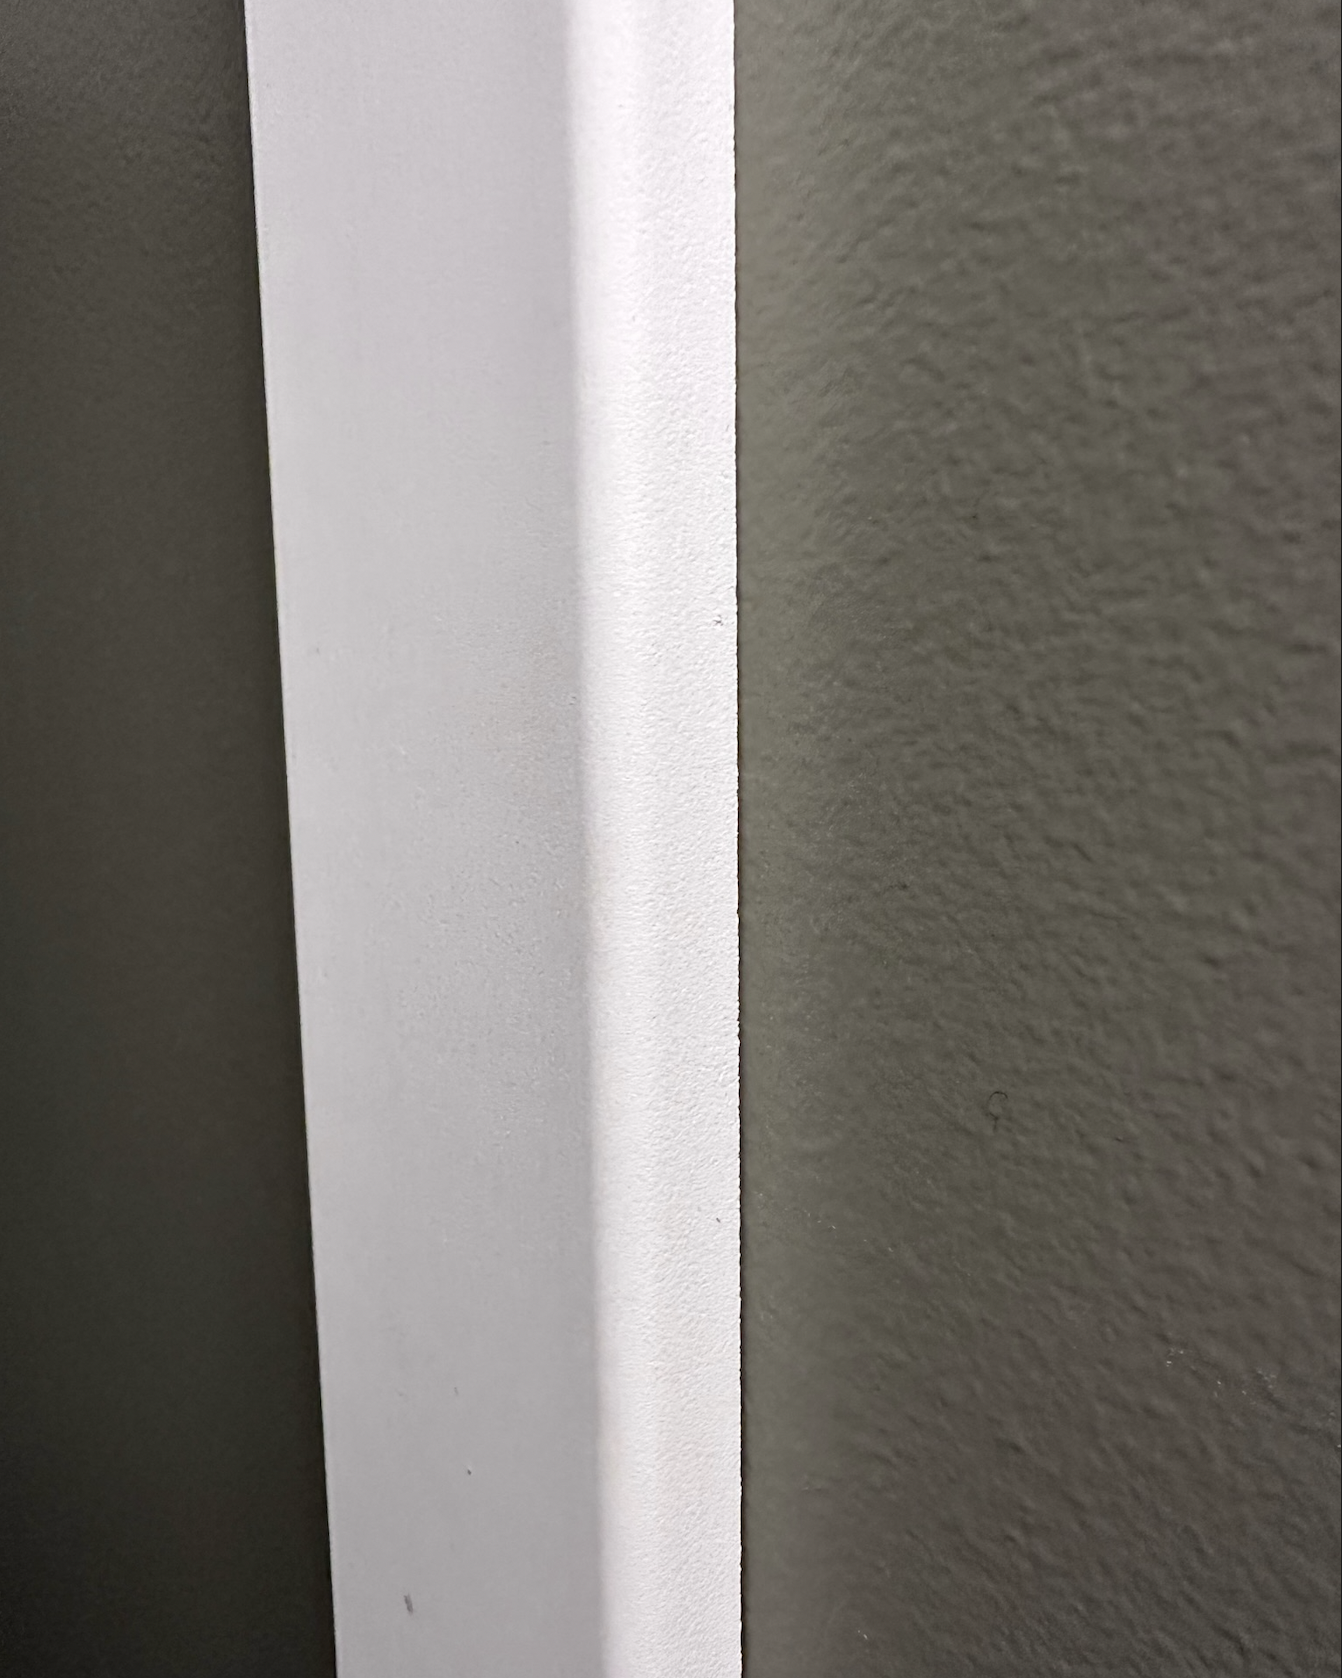
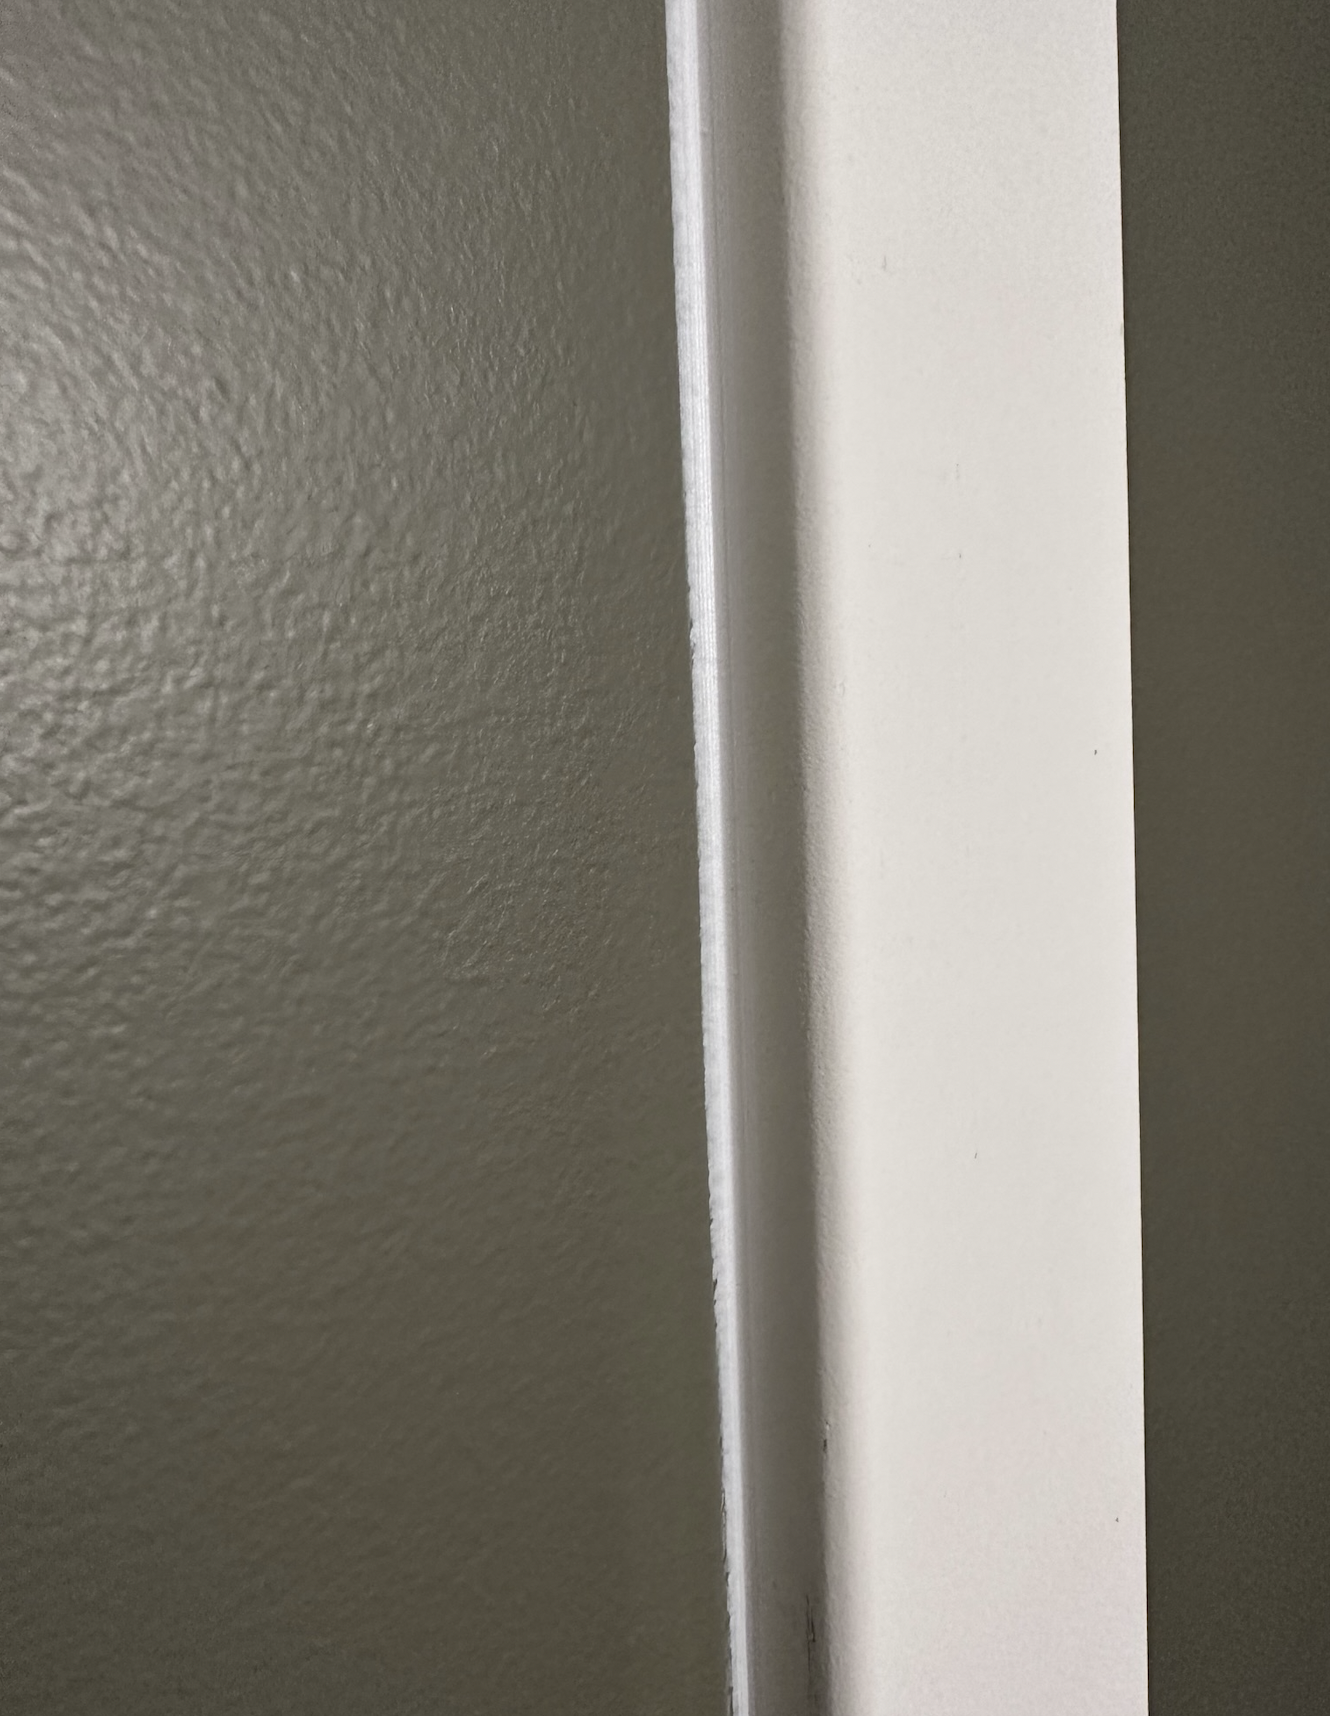
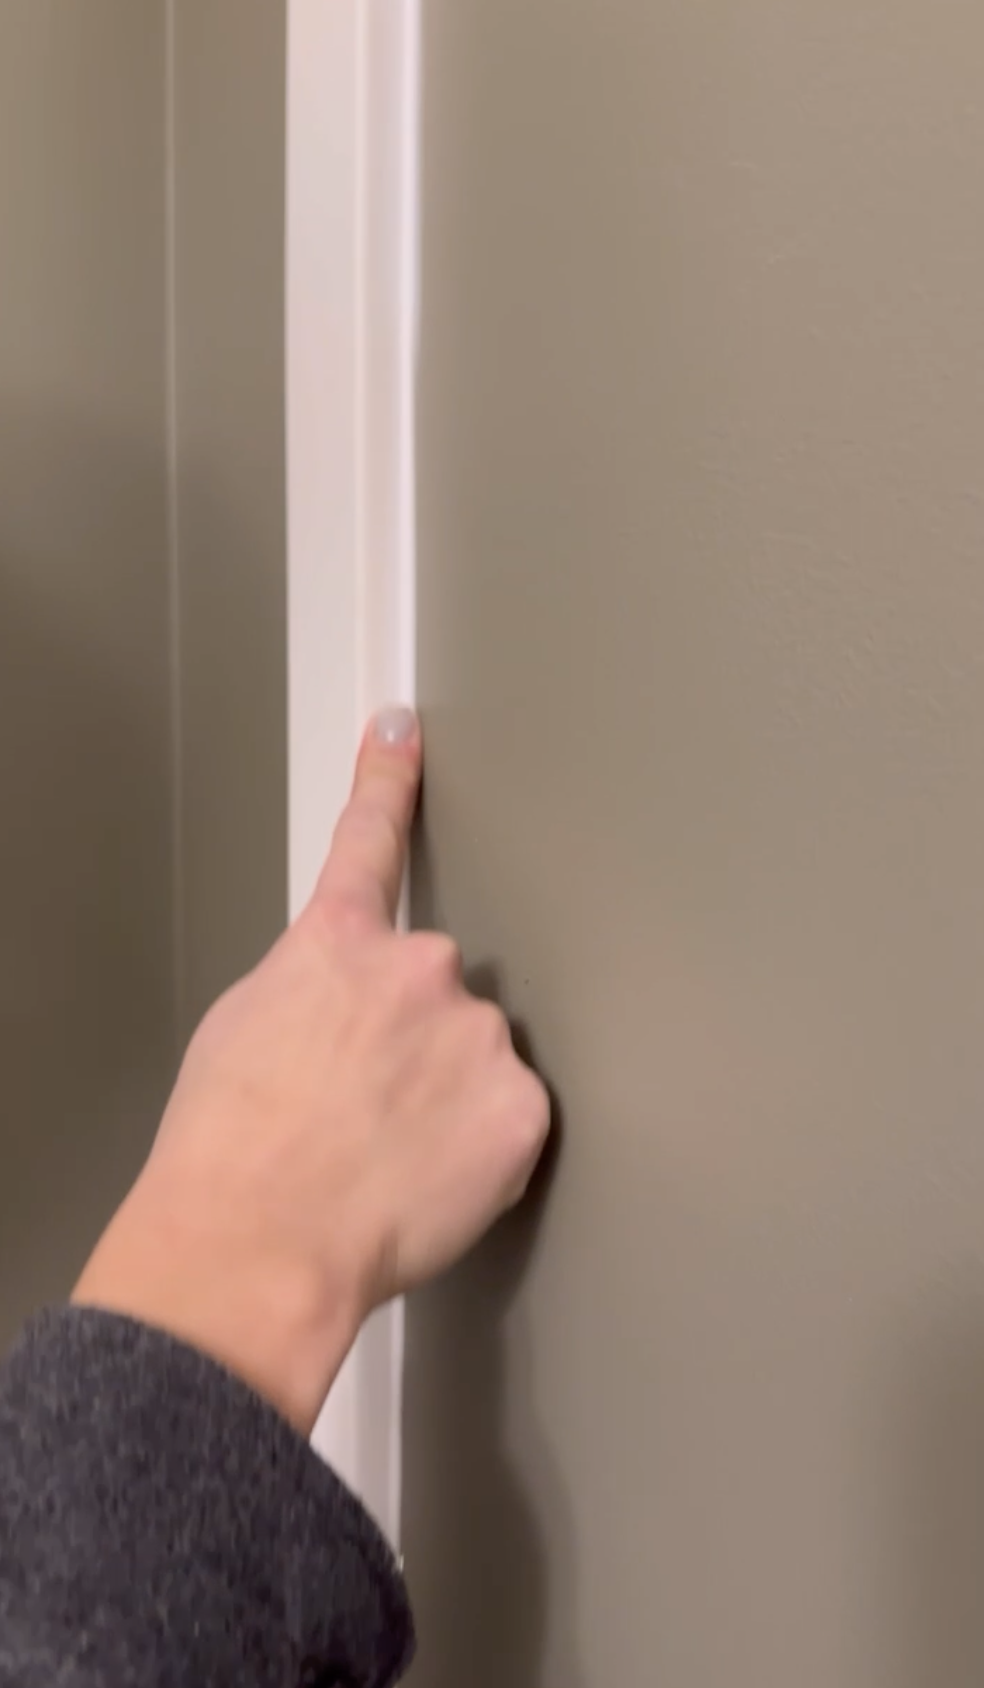
Step 9: Caulk the boards on either side where the boards meet the wall to create a more professional look. Wipe with your finger and then a baby wipe.
Step 10: Wood fill where the 1×4 and the 1×3 meet each other (Butt Joints).
Step 11: After that dries (approximately 60-120 minutes) cut in the boards with the same color as the wall behind the boards. Then roller over the majority. Repeat 2x.
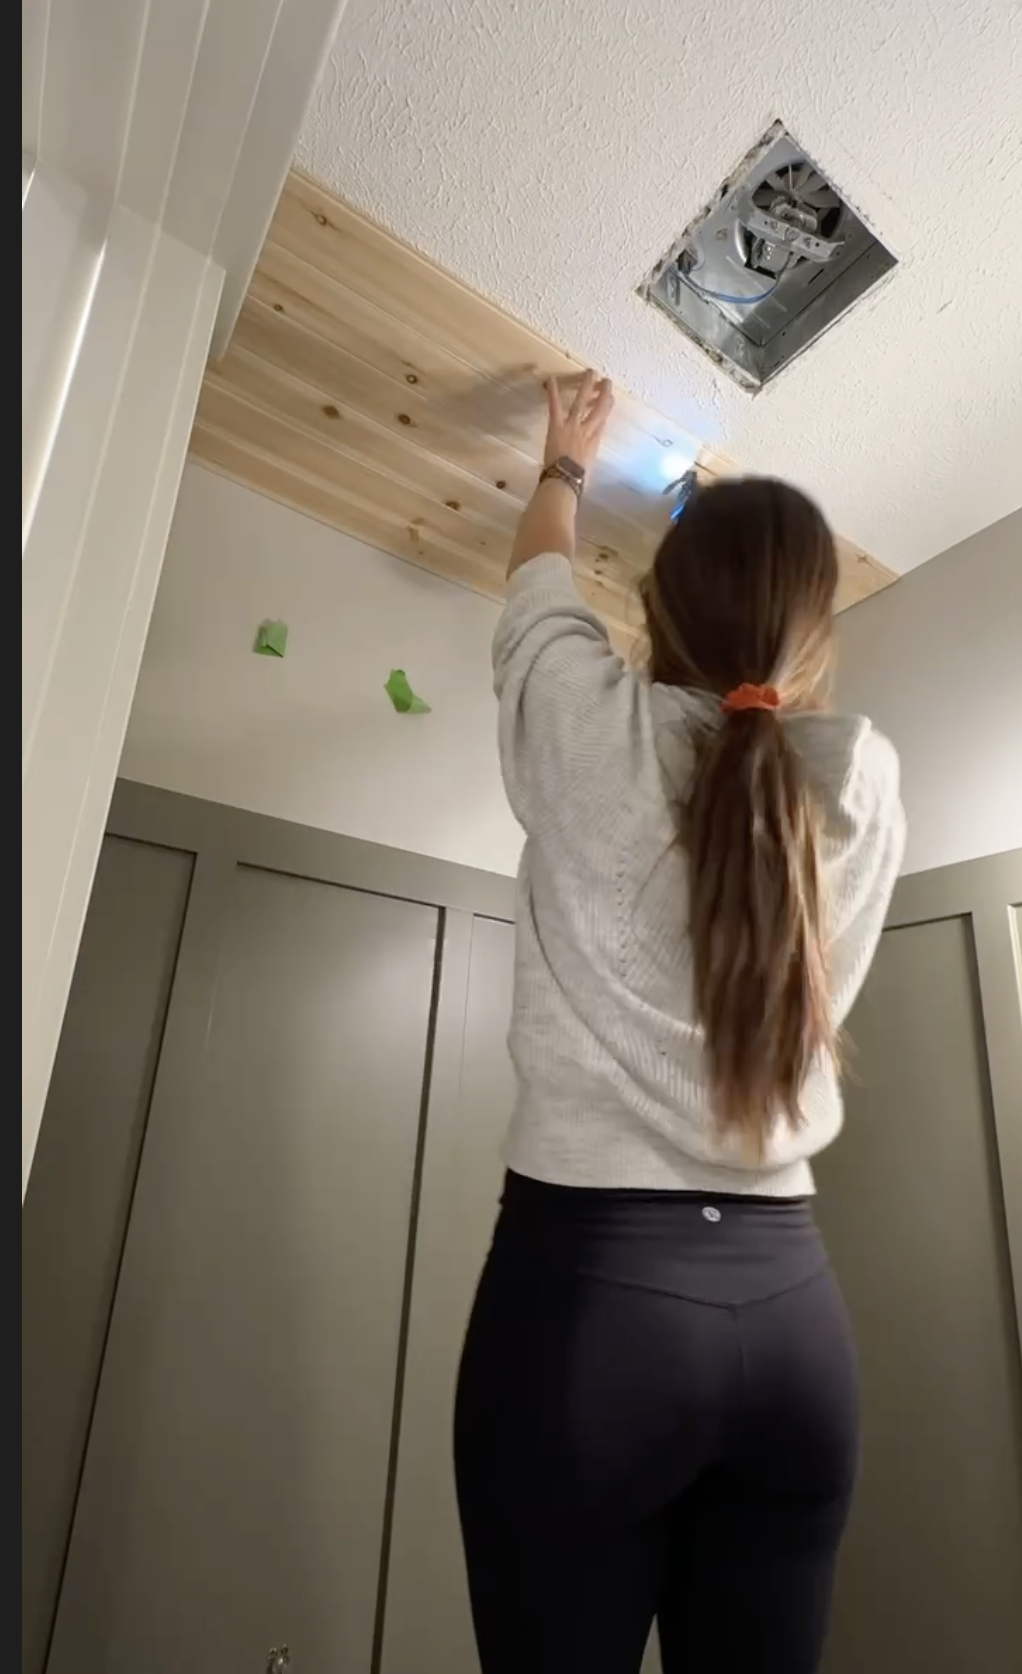
Ceiling Paneling
Step 1: Add Cedar planking to the ceiling using a Brad Nailer and 1.5” 18G Brad nails. Make sure to cut in around any Lights or Exhaust fans.
Step 2: Add 1×2’s for ceiling molding on the wall that meets the planking.
Step 3: Paint 1×2’s with color 2.
Vanity
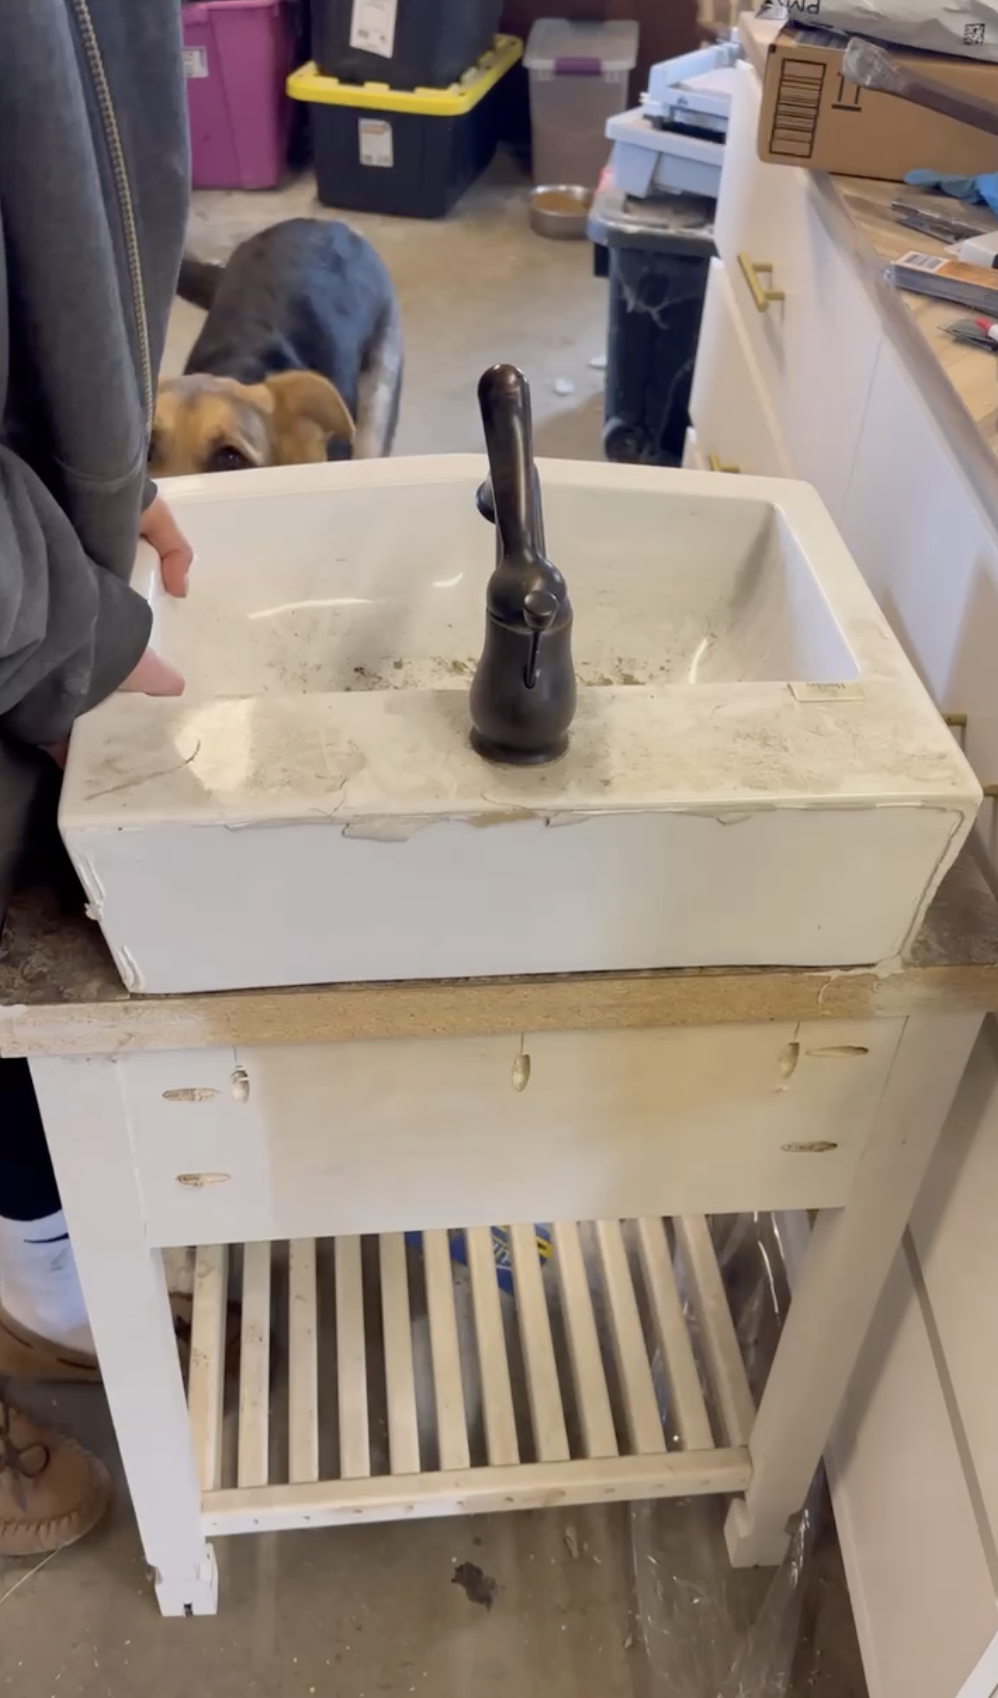
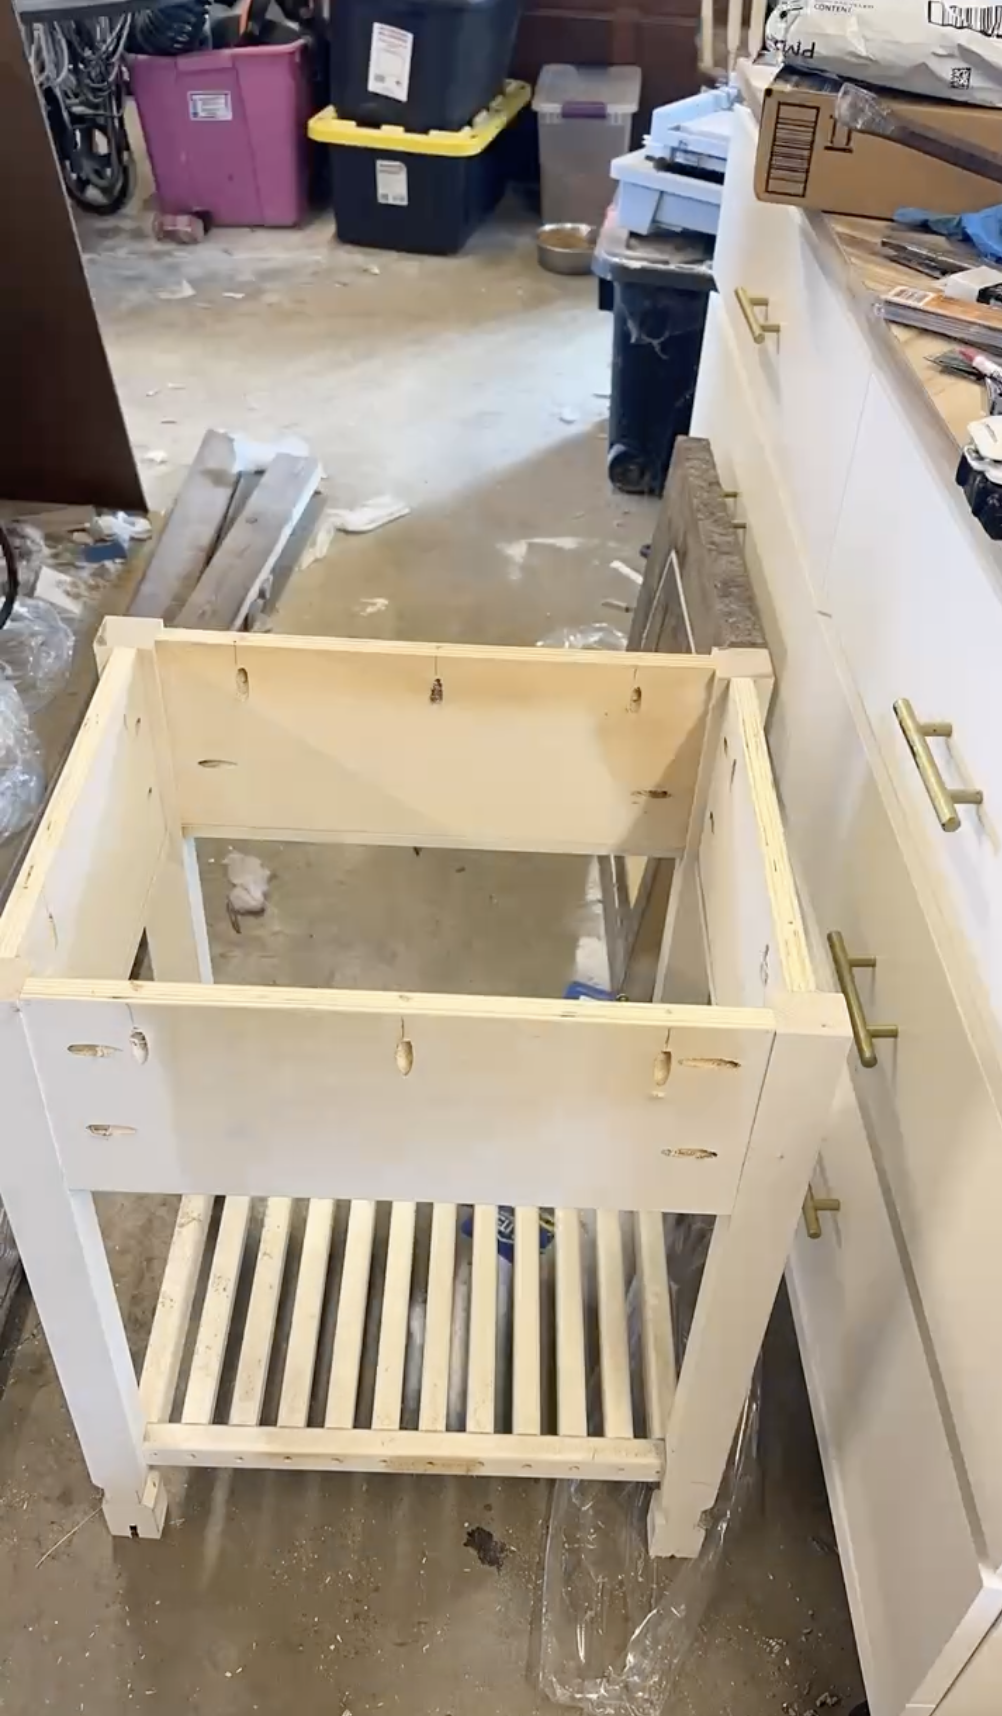
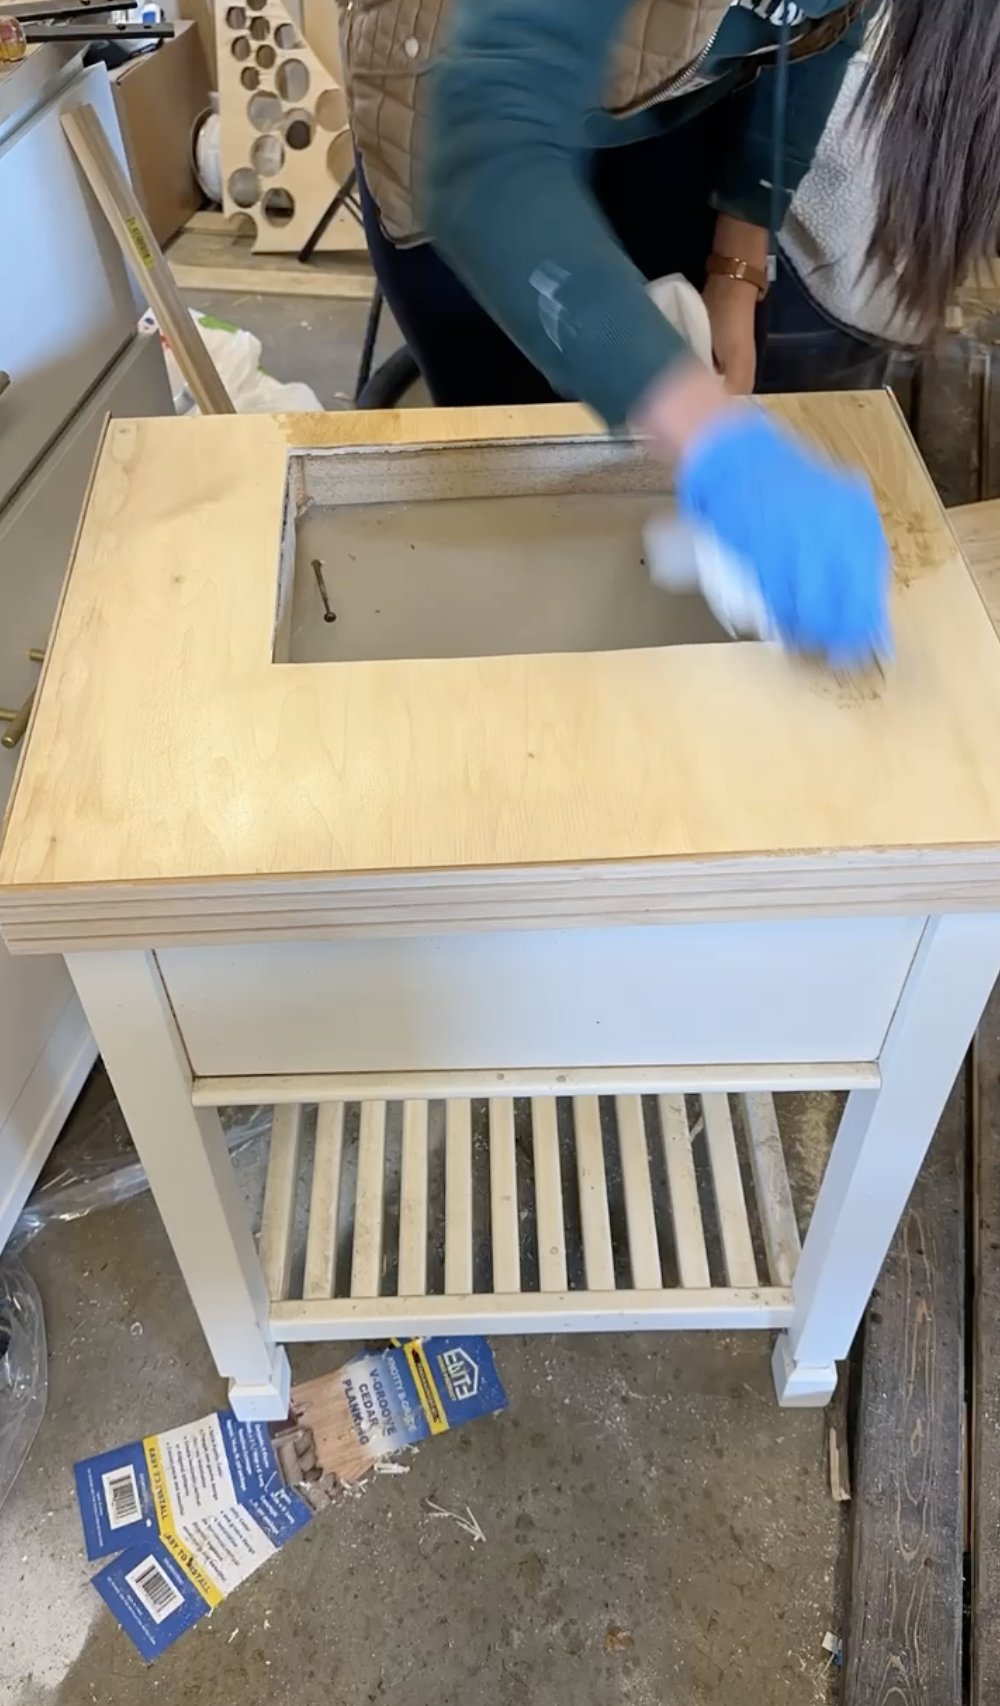
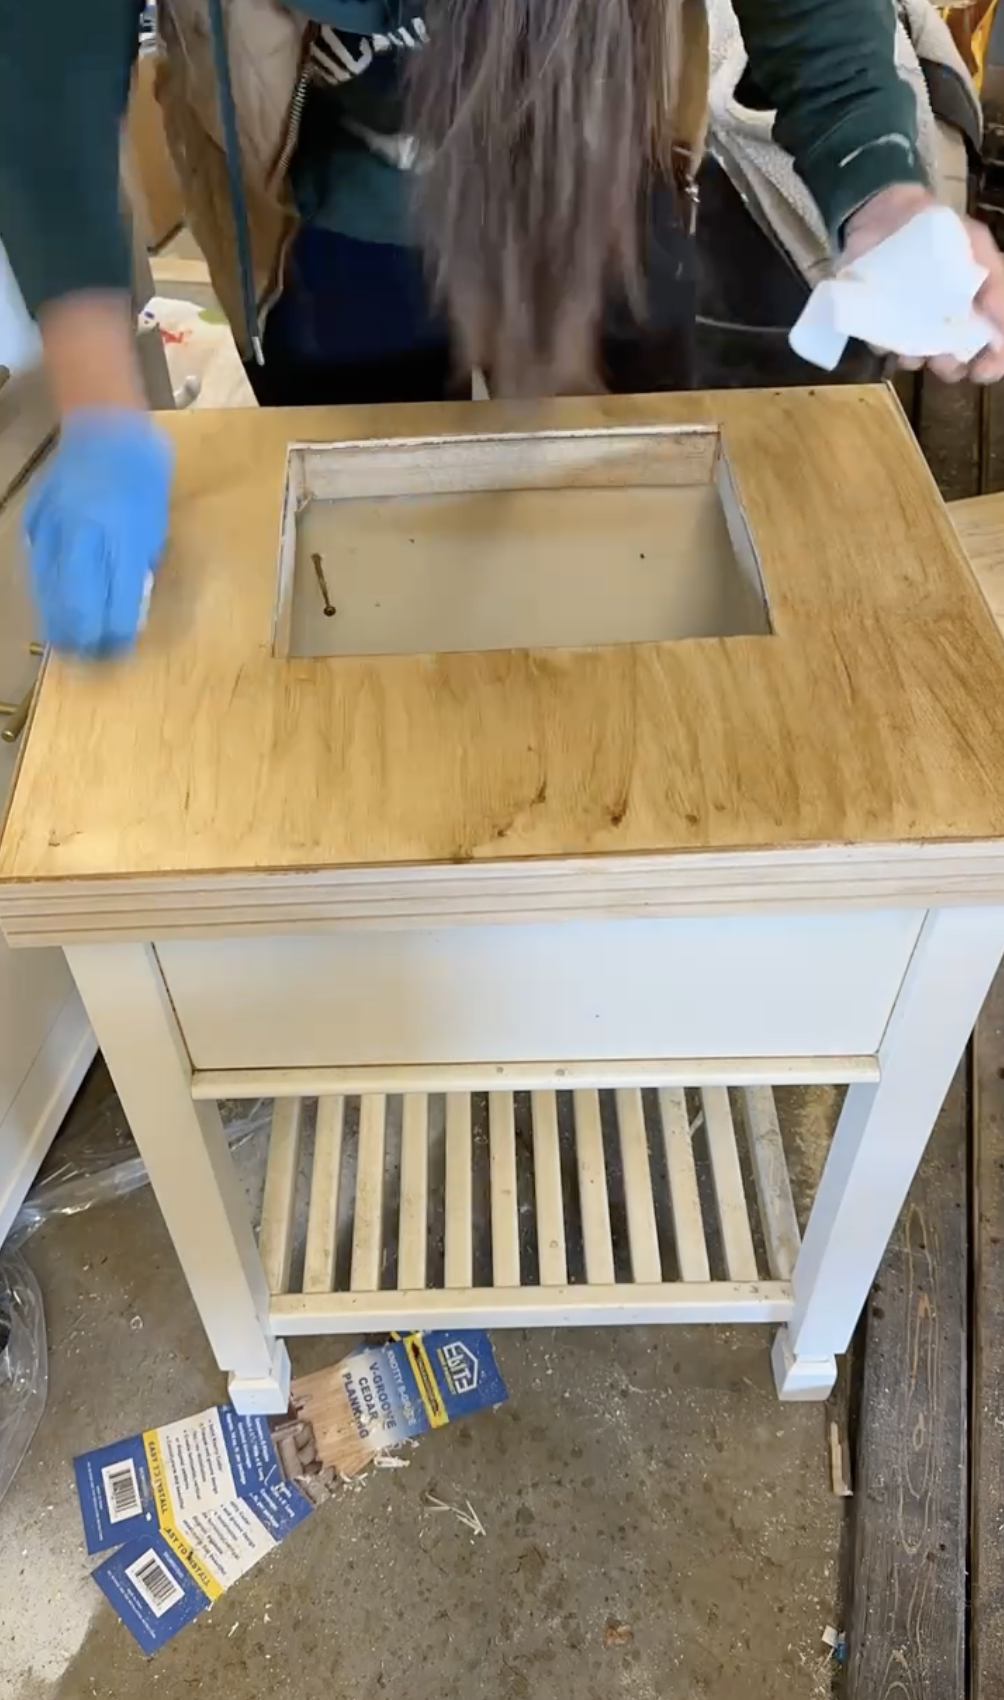

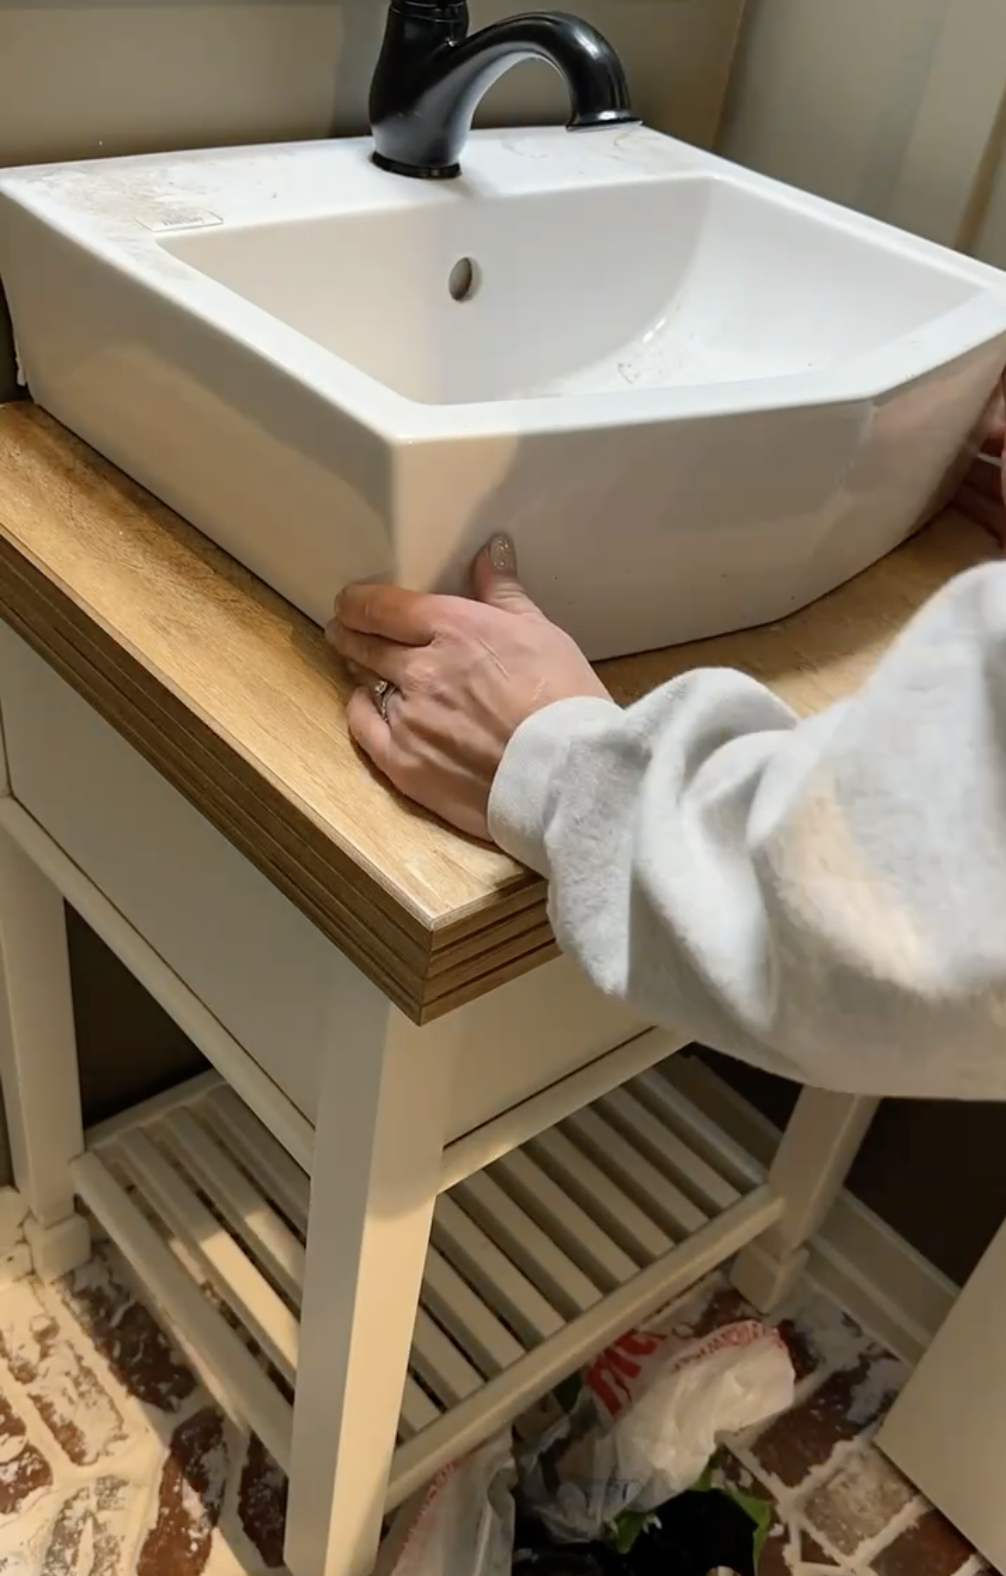
I updated my vanity to have my ideal countertop. I decided to keep this as cost effective as possible so I’m using my old vanity and refacing the countertop with scraps I have on hand (1×4” plywood and pole wrap).
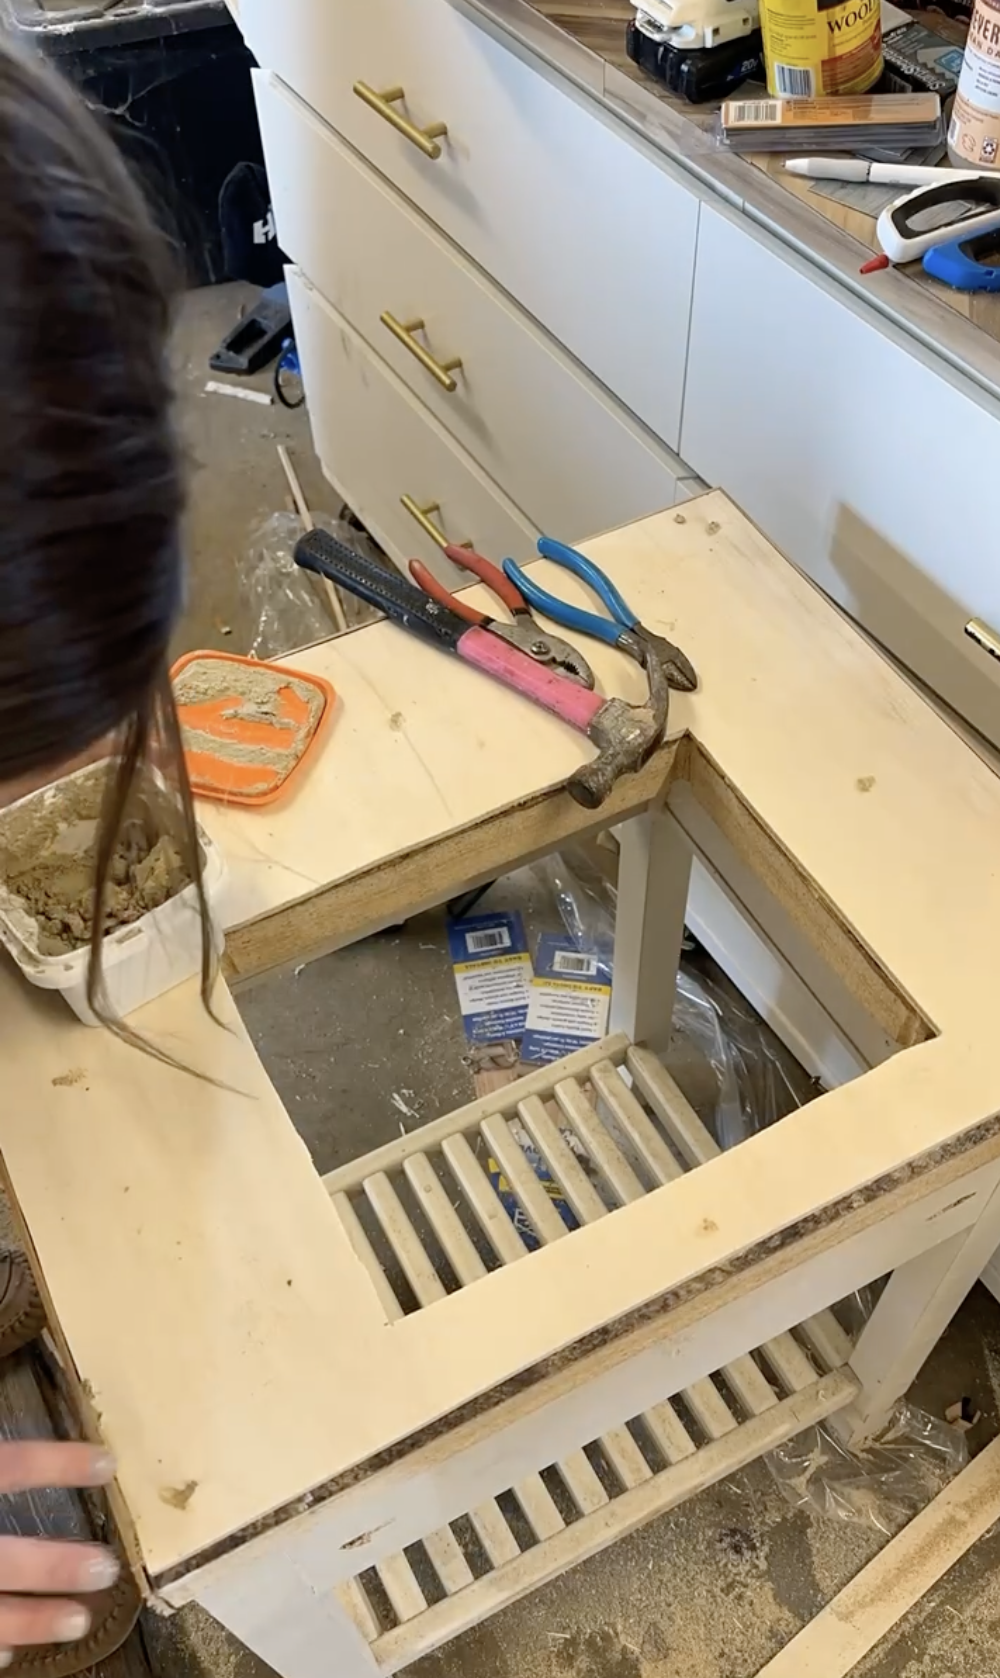
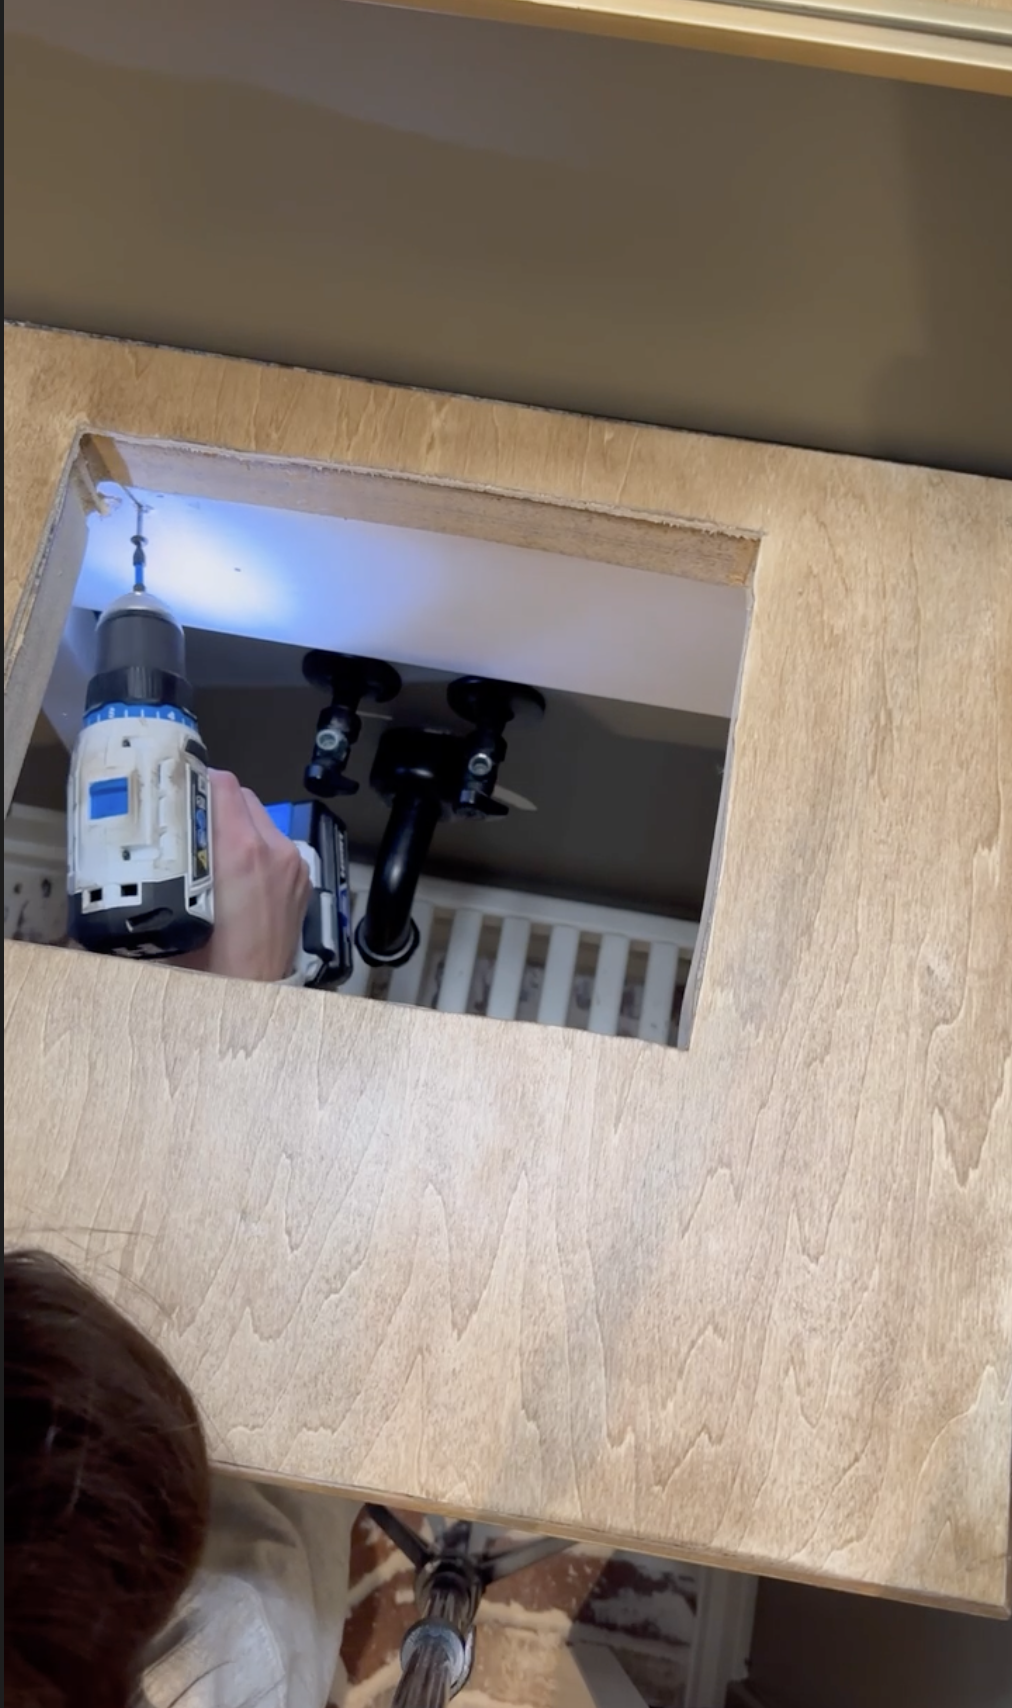
Step 1: Cut out wood down to the correct shape and make sure to cut a hole for the sink.
Step 2: Use wood glue and attach the 1/4 plywood to the top of the existing vanity counter. Nail down in place.
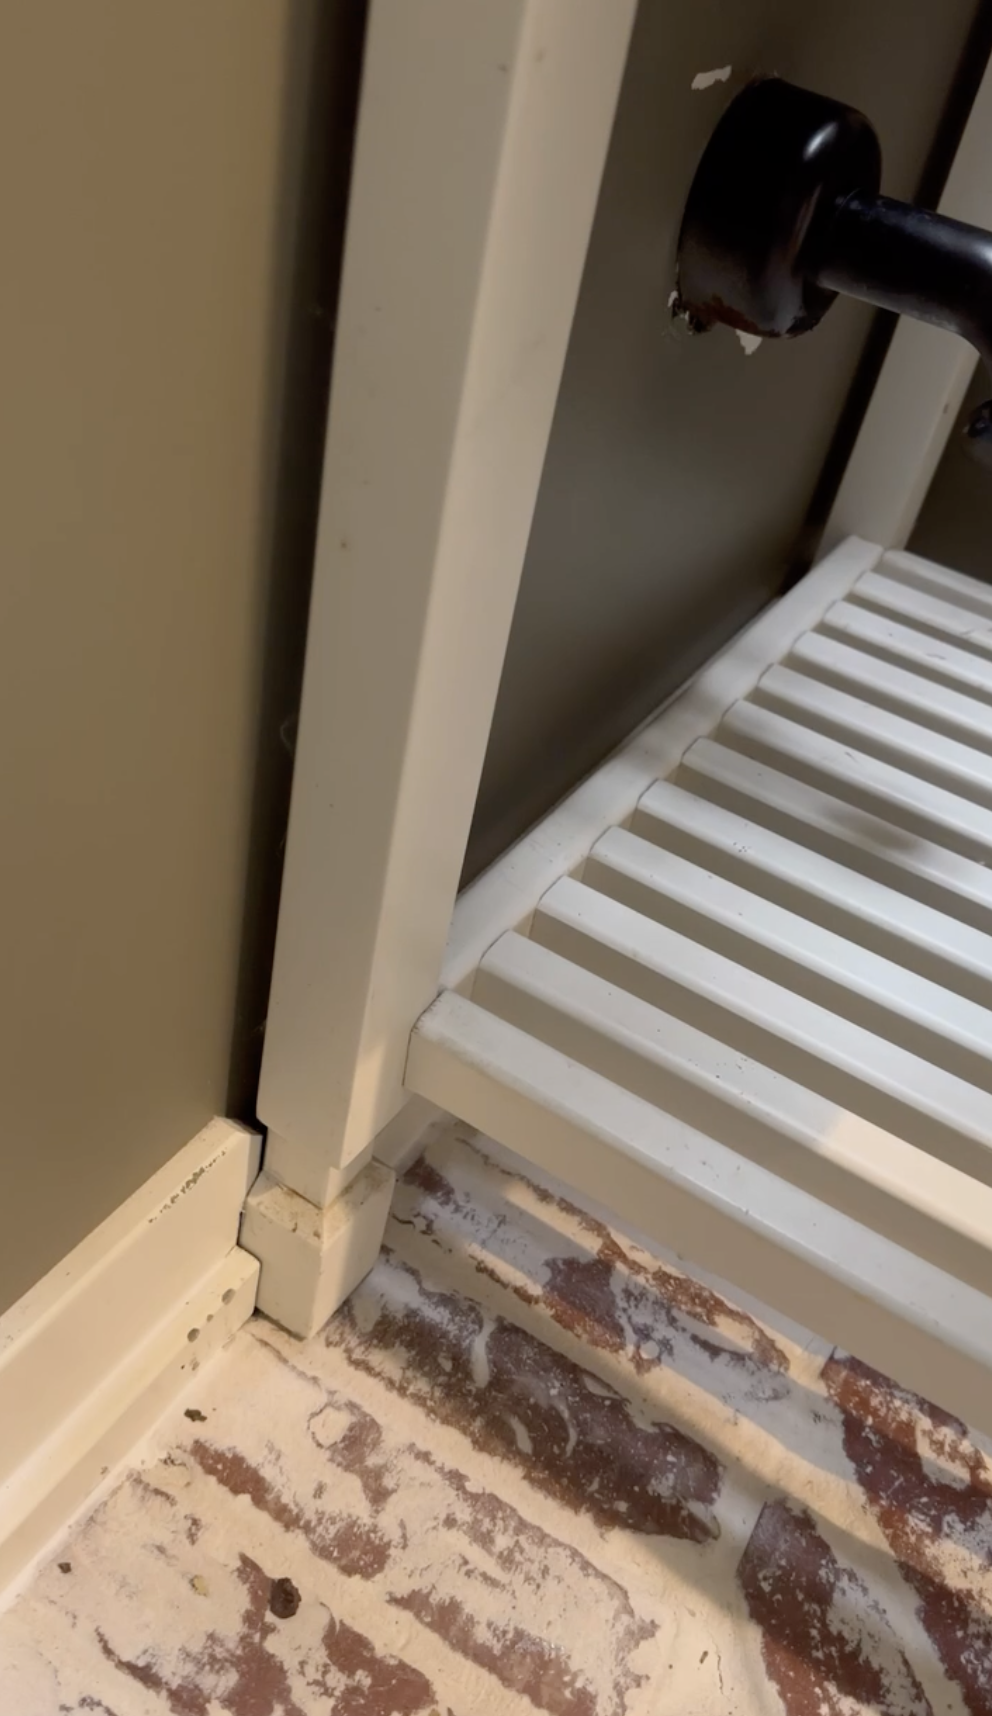
Step 3: Attach Pole wrap to the side of the vanity with wood glue and 1/2” Brad Nails. Note: I did cut the edges of the pole wrap at a 45 degree angle so that they were flush together.
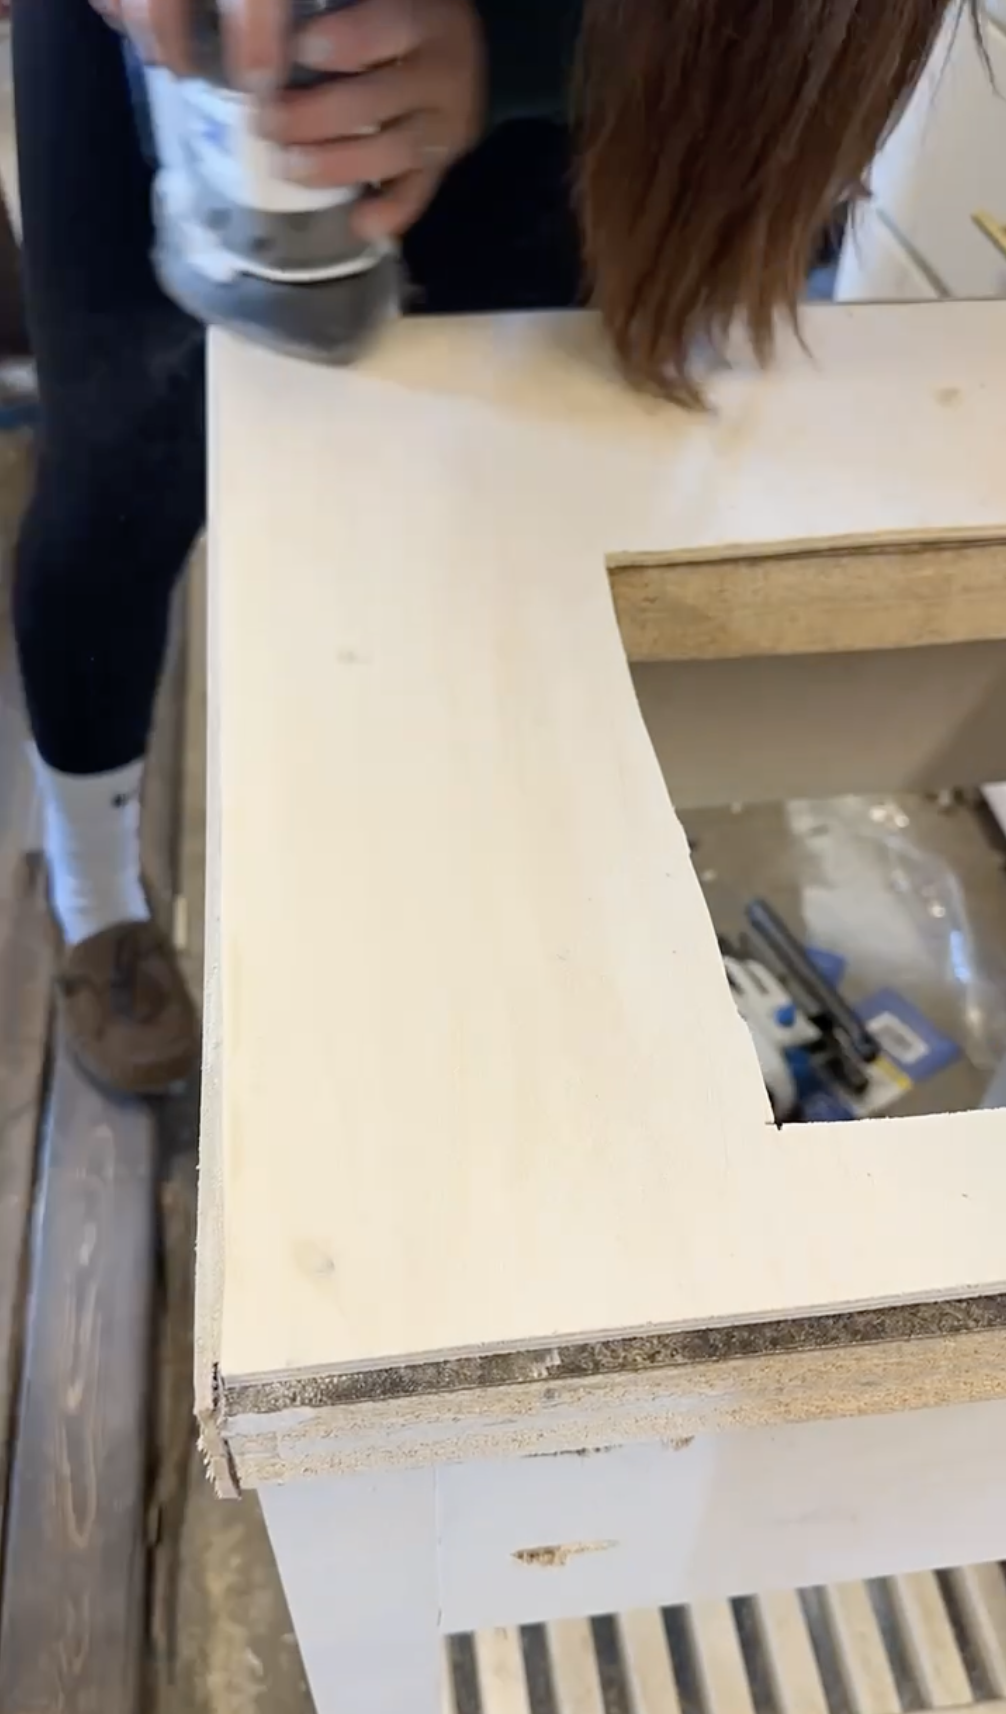
Step 4: Use wood filler to fill in the holes.
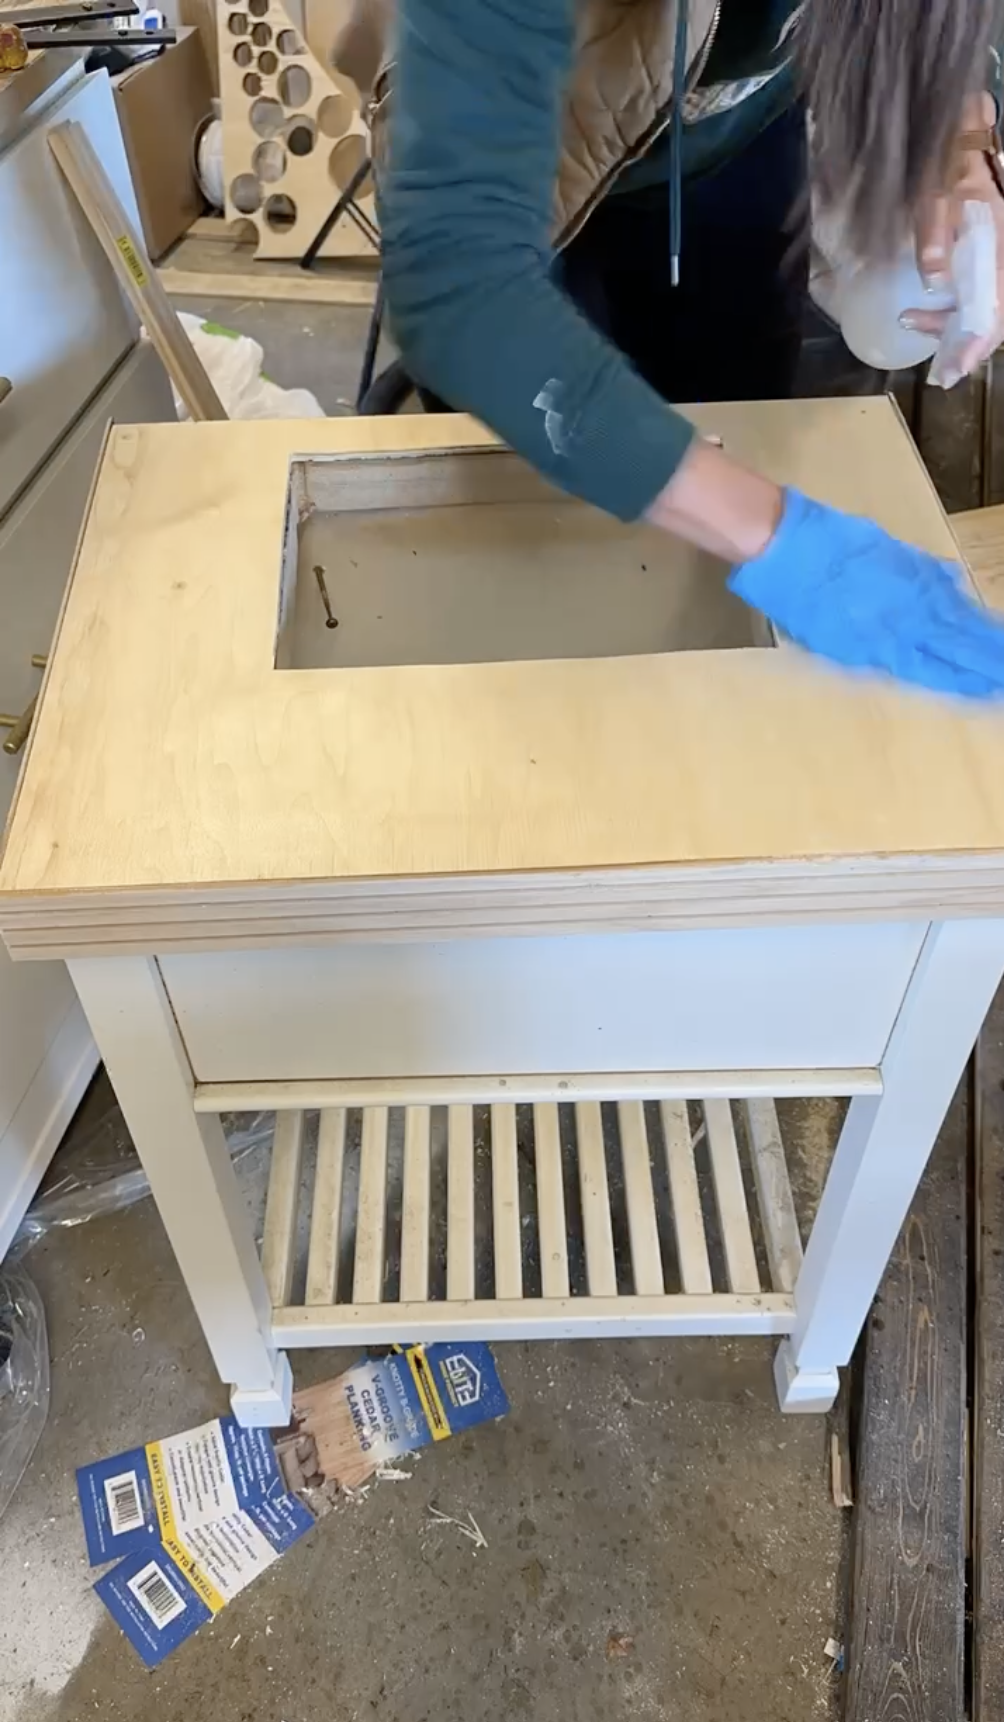
Step 5: Sand down the top piece of plywood.
Step 6: Spray with water first (this allows me to control how much water gets absorbed into the wood). I can always add more stain if it’s too light. Let dry for 1 hour.
Step 7: Use Polyurethane to seal the wood.
Step 8: Paint the sink fixtures. I taped off and used a bag to cover the porcelain part of the sink so just the handle was exposed.
Step 9: Spray paint the faucet with one light coat of primer, 3 light coats of satin canyon black and one coat of satin clear enamel.


Comments