
Last Week we shared how our church just added on a wing for the kids program (the theme of “Everything outside”). I even build a full sized tree (liked here) which left the Faux Playhouse as the backdrop for the Stage as this week’s project.
The Details
Time Spent: 10 Hours
Skill Level: Beginner
Cost: $300
Tool List: Miter Saw, Laser Level, Ladder, Brad Nailer, Paint Brush, Roller
Materials List
-
2×4’s@10’ – two
-
1×2’s@8’ – 8
-
1×4’s@8’- 2
-
Paint- iron ore in Satin
-
Cedar Shingles
-
Caulk
-
Light- Amazon
-
Flower Box Supplies
Create the House shape
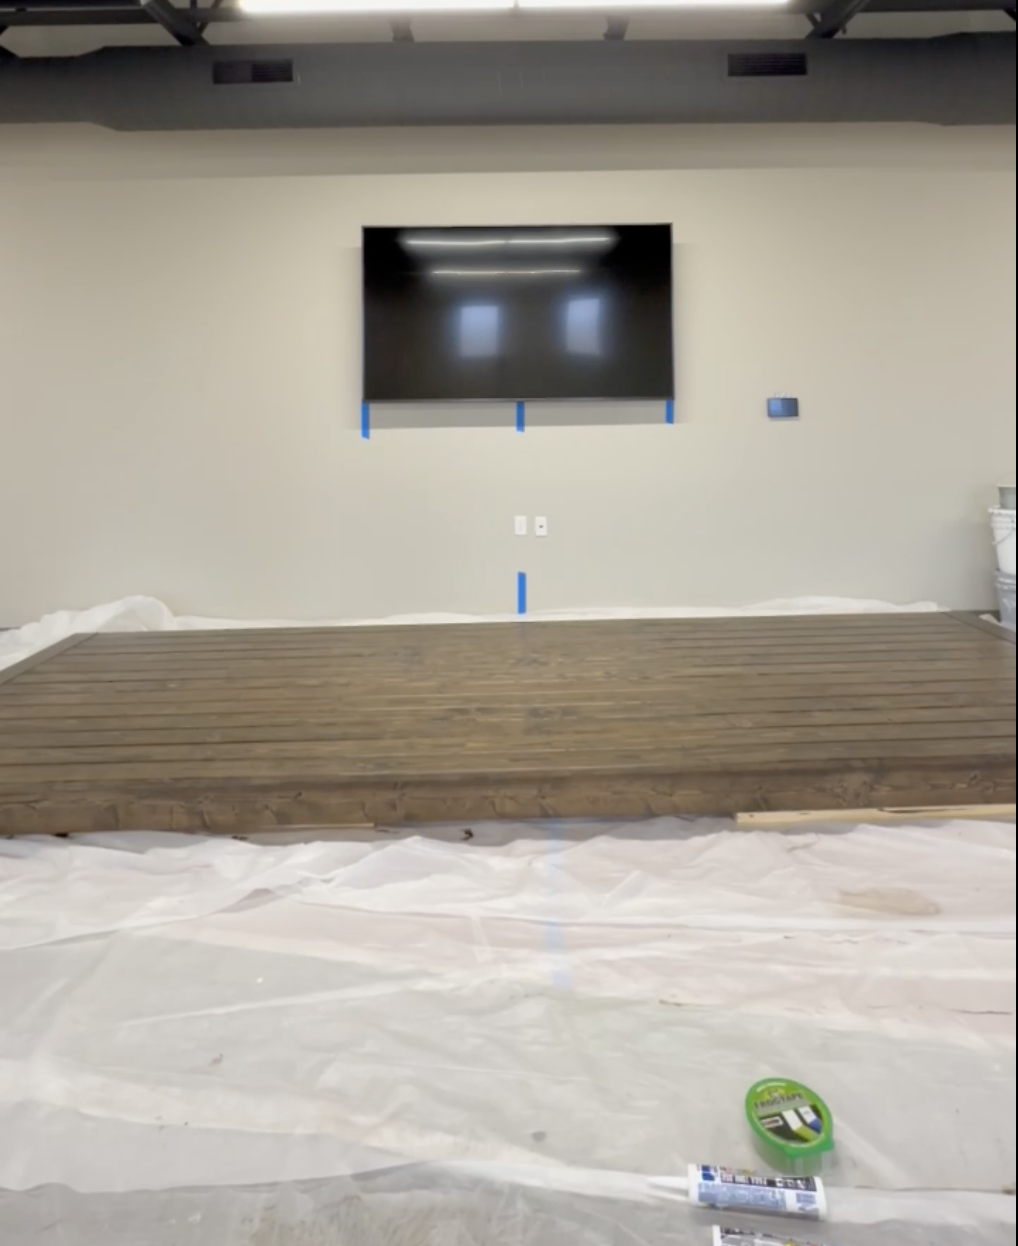
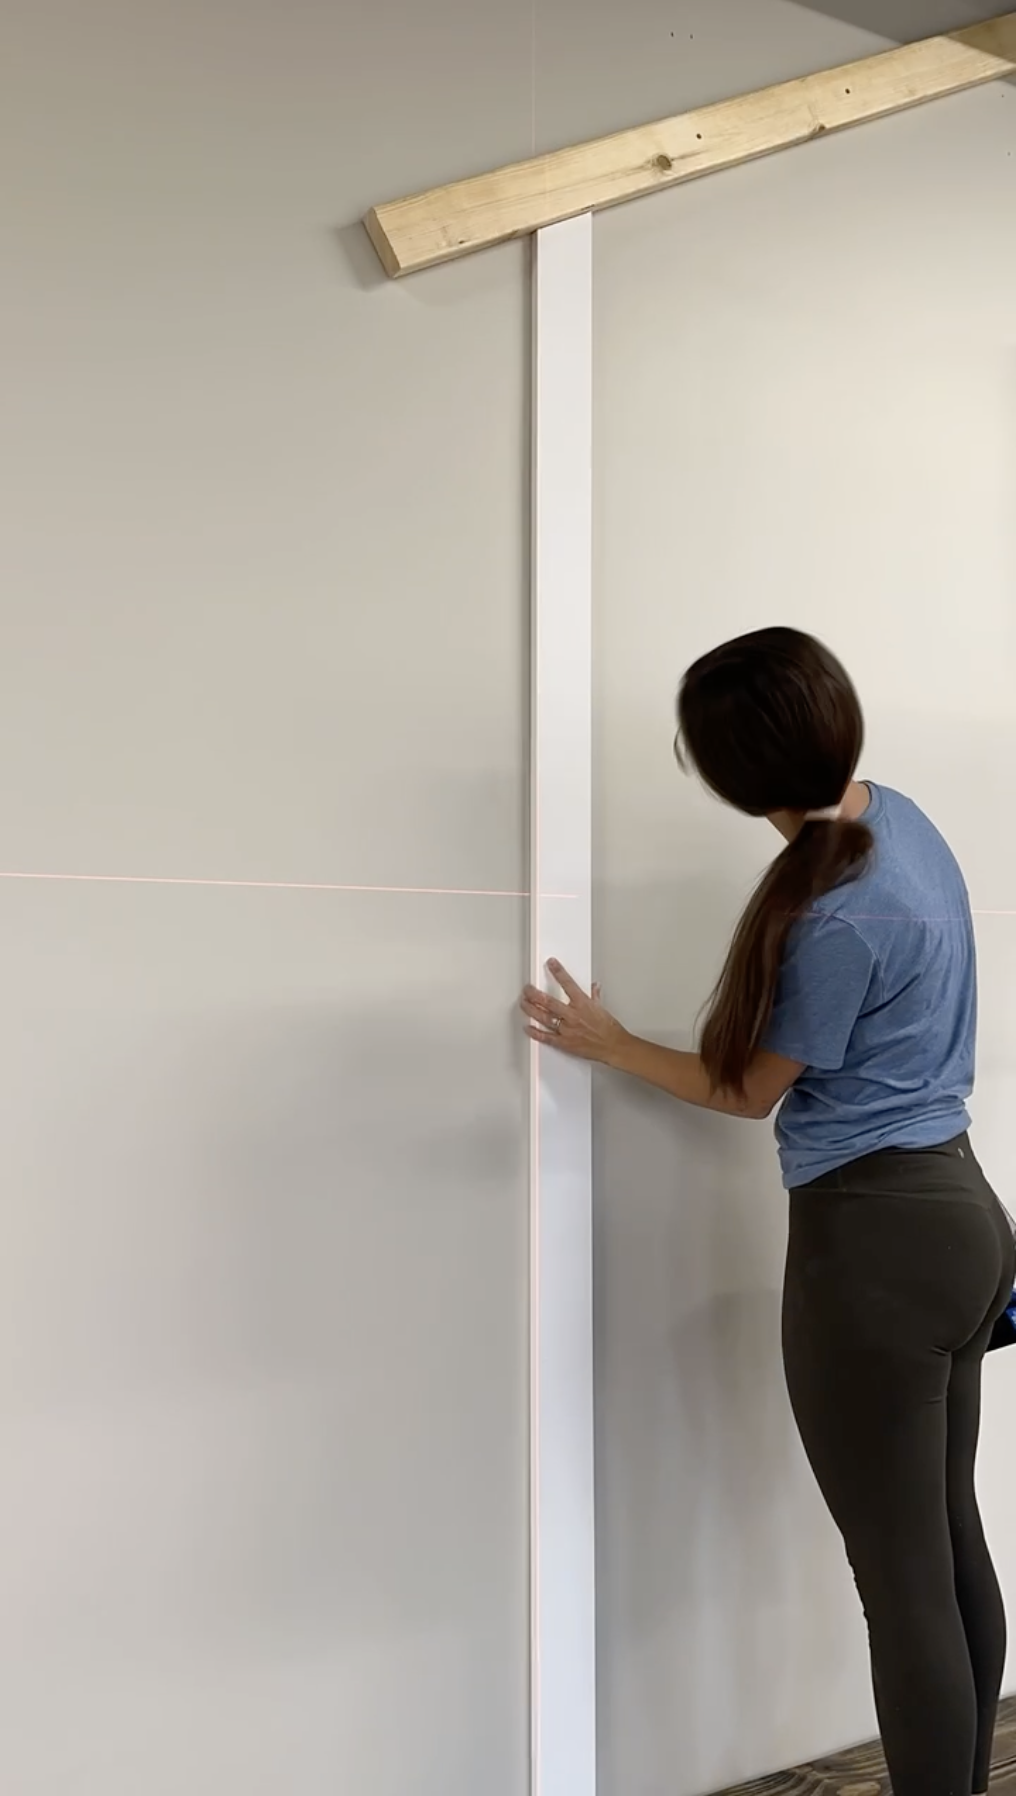
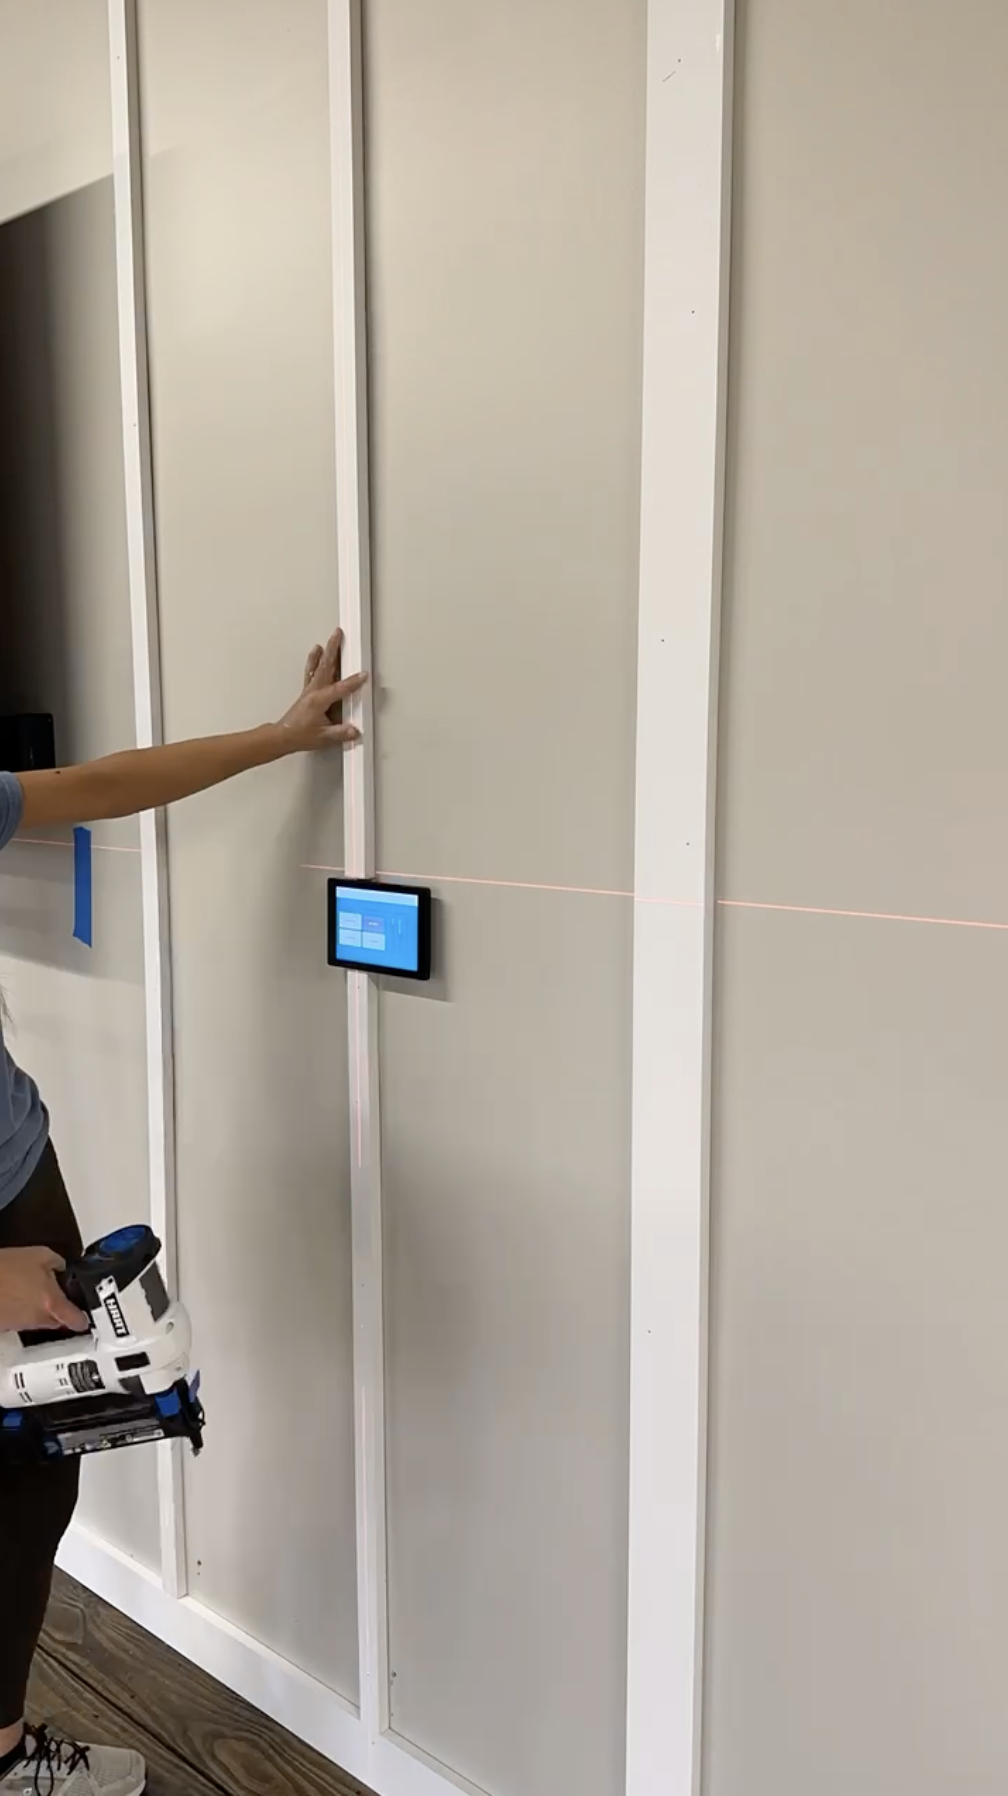
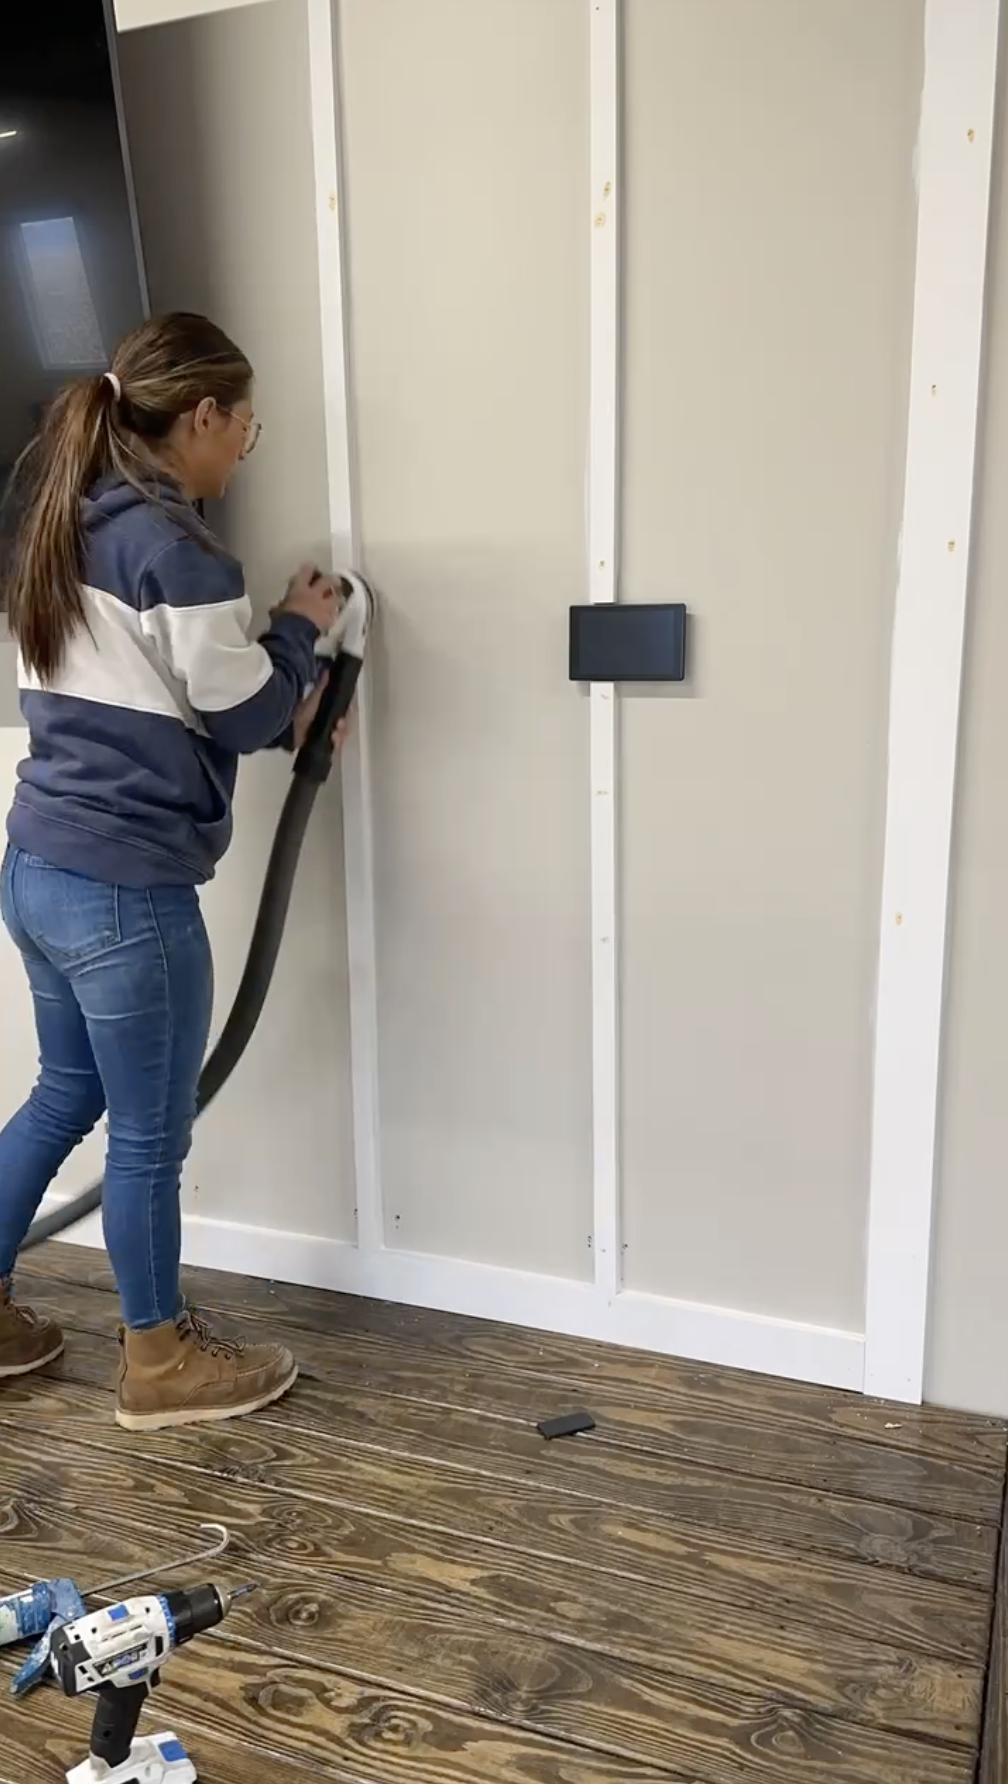
Step 1: Using tape, create a mockup on the wall for the general shape of the faux playhouse.
This will create a visual of where everything would go and to make sure it was centered on the TV.
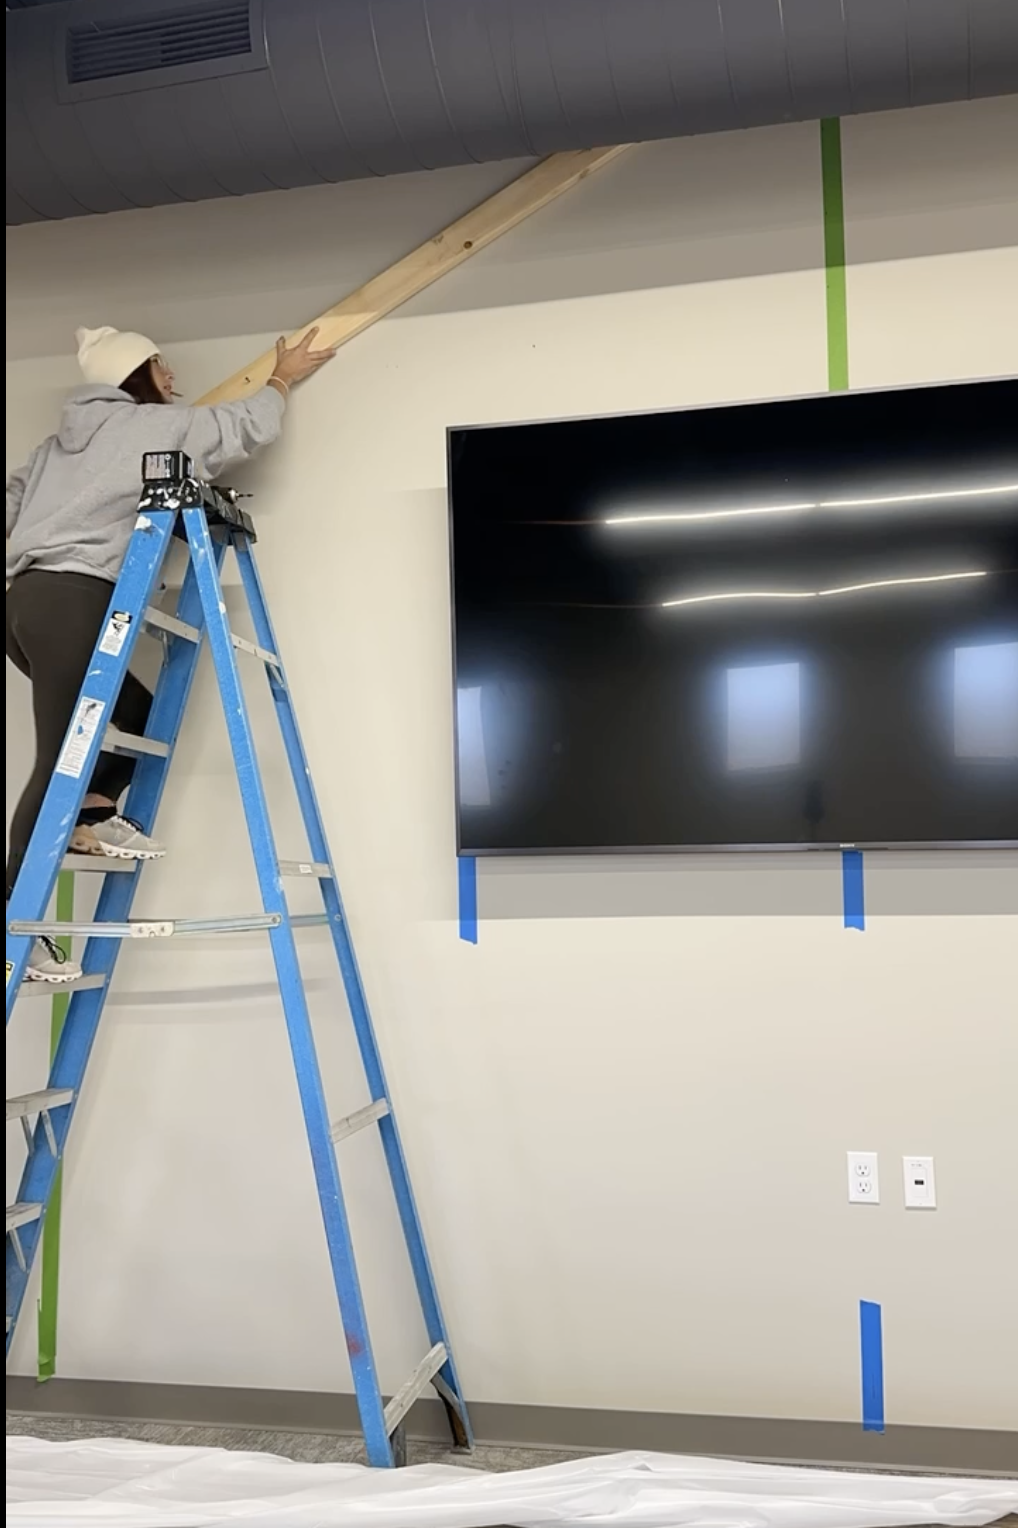
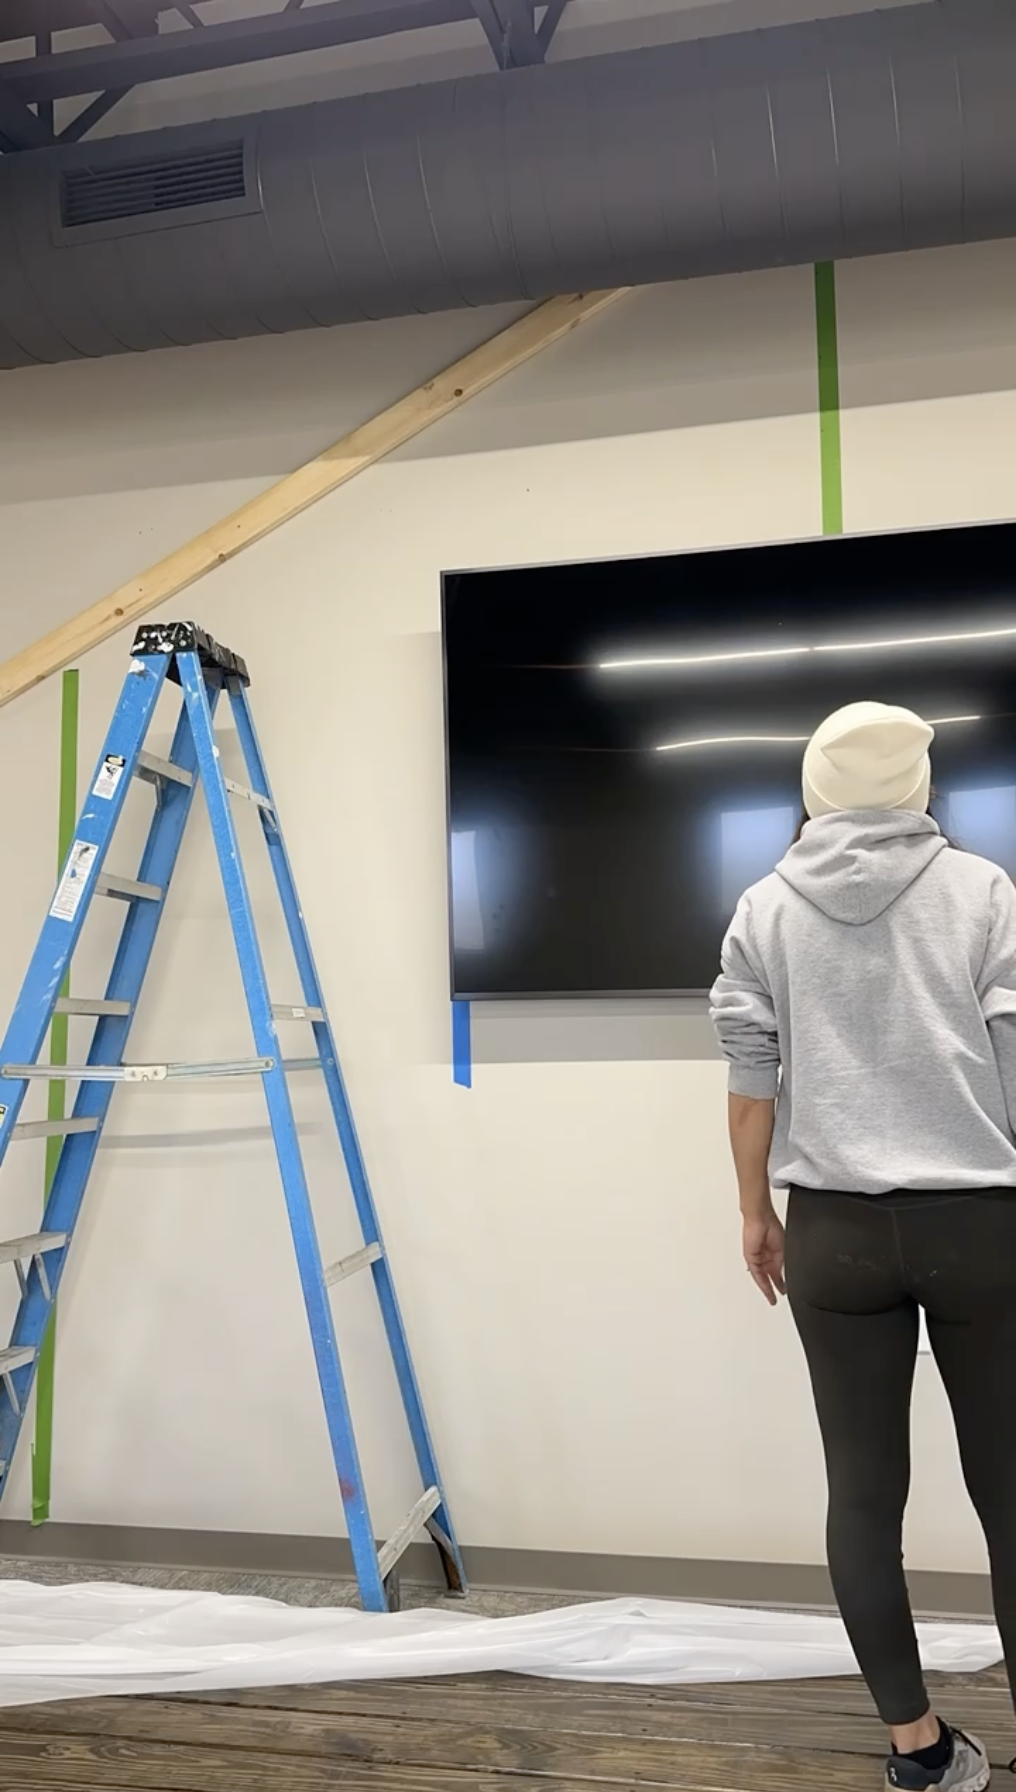
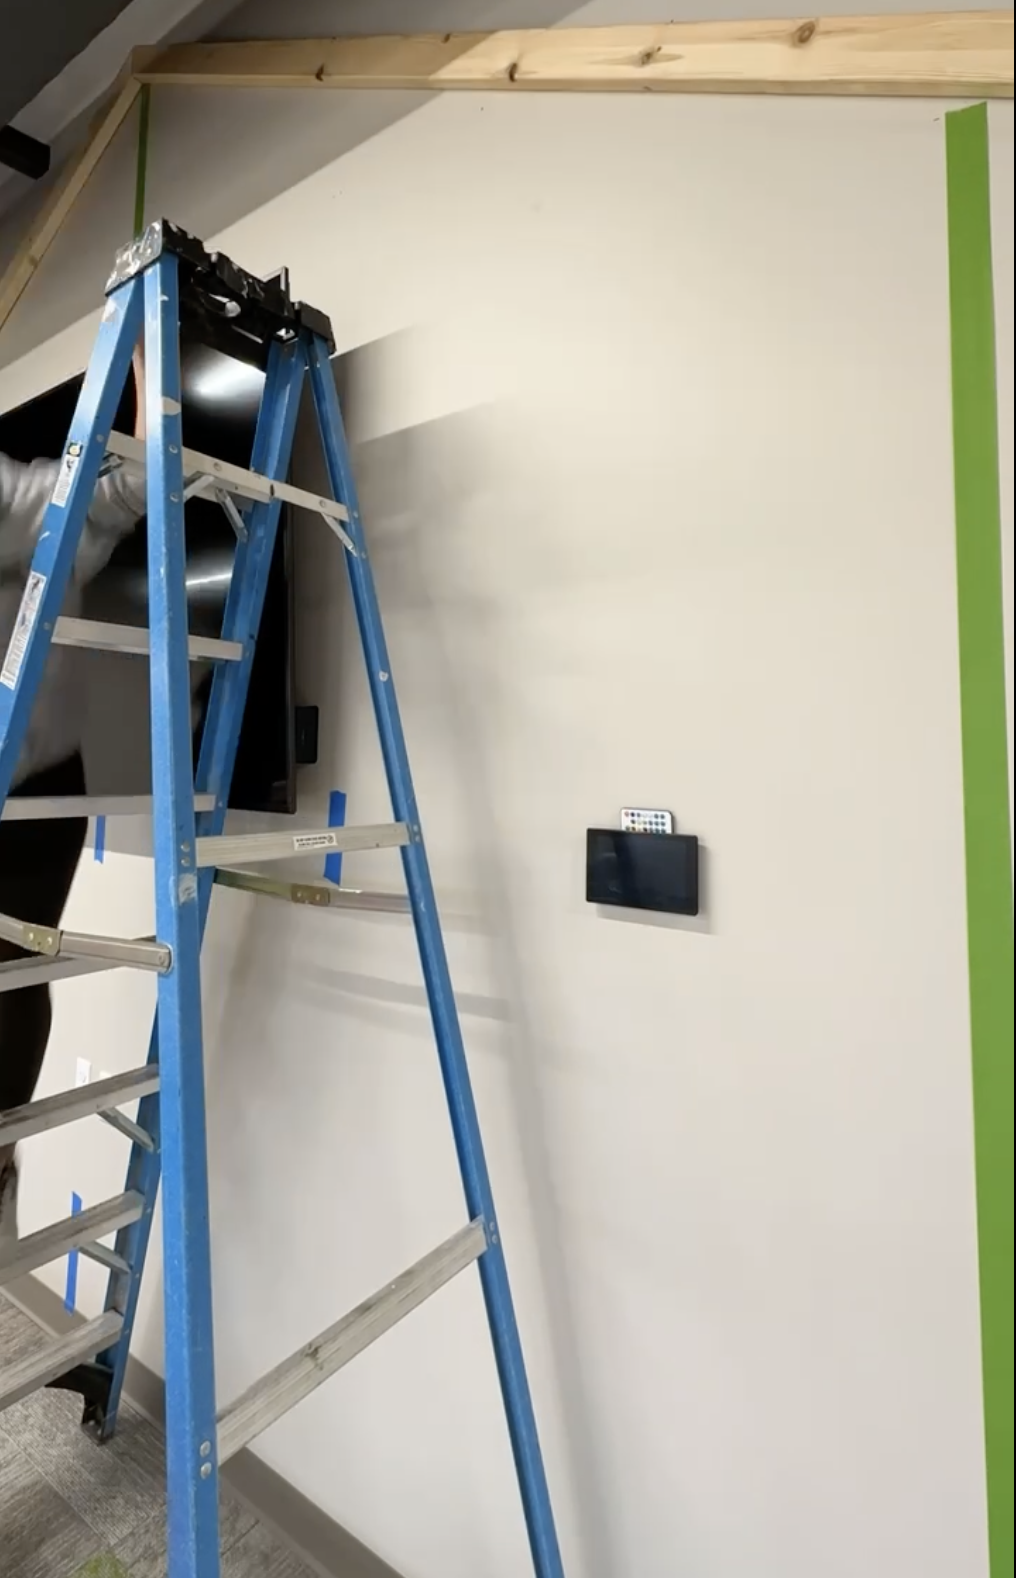
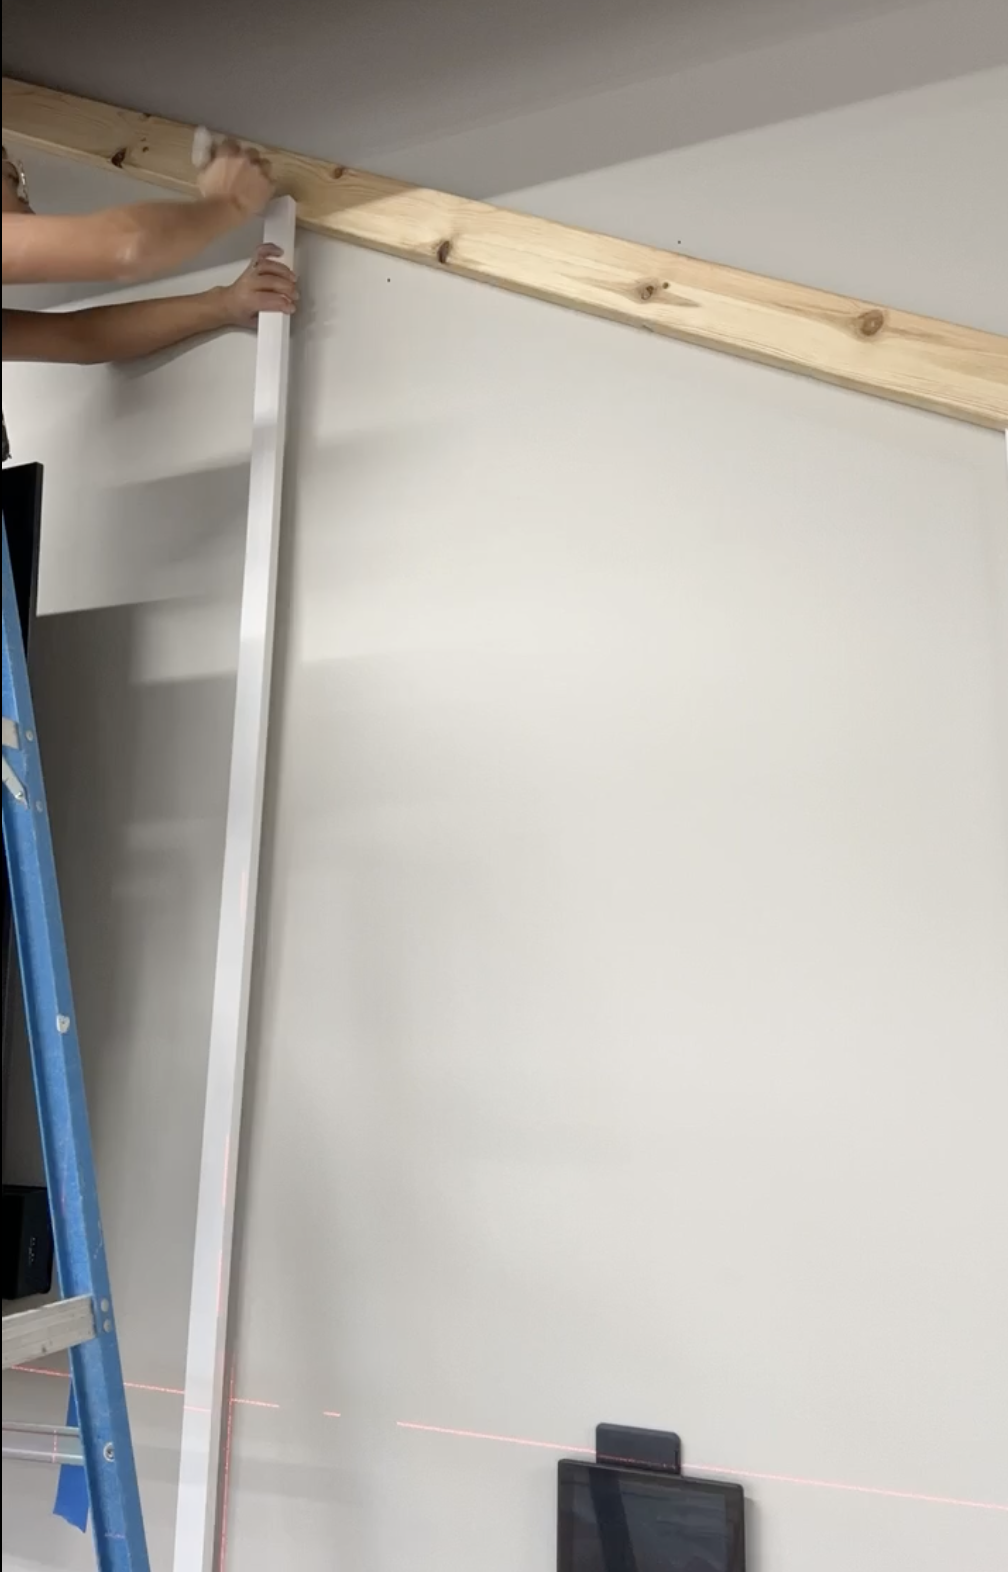
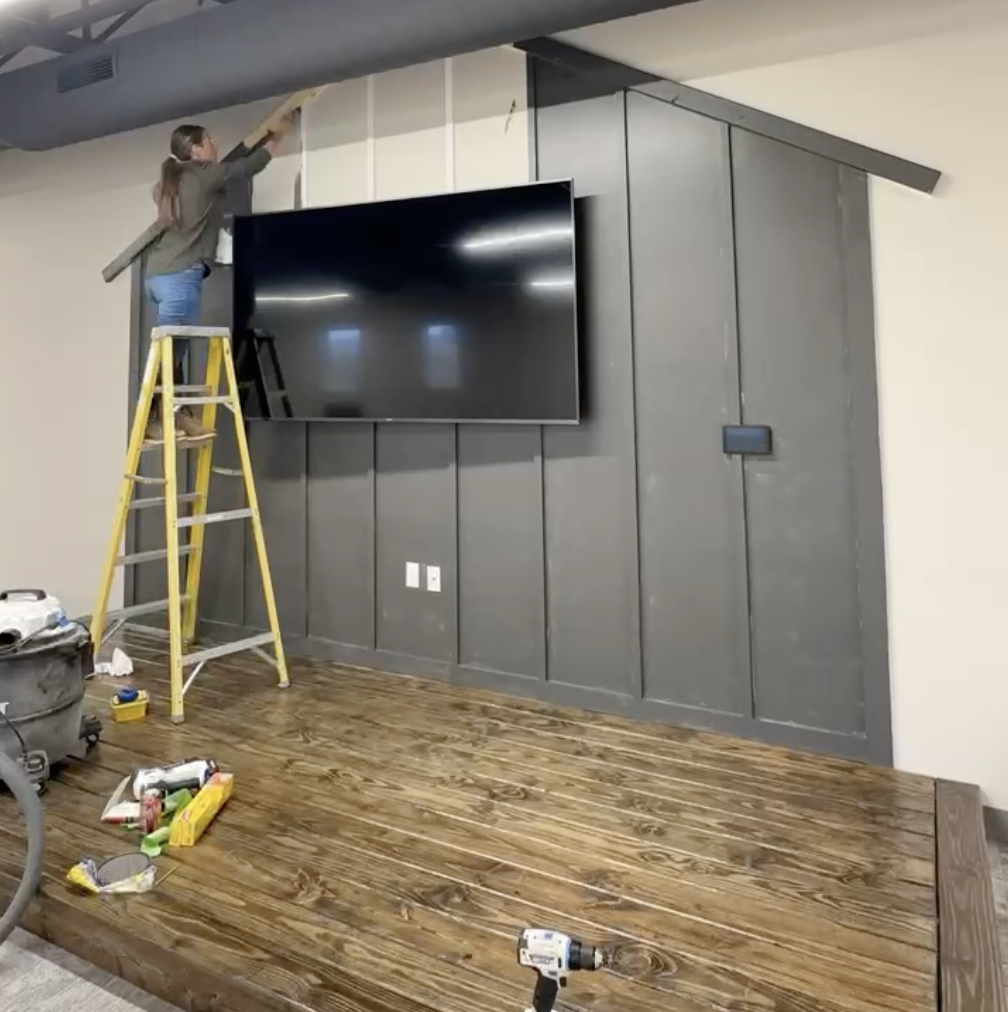
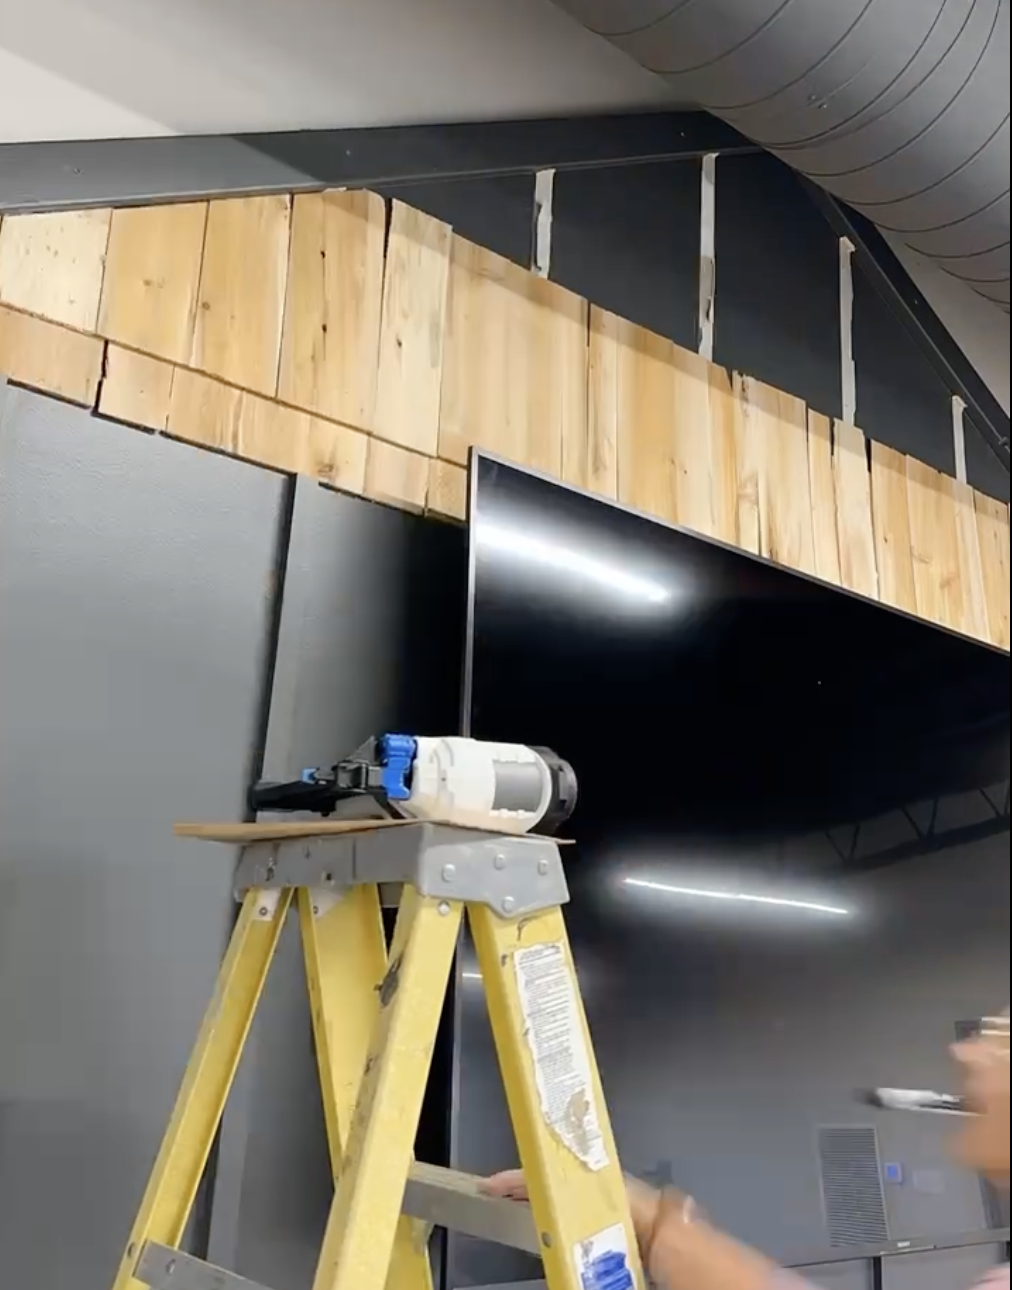
Step 2: Once I had the mockup on the wall. I attached the 2×4’s that would create the “roof”.
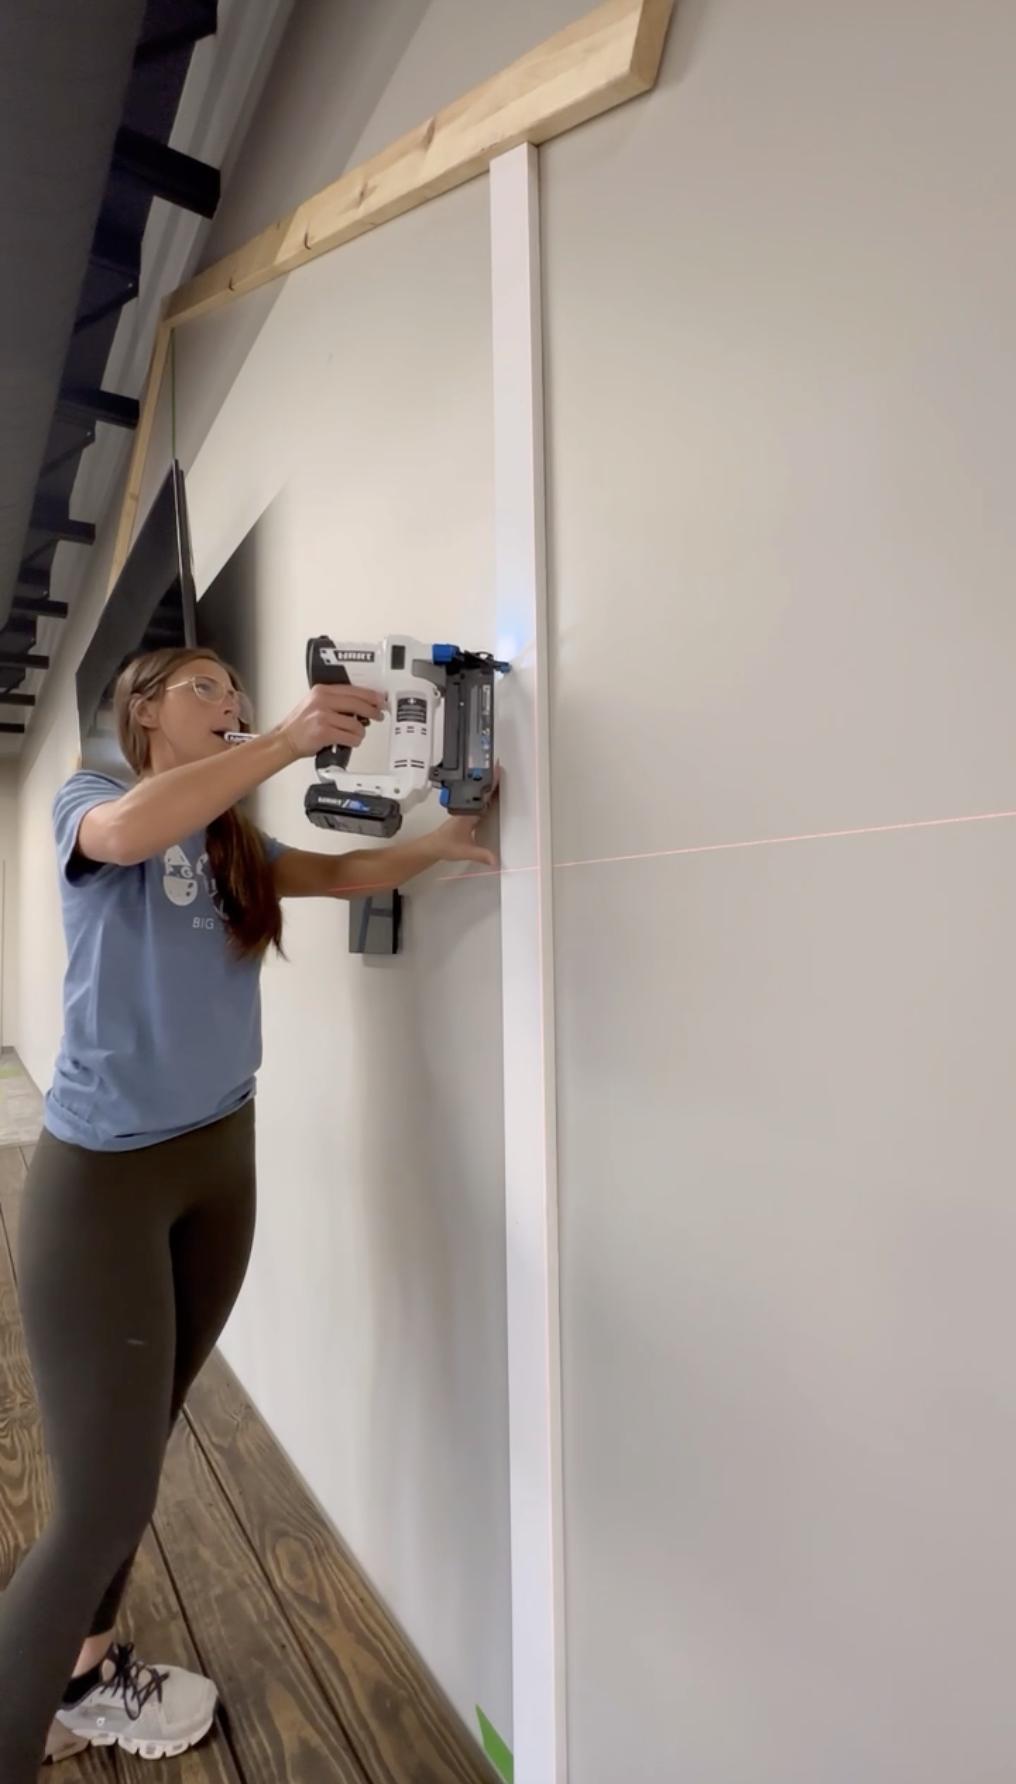
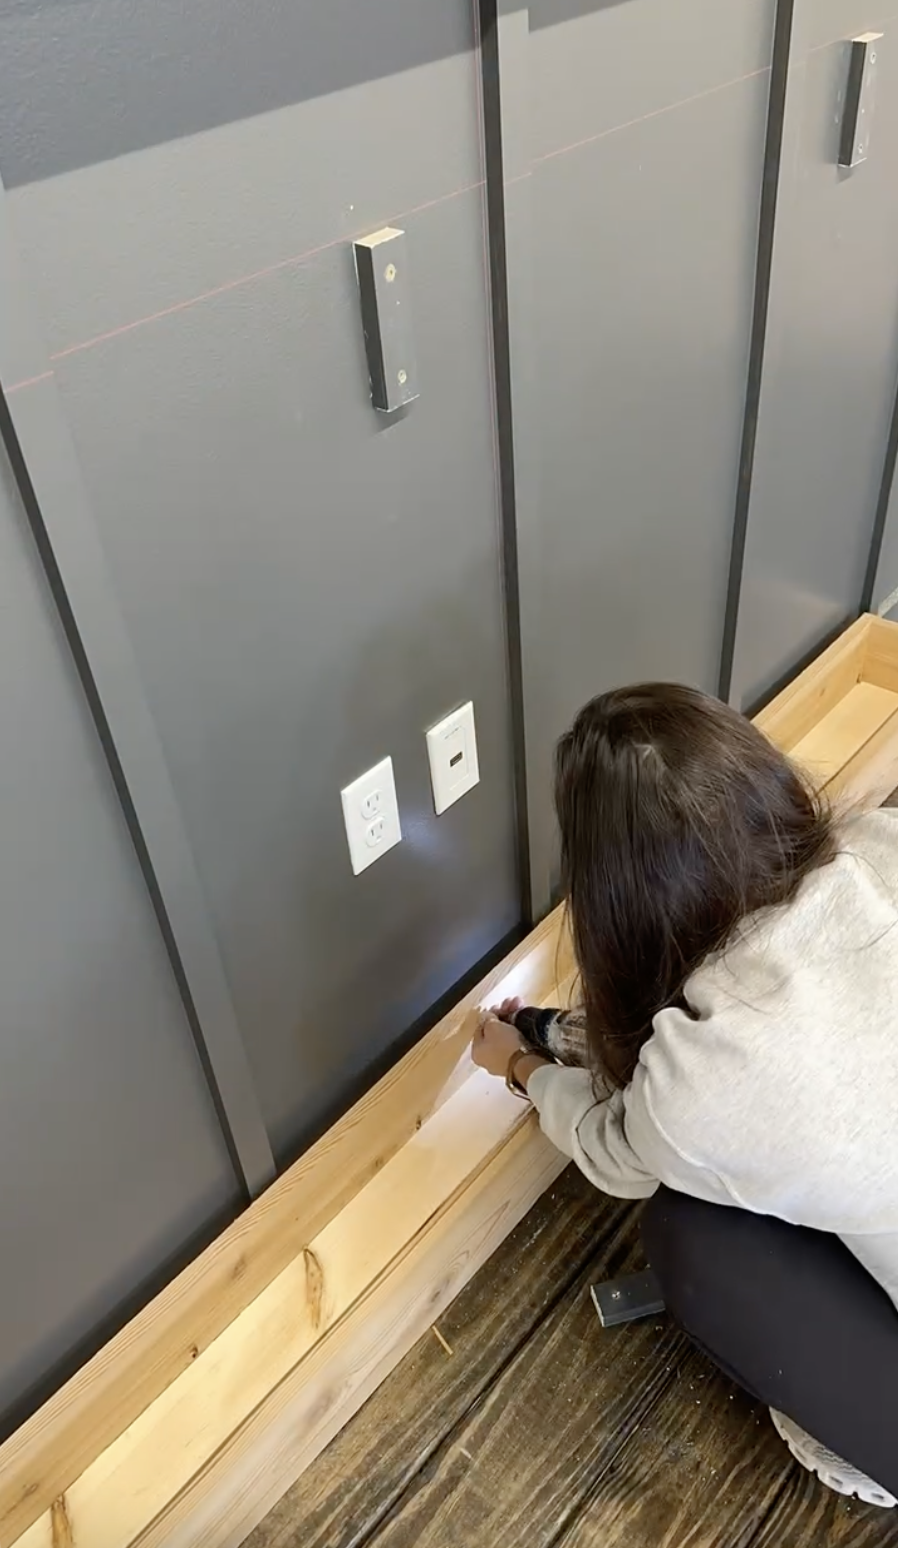
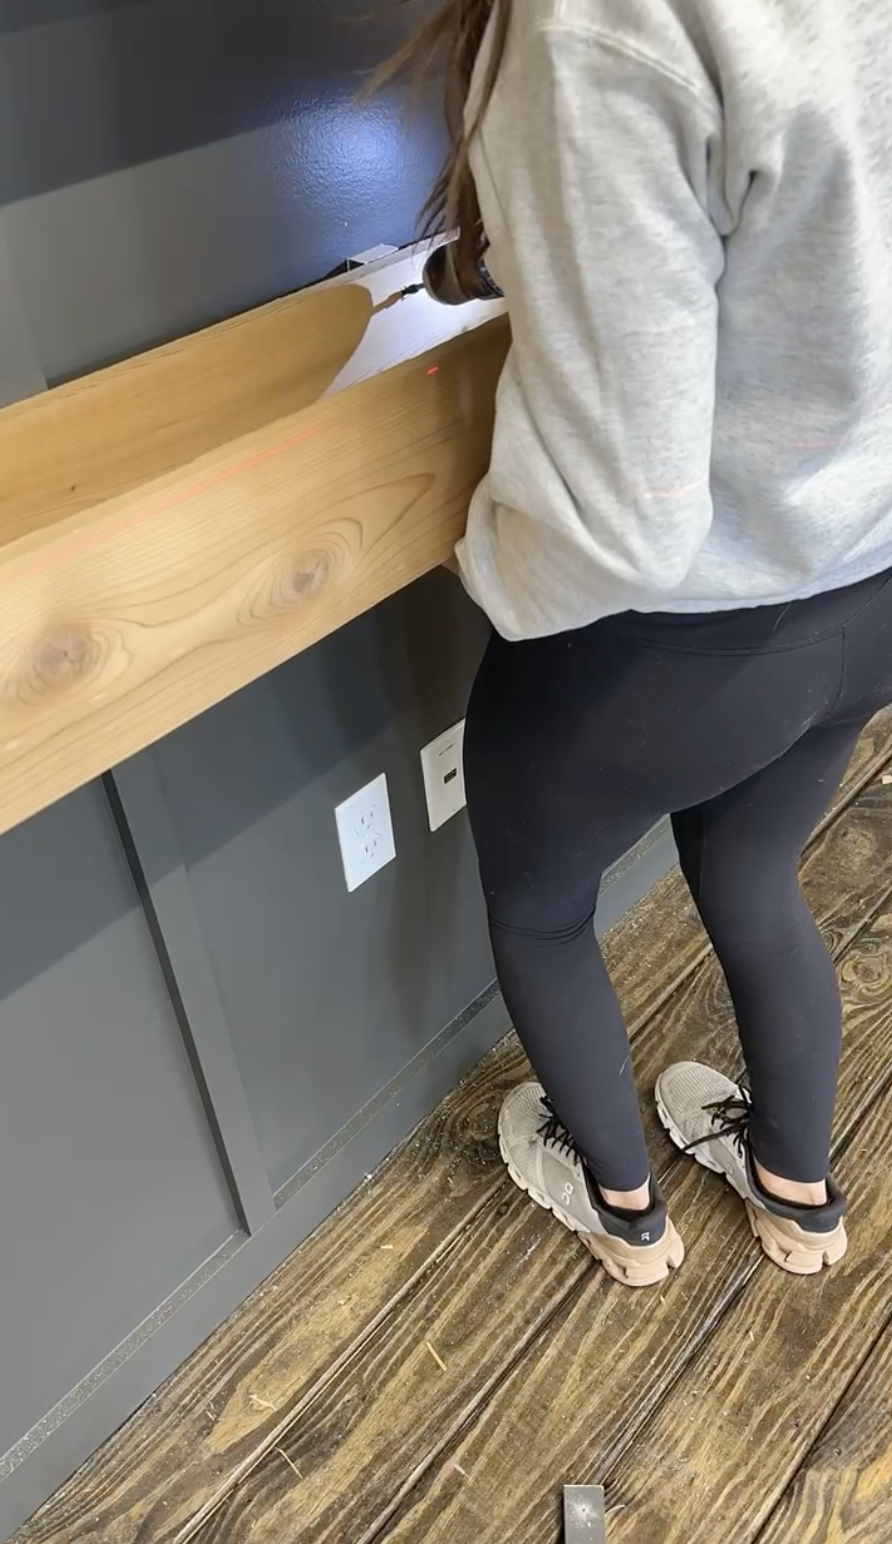
Step 3: I then added 1×4 size wood on the sides and as a baseboard of the house using a brad nailer and 1.5” 18G Brad nails.
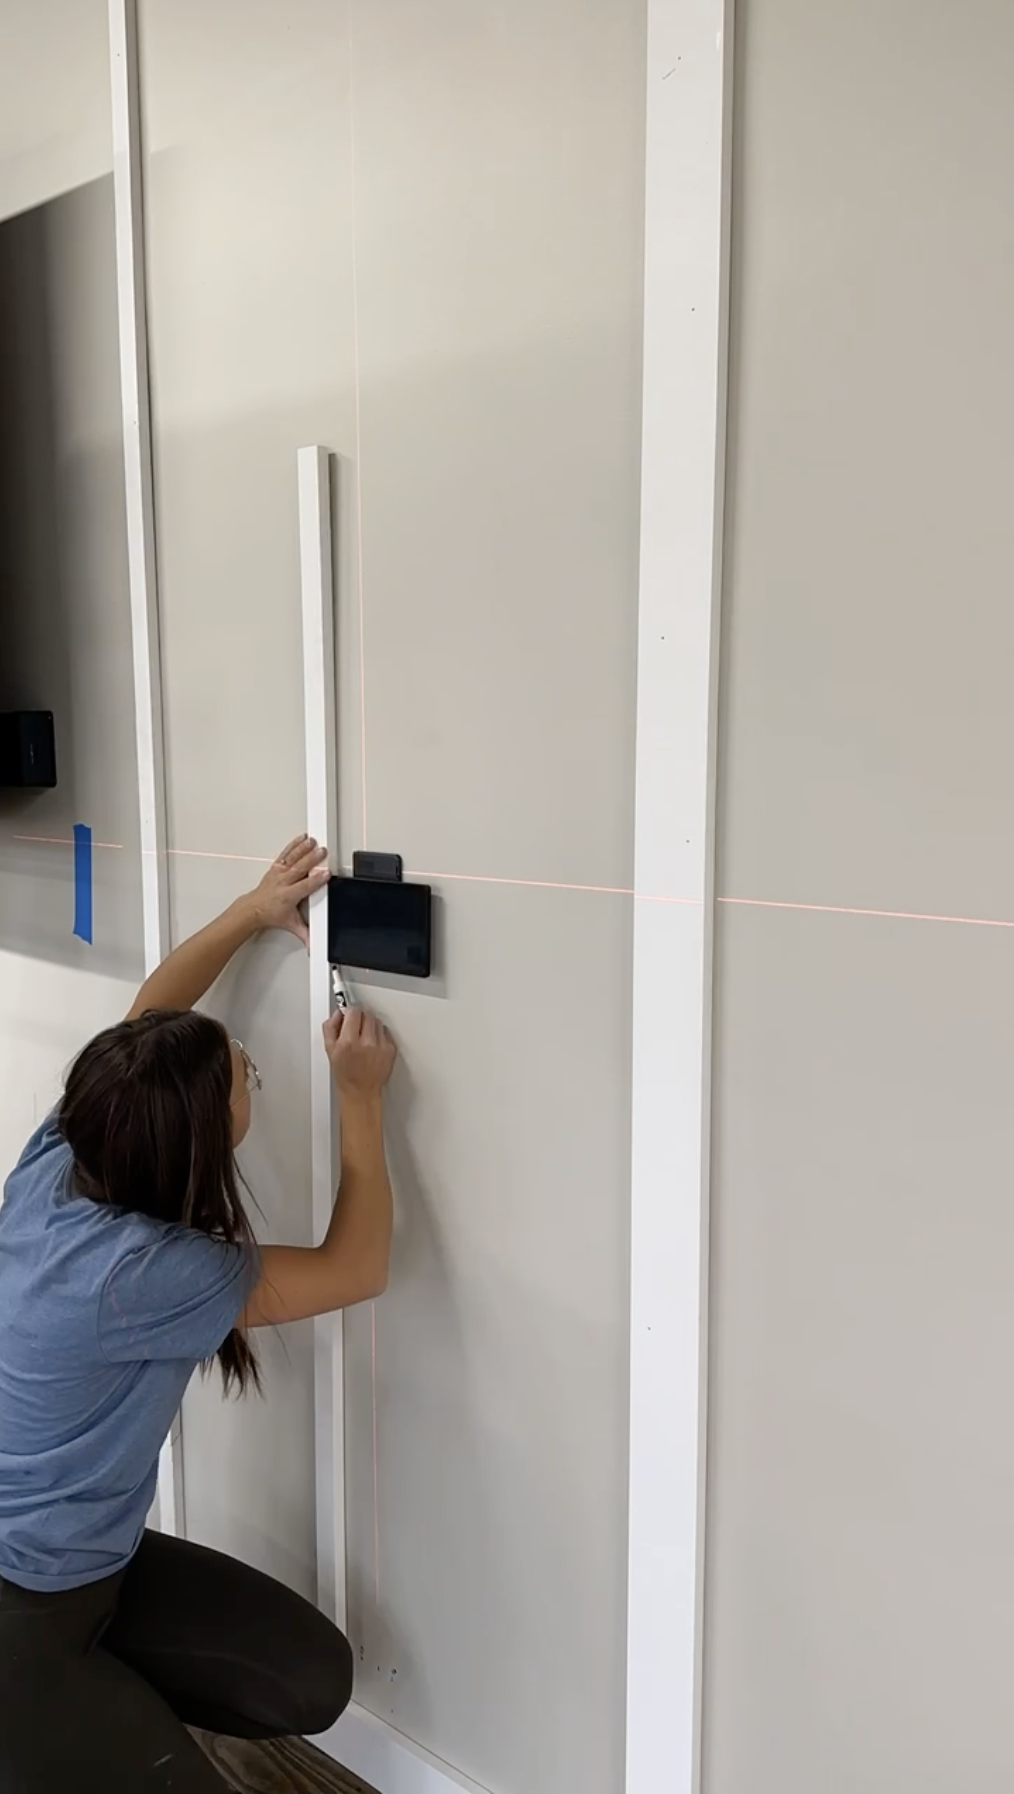
Step 4: Then I added 1×2 trim using 1.5” 18G Brad nails all the way across to add dimension.
Prep the House to be painted
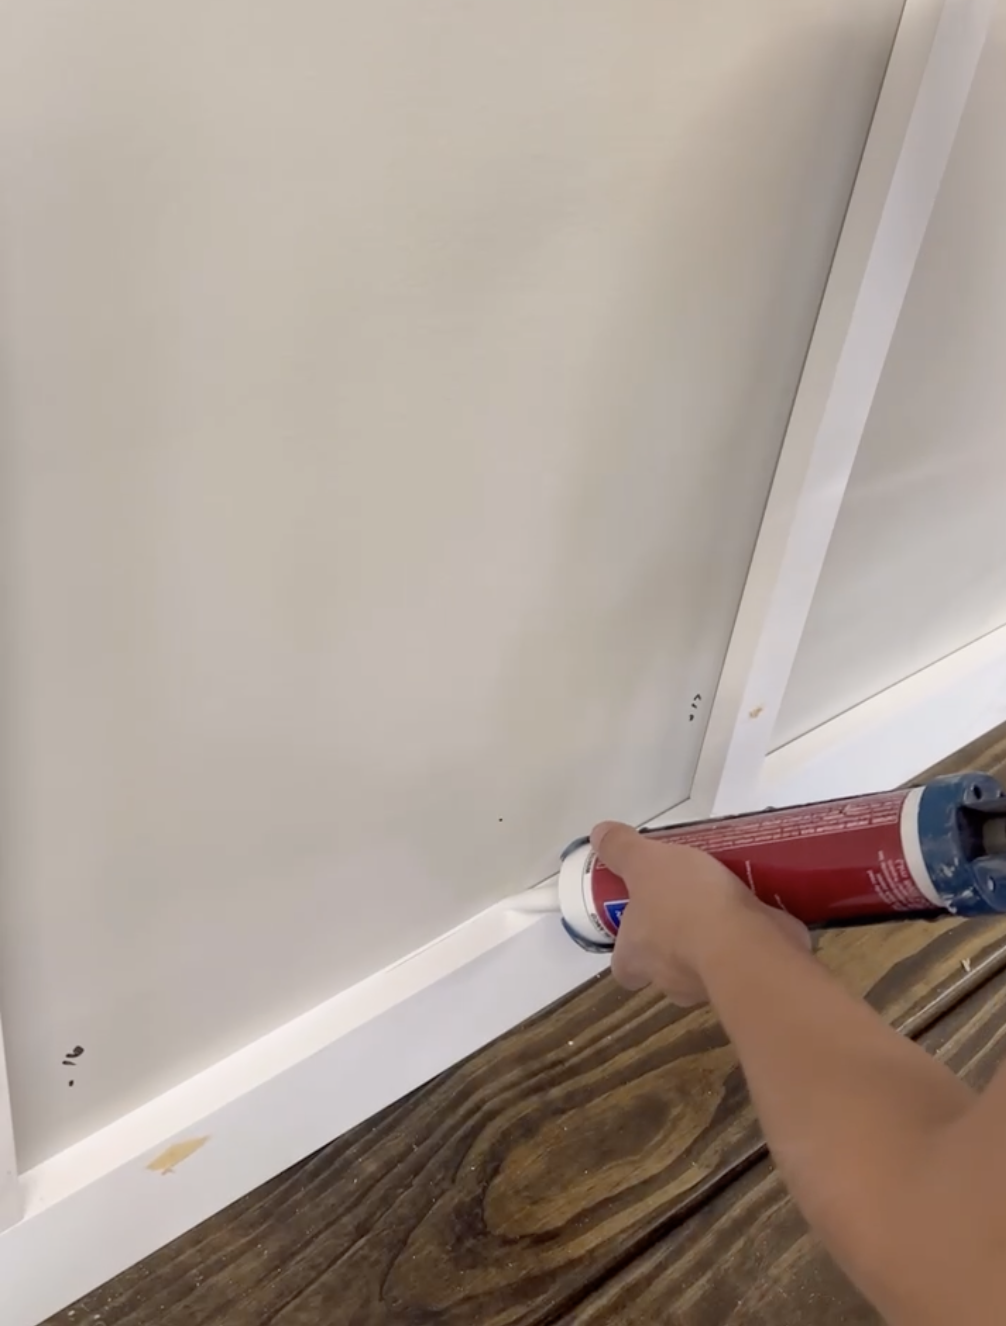
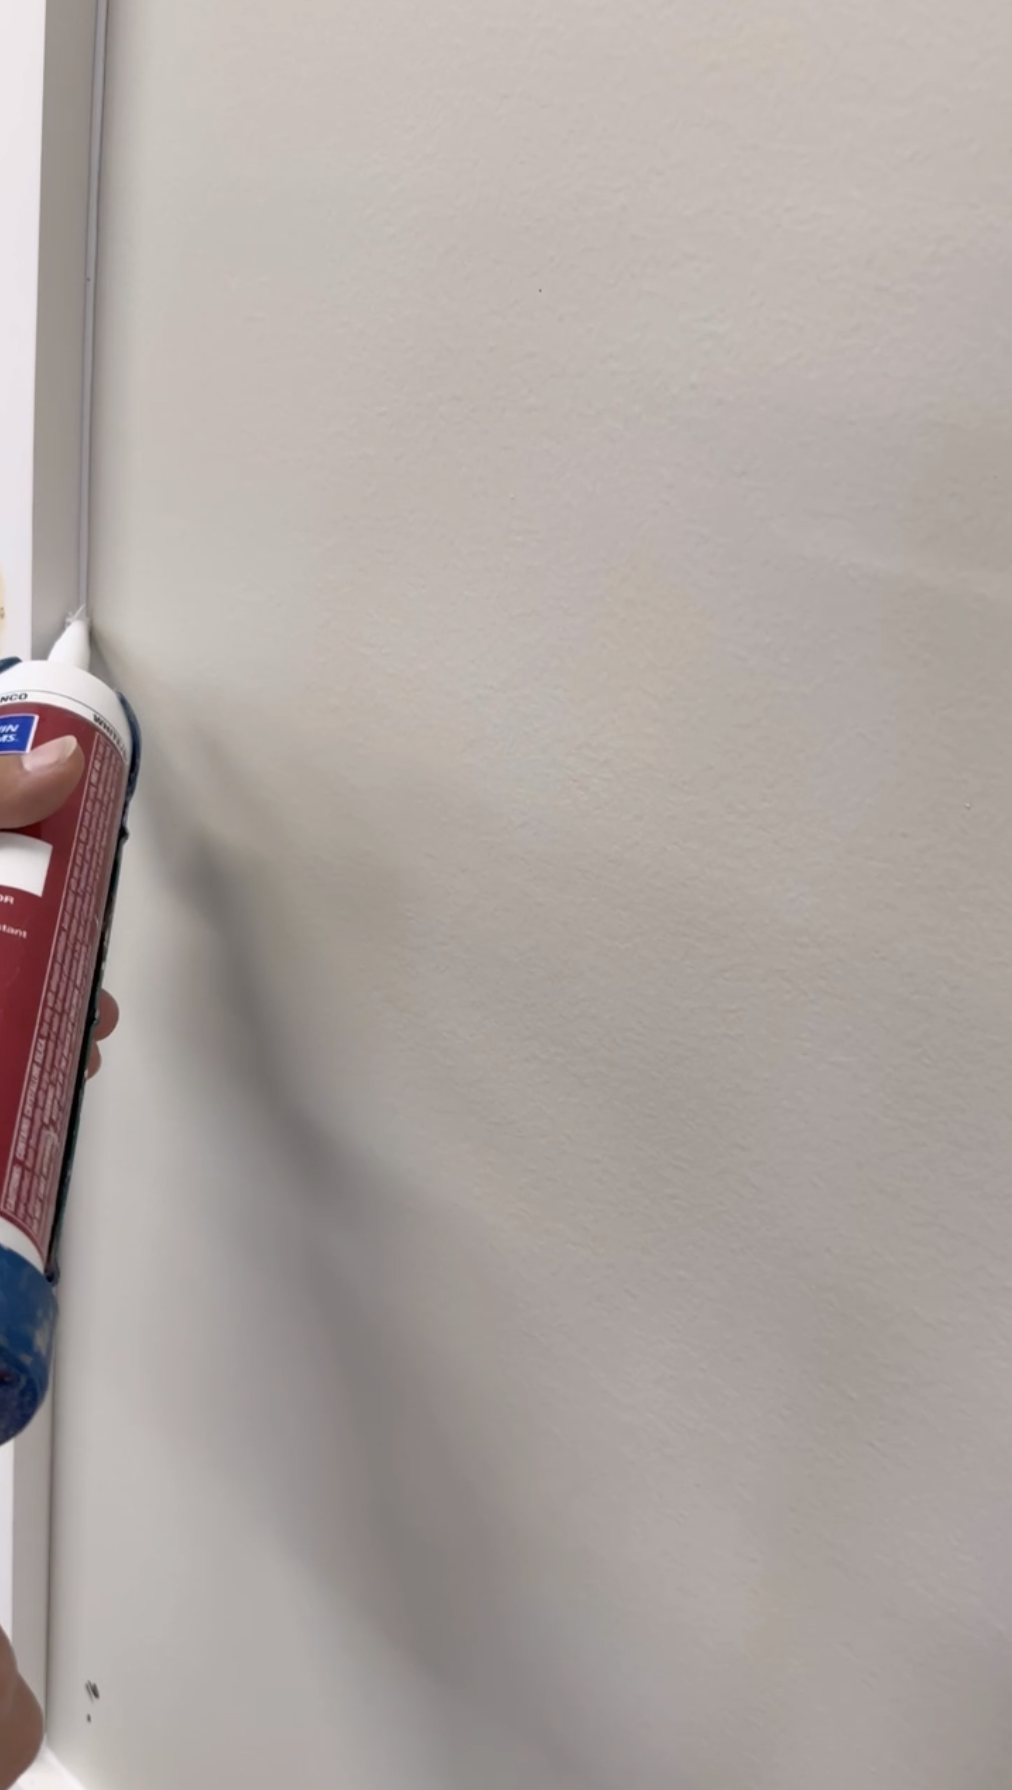
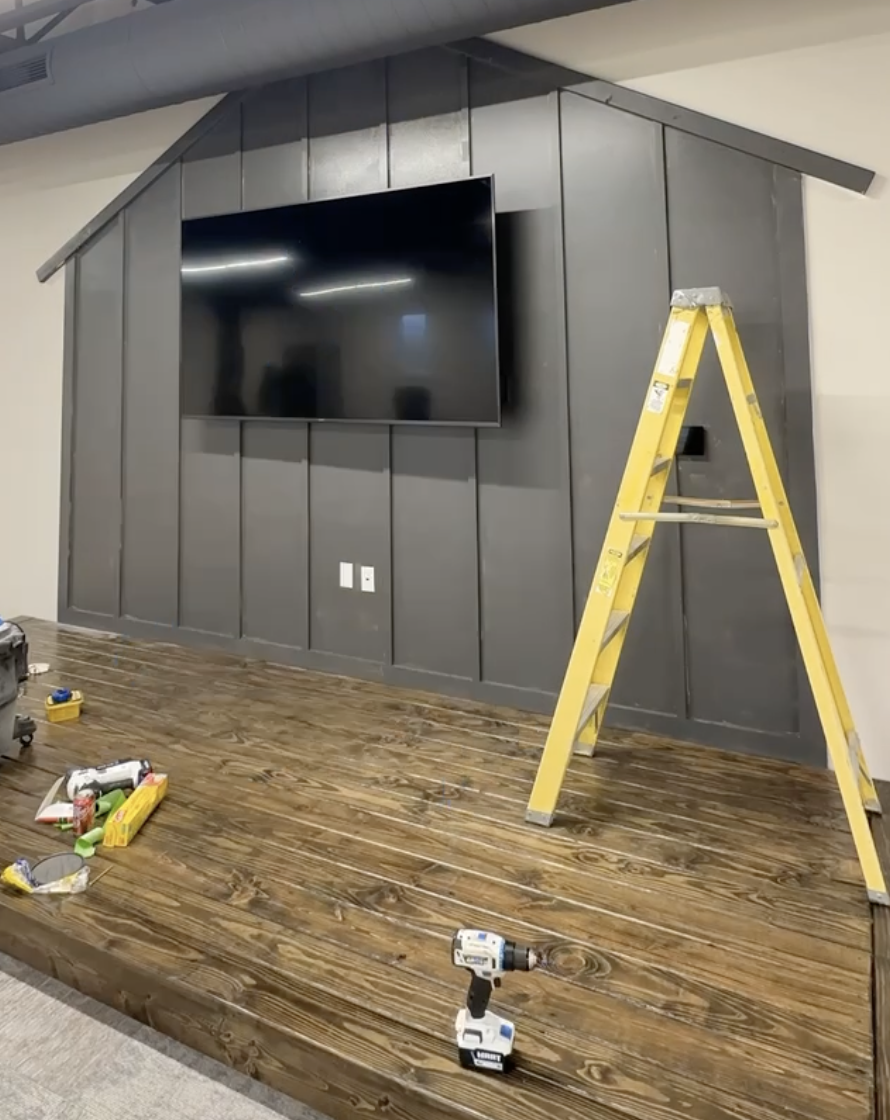
Step 5: I caulked where the wood met the wall to create a seamless look between the wall and the wood.
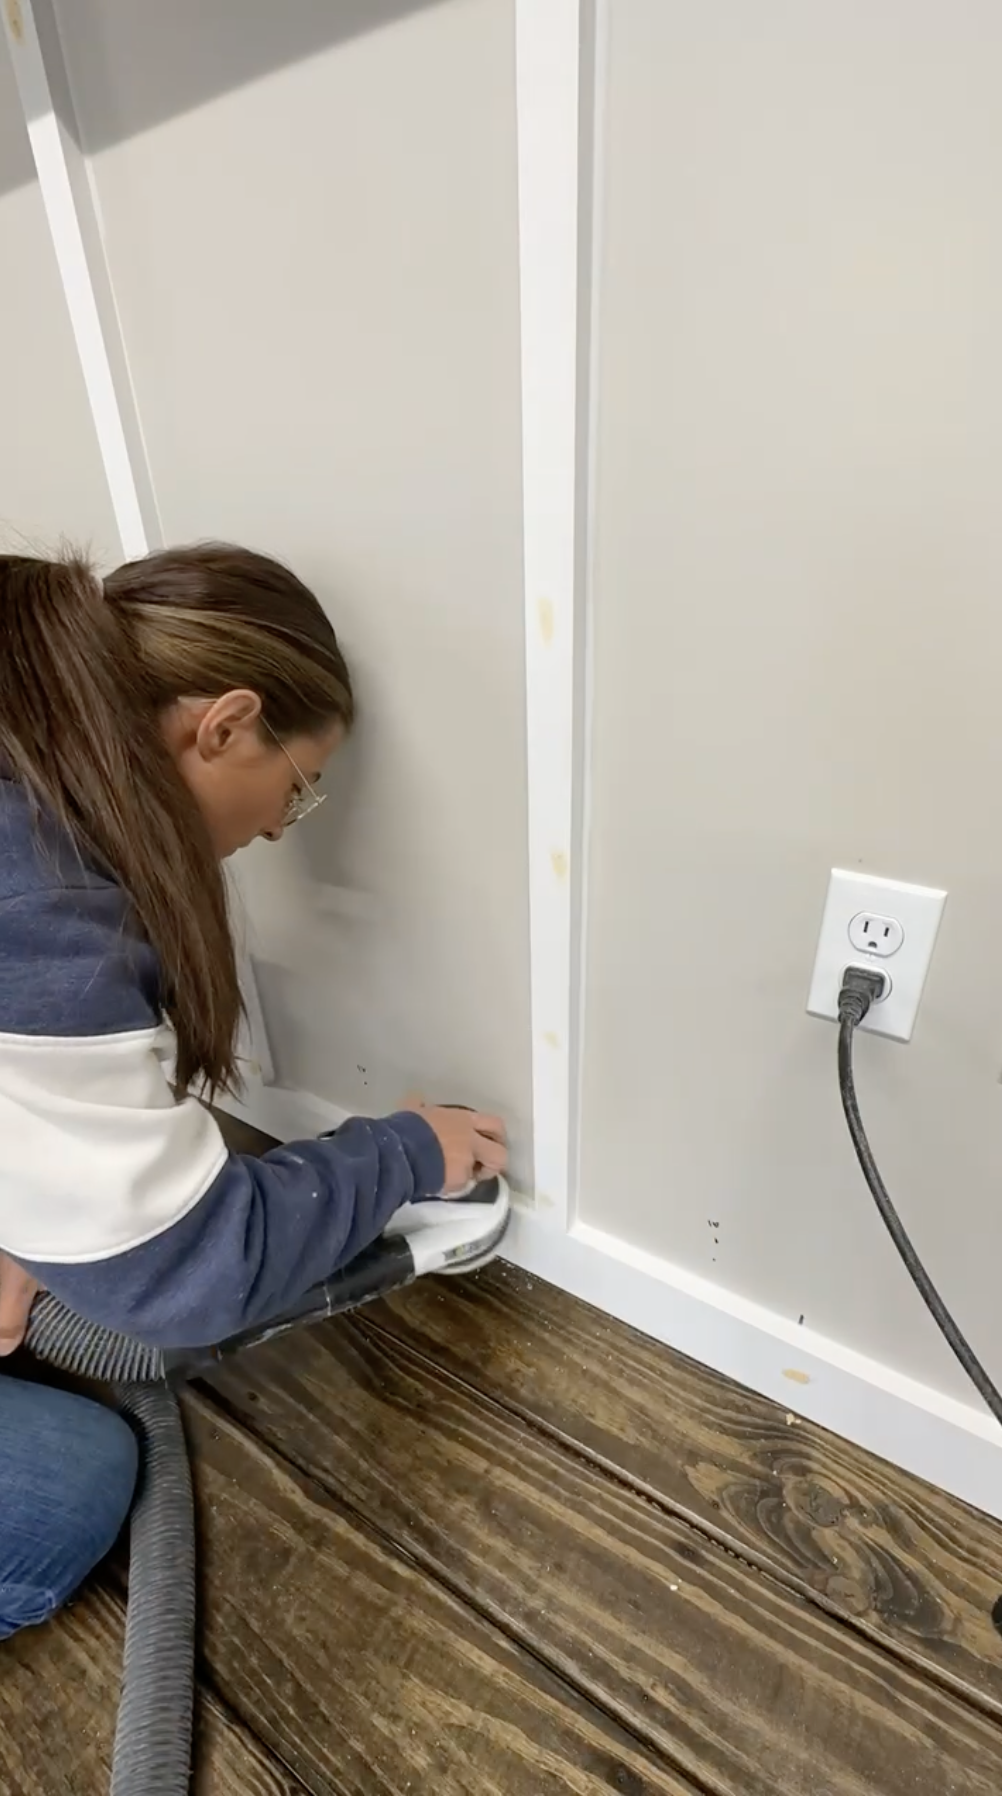
Step 6: Add nail filler, sand the wood and caulk any additional areas.
Step 7: Paint the entire playhouse structure.
IMPORTANT: I did realize once I had painted the entire house with the added the trim to the entire face of the house that I needed to add more dimension to it so I ended up removing the top third sections to create an actual roof effect.
The Roof, flower box and final touches
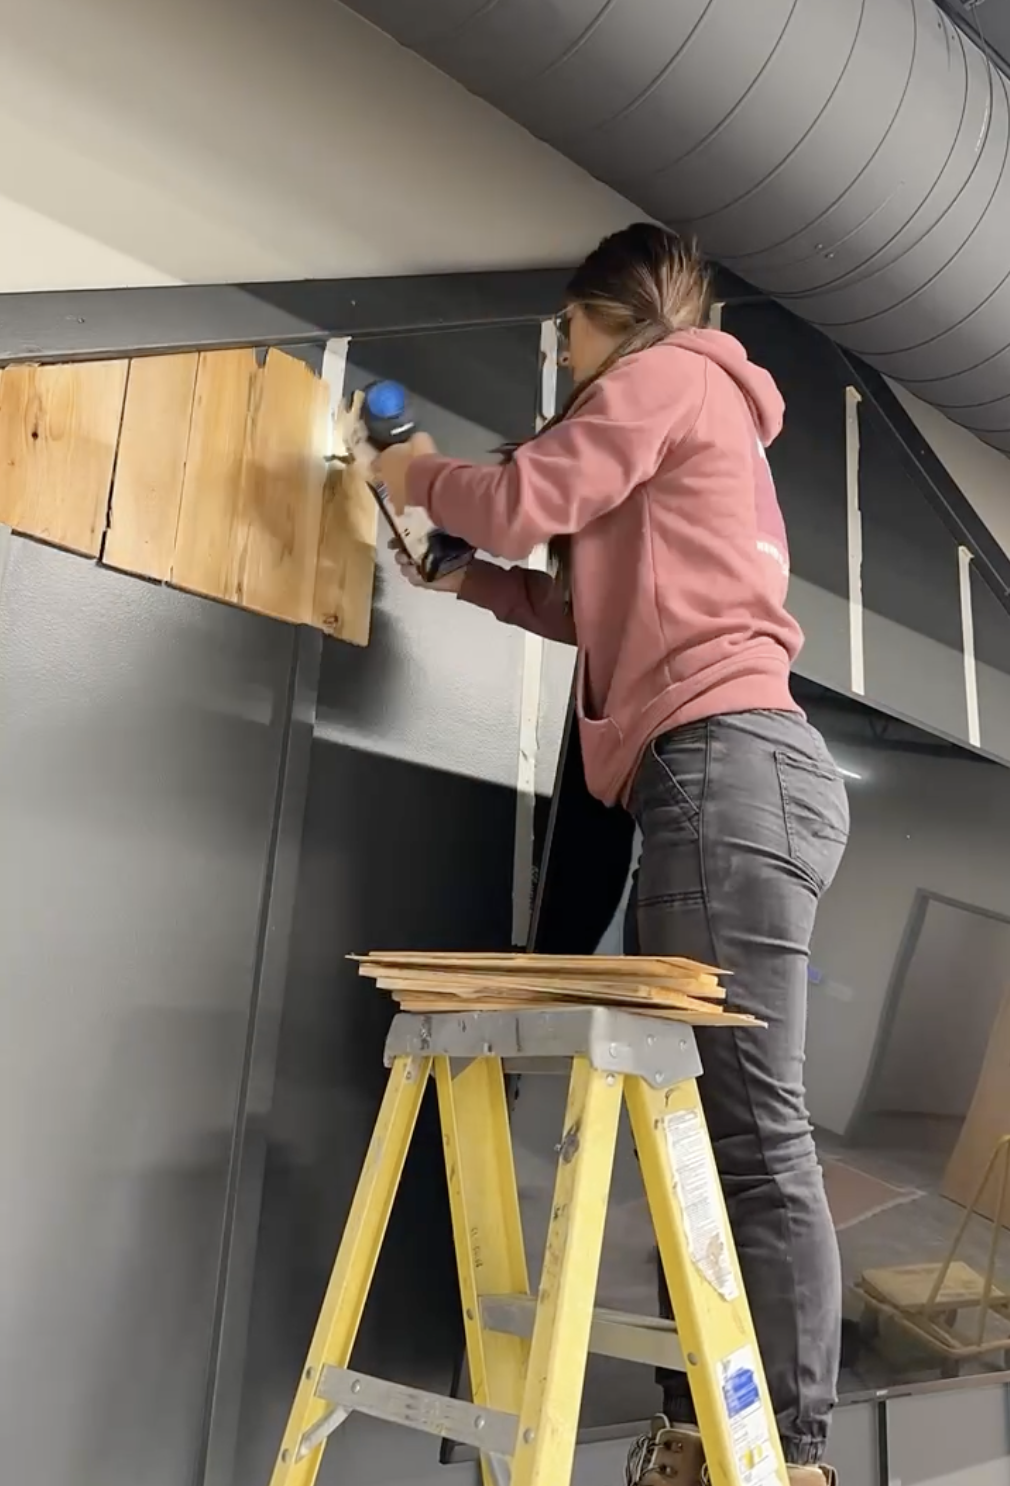

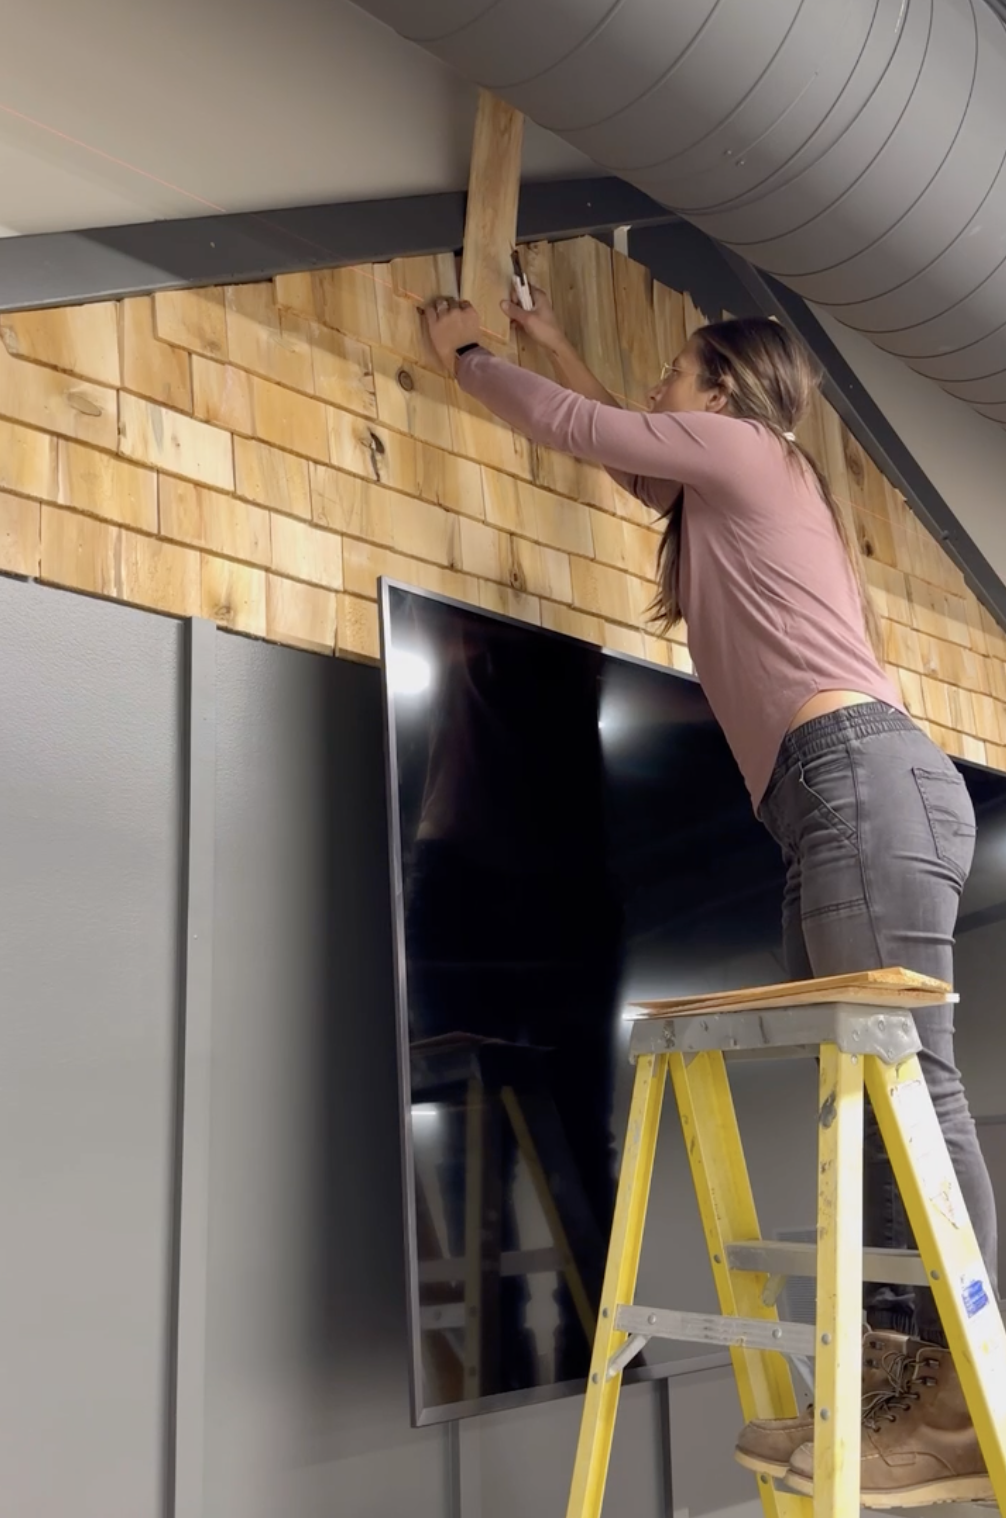
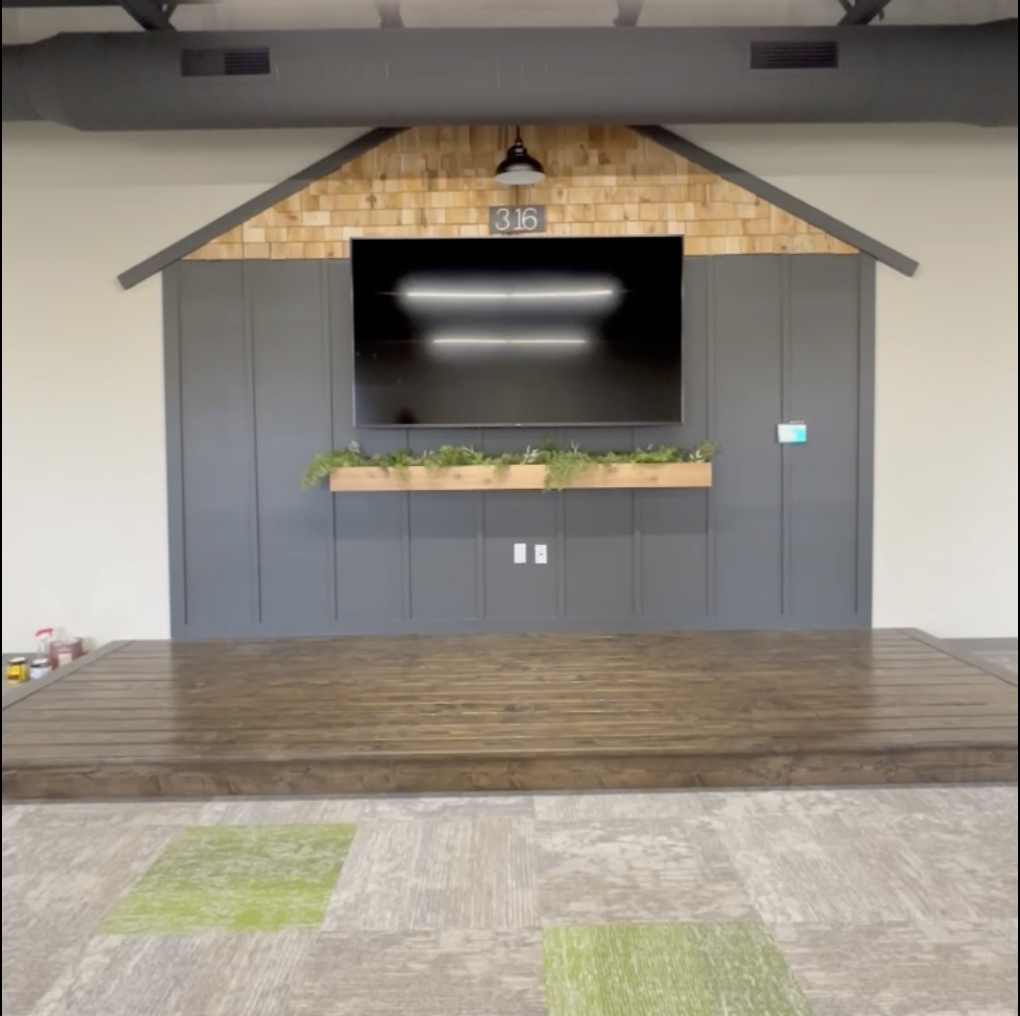
Step 8: I decided to create a faux roof with cedar shingles that are off laid.
I do recommend doing bigger spacing than what is pictured here. The spacing I used did not allow for me to do this quickly and made it very slow and tedious.
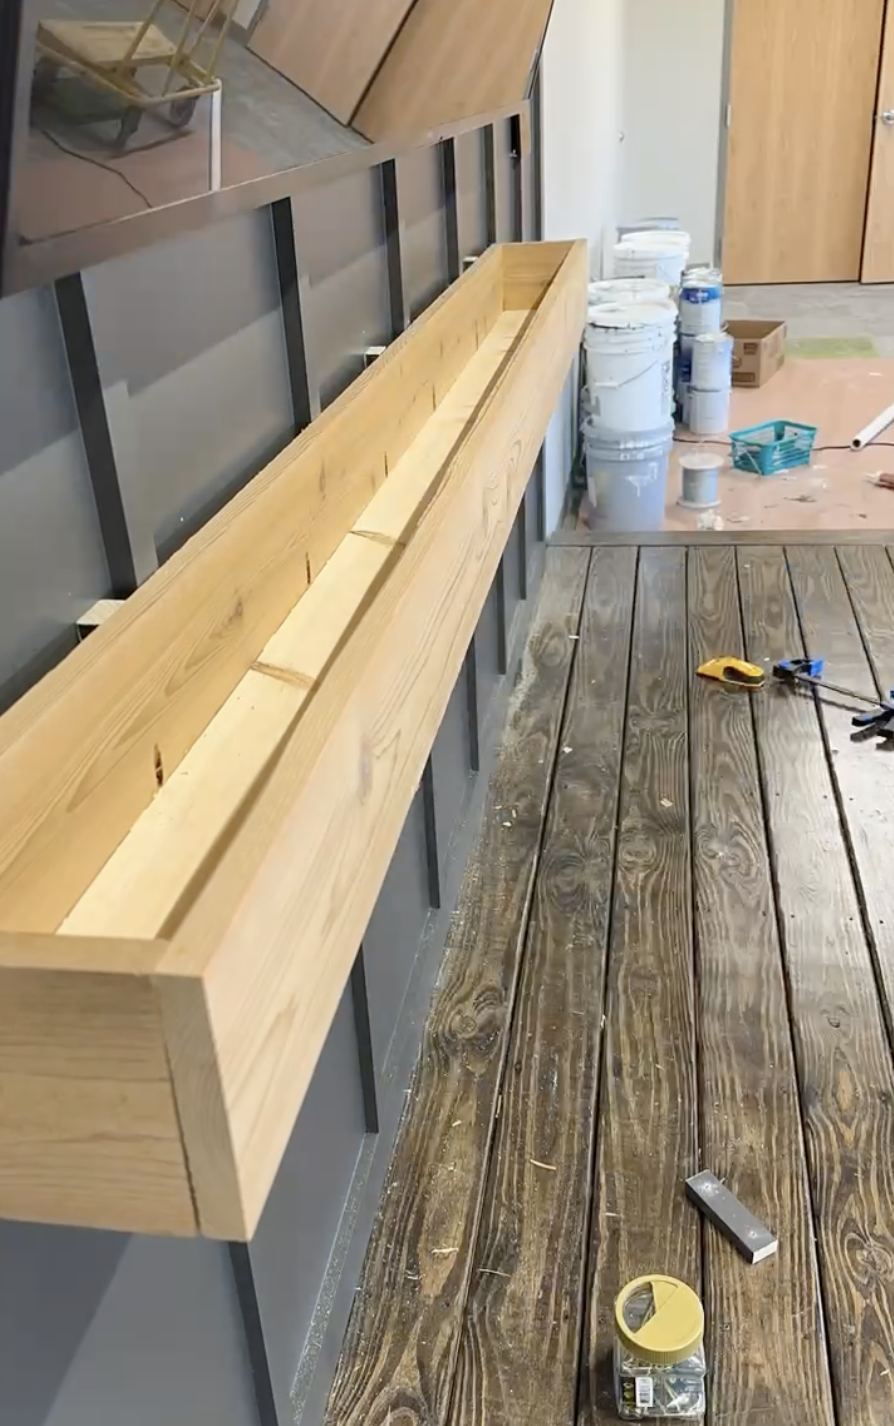
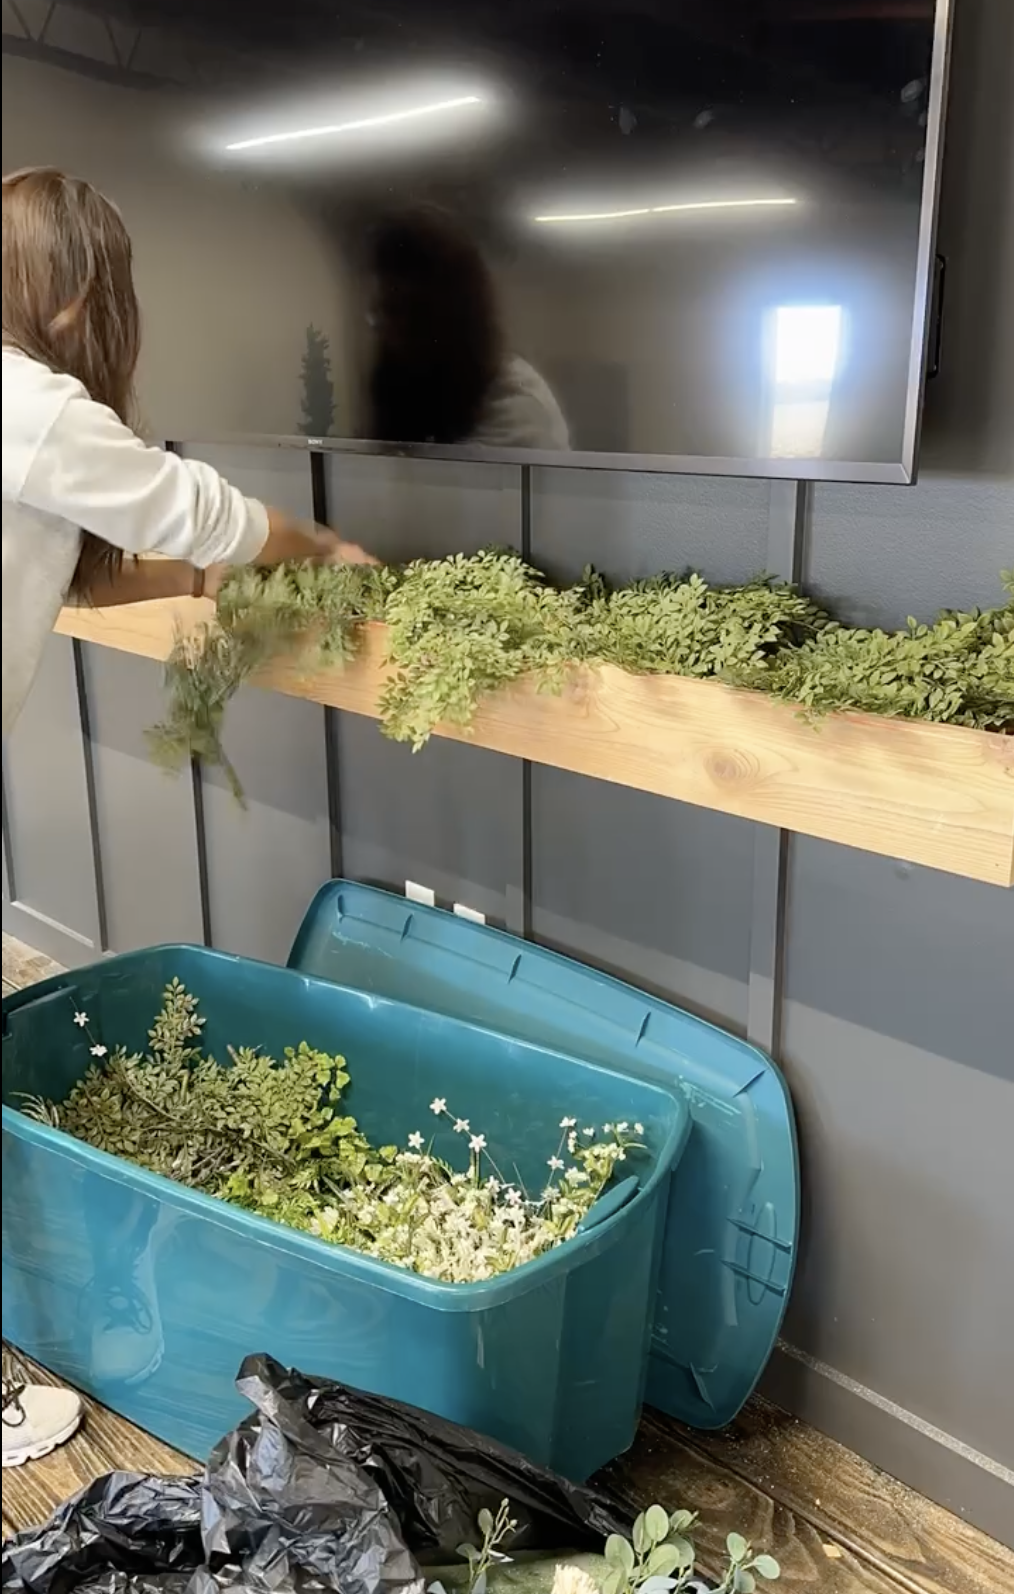
Step 9: Add final touches suck as a light, flower box, address marker, etc.
Flower Box Instructions: Take three pieces of wood and make a flower box. Cut everything down to size. You bottom board will be an inch and a half shorter than your front and your back board. I’m only putting pocket holes in my bottom board so you won’t see any screw holes from your front view of the flower box. Now the back board I am running a line of glue and using screws. Then you are going to do your running boards (side pieces) and I’m just marking and cutting them to width that way. I’m just using glue and eventually will nail those as well. same 1×2’s for the flower boxes on a stud. Please note, Ii you are making this outside you will have to use Cedar Wood or it WILL rot.
-Alyssa


Comments