


For a while now, the idea of turning leftover wood and scrap pieces into something beautiful has been lingering in the back of my mind. It all started with crafting soap trays for my mom – a simple, heartfelt project born from discarded wood. This endeavor sparked a creative fire, leading me to take on a larger challenge: a DIY wood table runner for our island countertop. In this blog, I’ll guide you through the process, encouraging you to embrace the imperfections and uniqueness of repurposed materials.
Materials and Dimensions: The beauty of this project lies in its flexibility. You can utilize whatever wood you have on hand or venture out to purchase a 1×8 board. However, If your countertops are large and you want the least amount of work as possible I would recommend a 1×10 for a wider and less time consuming table runner. The width of your wood, however, depends on the purpose – smaller trays might use a 1×4 size, while a coffee table or island countertop could benefit from a 1×6 or 1×8.
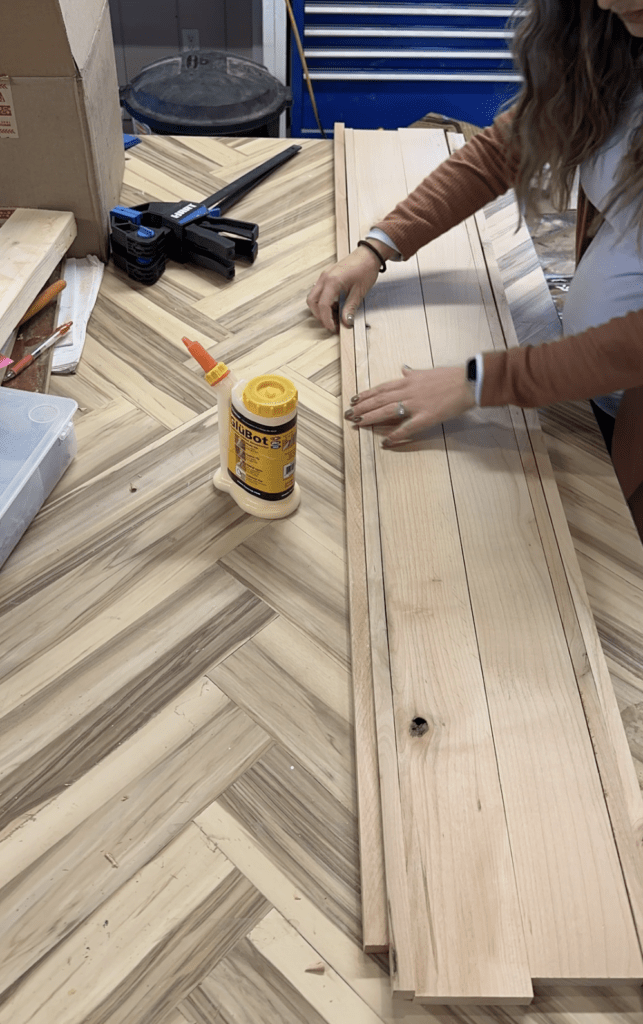
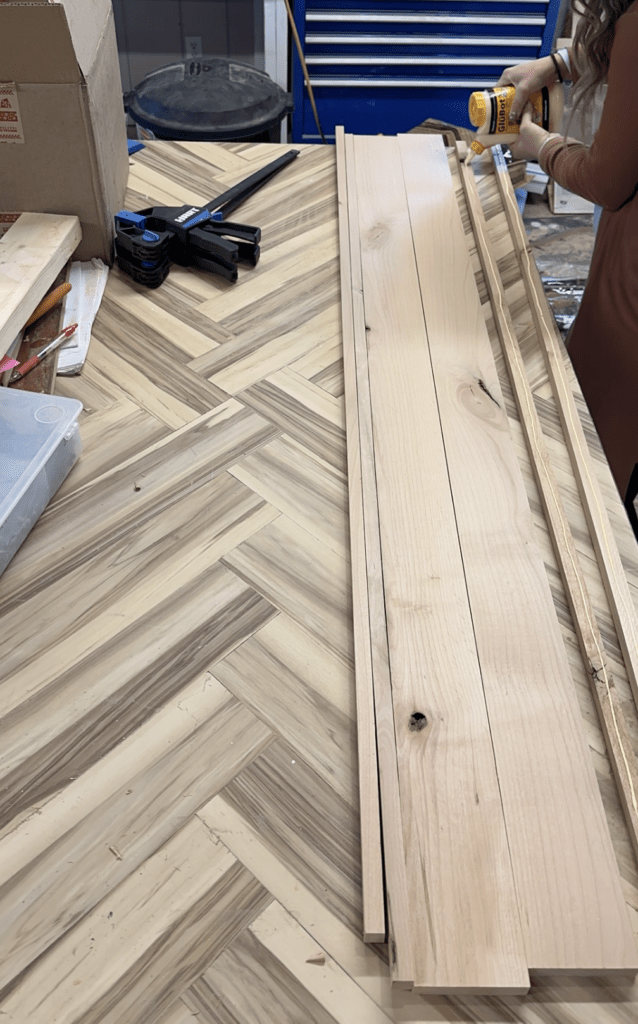
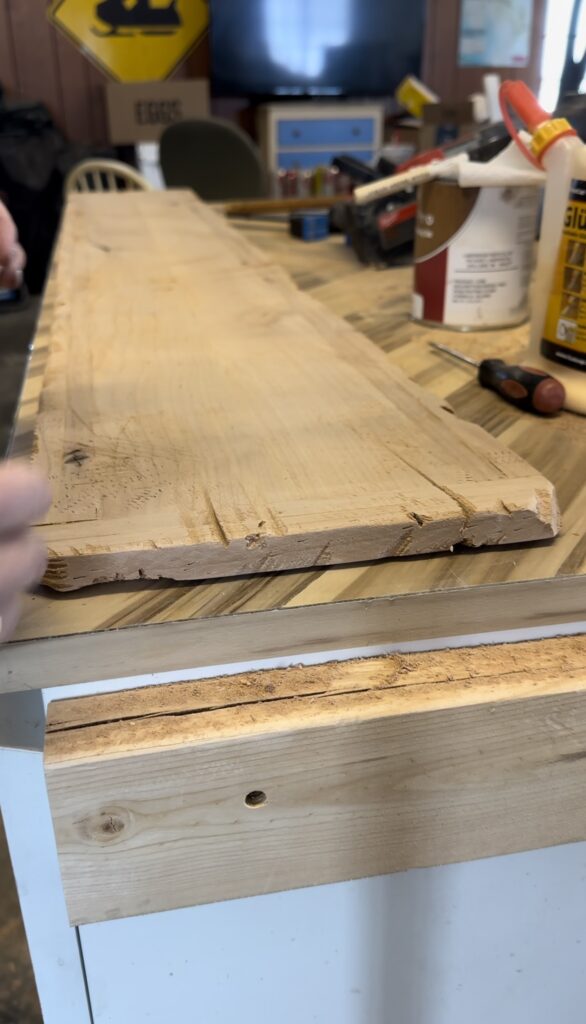
My choice for this project was a 1×8 Alder Board with two 1-inch strips on either end. This provided a sturdy foundation for the runner, allowing me to experiment with a special stain formula that added a touch of beauty to the final product.
- Wood Pieces of Choice
- Wood Glue
- Clamps
- Tools to Distress the Wood: Screw, Screwdriver, Hammer, Reciprocating Saw, knife, scissors, etc.
- Sander
- Stain
- Polyurethane
- Foam Brush
- Mira Wood-Pro Interior Penetrating Stain in formula RU-1Y, U-2, N-1.
- 1 Sponge Brushes
- 1 Soft Bristle brush
- Polyurethane Finish
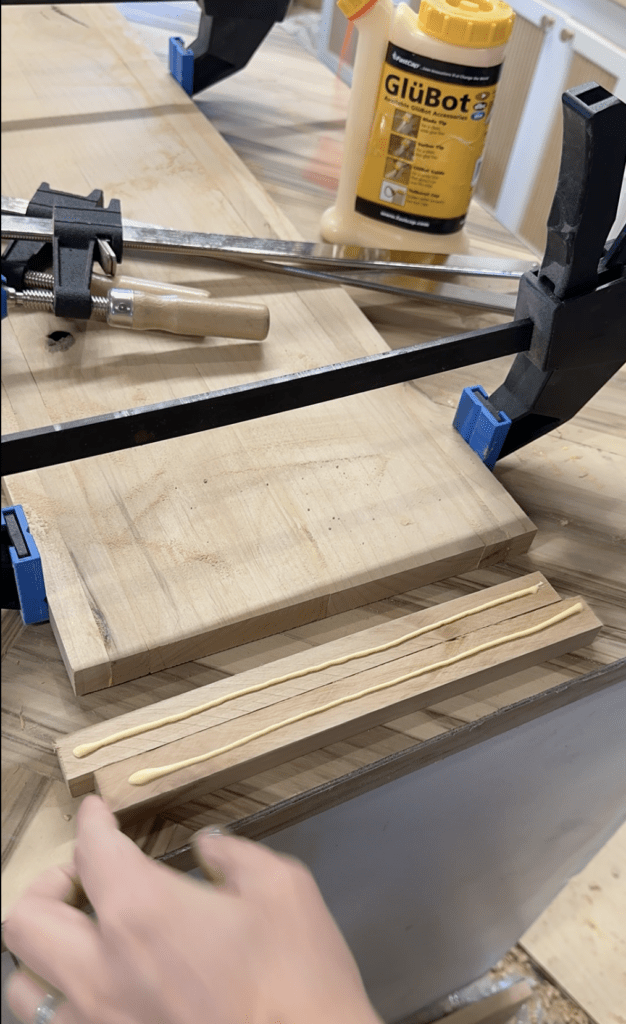
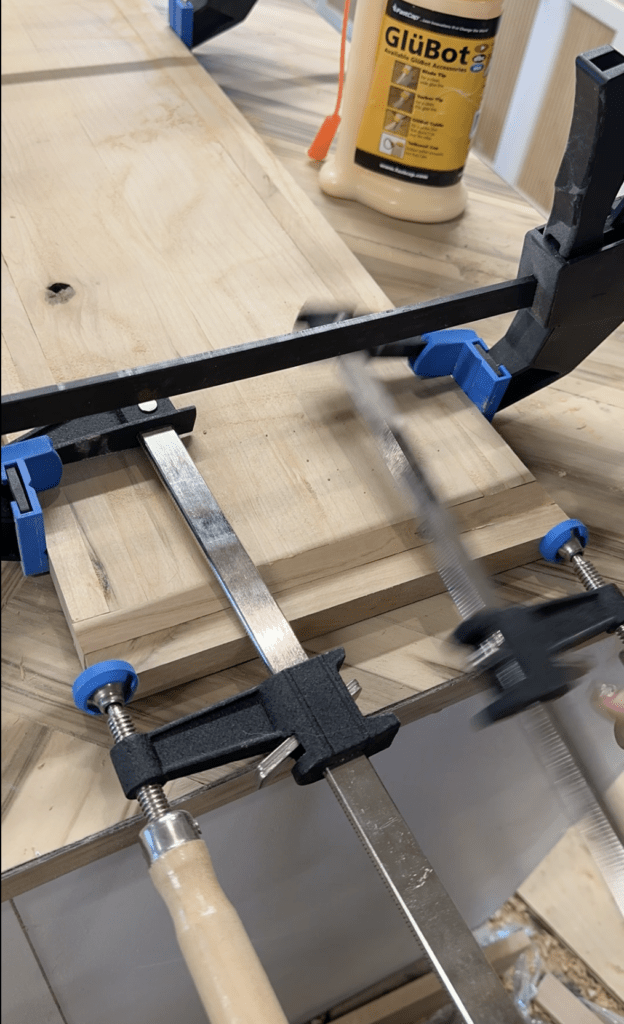
Construction and Techniques: To attach the wood pieces, all you need are additional wood strips and clamps. I opted for a simple solution by using little square sections for the 1-inch strips to create feet. Alternatively, you can use 1-inch or 3/4-inch round or square dowels for added support.


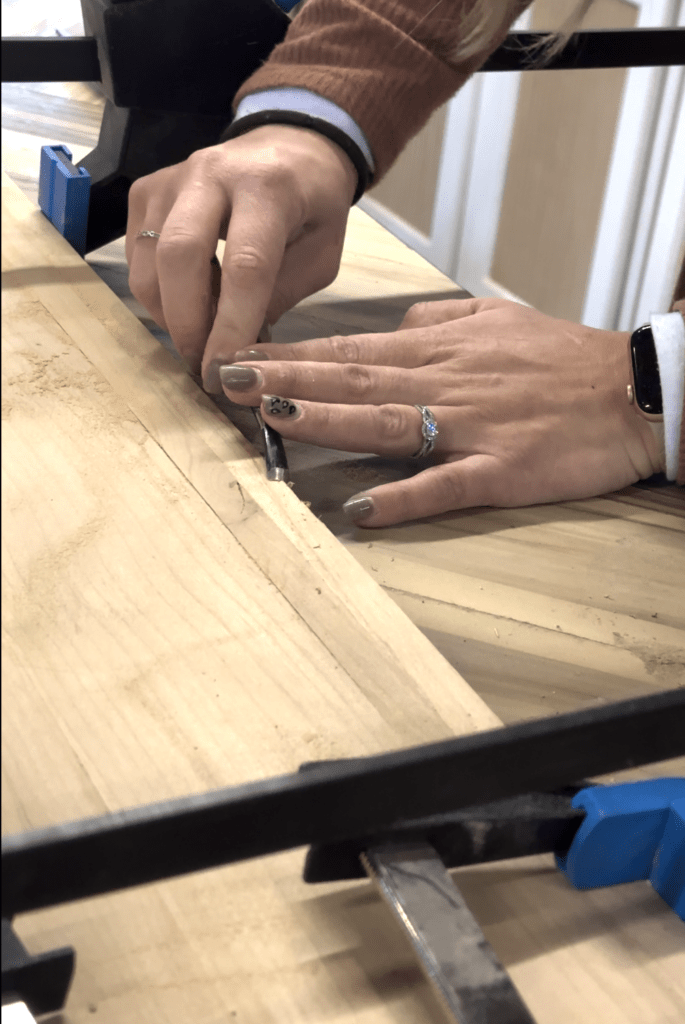
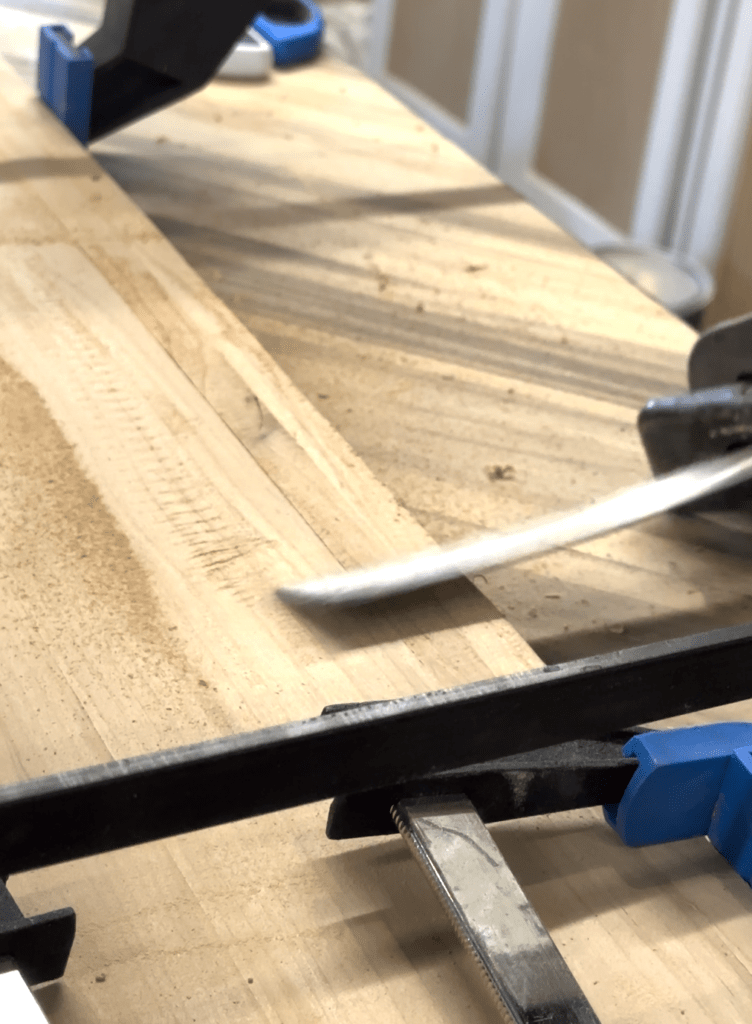
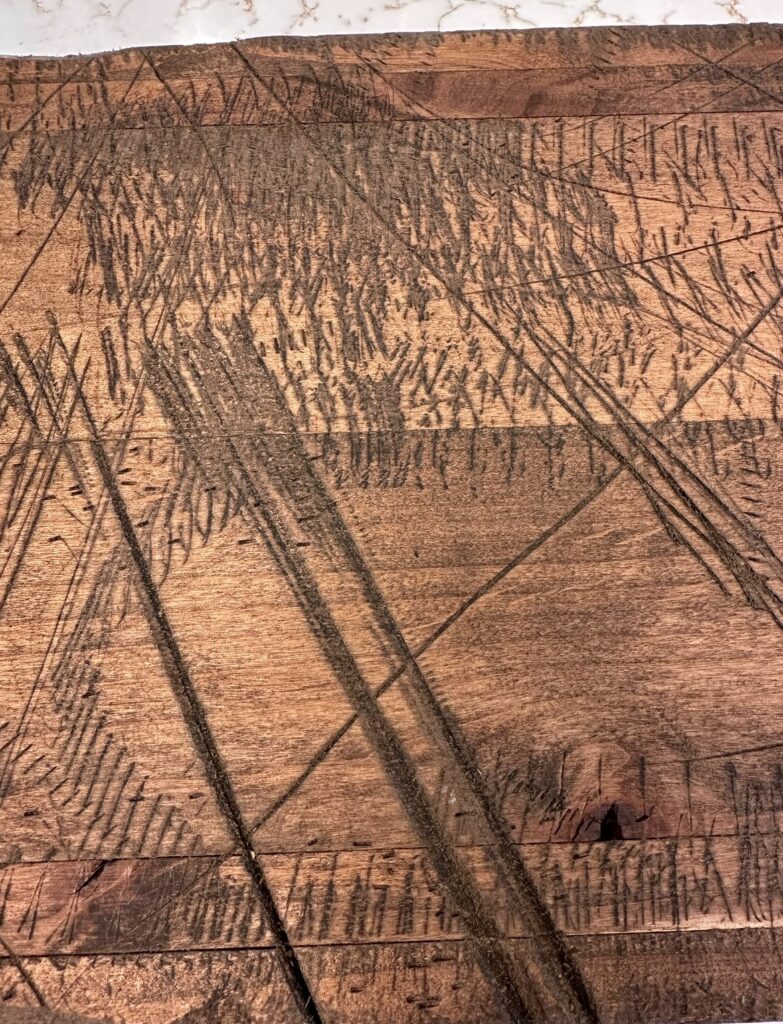
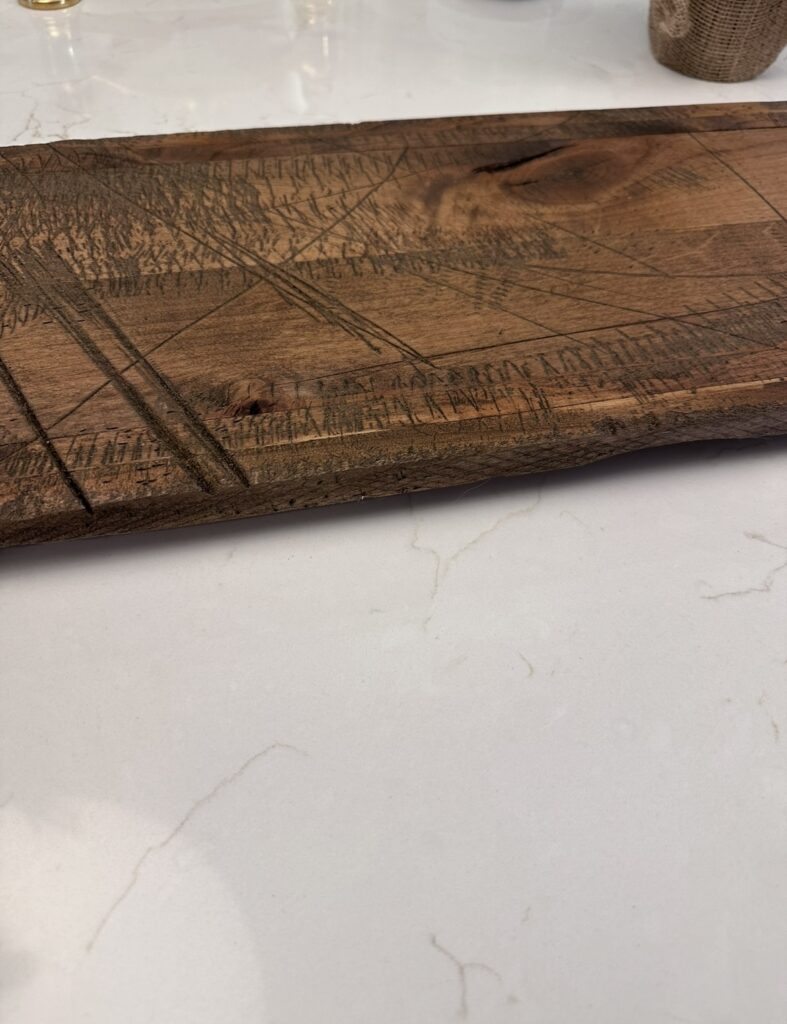
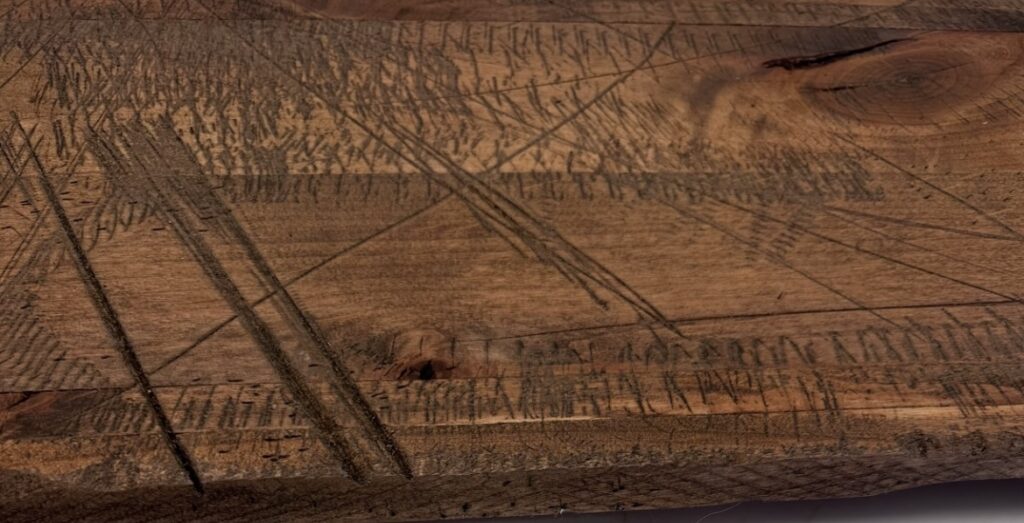
To give the table runner character, I used a reciprocating saw for edges and details. Embracing the imperfect, distressed look, I made deeper lines with the saw and used scissors for additional distressing. It’s a liberating process – the goal is to make it look intentionally “awful.”


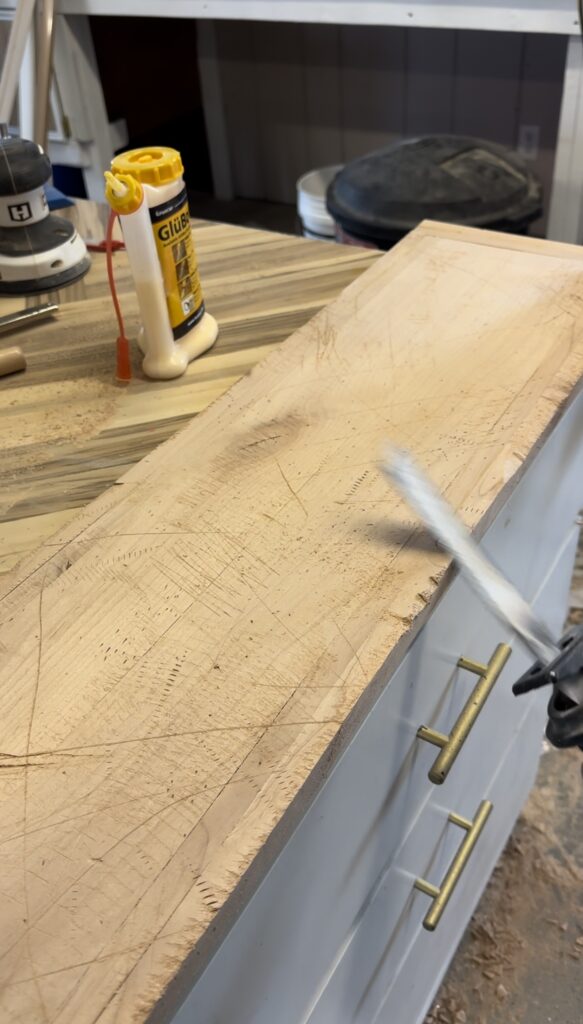

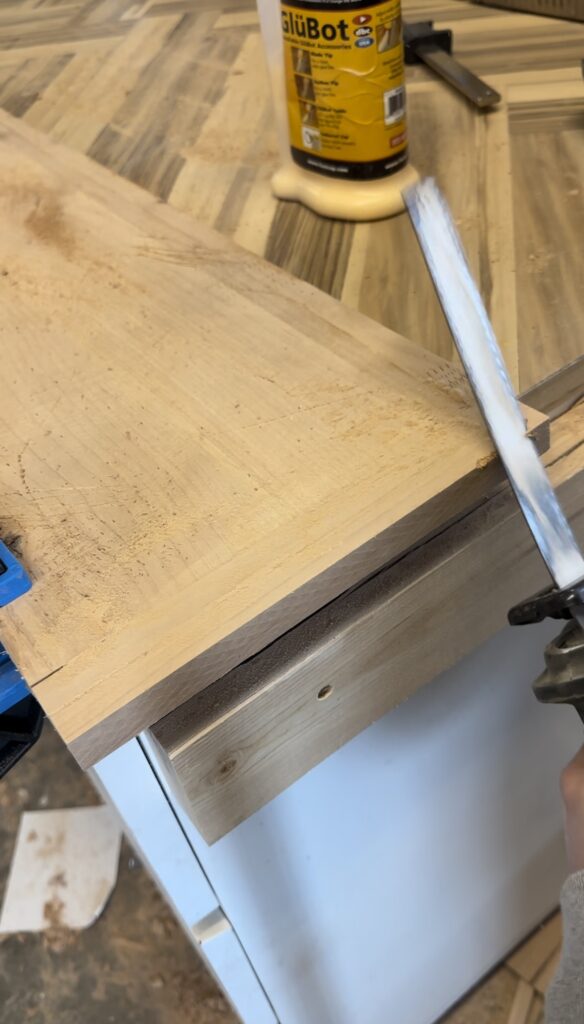

Finishing Touches: After achieving the desired distressed look, I applied a special stain formula that enhanced the wood’s natural beauty. The choice of stain can dramatically influence the final appearance, so don’t be afraid to experiment with different options. I have included the exact stain formula below if you love this color as much as I do!


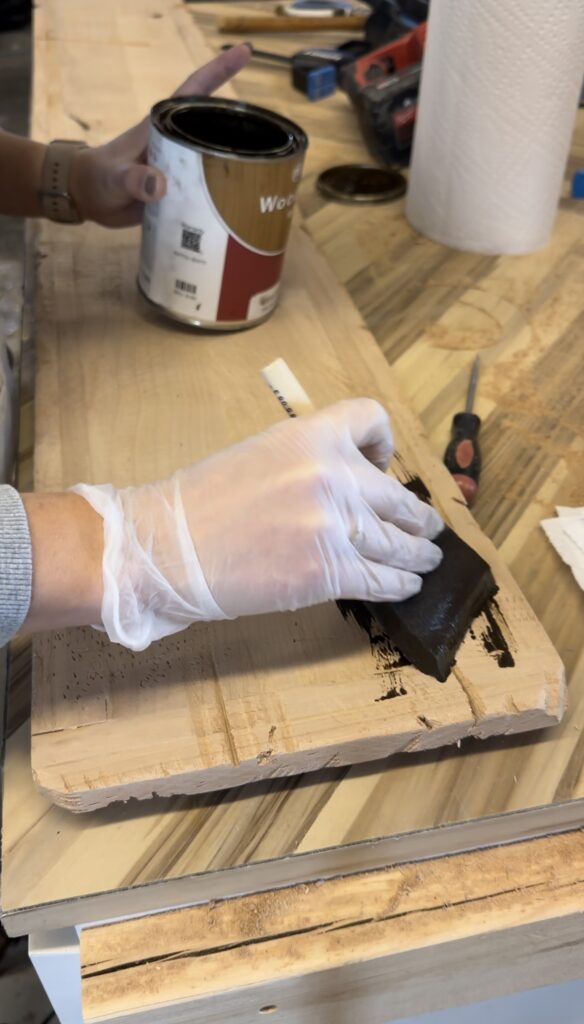


For added durability and a subtle sheen, I applied two coats of polyurethane finish without any sanding in between. This step not only protects the wood but also gives the table runner a polished look.

Crafting a wood table runner from leftover pieces is not just a DIY project; it’s an adventure in creativity and sustainability. Embrace the unique qualities of each piece of wood, experiment with distressing techniques, and revel in the beauty of imperfection. Whether you’re creating a small tray for a bathroom or a statement piece for an island countertop, this project is a testament to the transformative power of repurposed materials. Happy crafting!
-Alyssa


Comments