
Oof! To say this built in was a labor of love would be an understatement! I poured my heart and soul into this space for my parents because… well… THEY DESERVE IT! They have given me SO much of themselves over the years and the least I can do is to create a space they LOVE.
And as it turns out. I LOVE it too! Let the family memories begin in this space.
Okay enough about me. Let’s get down to the logistics.
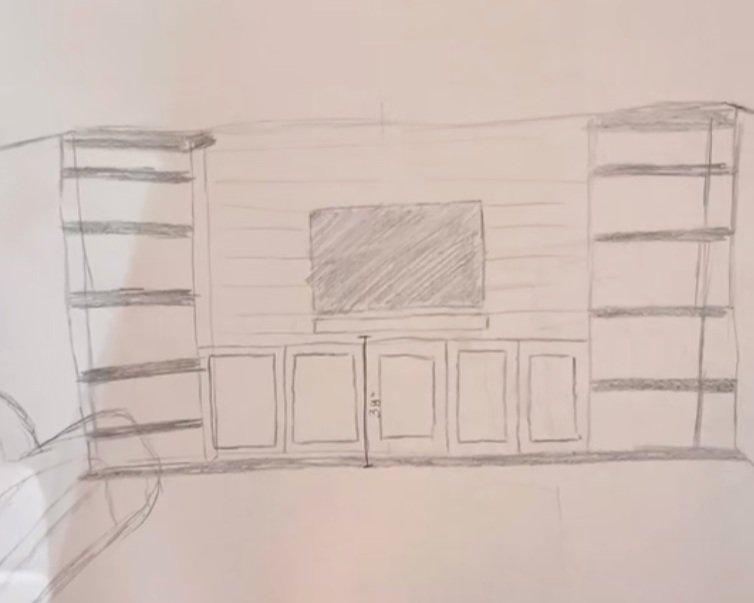
Initial Design Sketch. This is going to be an Ikea Built In Hack using Ikea bookcases and making it look built in!
The Details
Time Spent: It took me 6 weeks to build with my flux of other projects, being in mom mode and the holidays. However, this project could easily be accomplished in 12 non-stop hours.
Skill Level: Intermediate
Cost: $800-$1,000+
Materials List
Base Cabinet
-
Cabinet Base
-
(2) 4’ x8’ sheets of 3/4” Plywood for Cabinet
-
You will want 3 pieces that are the length of your desired cabinet length (Piece A) and 3 pieces that are your desired cabinet height (Piece B).
-
-
1×2’s @ 8ft in Select Pine (straight wood) for framing out the cabinet.
-
1 1/4” Kreg Jig Screws for all pocket holes
-
-
Cabinet Doors
-
3/4” Overlay Face Frame Door Hinges for Cabinet Doors
-
Door Pieces: 1×3’s Select Pine , I will call these Rails later on.
-
Door Handles
-
Door Inlay (Pole Wrap) x4
-
Built In’s
-
2×4 Frame
-
2×4 pieces the length of the entire built in (bookcase + cabinet) and cross sections for added reinforcement. *See Picture for example.
-
2” Screws to secure into wall
-
-
2 Extensions If you can’t find it at your local Ikea. I highly recommend using Hexi.
-
Bookcase and Cabinet Trim
-
MDF Baseboard pieces
-
4 sets of 1×2 Trim Pieces of Select Pine for Face Framing that are the height of the bookcase + the extension piece.
-
-
Light Feature
-
2 Lights for top of bookcases.
-
2×4 pieces for top of the bookcase to support MDF board if you are doing a light.
-
White Piece of MDF Board for side and front of bookcase if you are doing a light.
-
-
Dry wall spackling for covering up edges
-
Shelves
-
1/4” Plywood for Faux Wood Shelves.
-
2 sheets of 2’x8’ cut down to correct size of shelf.
-
-
1/2 pieces of Select Pine for Face Framing of the shelves.
-
Wall Behind TV
-
Mussel Bound Paper
-
Square Tile Pieces (I got these stone petal flower tiles from Menards)
-
Pre-Mixed Grout in Bright White by Tec.
Final Details
-
Countertop
-
Aspen wood for countertop
-
-
Tile Framing and Shelf
-
1×2 pieces of Select Pine for framing tile
-
1×3 for shelf
-
1×2 for lip of shelf
-
Tools Needed
-
Circular Saw or Miter Saw
-
Kreg Jig or Kreg Foreman Machine
-
Liquid Nails
-
Swanson Tool
-
Hinge Door Jig
-
Power Drill
-
Tape Measure
-
Handheld Paint Sprayer (I use the Graco Homeowner Sprayer for the cabinet only)
-
Router
-
18 G Brad Nailer
-
For the Shelves: 5/8” Brad Nails for Faux Shelves to adhere the plywood to the shelves
-
1” nails for the 1×2 on the face of the Faux Shelves
-
-
Clamps
-
Whole saw bit
-
Jigsaw
-
Detail Sander
-
Extension Cord
-
Ladder
-
Level
-
Laser Level (for the Mussel Paper)
-
Painting
-
Stain- Puritan Pine or Early American
-
White Paint- Untinted Satin White for Cabinet
-
Paintbrush
-
-
Tile Work
-
Grout Sponge with soft side and abrasive side
-
Bucket of water for Grout wiping
-
Grout Float
-
-
Screw
-
2” screws
-
Power Pro screws
-
-
Staple Gun
Part #1 Build the Base Cabinet
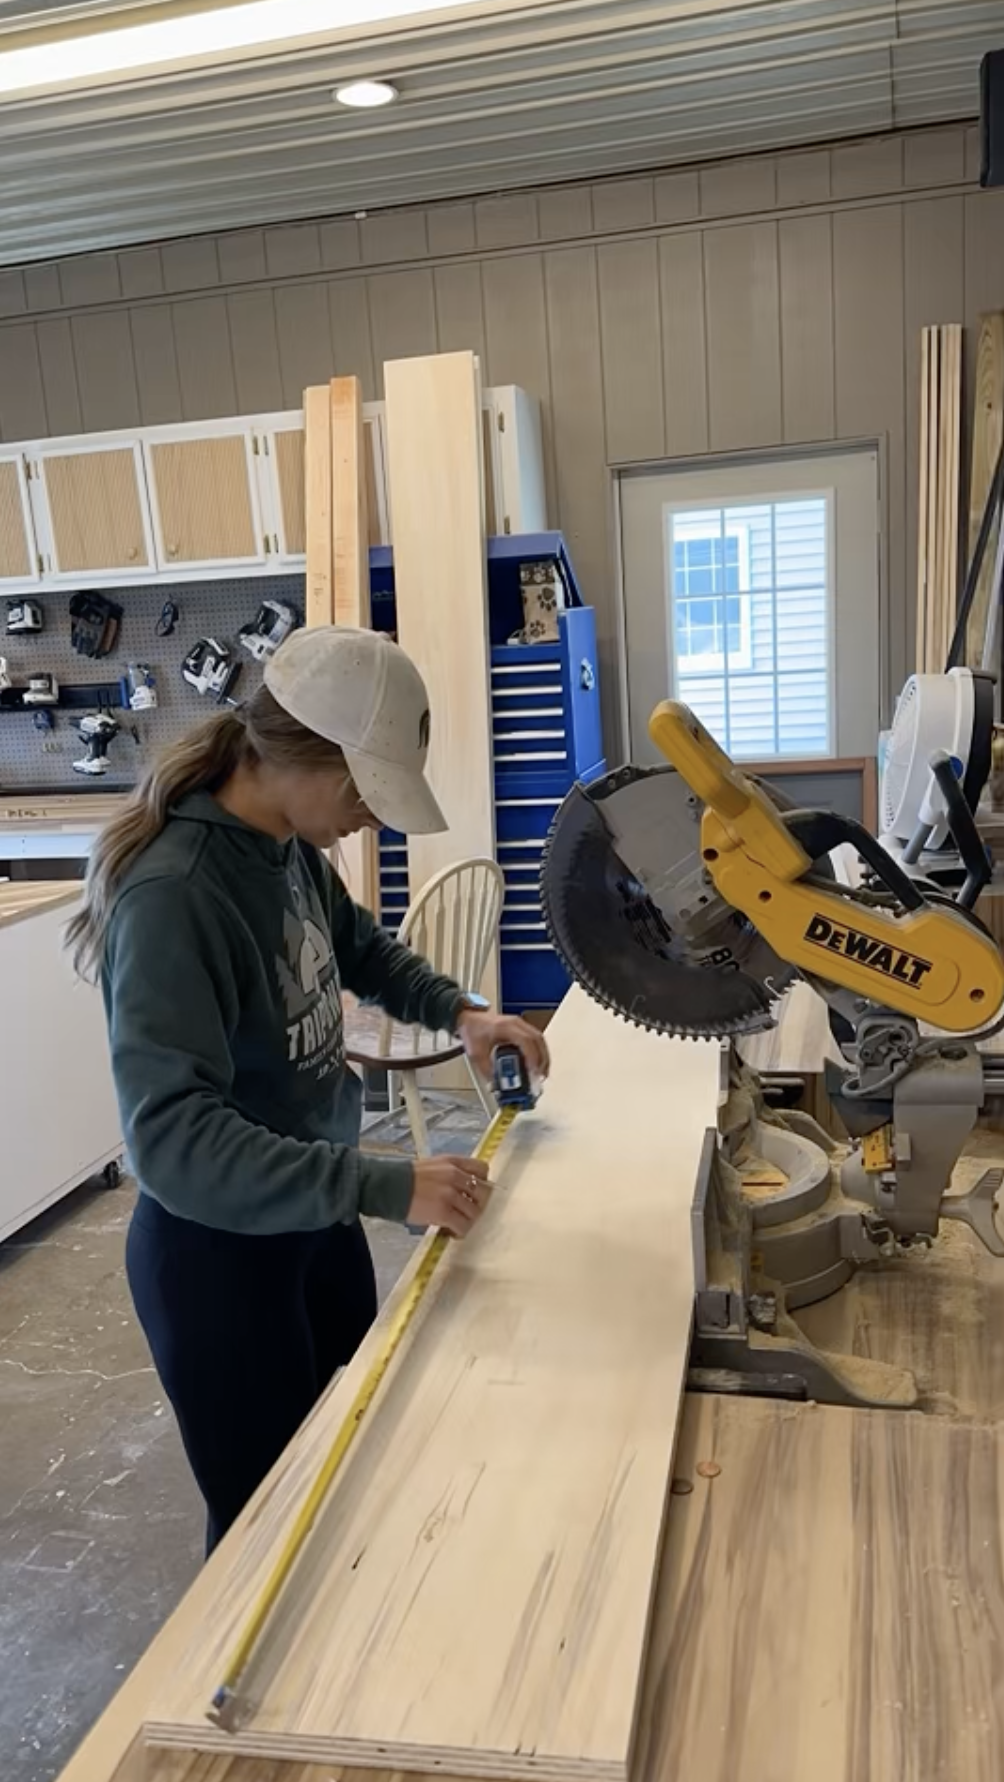
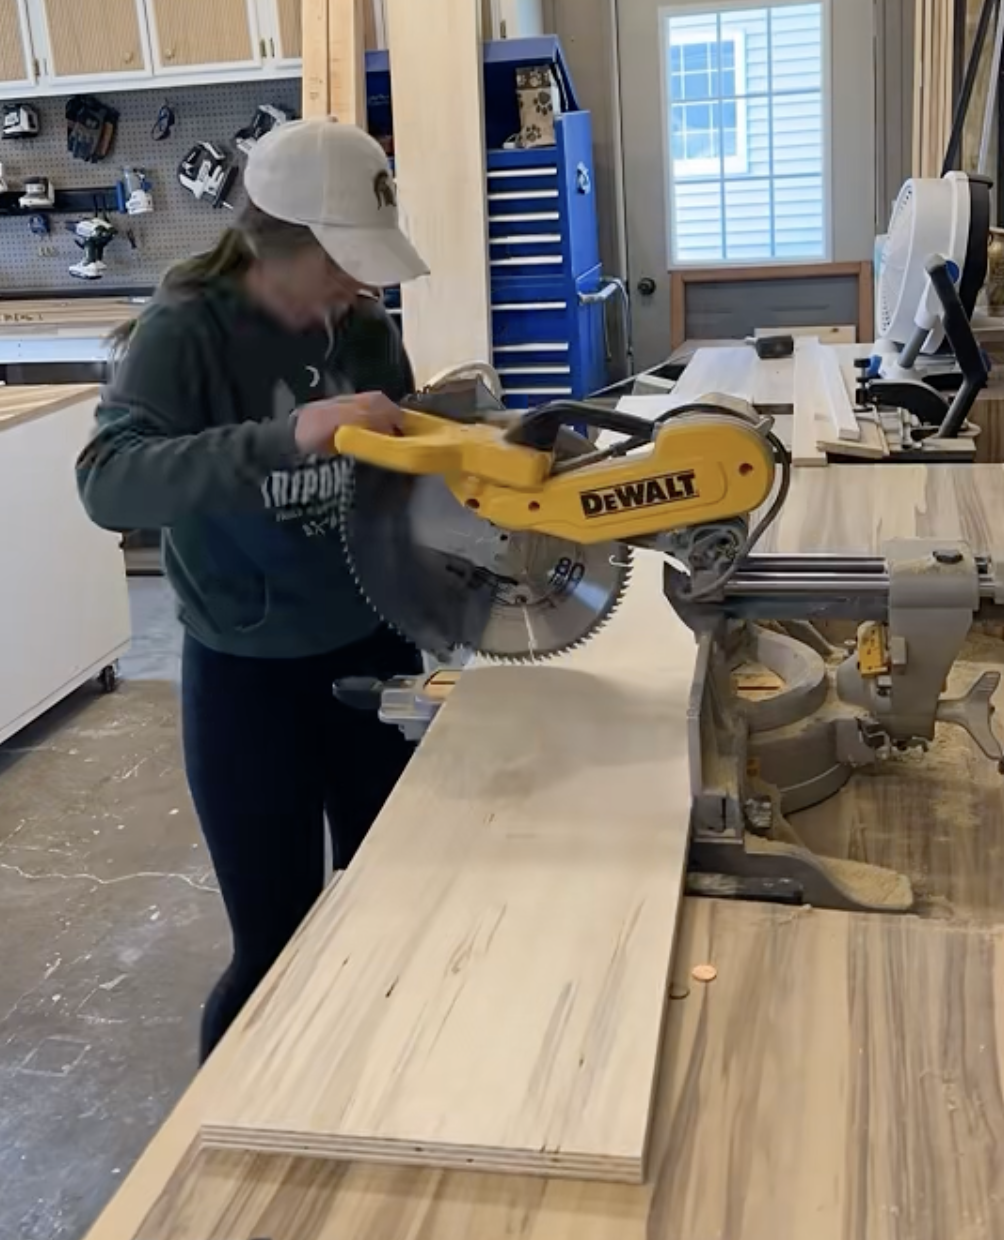
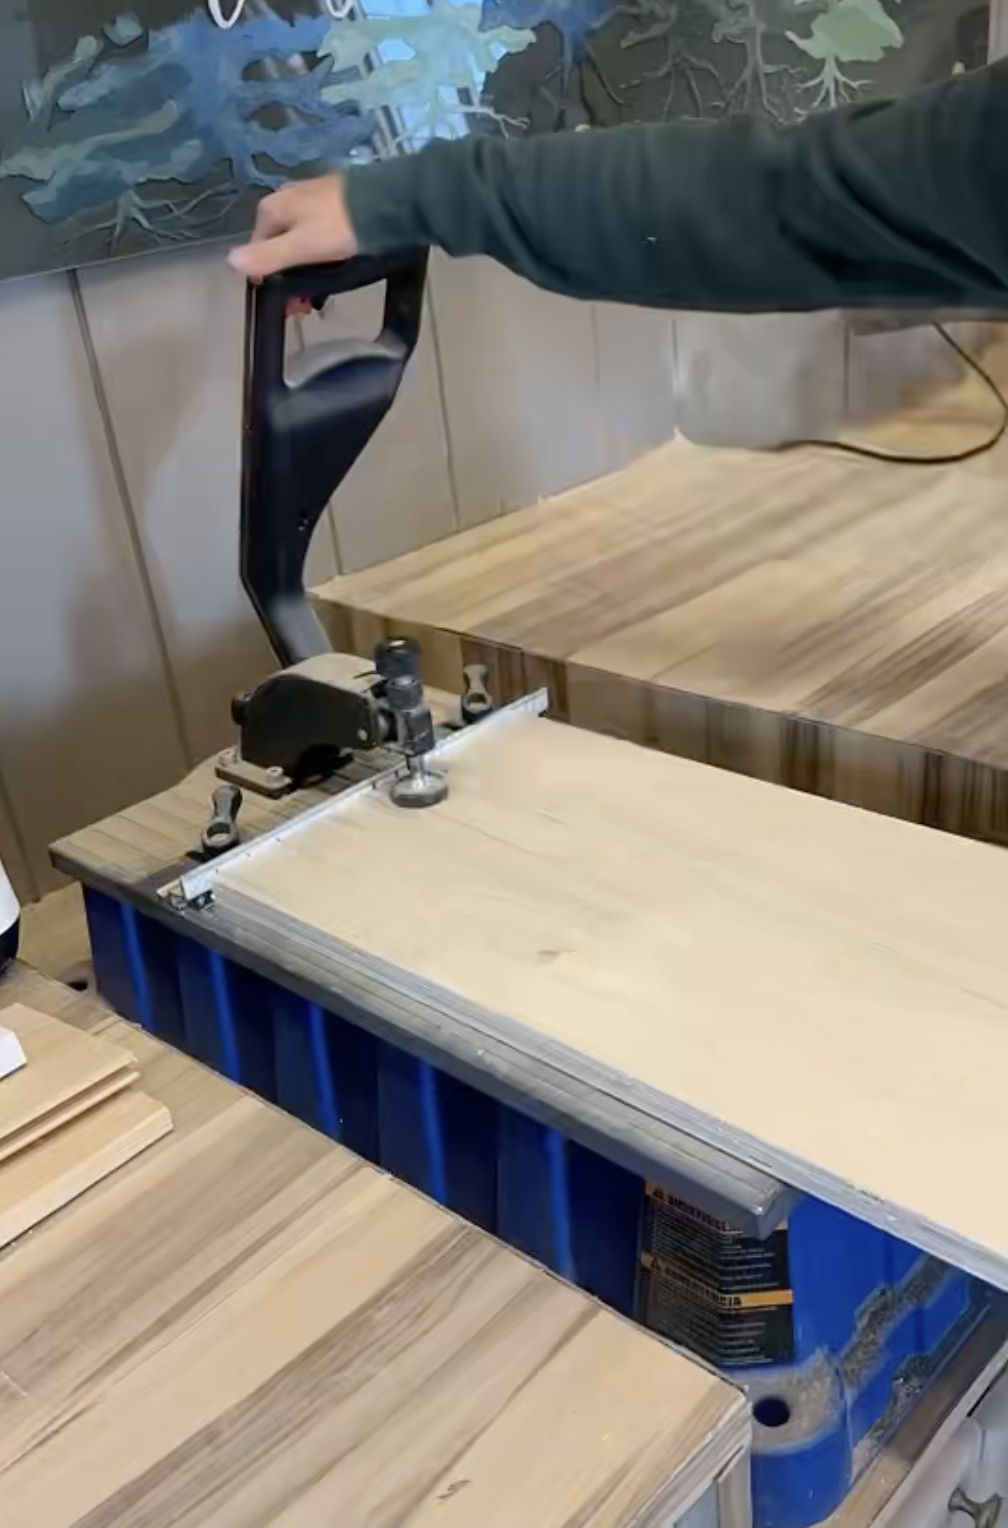
STEP 1: Cut all your desired pieces out of the 3/4” plywood using a Circular or Miter Saw. 2 of the Longer pieces will be for the length of your cabinet (We’ll call them Piece A) and the shorter pieces will be for the height of your cabinet (Piece B). For the 3rd piece A, you will be cutting this down so it will slide between the middle piece B. Take your length and cut 3/4” off. Then cut that board in half (Pieces A1 and A2).
STEP 2: Take Piece B and use a Kreg Jig or Kreg Jig Machine to cut 4 pocket holes on the tops and bottoms of each board( Pieces B). Hint: Top will be the shorter of the two lengths. You will also use this process on Pieces A1 and A2.
STEP 3: Add Liquid Nails to the bottoms of piece B. Place it in your desired wall/separator spot. Then use a power drill to add 1 1/4” Kreg Jig Screws for pocket holes. Repeat the glue placement on the tops of piece B then add Piece A on top of it. Use a Swanson Tool to ensure all angles are even.

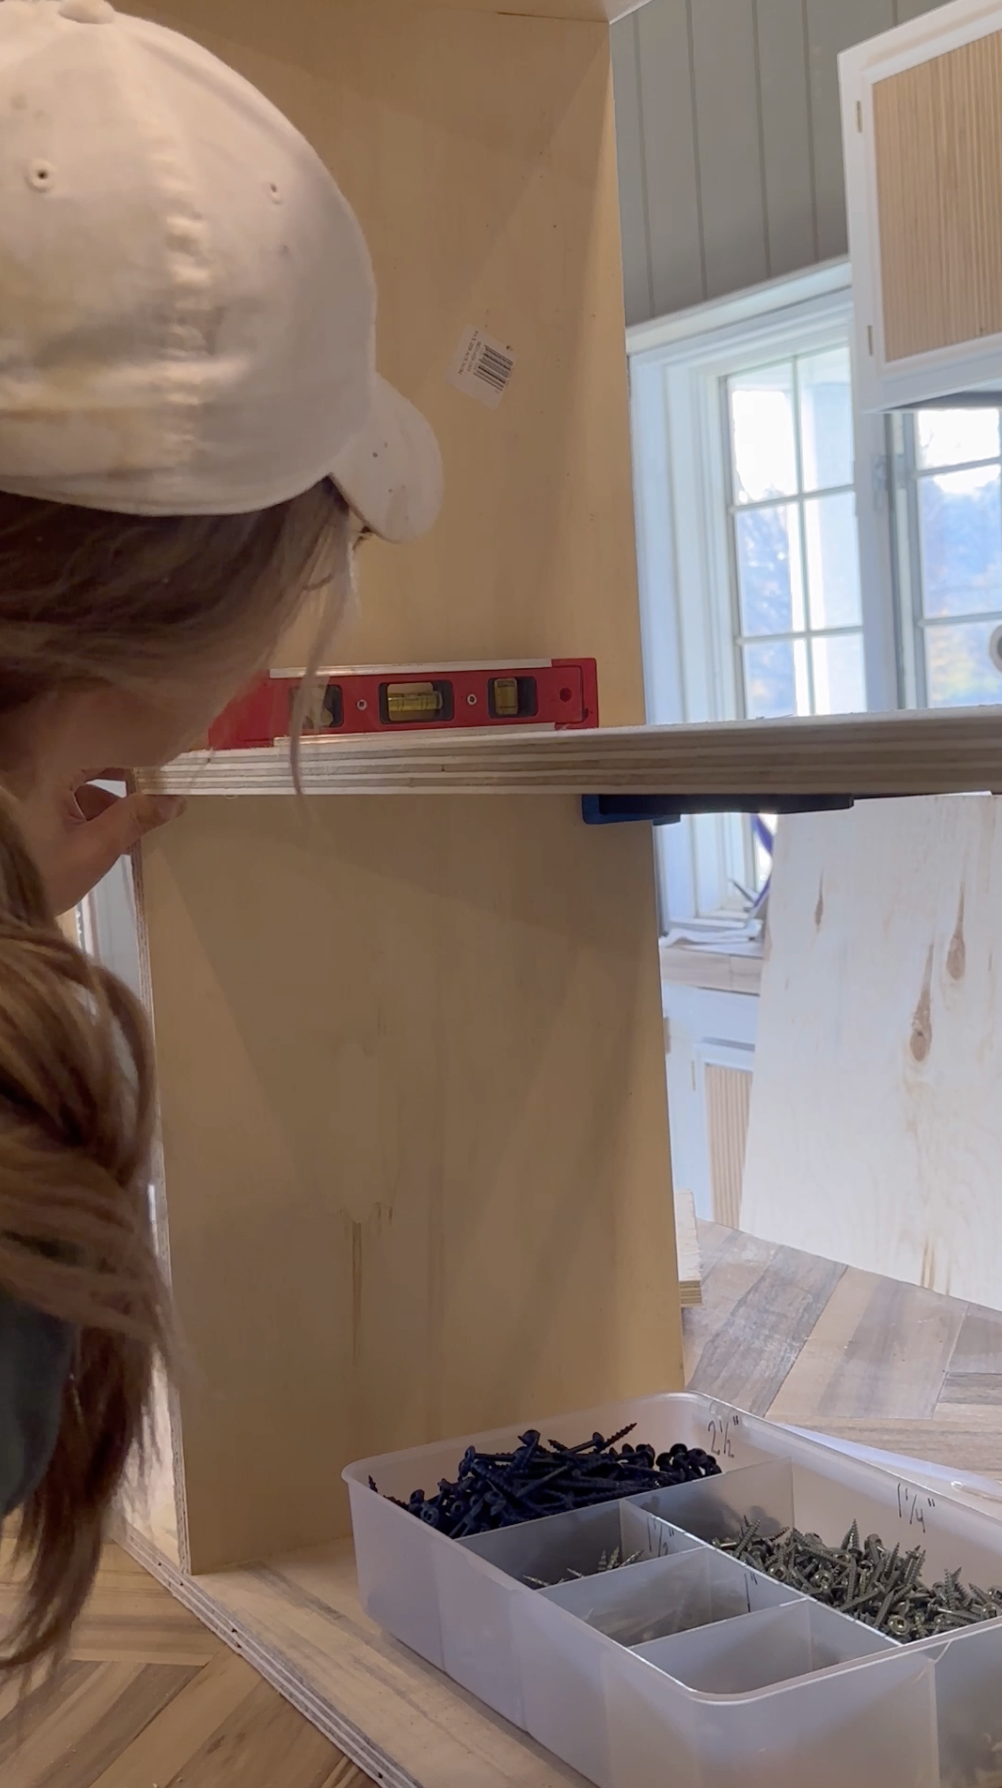

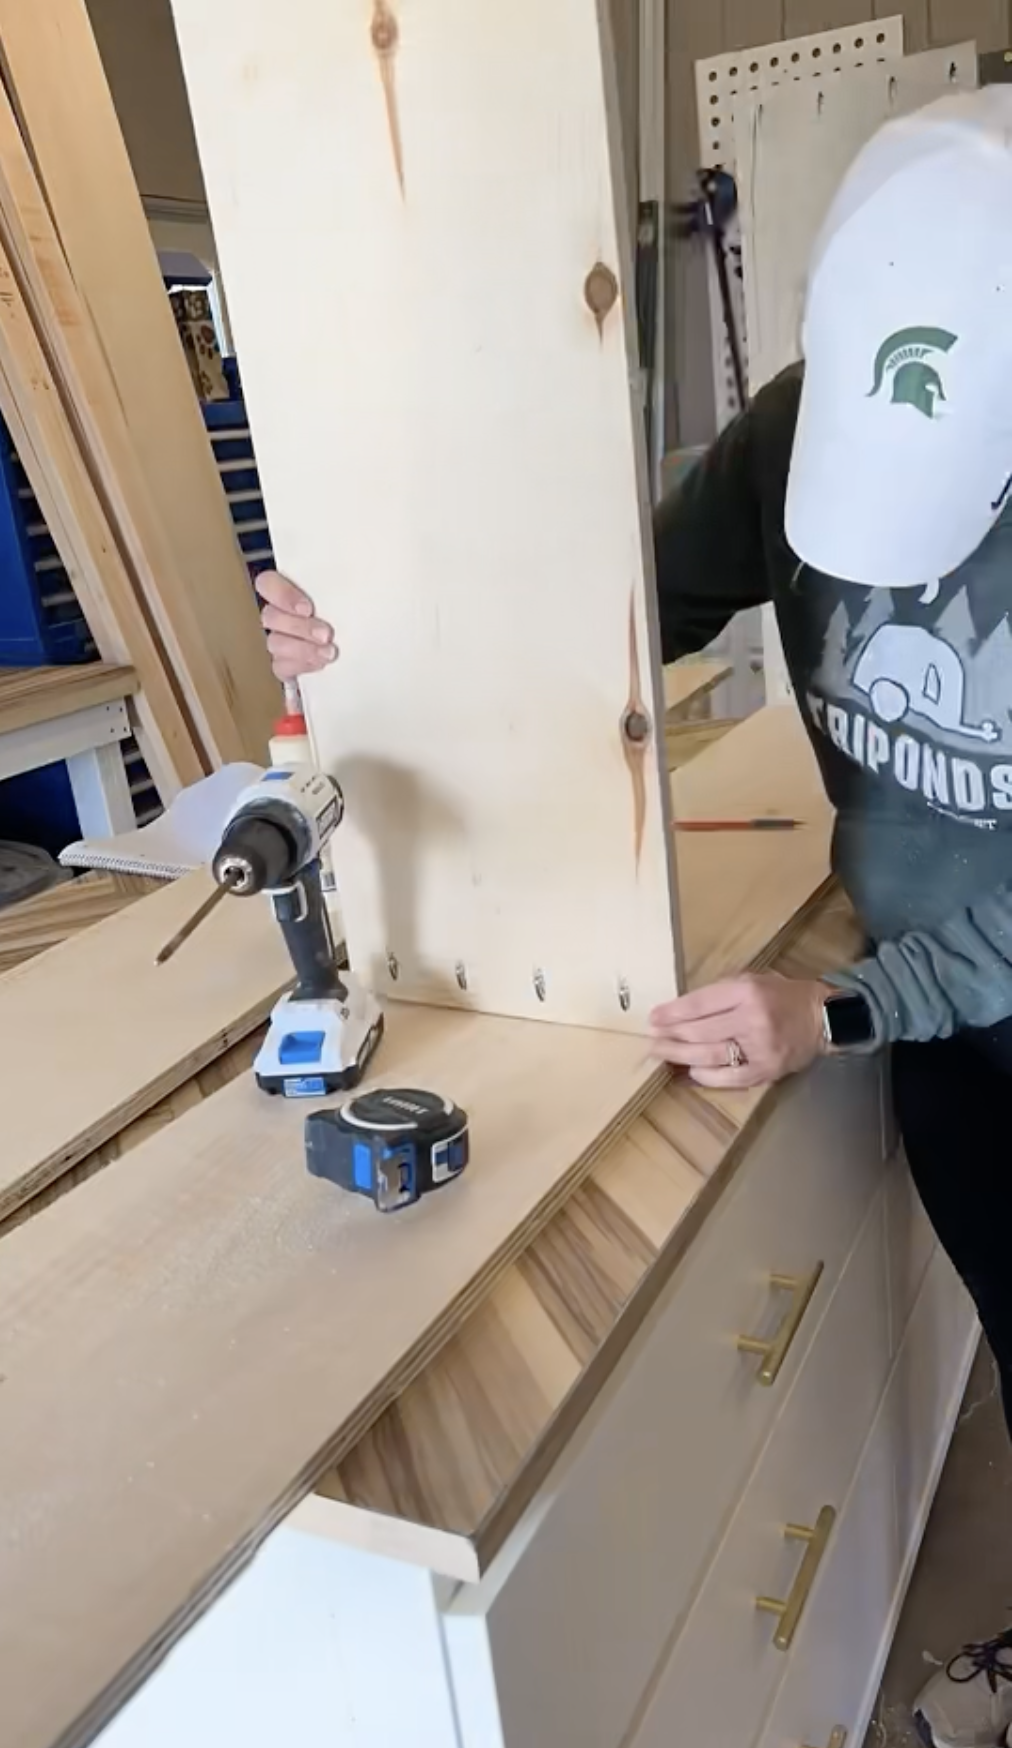
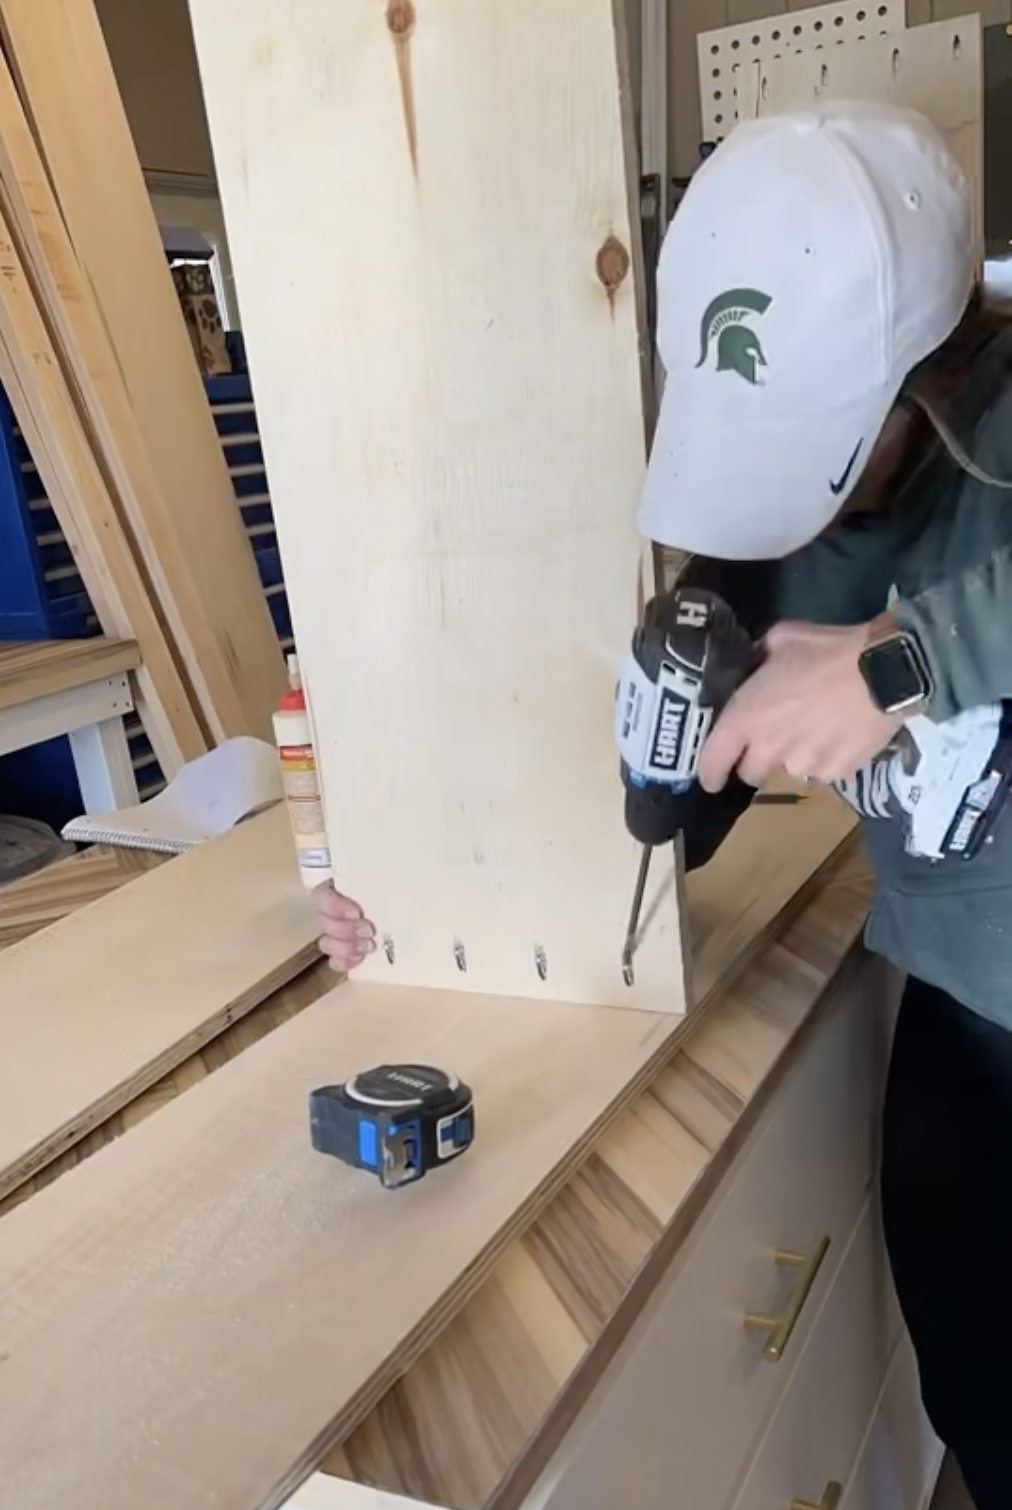
STEP 4: Now we will add the shelves into the cabinet. Use a clamp on the backside of the cabinet to rest the board on which you attach the front side. Use a level to ensure it’s even and then use a power drill to add _ inch screws.
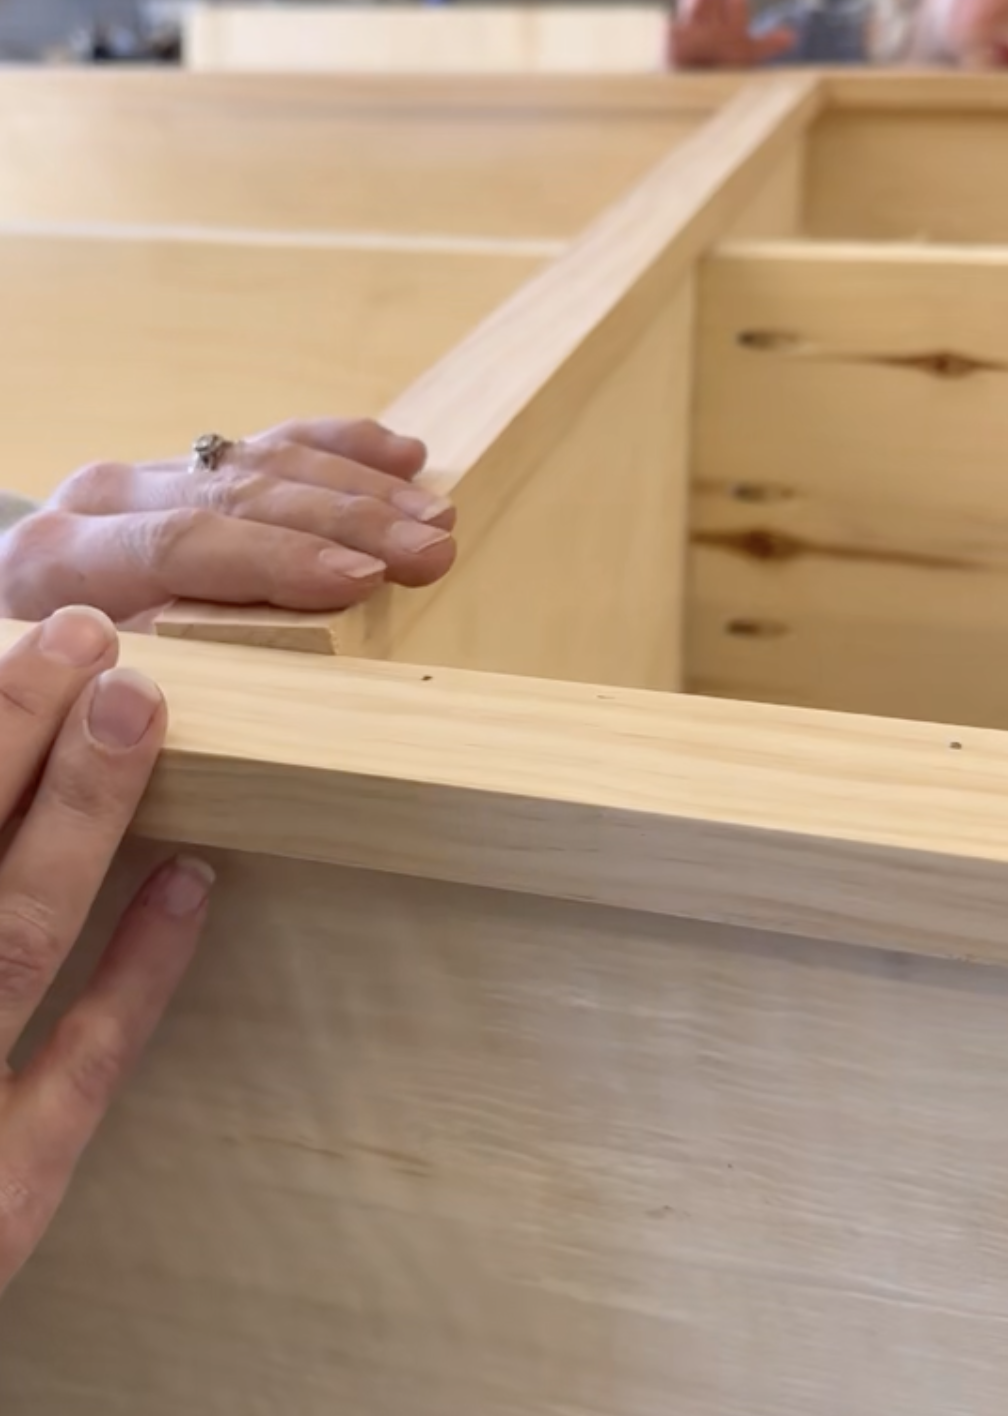
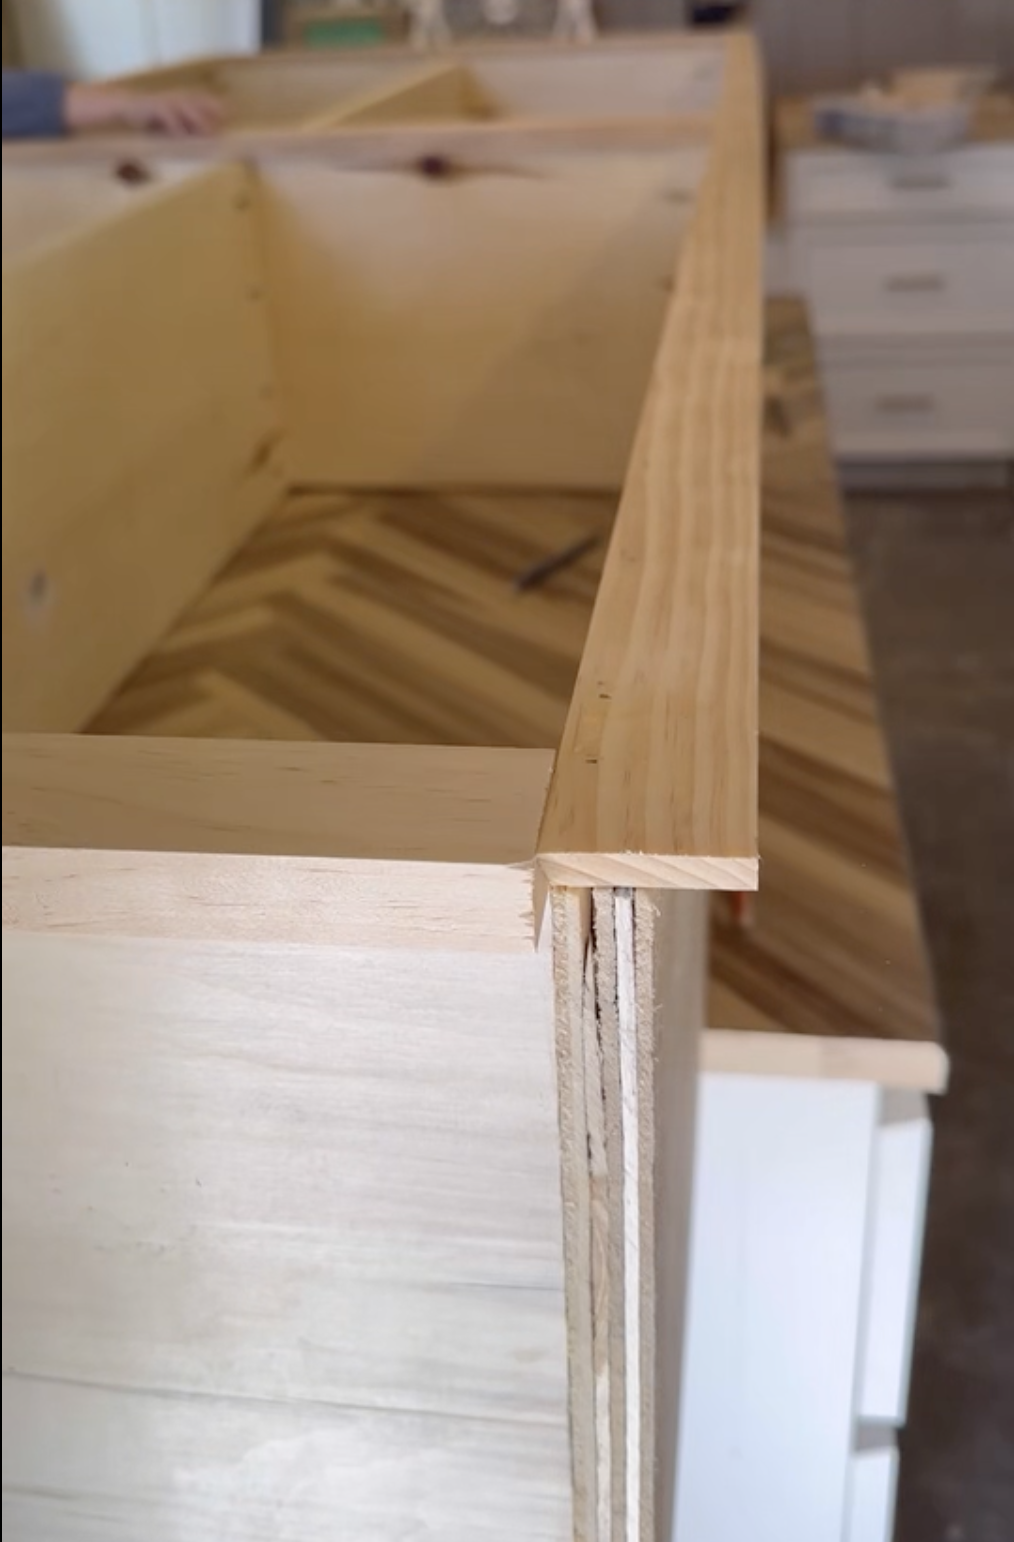
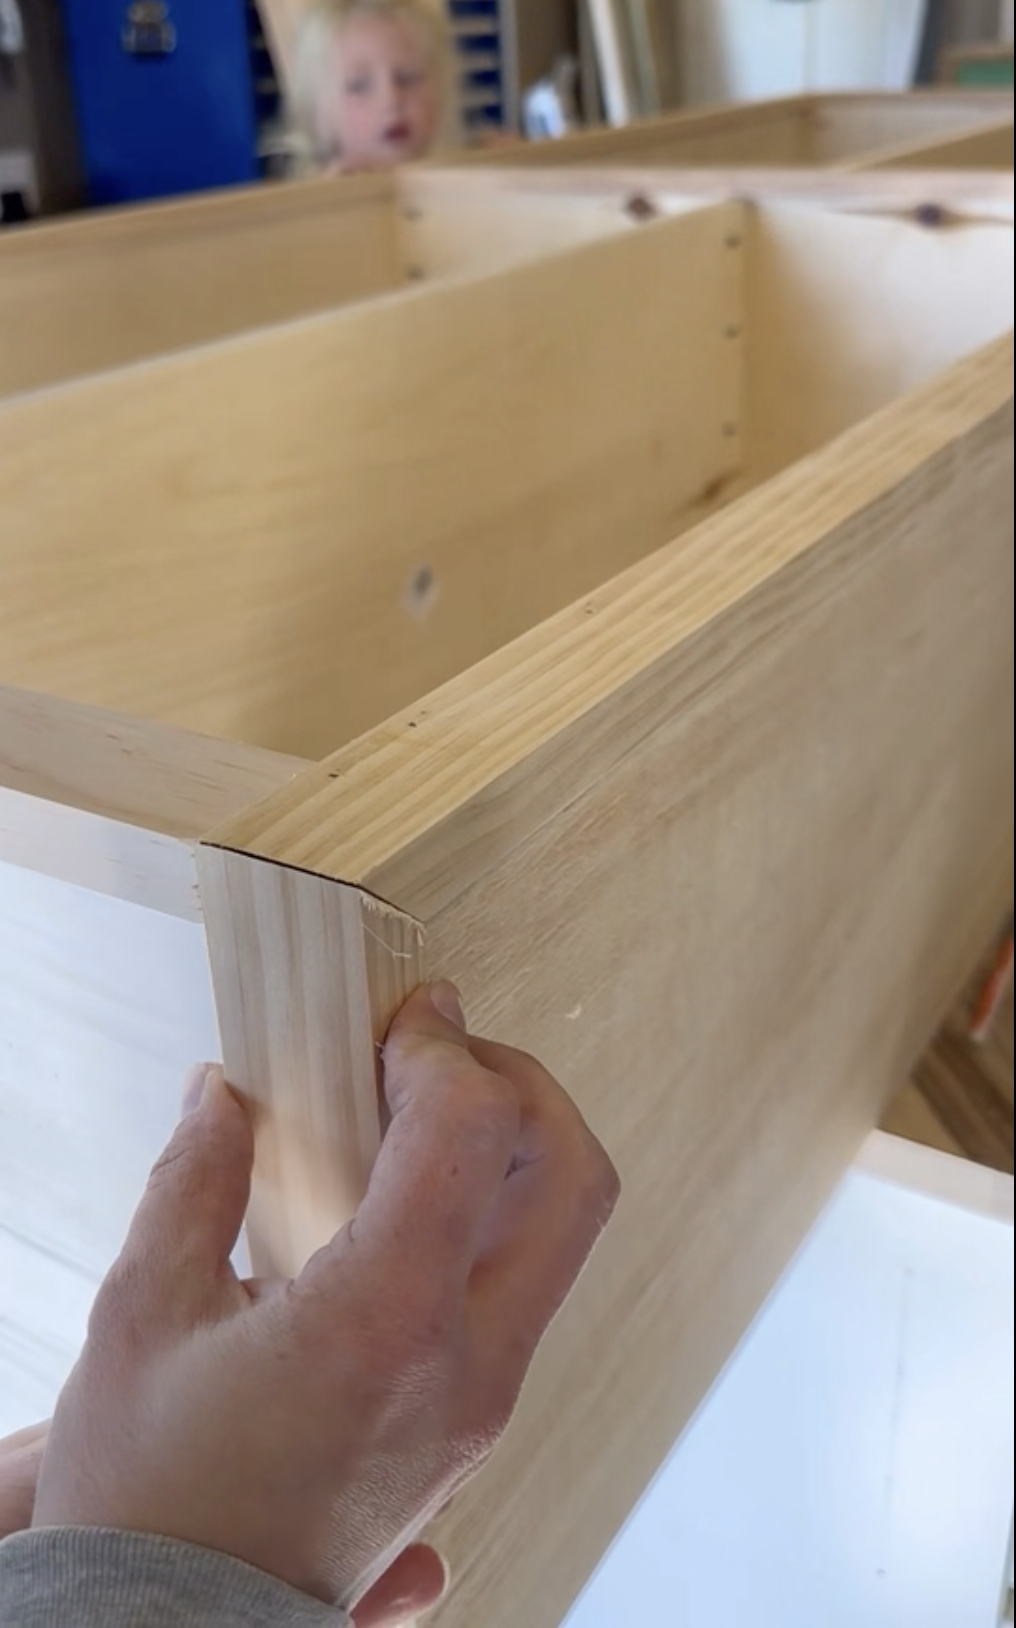
STEP 5: Face Frame the cabinet with 1×2 pieces of select pine. You will want to use wood glue and a brad nailer to attach the pieces.
STEP 6: Add Wood Filler over the nails to ensure a seamless cabinet front when painted.
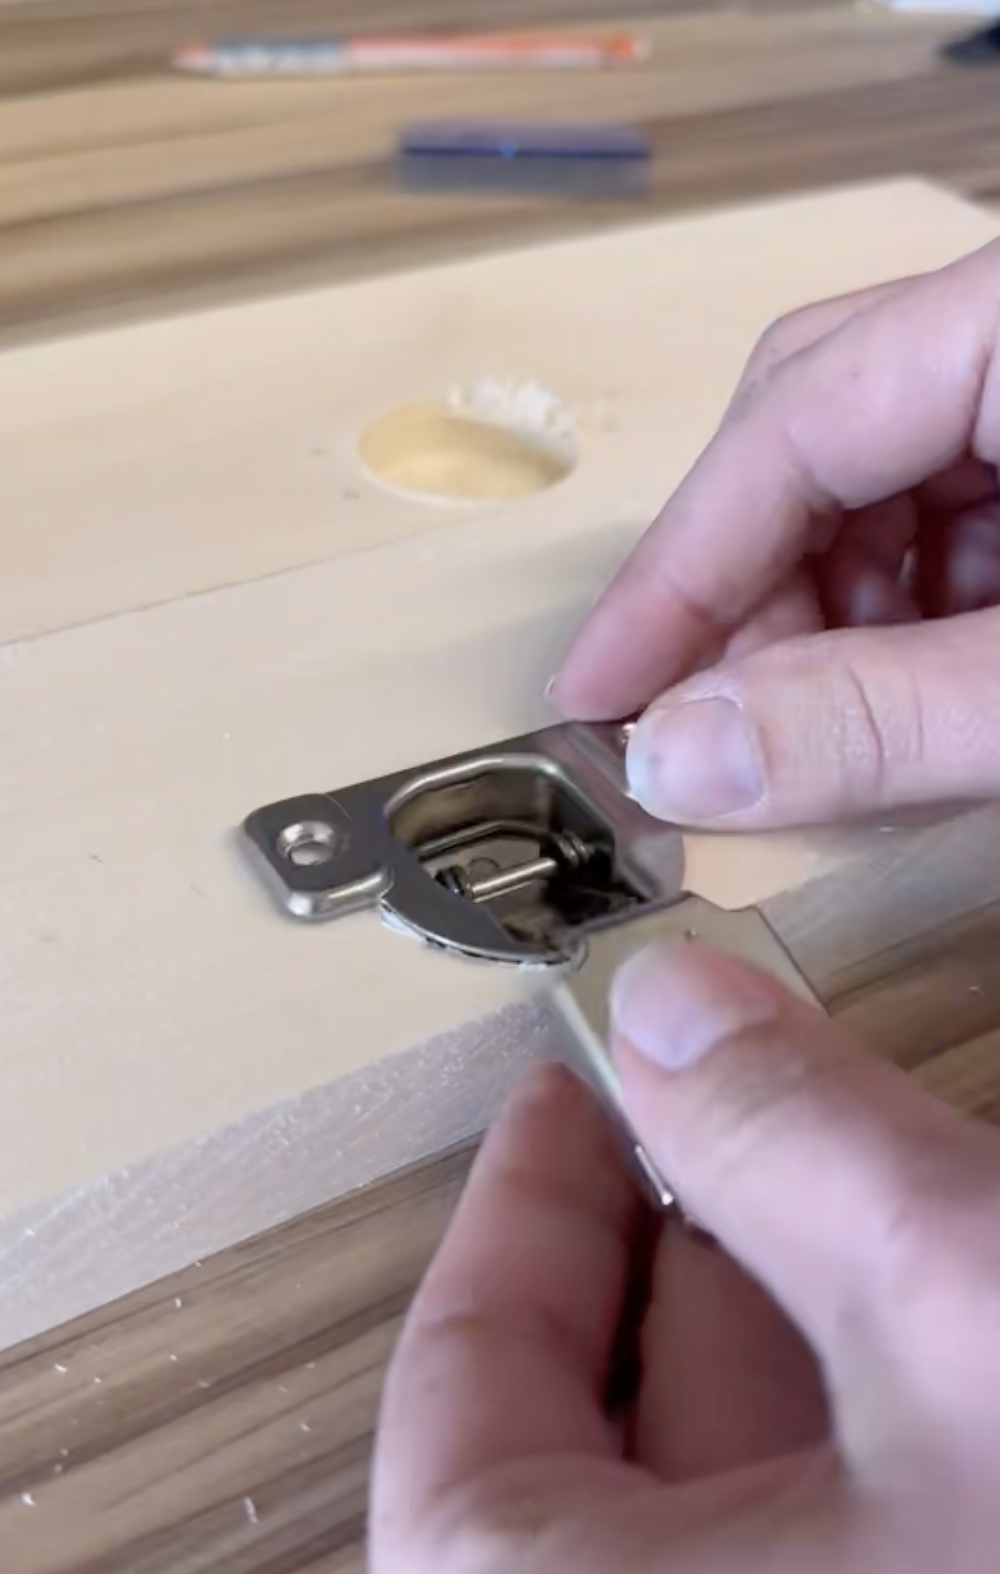
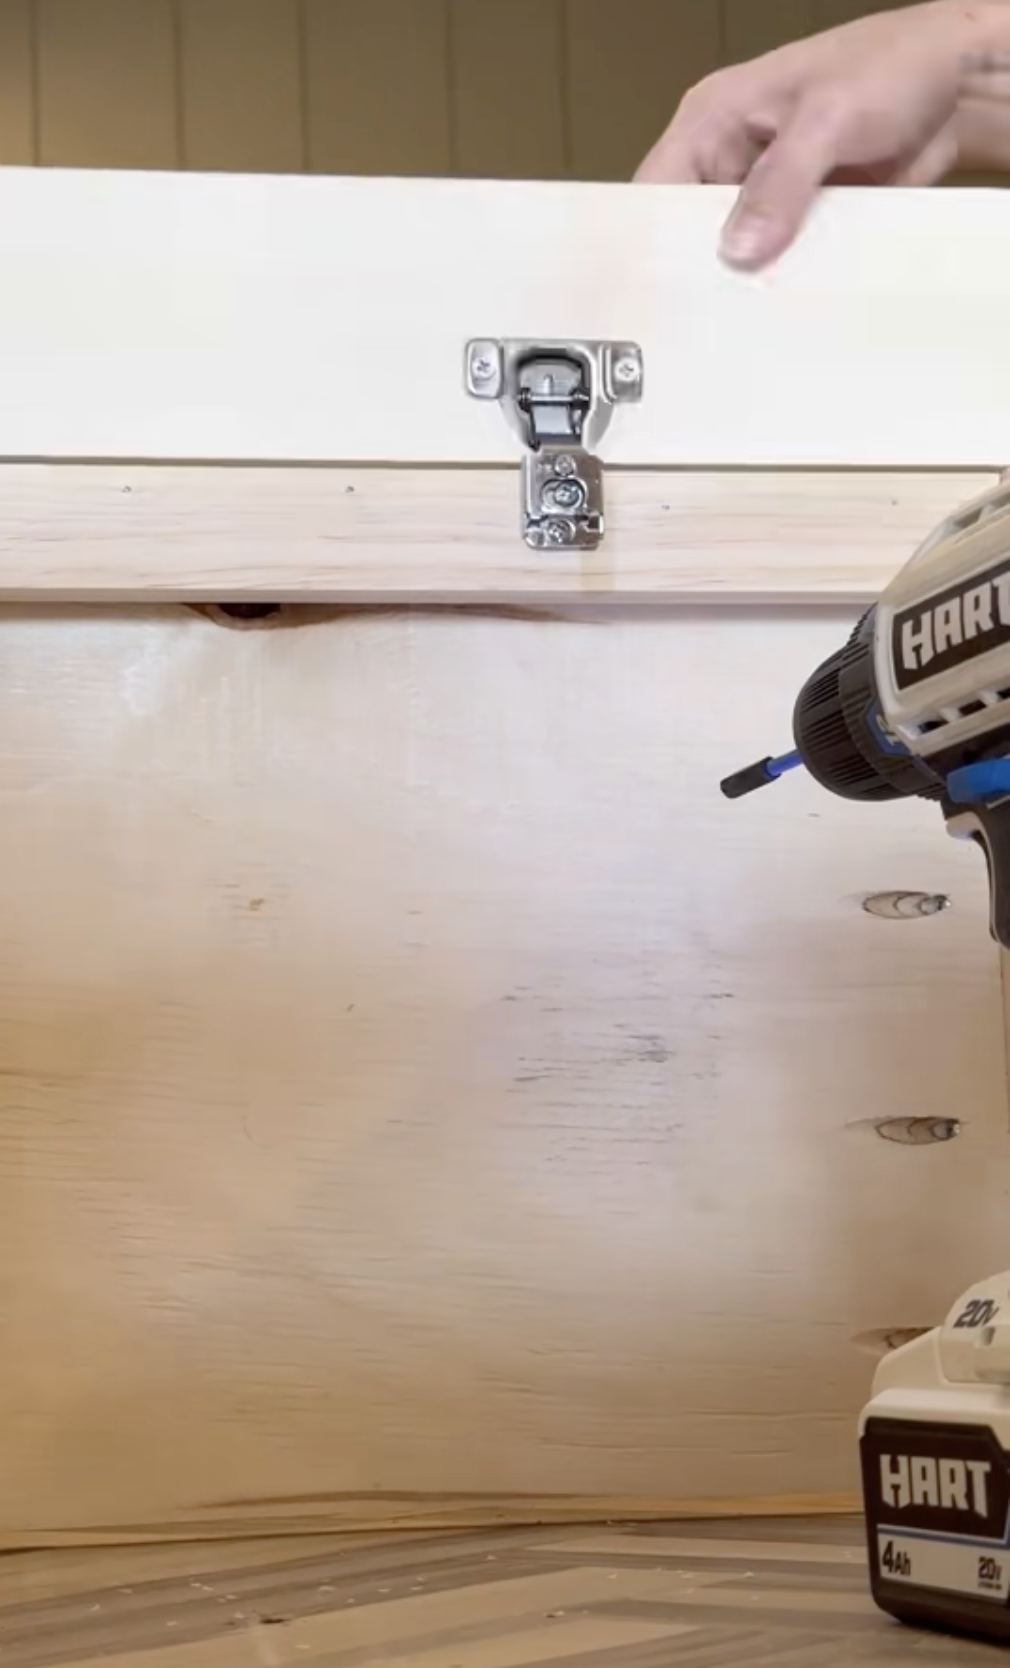
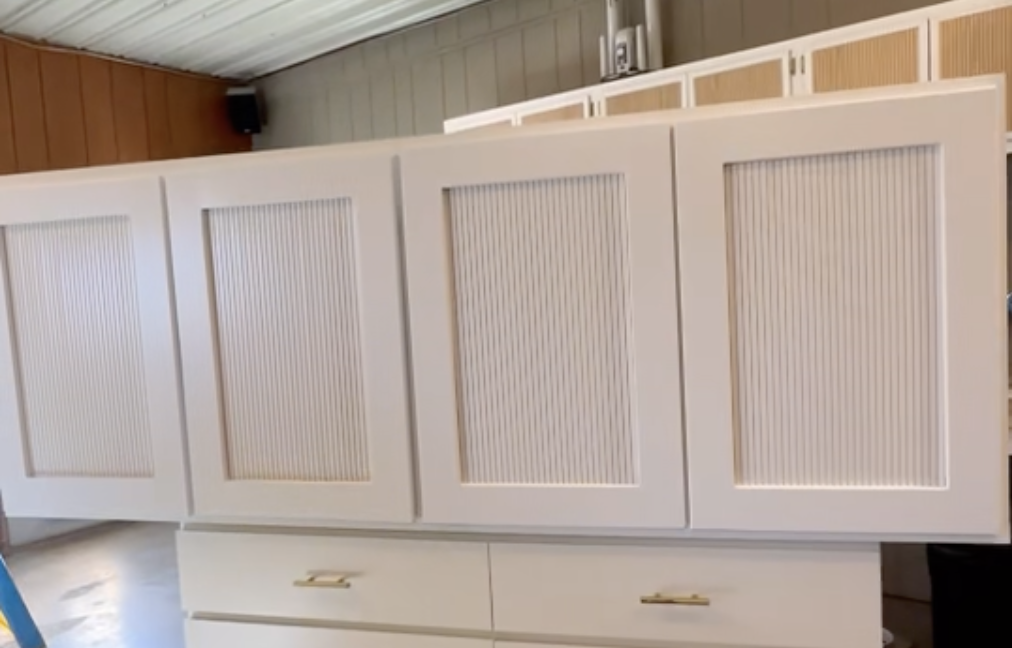
STEP 7: Time for the doors. I made my doors a little backwards. Grab the outside rails (Pieces of 1×3 select pine) and attach the no show hinges first using a hinge door jig.
STEP 8: Then build inward. Make sure to measure twice before making cuts. This way if the door is an 1/8” off, I can make up for it in my rails (Bottom and Top).
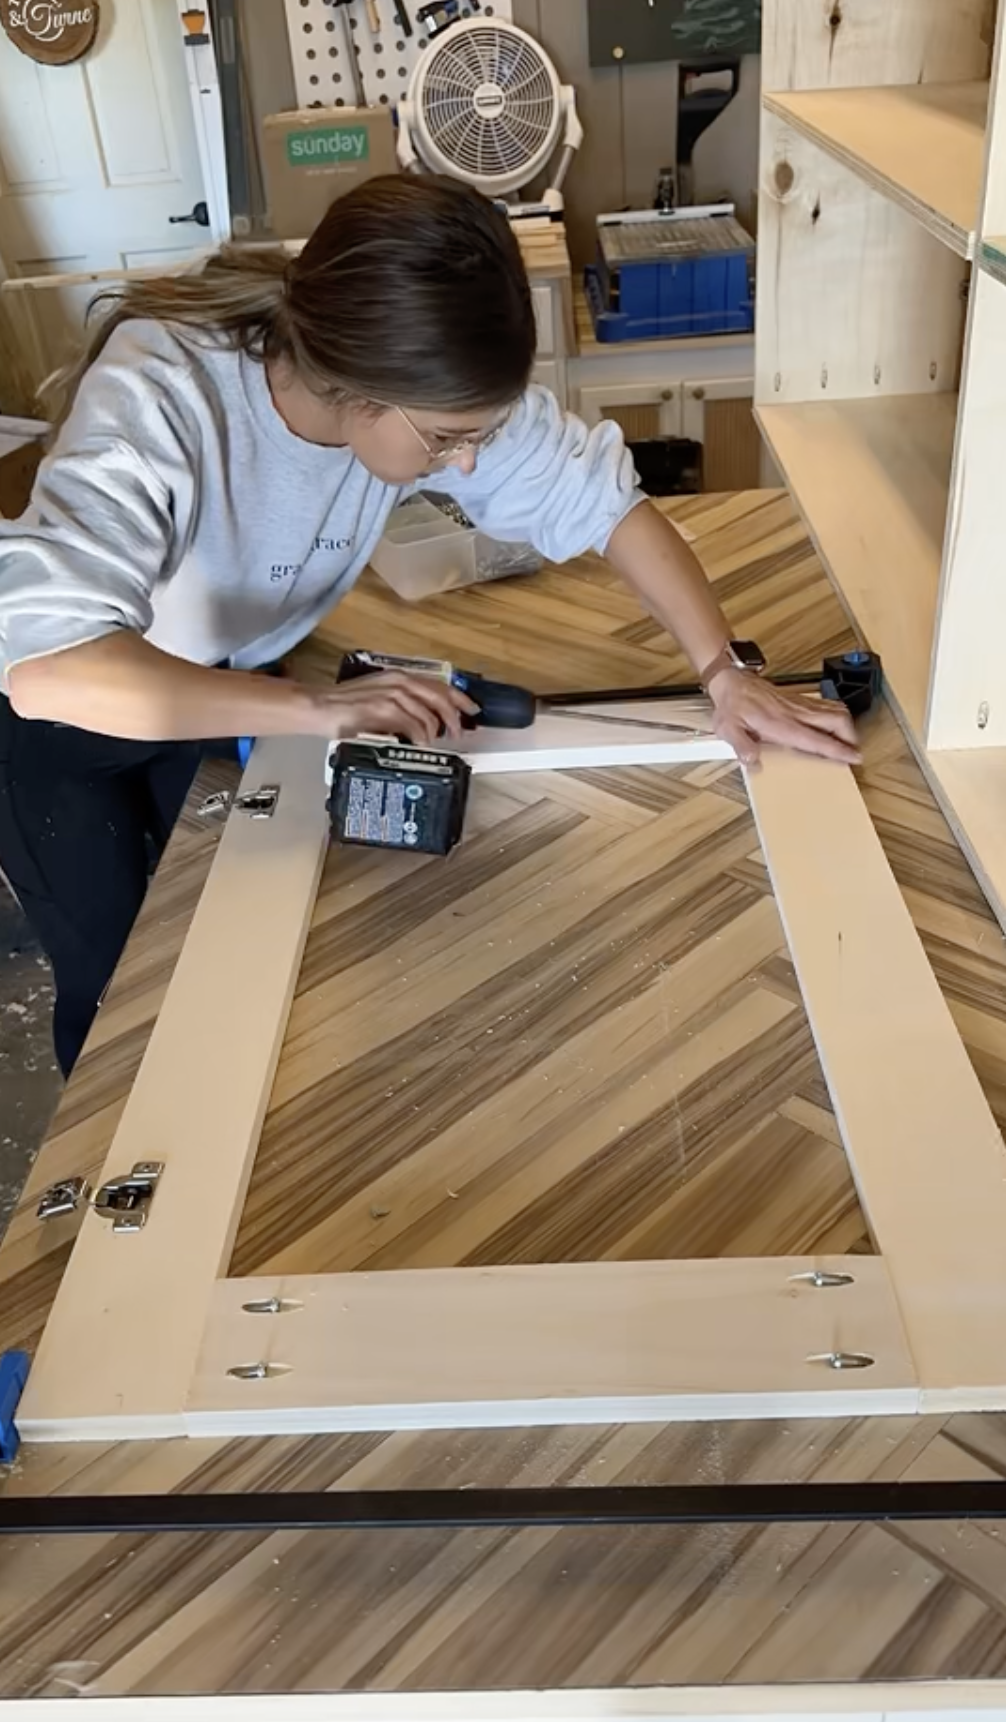
STEP 9: Put all the pieces together with glue, clamps and pocket holes.
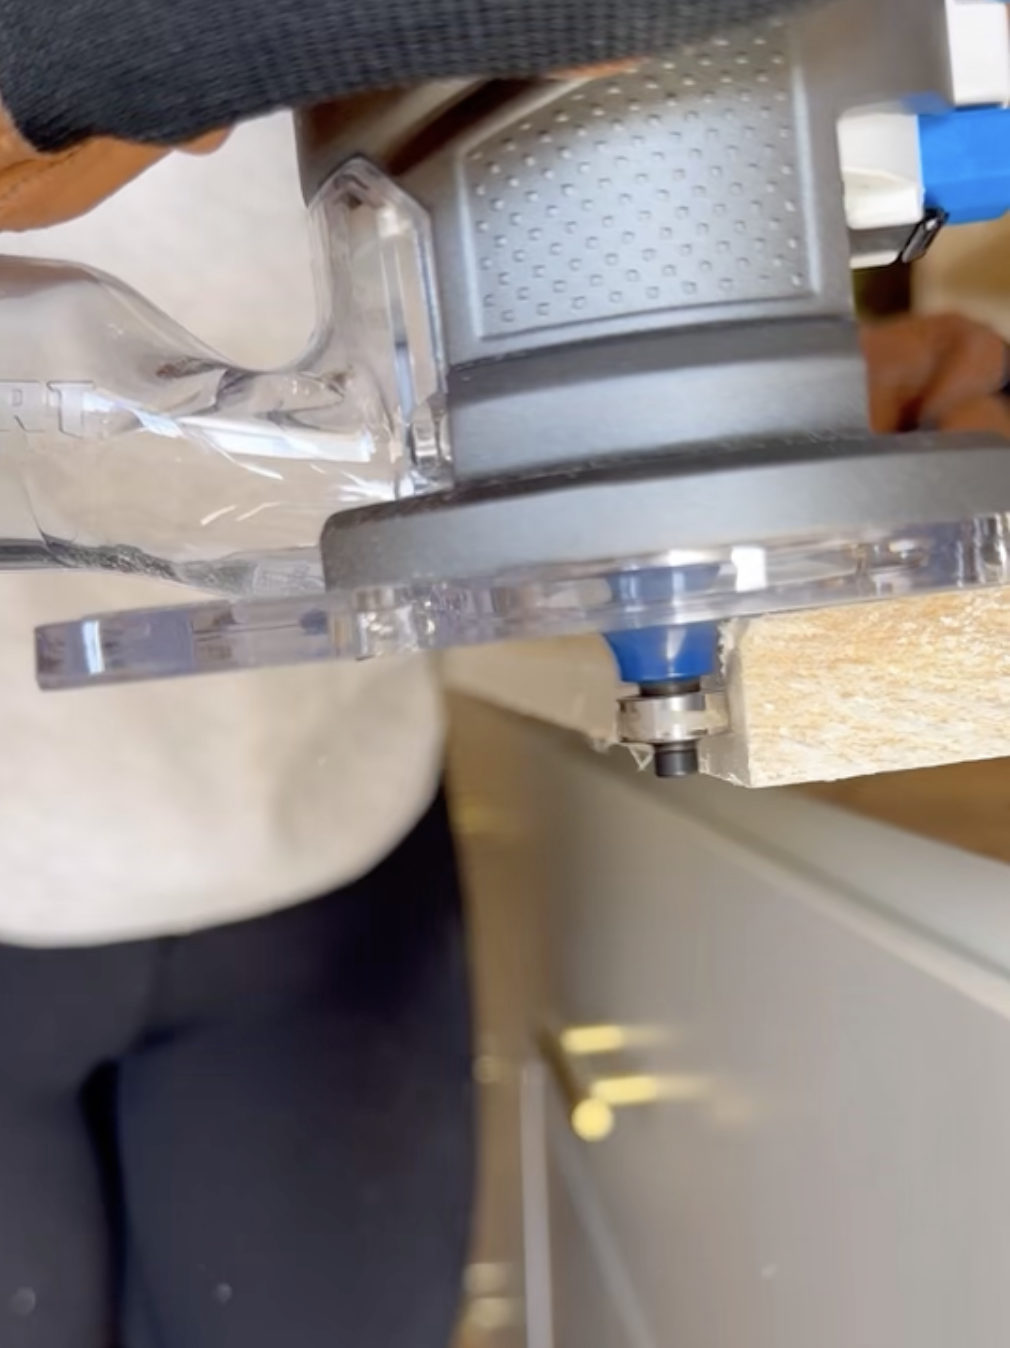
STEP 10: Use a router to detail the edges of the interior and exterior of each door so that they have a slightly curved edge vs straight edge.
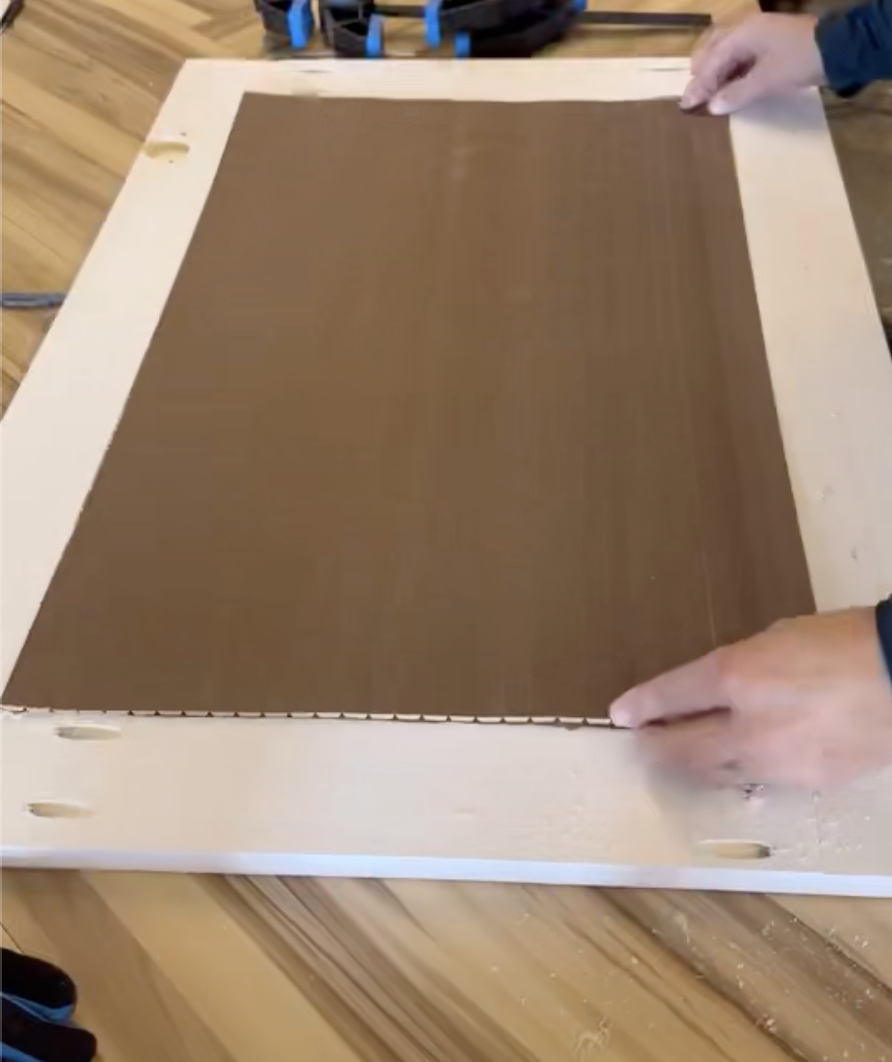
STEP 11: Use Pole wrap for the door face. Cut the pole wrap to the appropriate size for your door.
STEP 12: Using the Router on the Back side of each door cut an inlay for the pole wrap to fit in.
STEP 13: Use wood glue and the brad nailer to attach the pole wrap to the door frame. Hint: Make sure you have the right size nails. I still had longer ones and they went right through the door. I should have use 5/8”.
STEP 14: Paint the the entire cabinet. I used White Paint- Untinted Satin White for Cabinet.
STEP 15: Add the handles to the cabinet doors.
Begin Built In
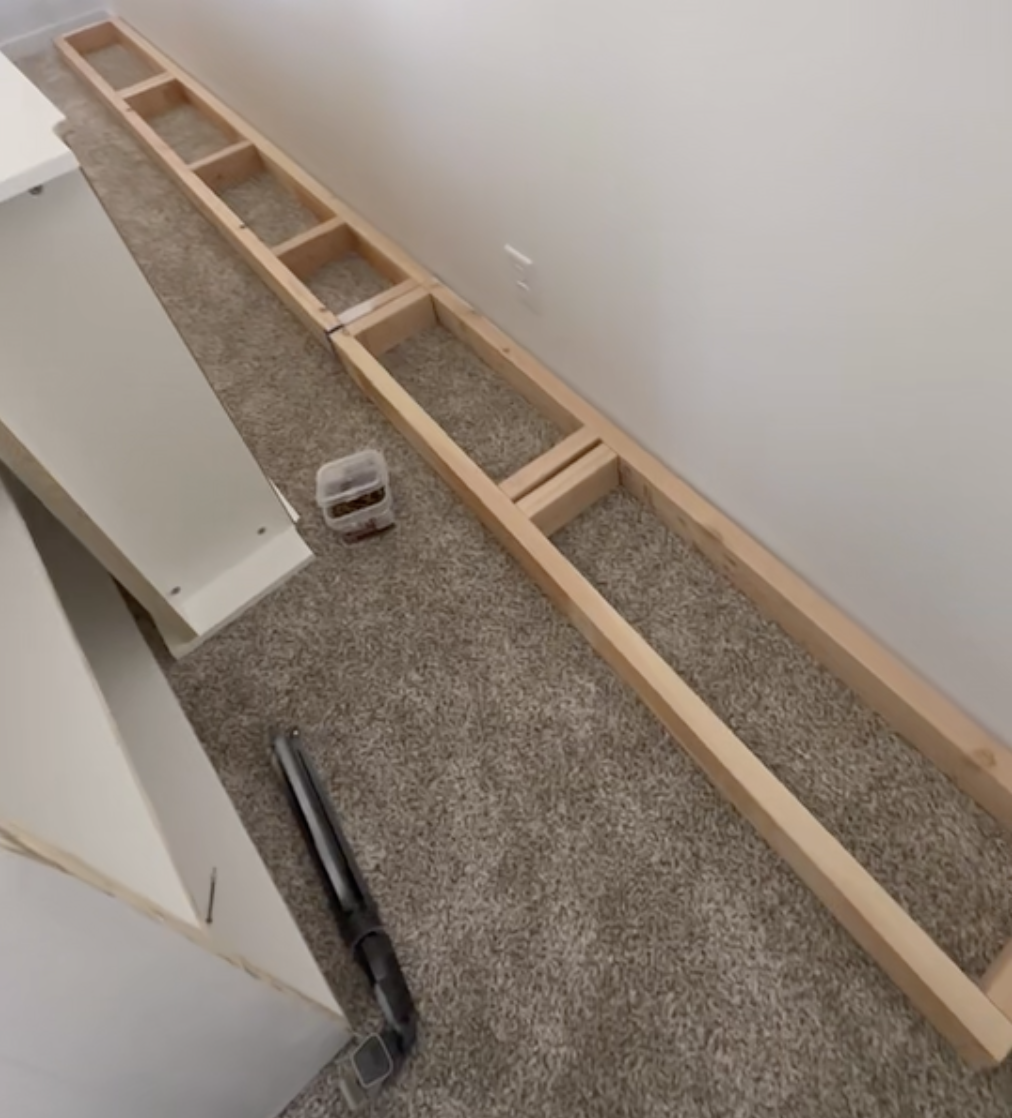
STEP 1: Make a 2×4 platform for the bookcases and cabinet to sit on. I tried to line up a cross 2×4 underneath each bookcase so that it is supporting the bookcase. *See Picture
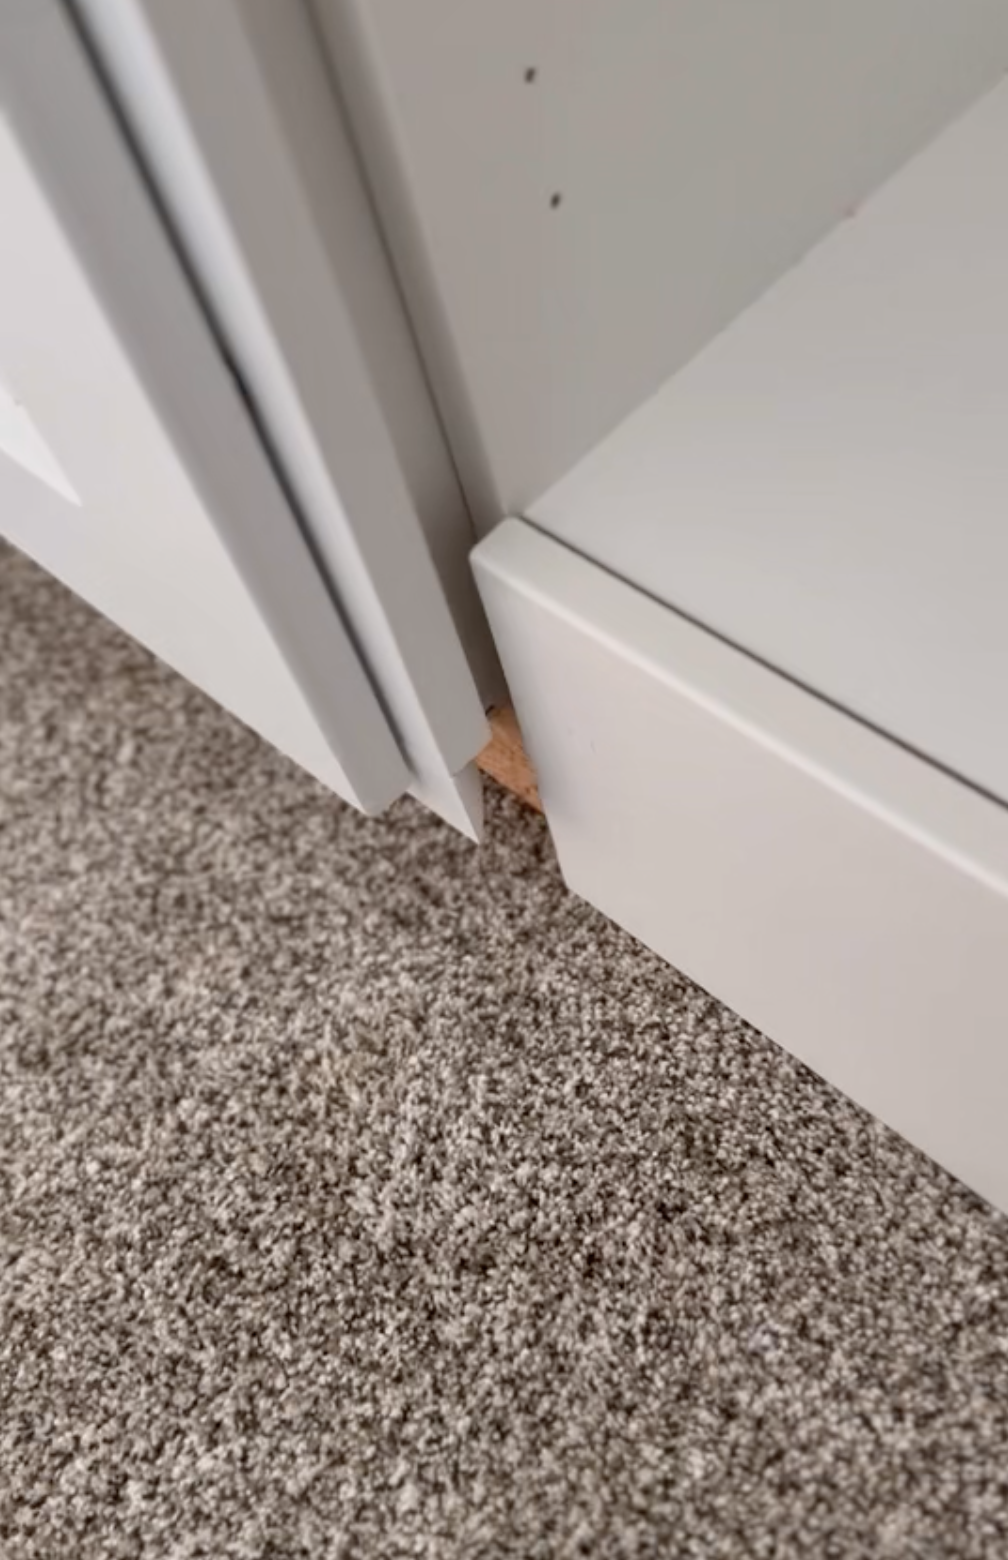
STEP 2: Cut Back the carpet to where you are building. Hint: This is the #1 thing that I would have done differently when I built these.
STEP 3: Attach 2×4 platform to wall studs so it will be secure.
STEP 4: Build the Billy Bookcases and Extension pack. I used Hexi to get these pieces since I live nowhere near an Ikea. If you live near Ikea they are linked up above. Bookshelf was attached to wall with mounting hardware from Ikea.
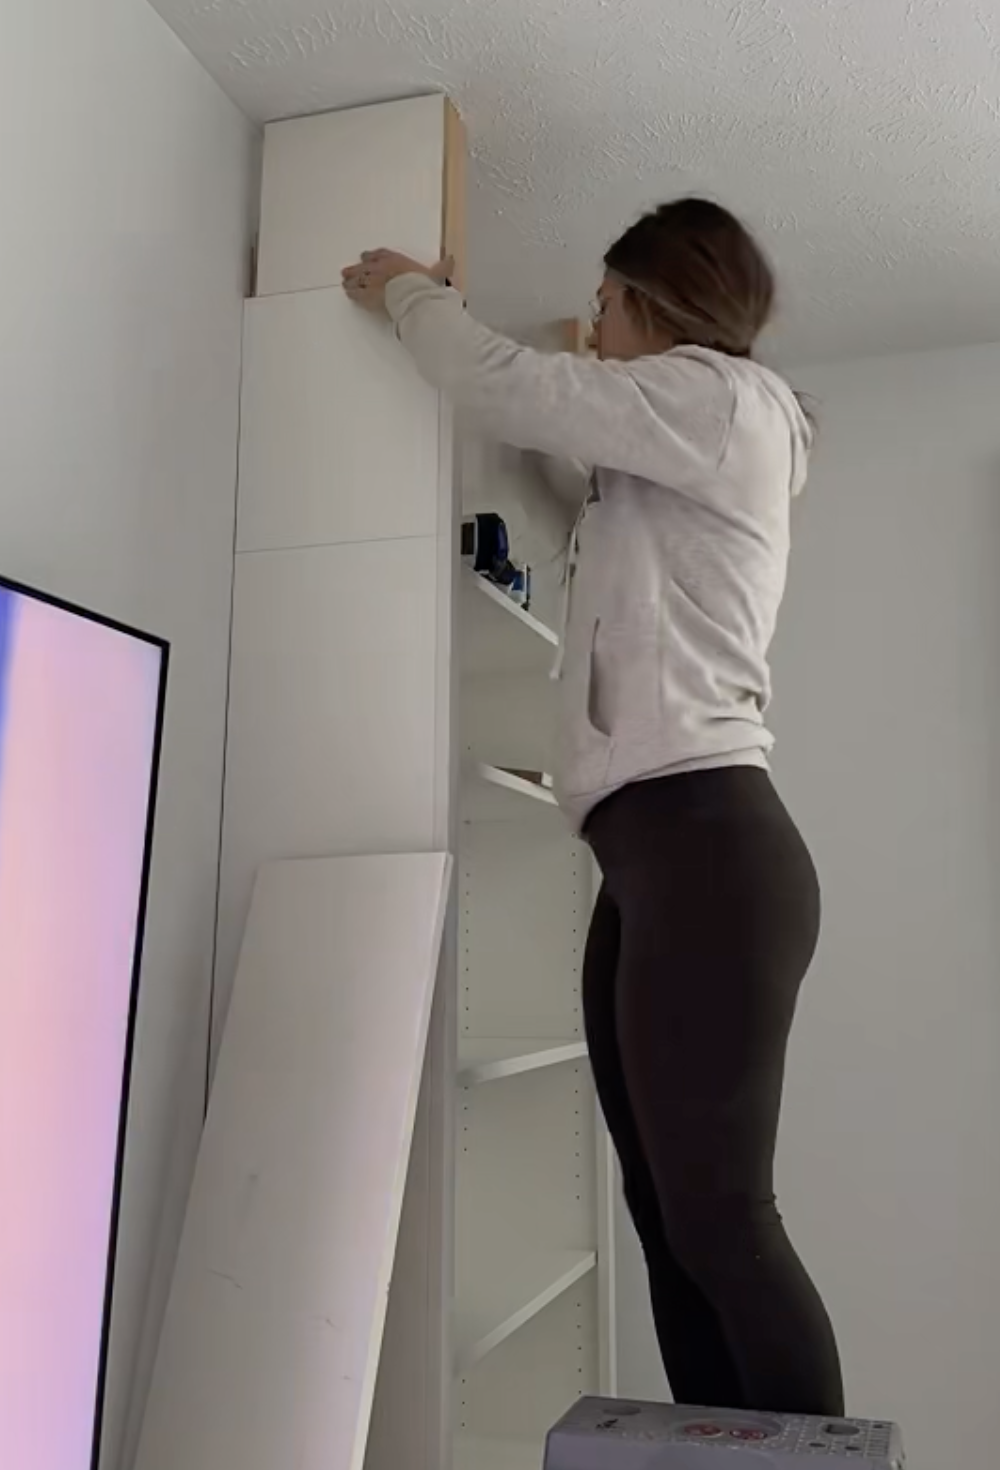
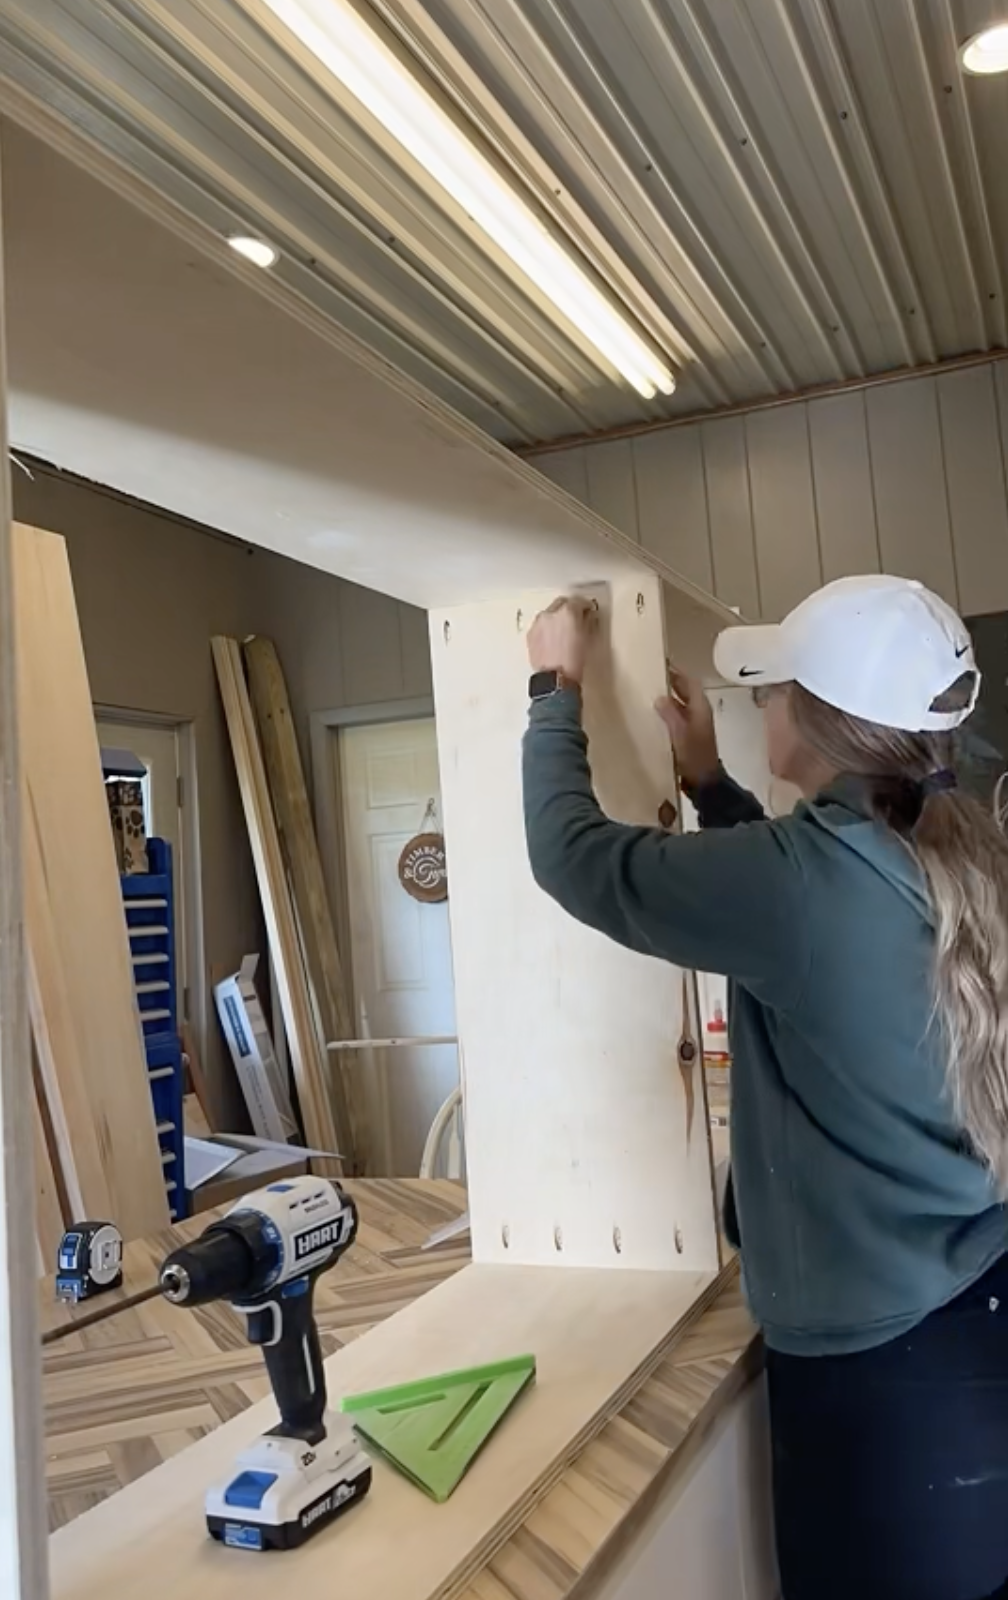
STEP 5: Add all the pieces onto the 2×4 frame. Attach cabinet by drilling into the top piece of plywood on an angle into the wall stud. Then I also reinforced from the bottom cabinet plywood into the 2×4 brace.
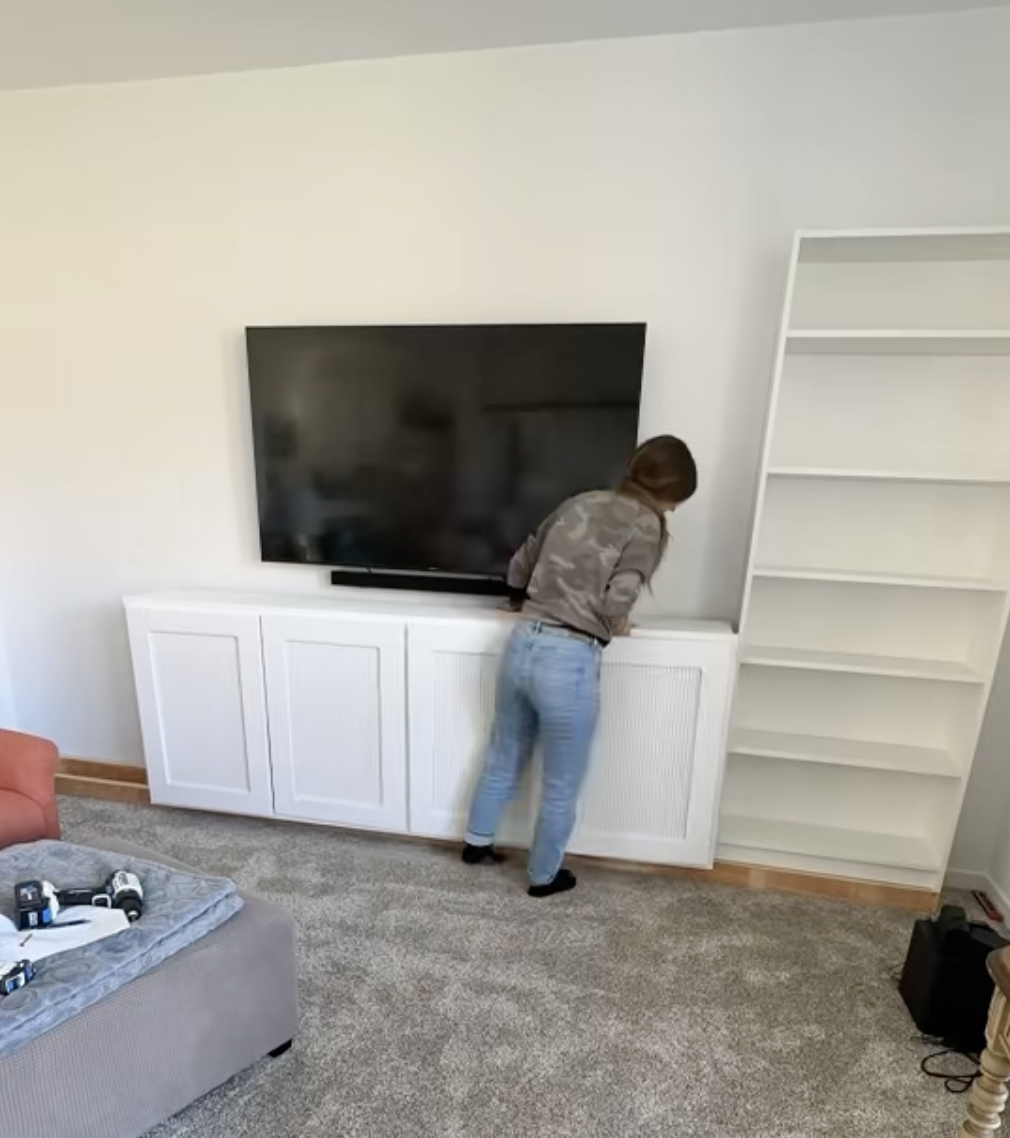
STEP 6: The key to making this look built it is adding trim pieces that are built with a similar paint color and sheen.
STEP 7: I am adding a baseboard all along the bottom and a 1×2 up and down so that it looks more professional.
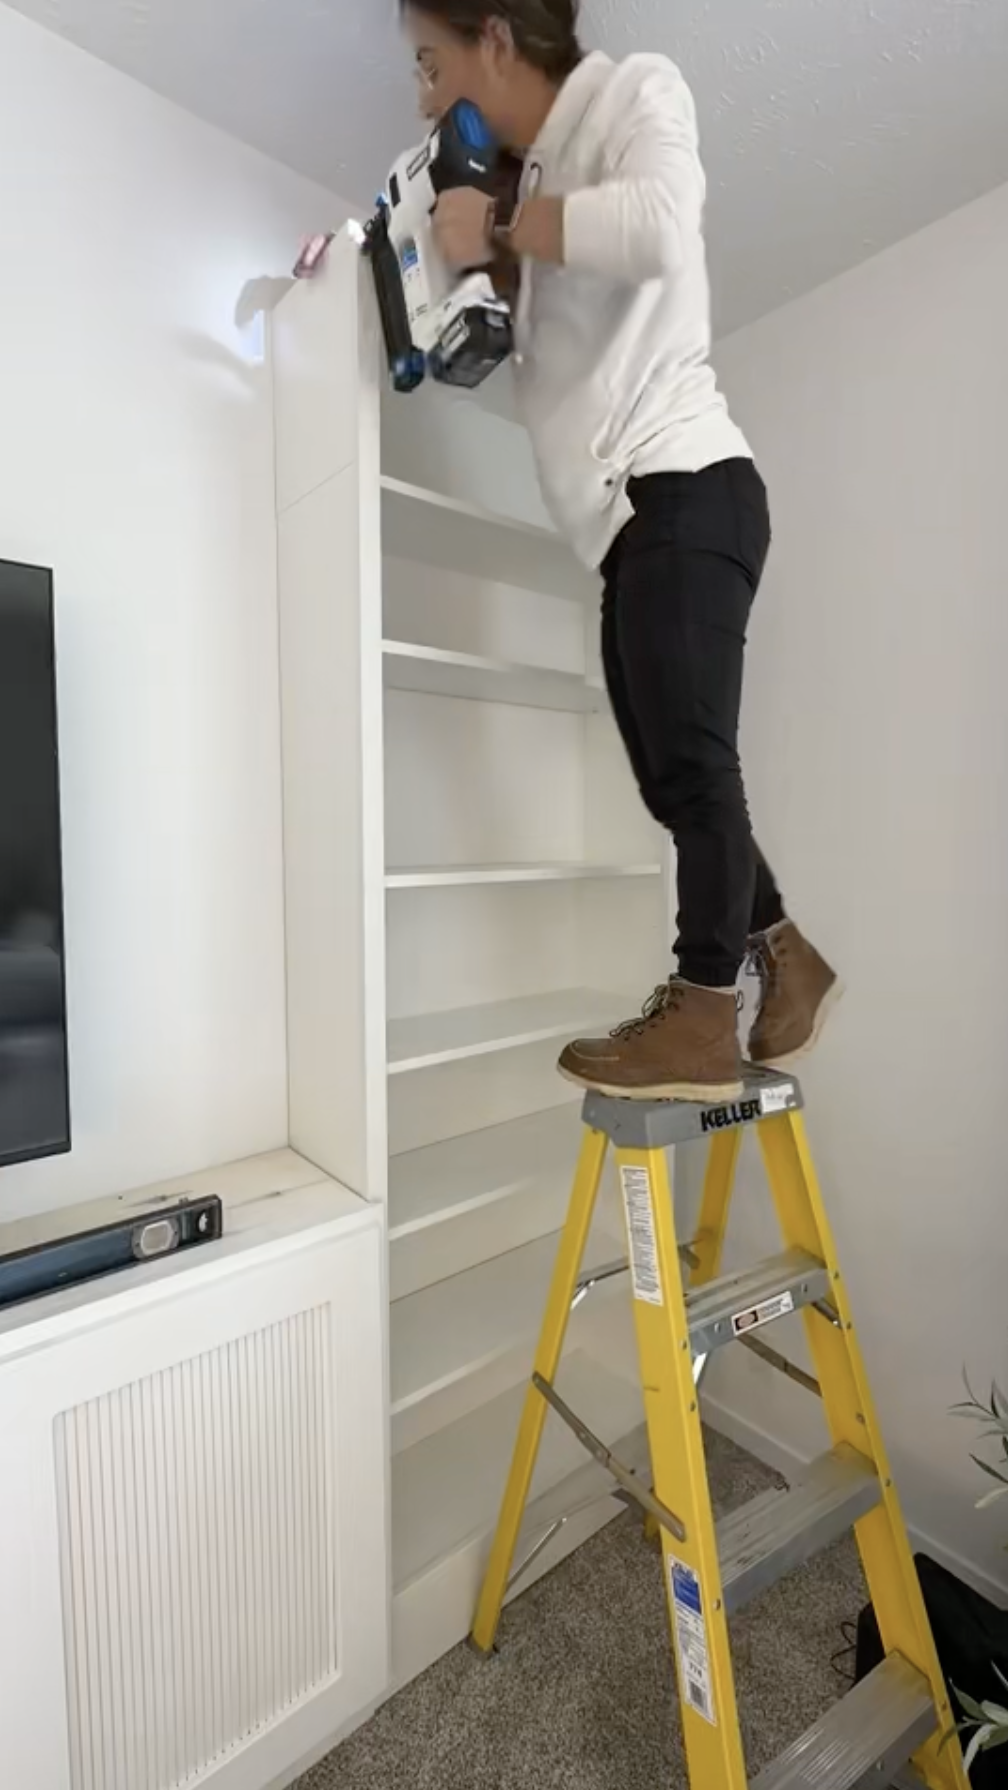
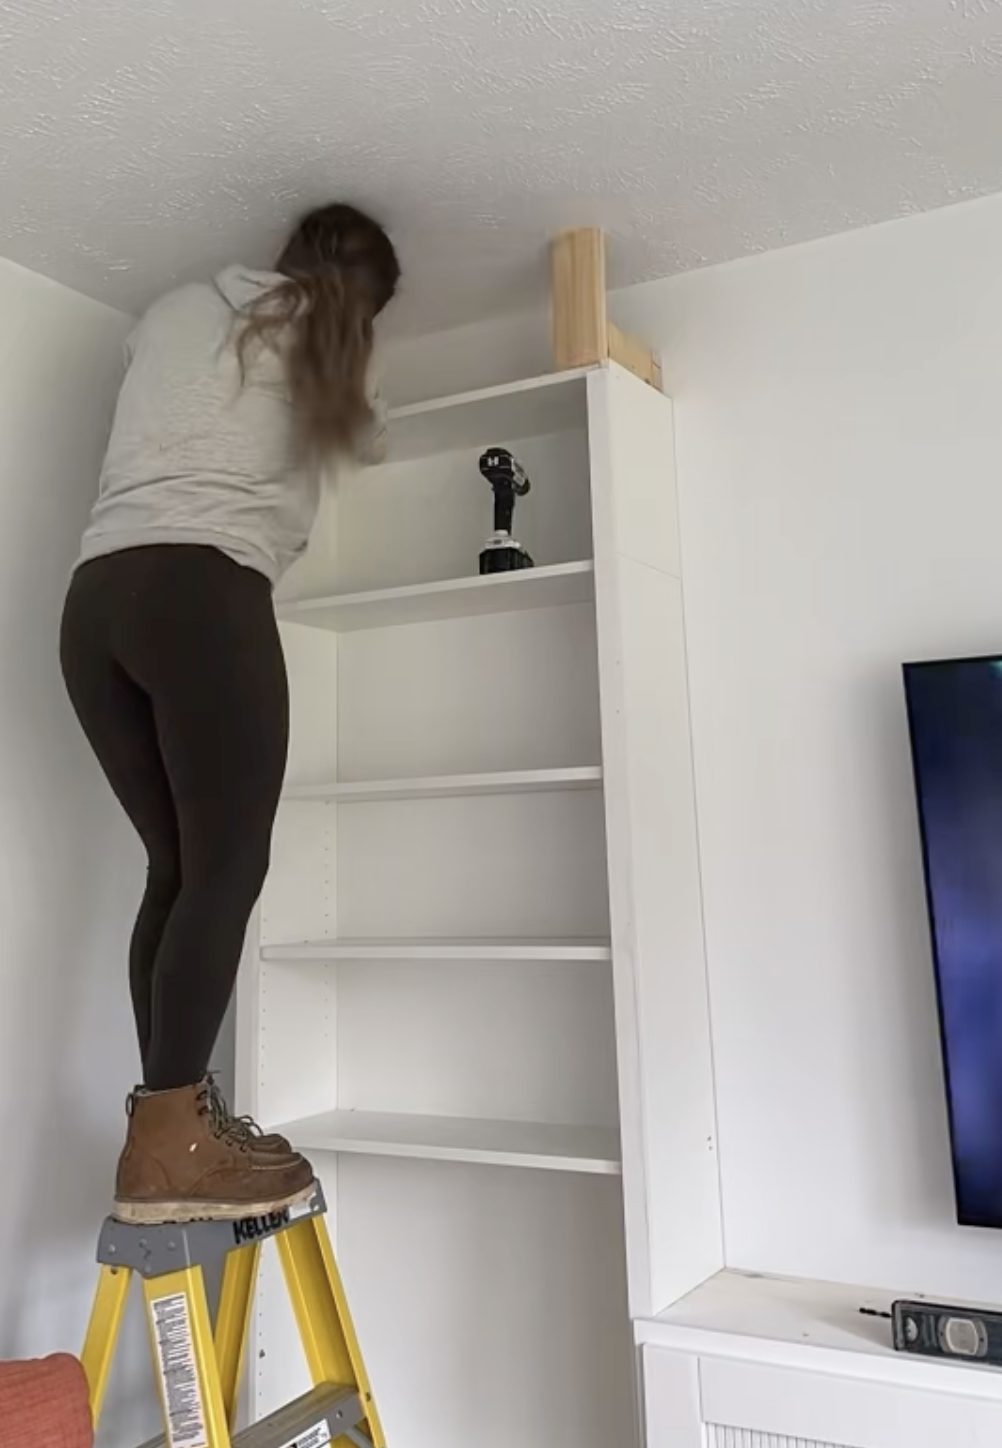
STEP 8: Add 2×4’s on top of the extension up to the ceiling so it looks like one giant built in. Be sure to secure this to your wall.
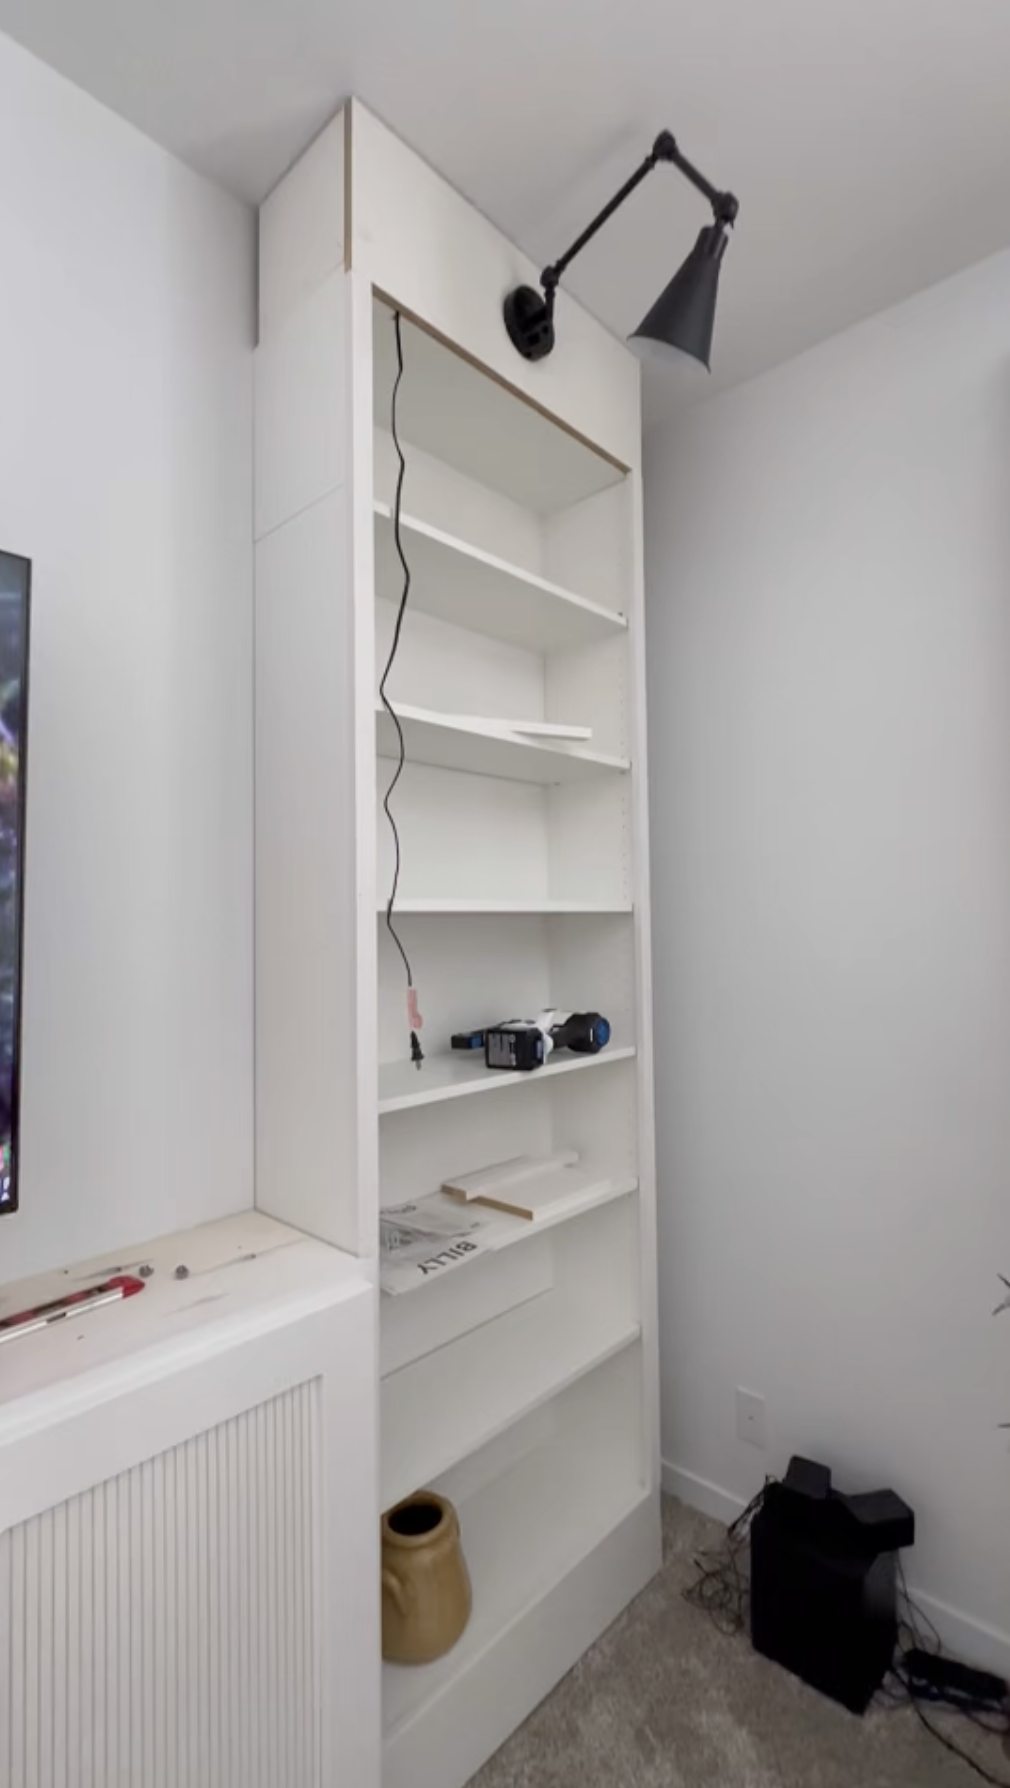
STEP 9: Add White Piece of MDF Board for side and front of bookcase if you are doing a light.
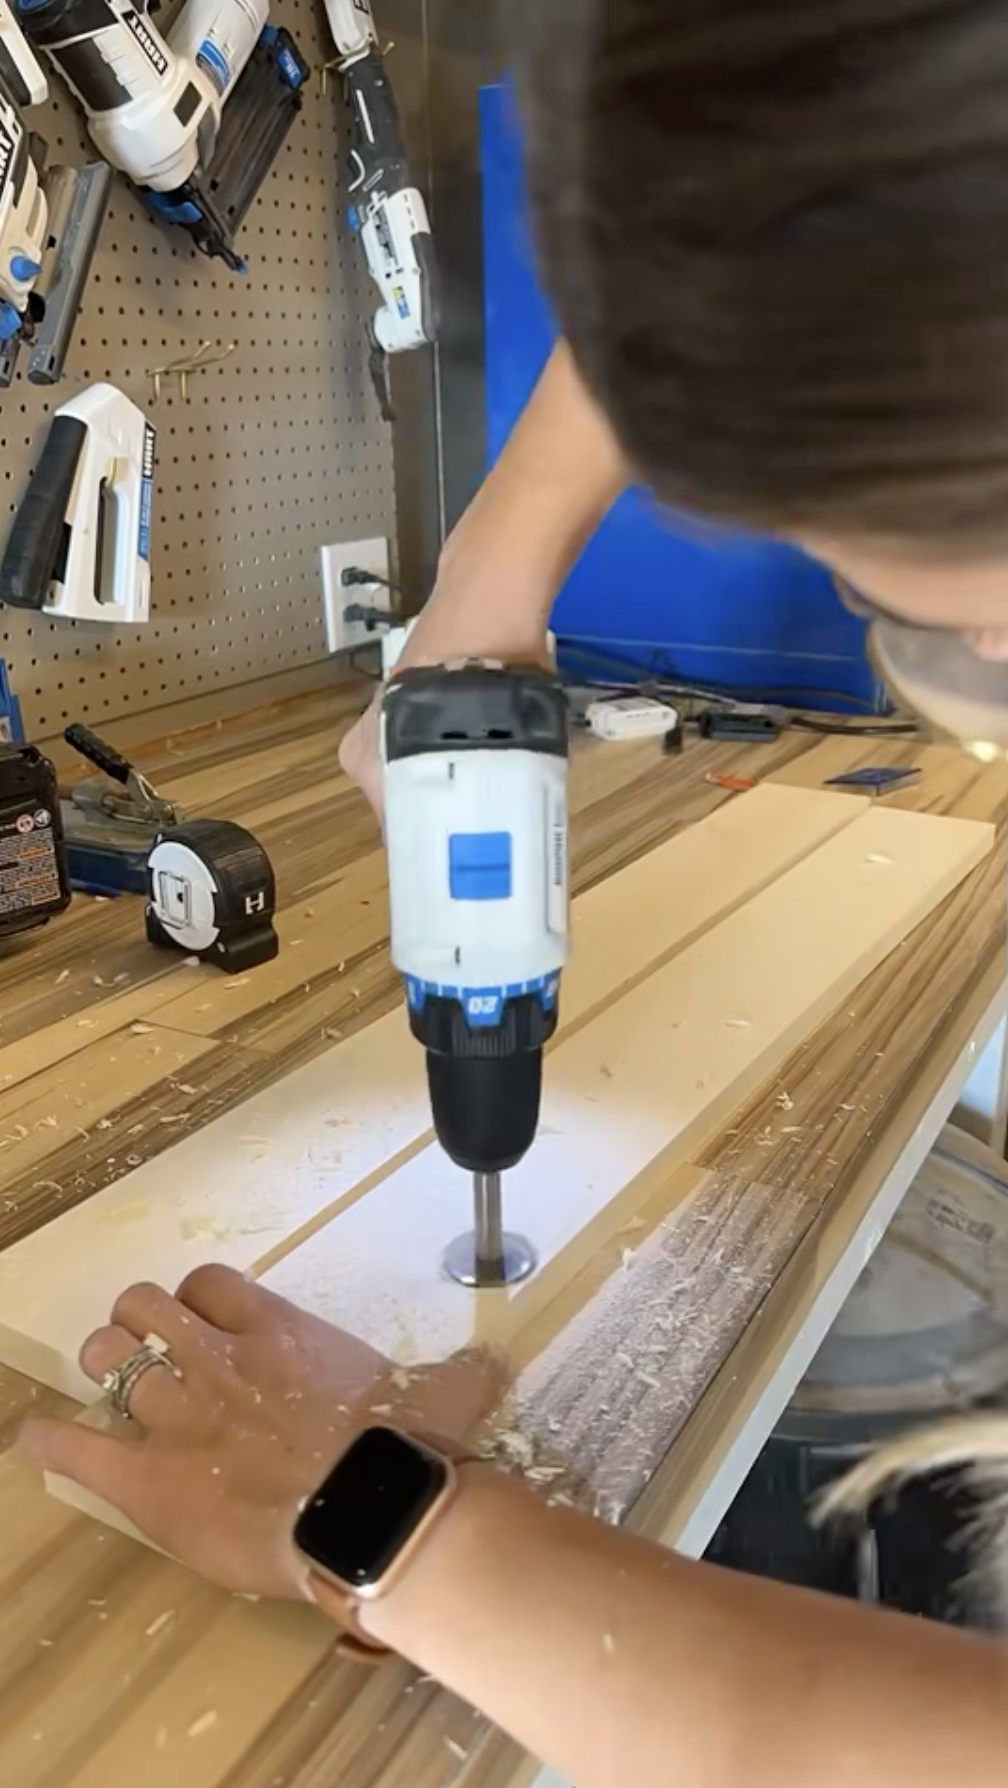
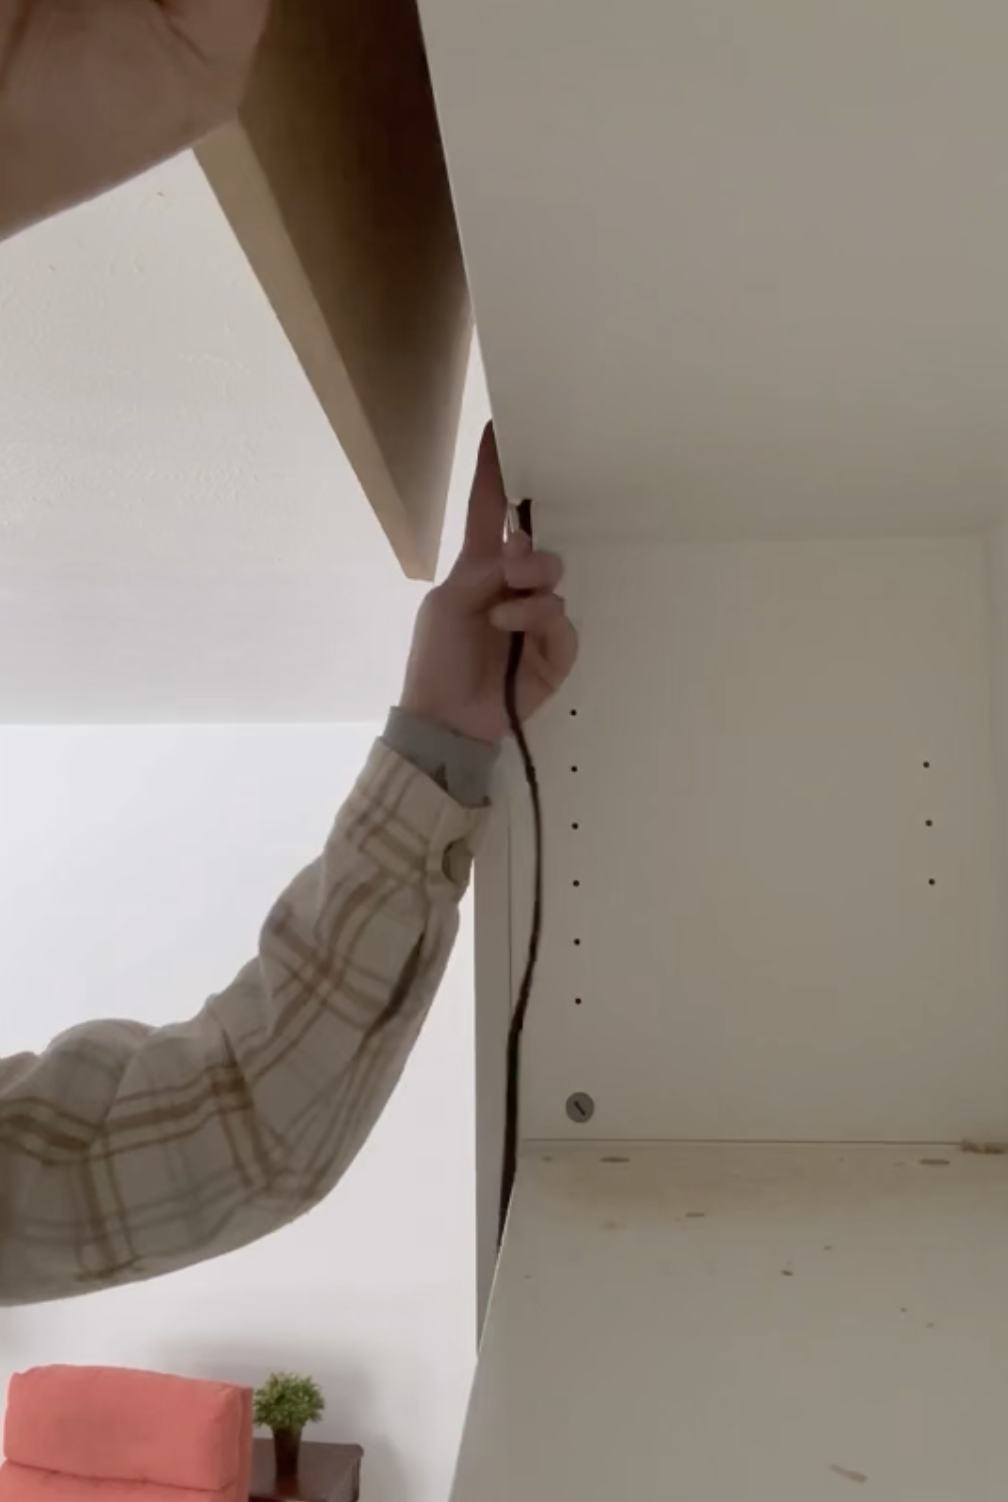
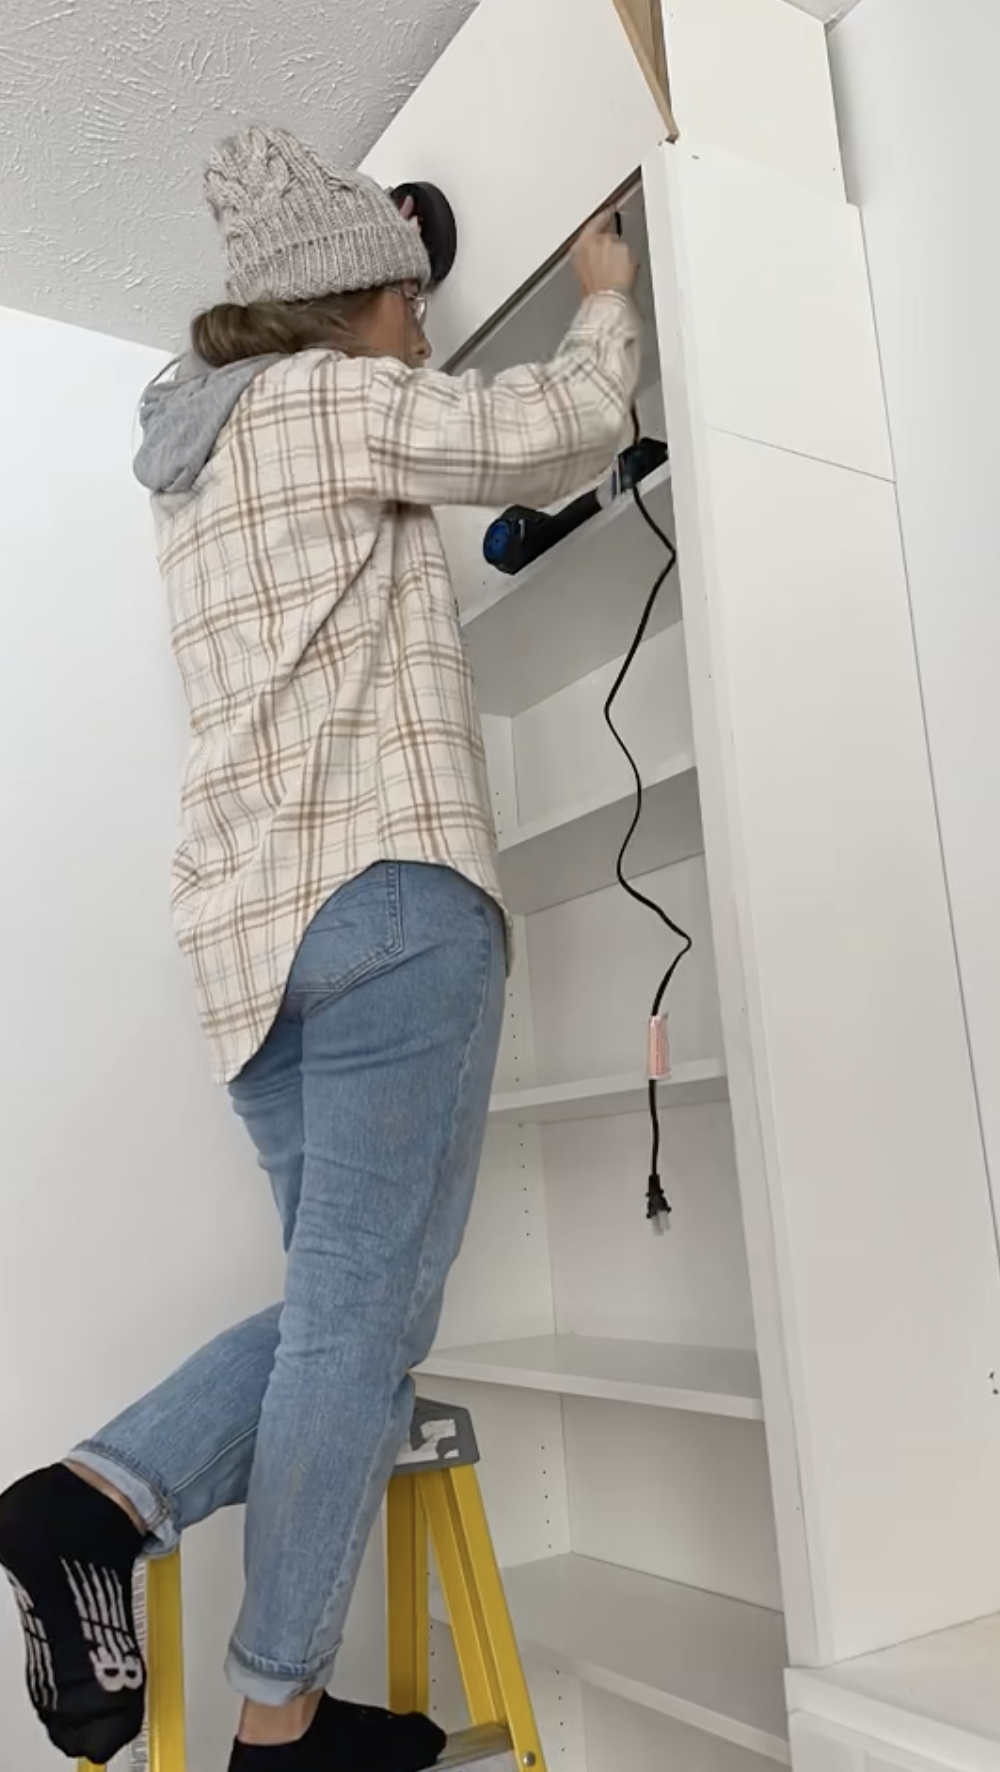
STEP 10: Cut a hole in top extension piece if you are adding a corded light fixture. Notch out a little piece for the card so that it can run down the side and into the base cabinet (I drilled a hole in the side of the cabinet for the cord to be hiden with a whole saw bit).
STEP 11: The light will be attached to a piece of of MDF Board and secured to the 2×4.
STEP 12: Hide the light cord and extension cord using a staple gun.
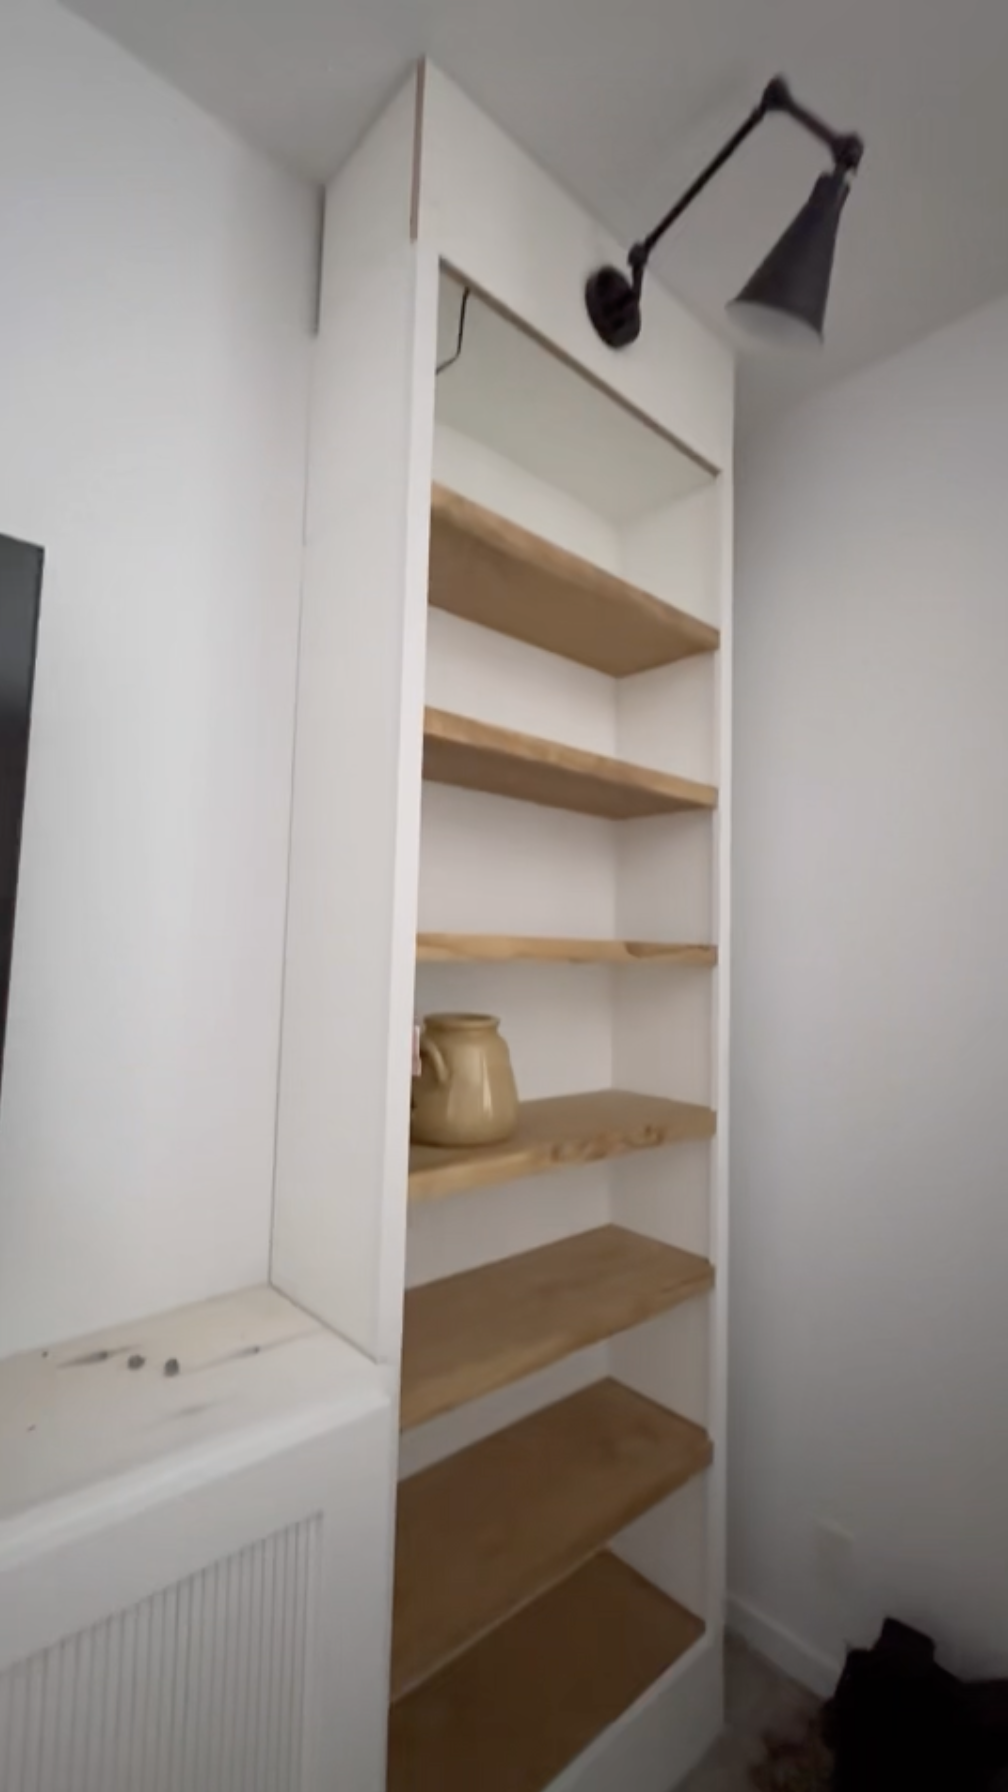
STEP 13: Cut out Faux Wood Shelf Pieces and 1×2’s. Stain all shelf pieces.
STEP 14: Attach the Faux Wood Shelves in stained plywood and 1×2’s using Liquid Nail and Brad Nailer to secure.
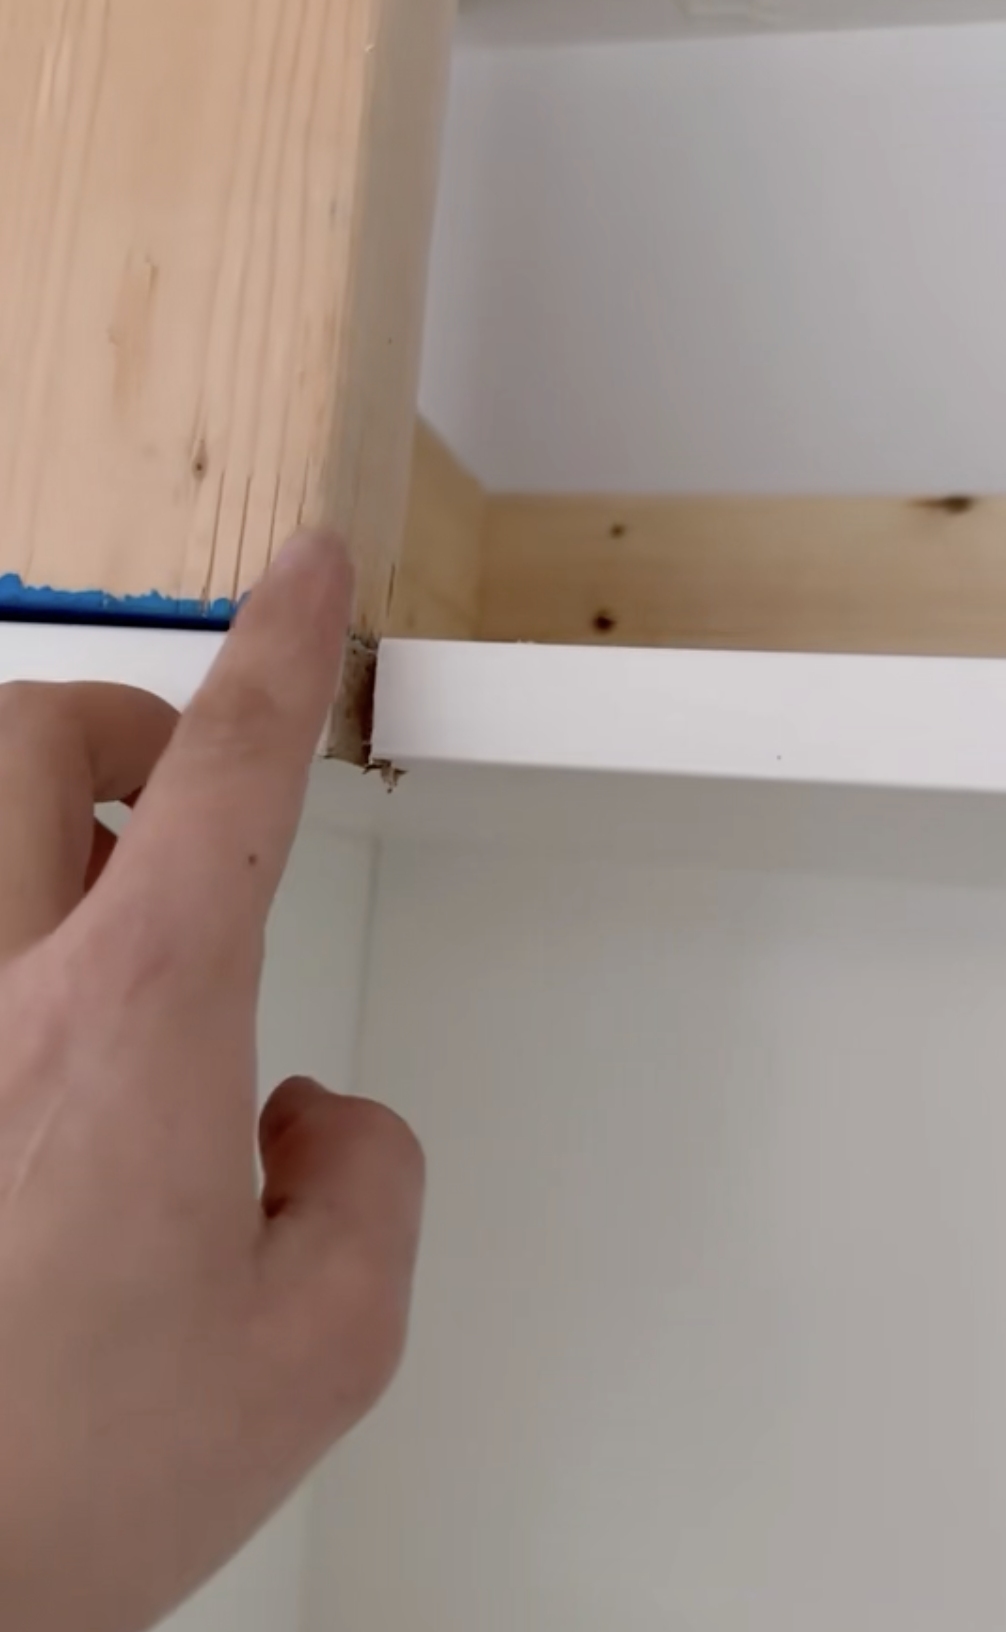
STEP 15: Add decorate Trim to face of light section of bookshelves near the cieling.
STEP 16: Caulk all seams to blend sections into one piece.
STEP 17: Paint entire bookcase so that everything matches.
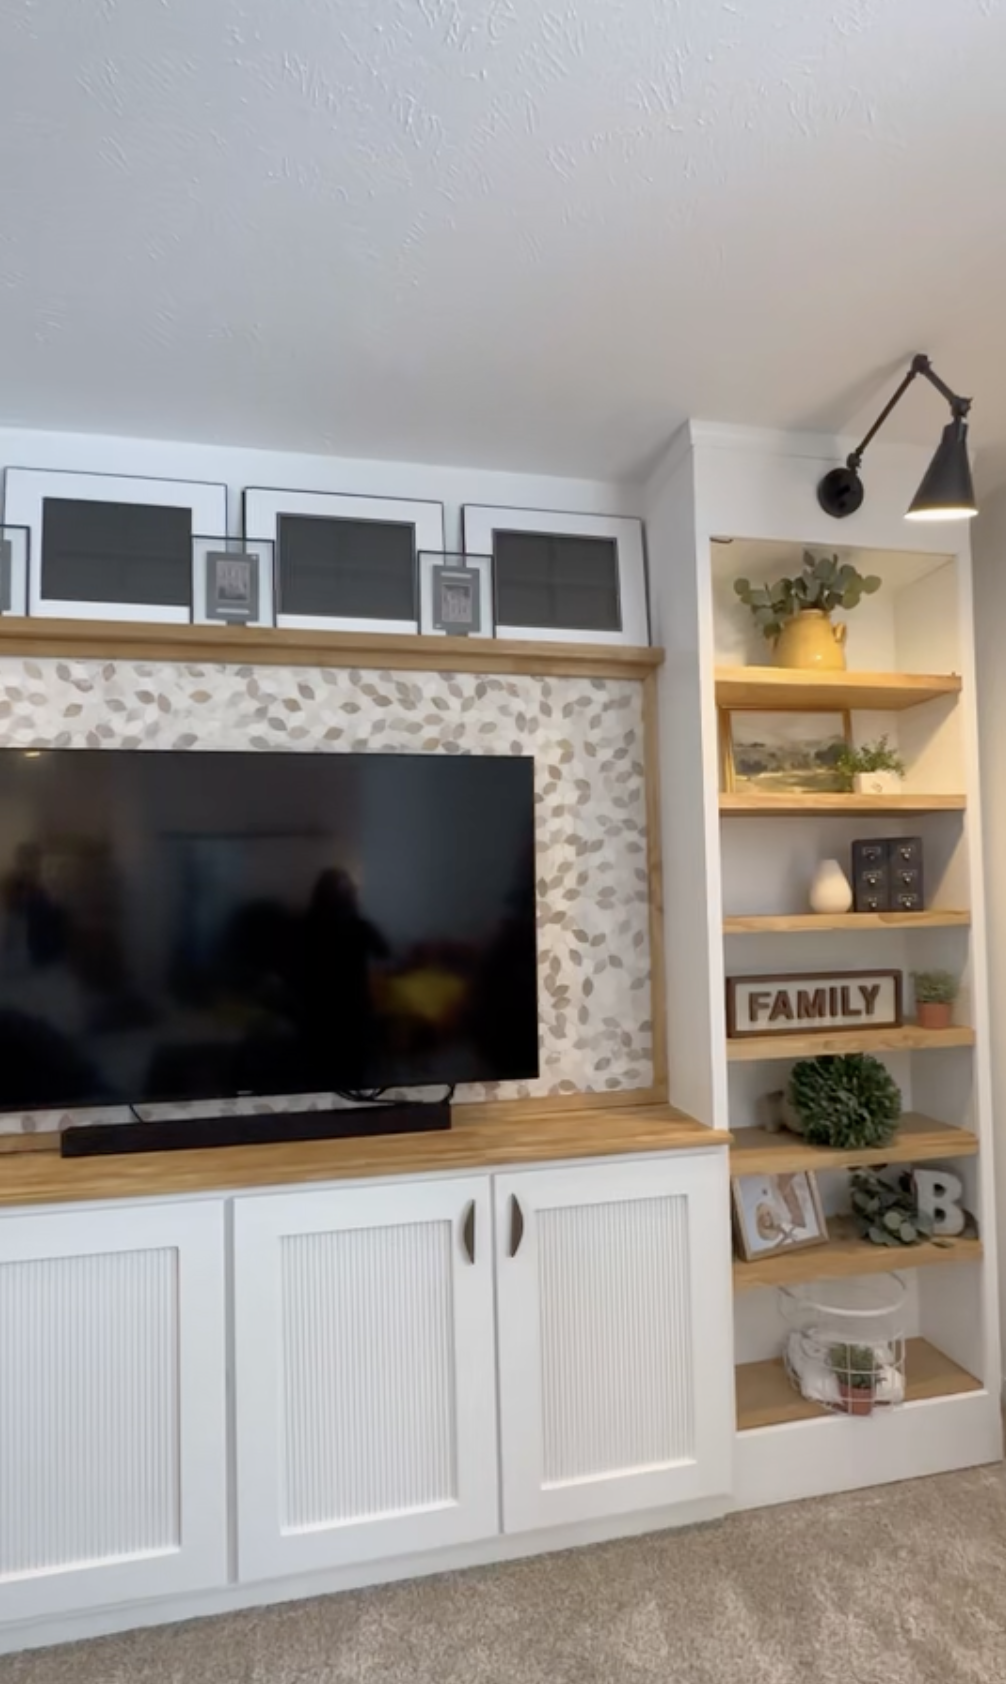
Wall Behind TV
I wanted to add these panelings from Ikea because I thought it would be a really great idea but I HATED it. So I called my sister who helped give me some new ideas. I went to the store and got some Mussel Bound Paper for tiling.

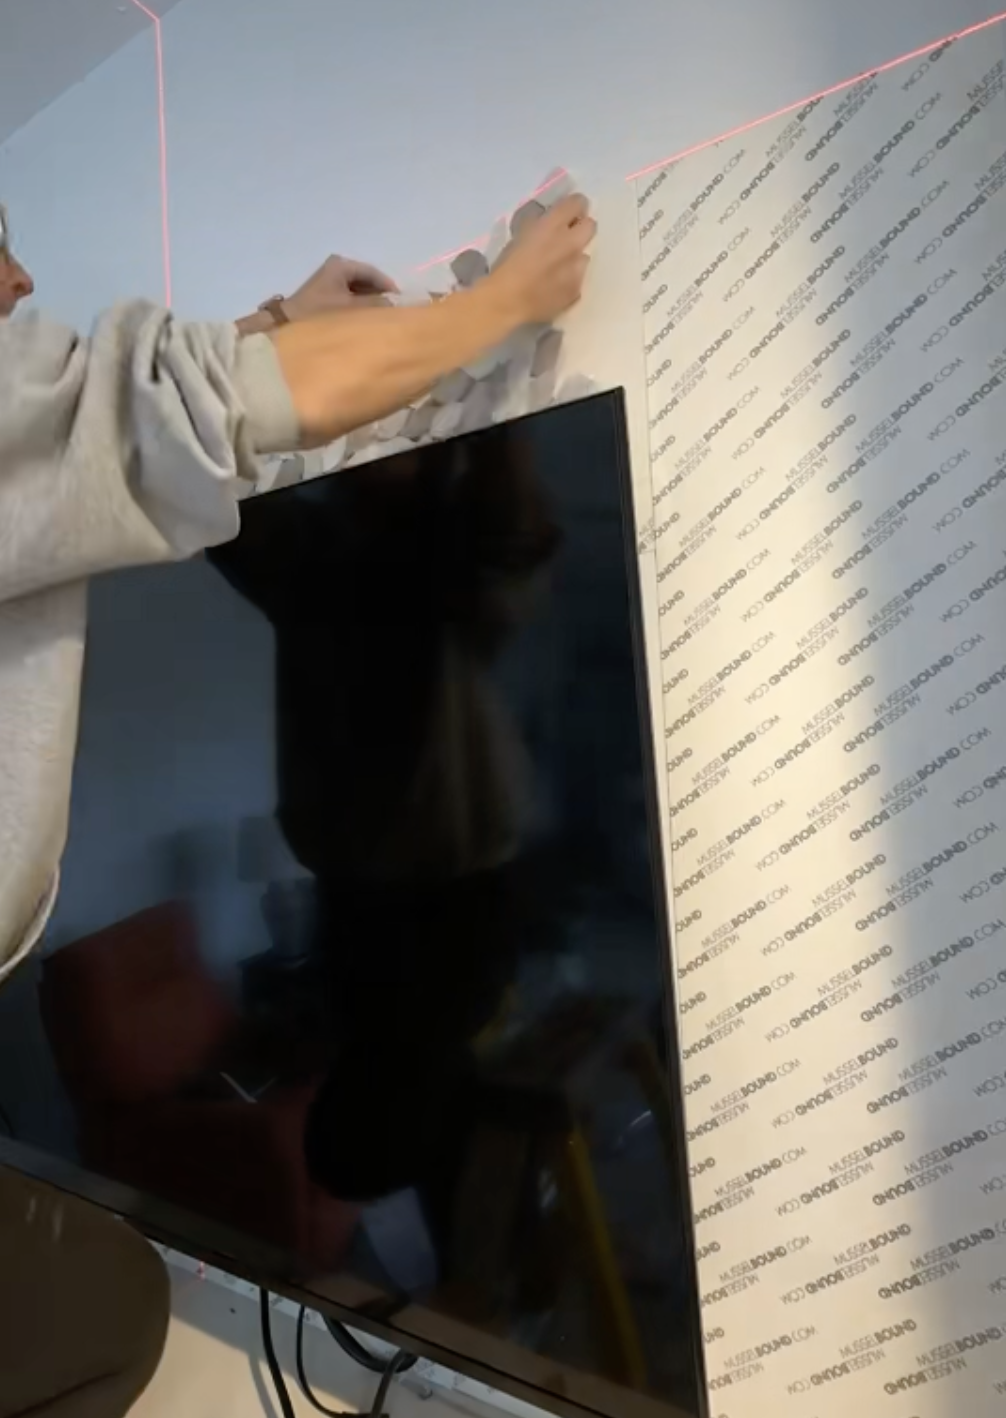
STEP 1: Apply Mussel Bound Paper to entire surface you will tile. I only did a portion of the wall because I was planning to add a shelf. Use a Laser level to help keep a straight line.
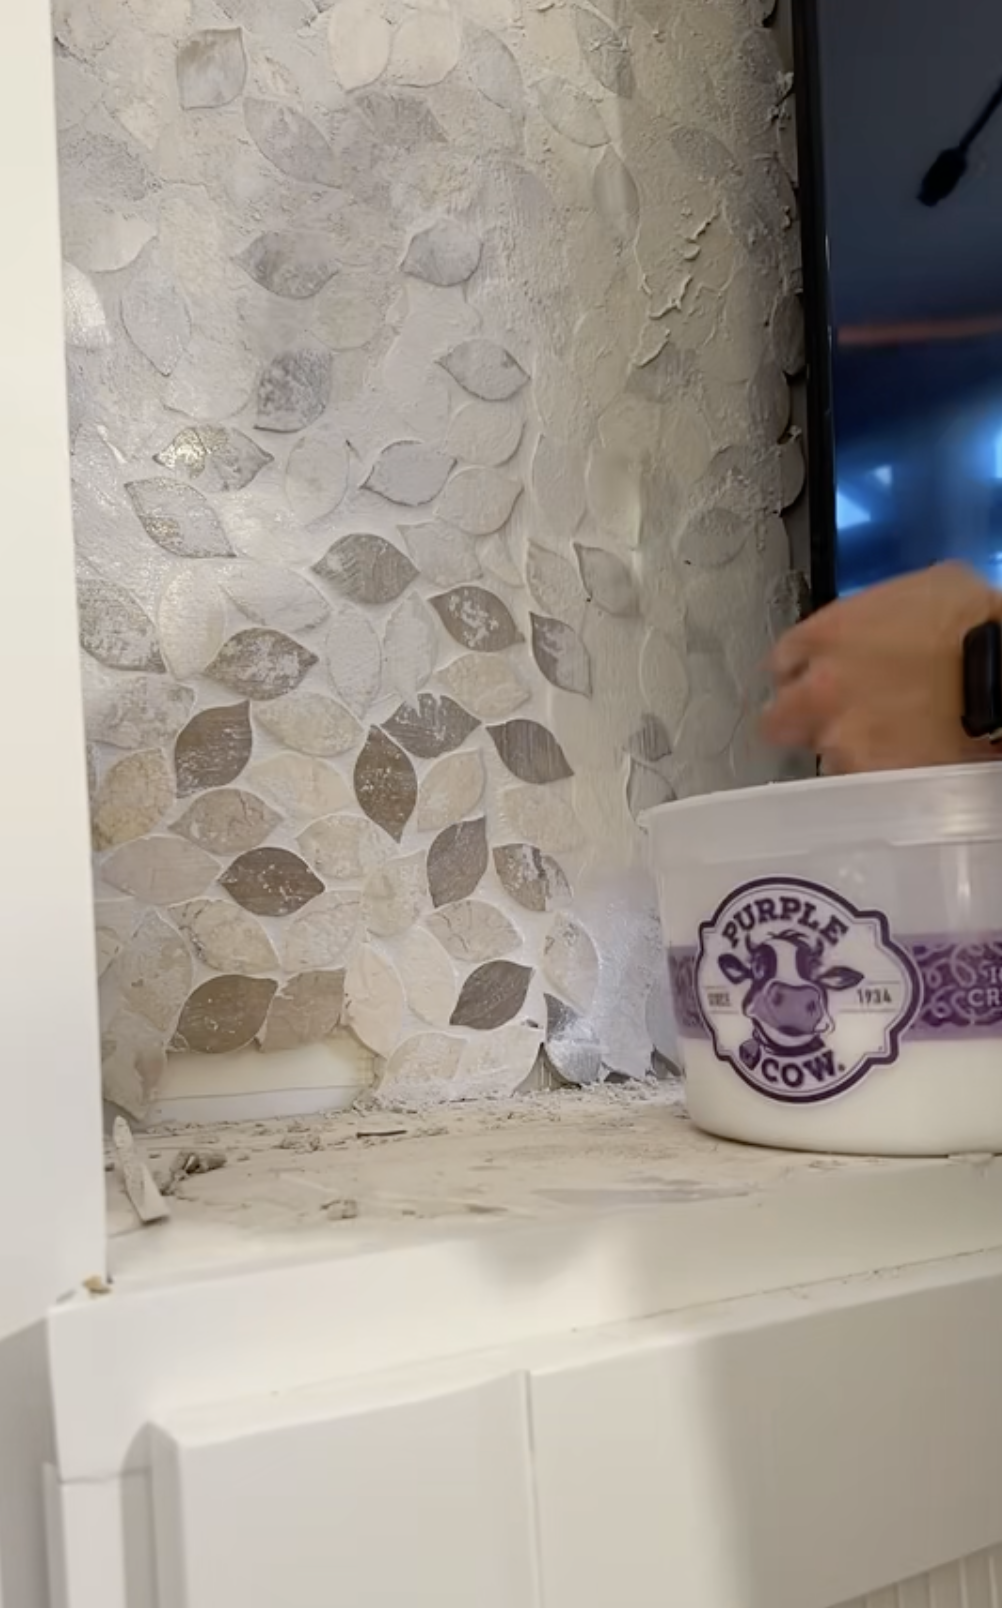
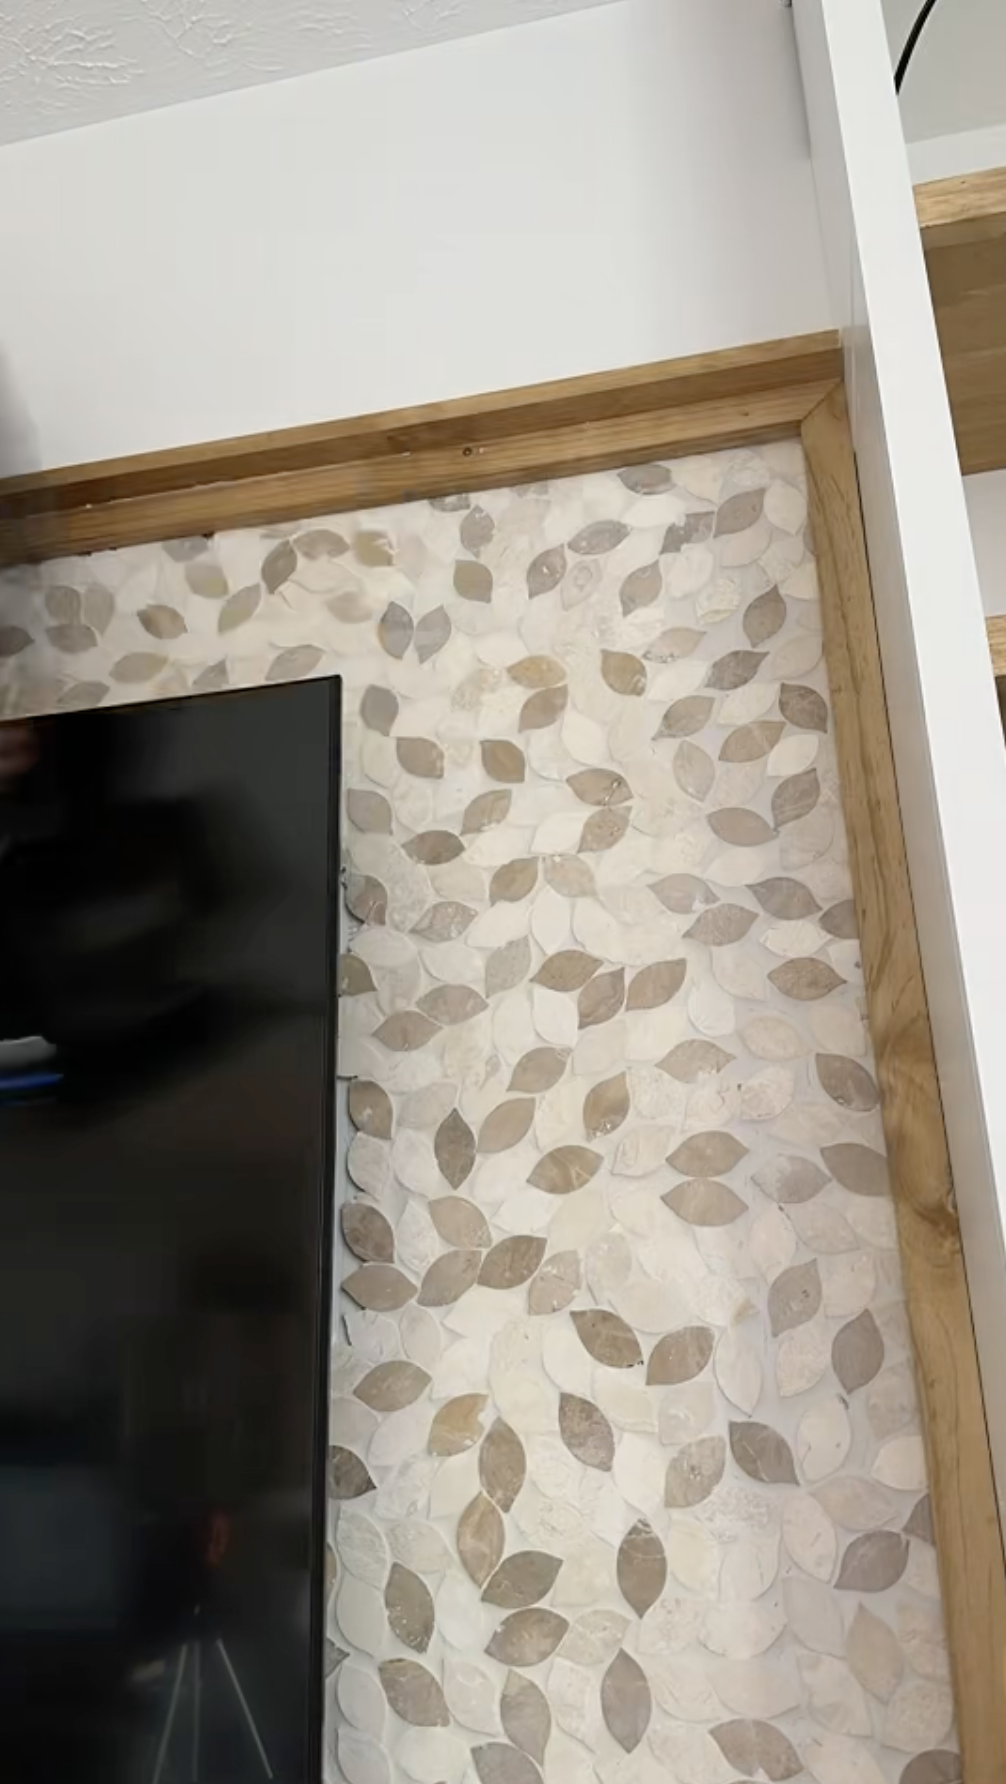
STEP 2: Apply tile to paper.
STEP 3: Grout the tile and then go at it with the abrasive side of the sponge, wiping with the soft side.
Final Touches
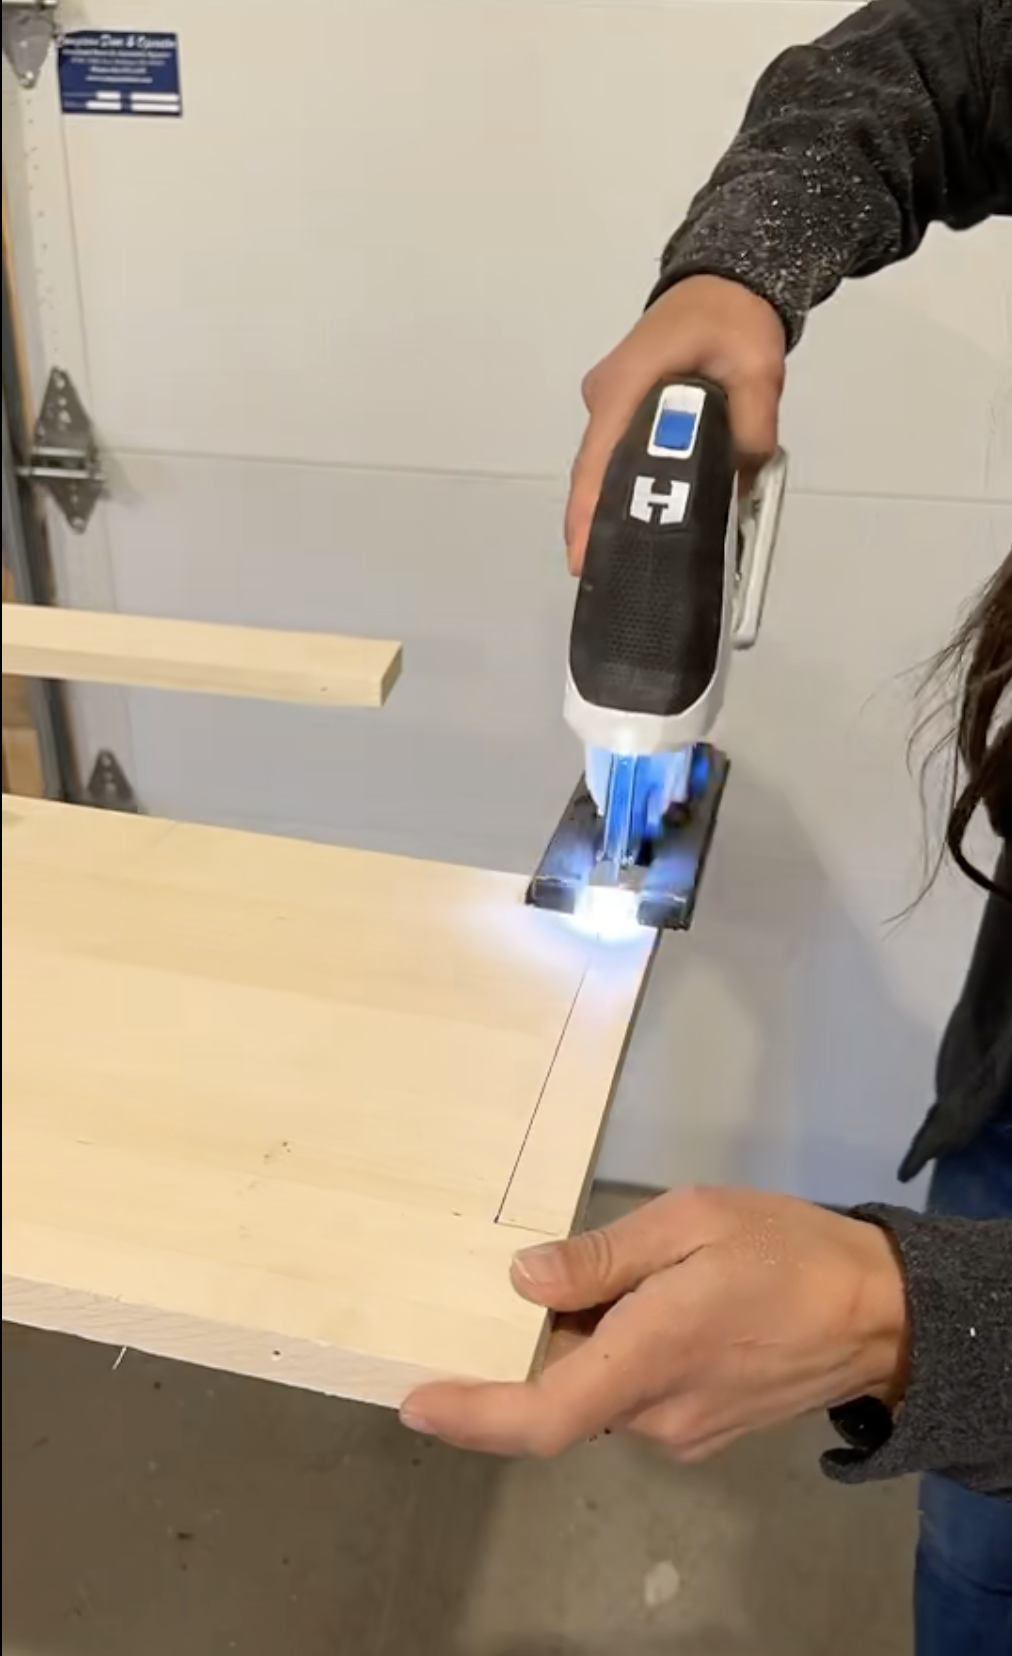
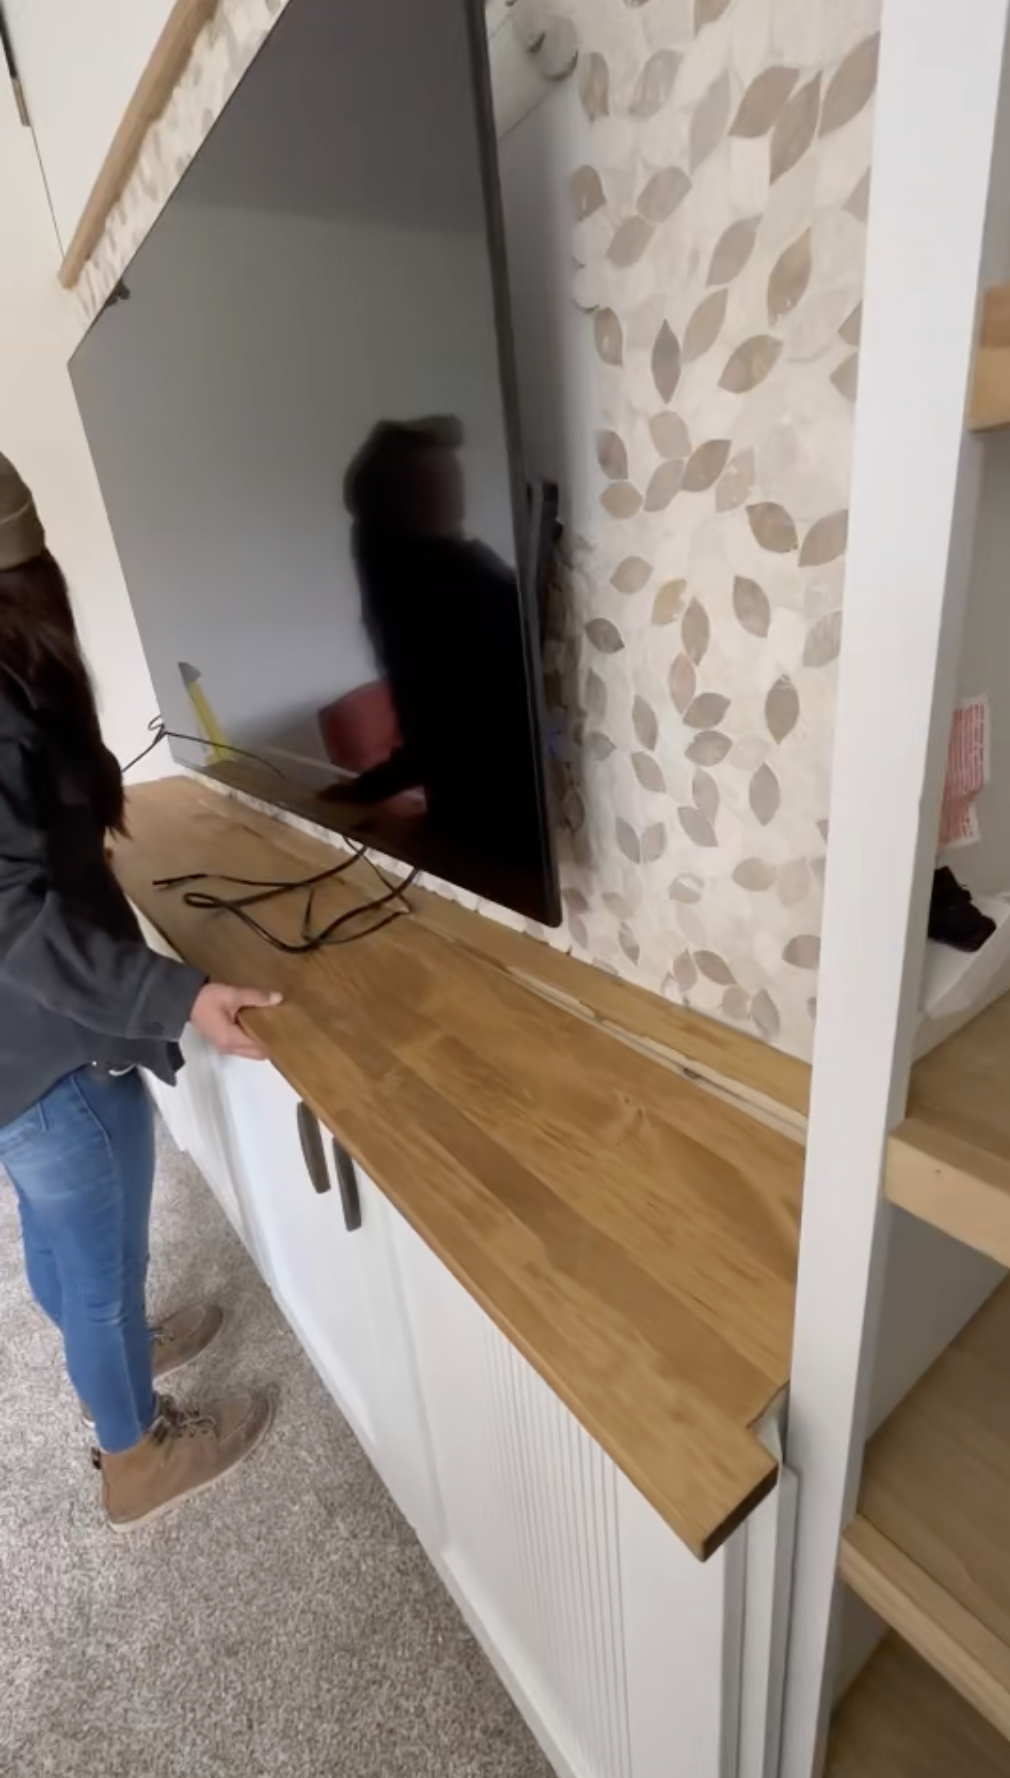
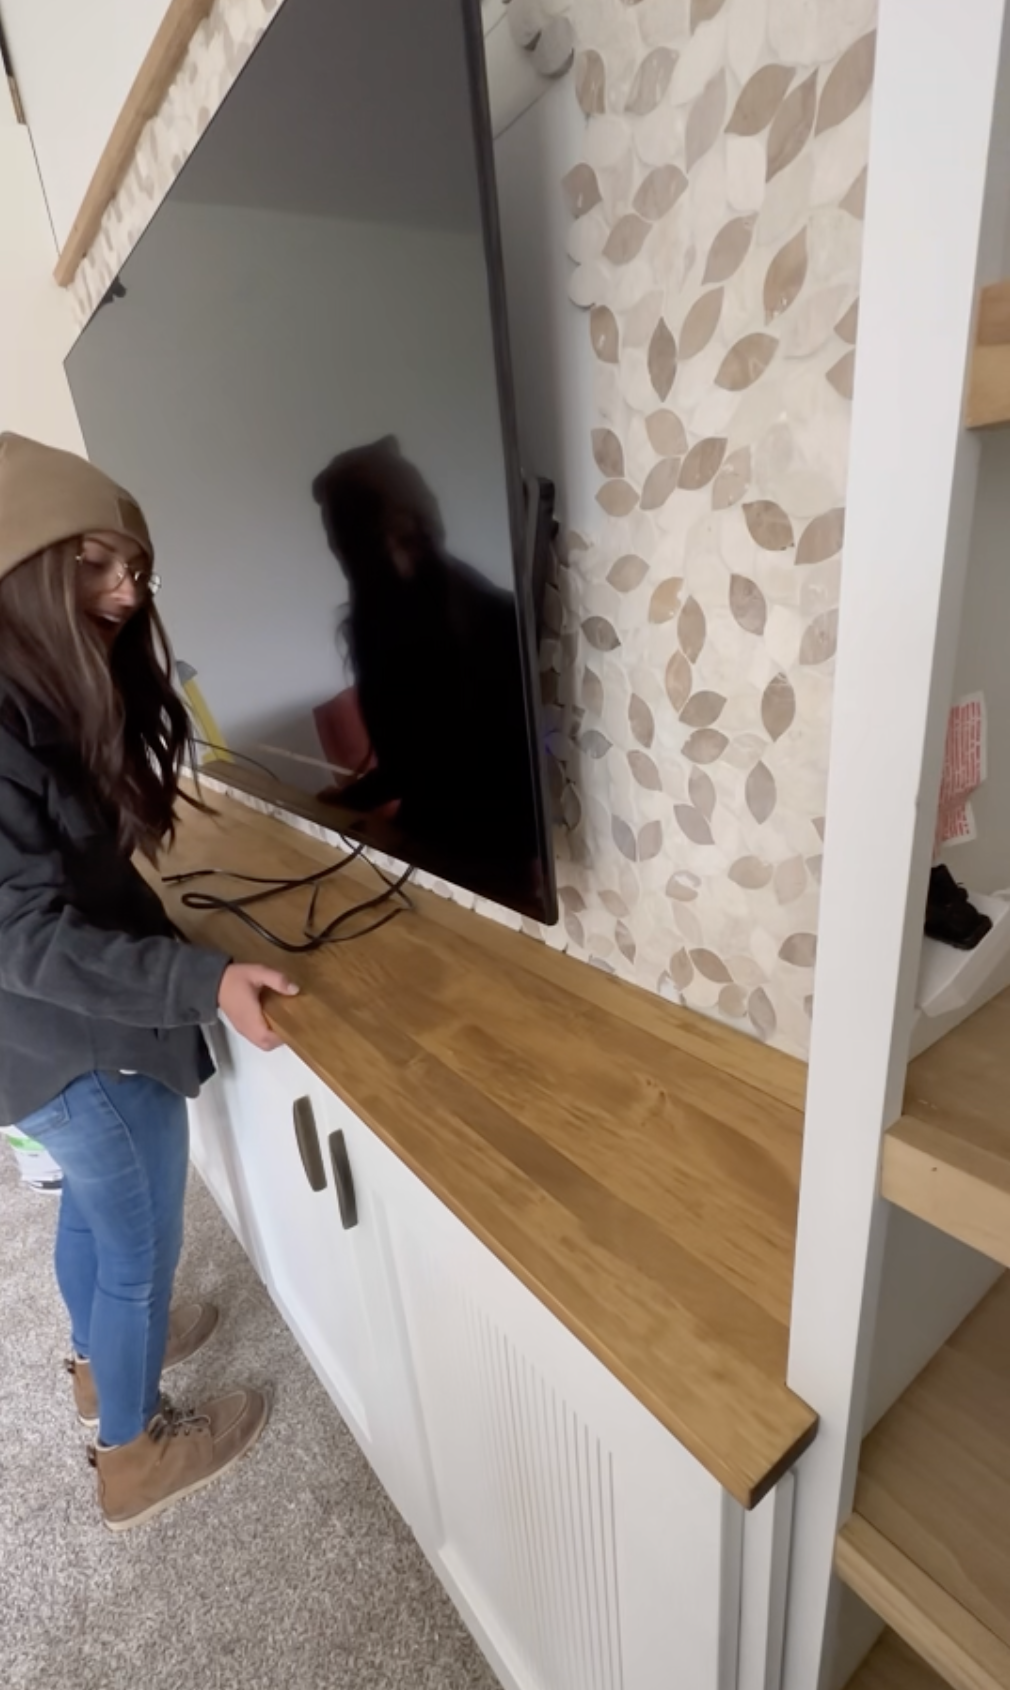
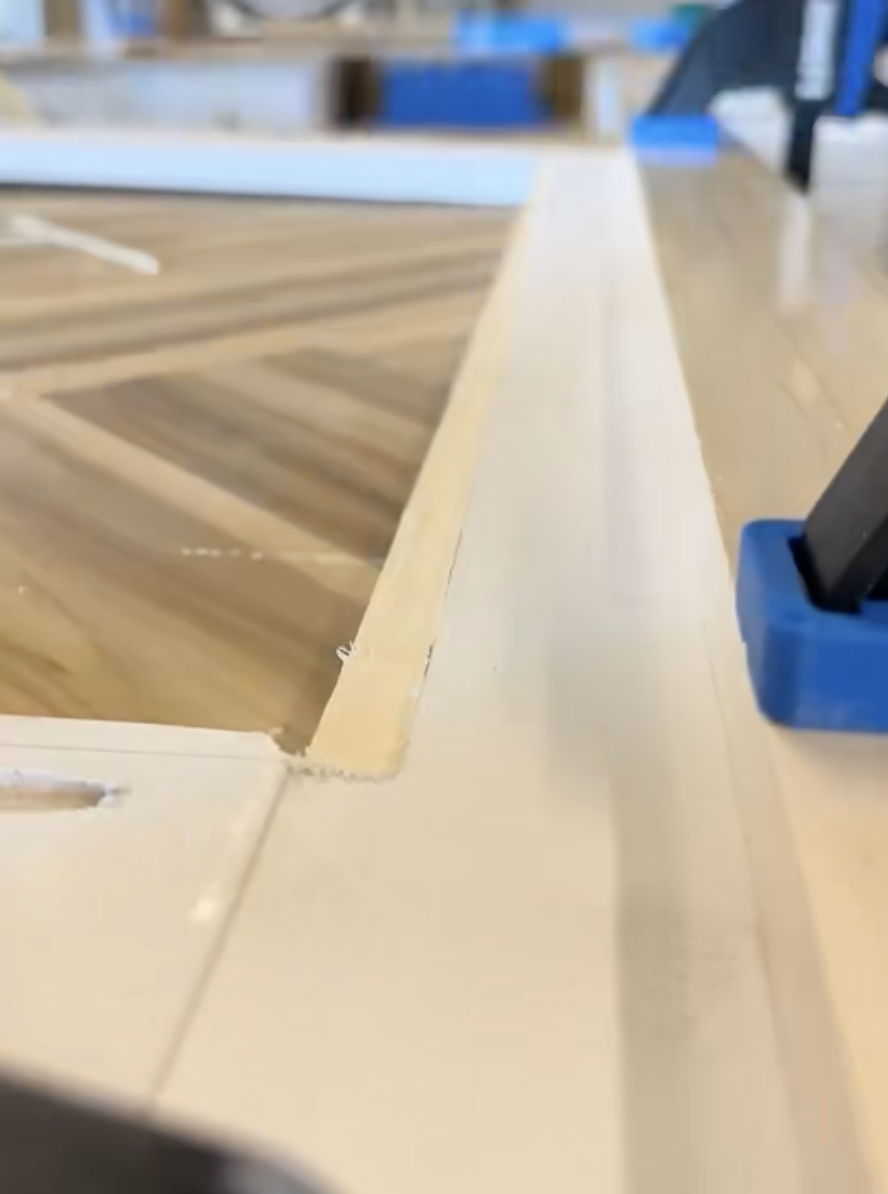
STEP 1: Cut out on either side of your countertop a 1 inch lip so that it will sit flush connecting both bookcases and the Cabinet. Using the countertop material cut a 1-2 inch piece to sit above the counter framing the portion of tile where the wall meets the counter.
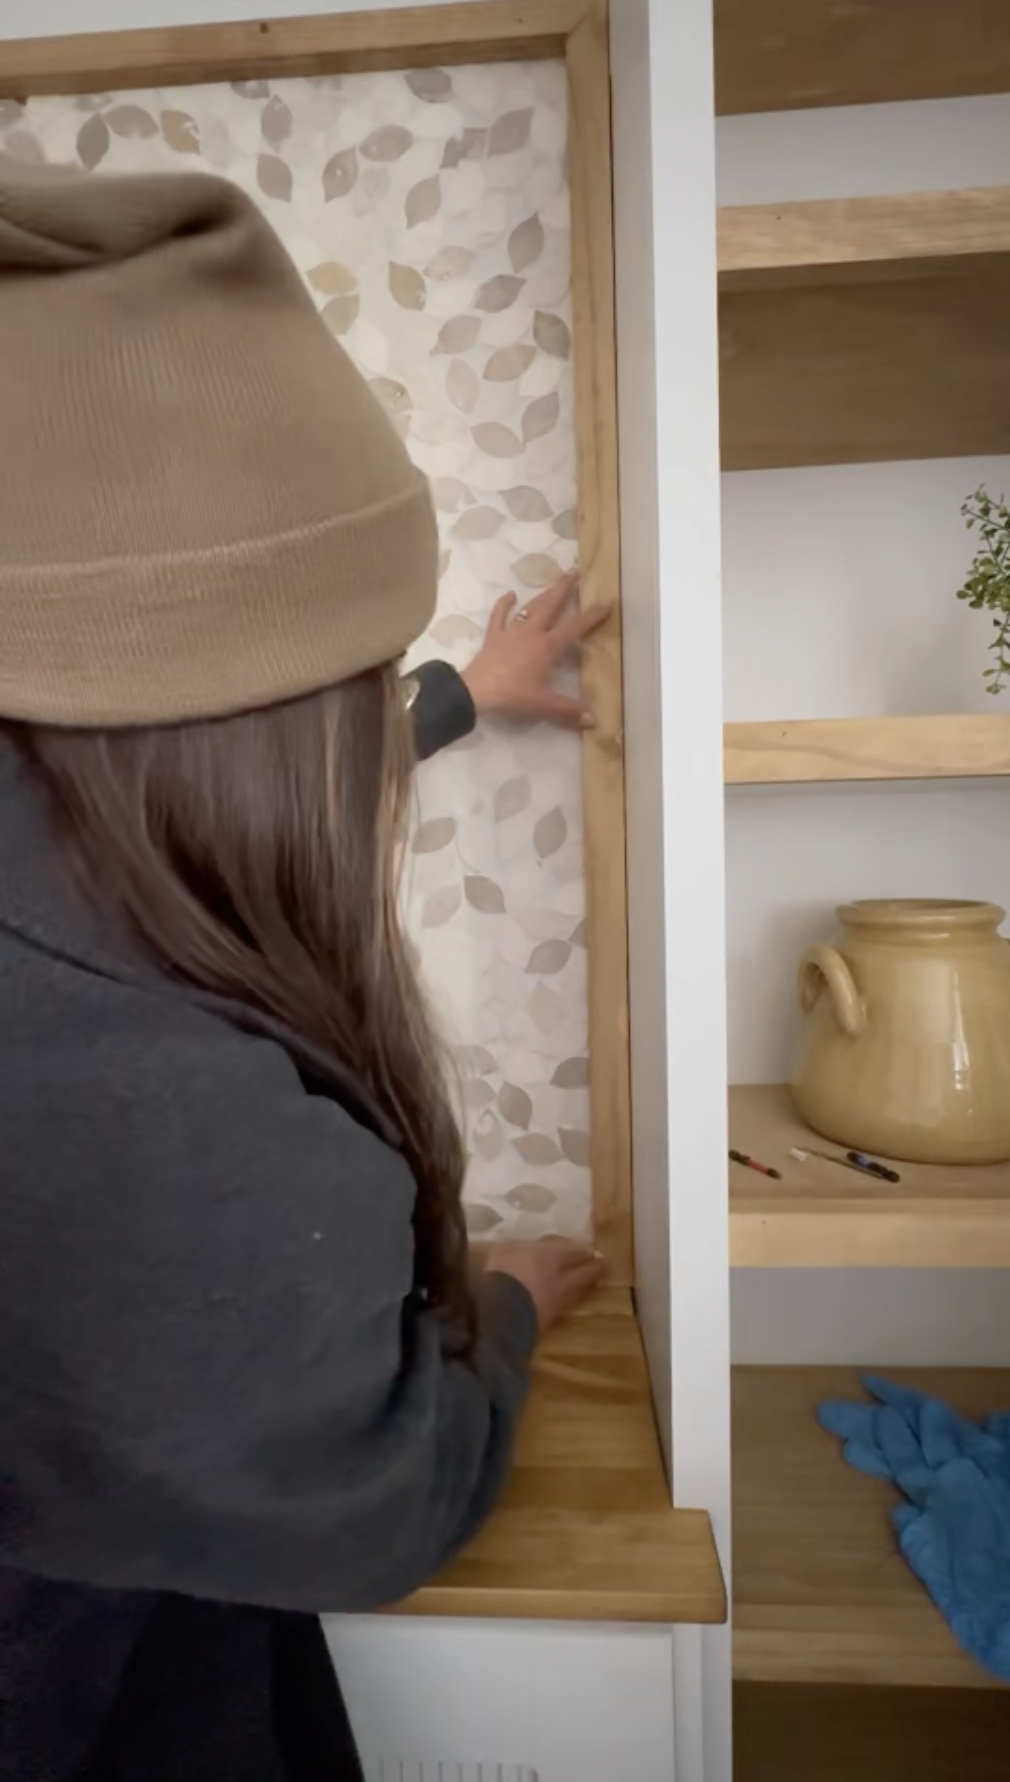
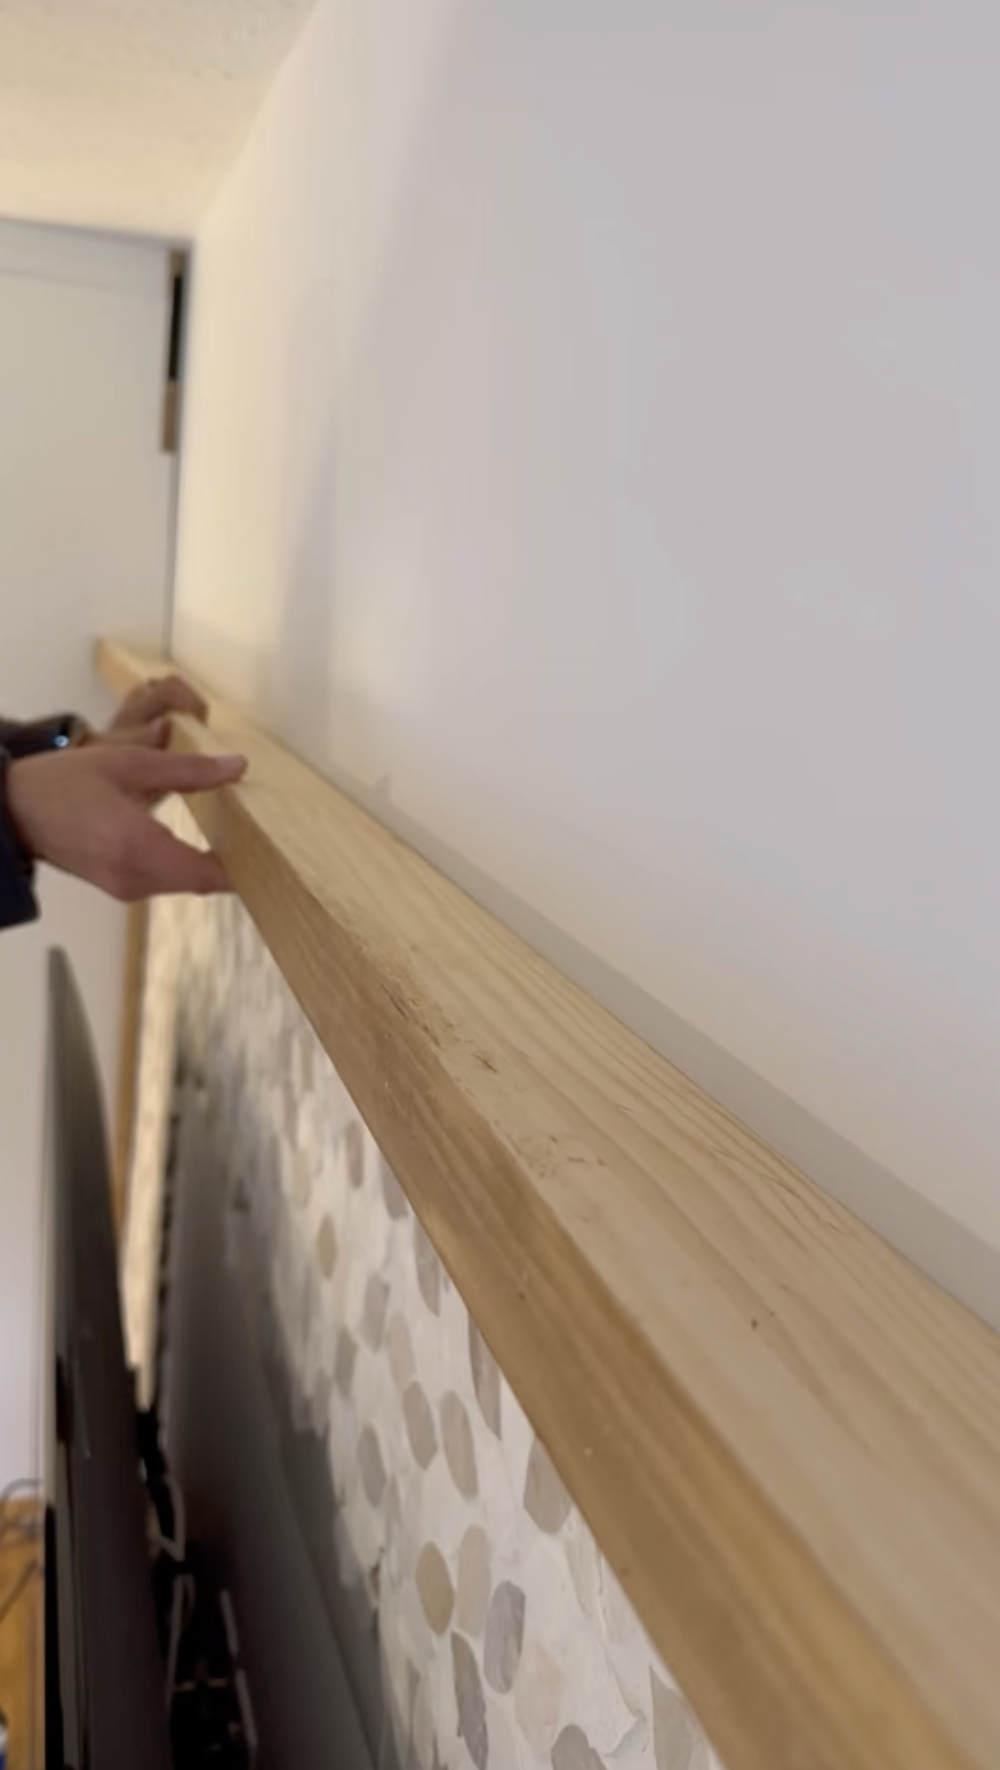
STEP 2: Frame out tile with 1×2 pieces going from top to bottom.
STEP 3: Add a 1×3 for a shelf.
STEP 4: Add a 1×2 piece on front to create a lip for the shelf. My plan is to use this for picture frames so I didn’t want them sliding off.
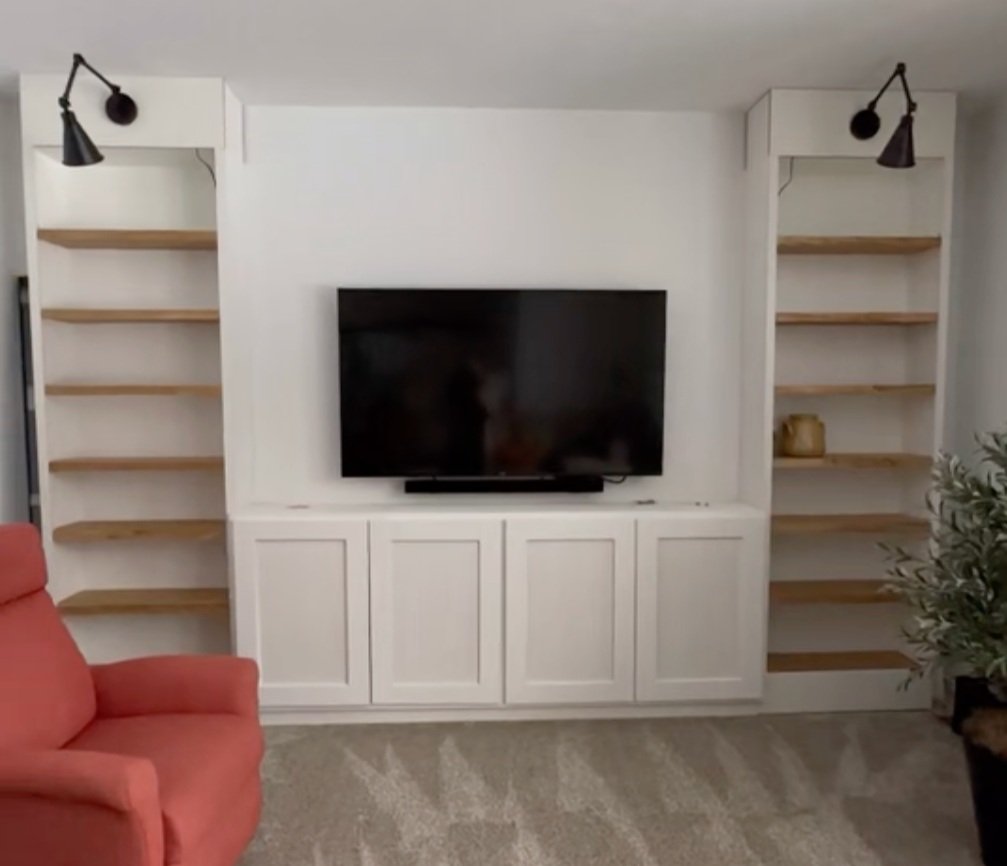
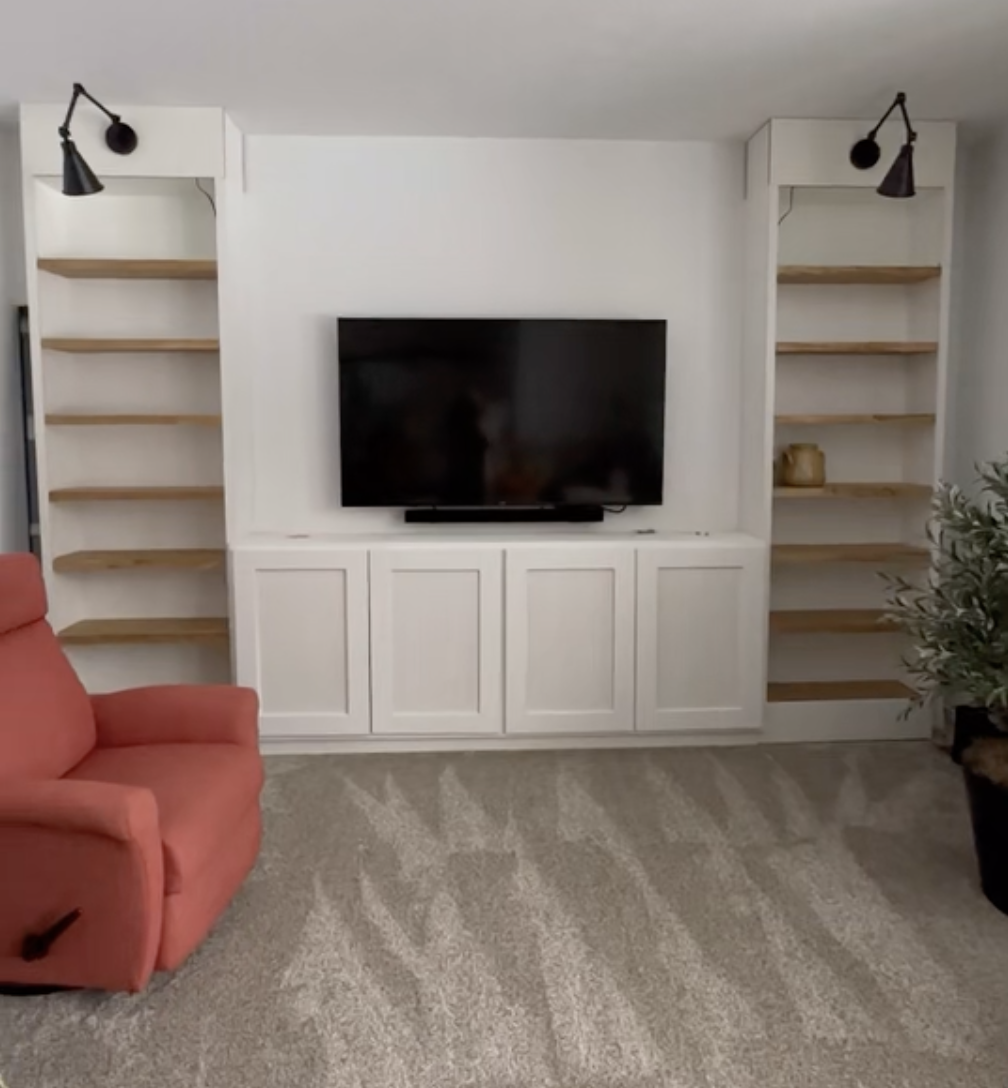
It’s DONE!
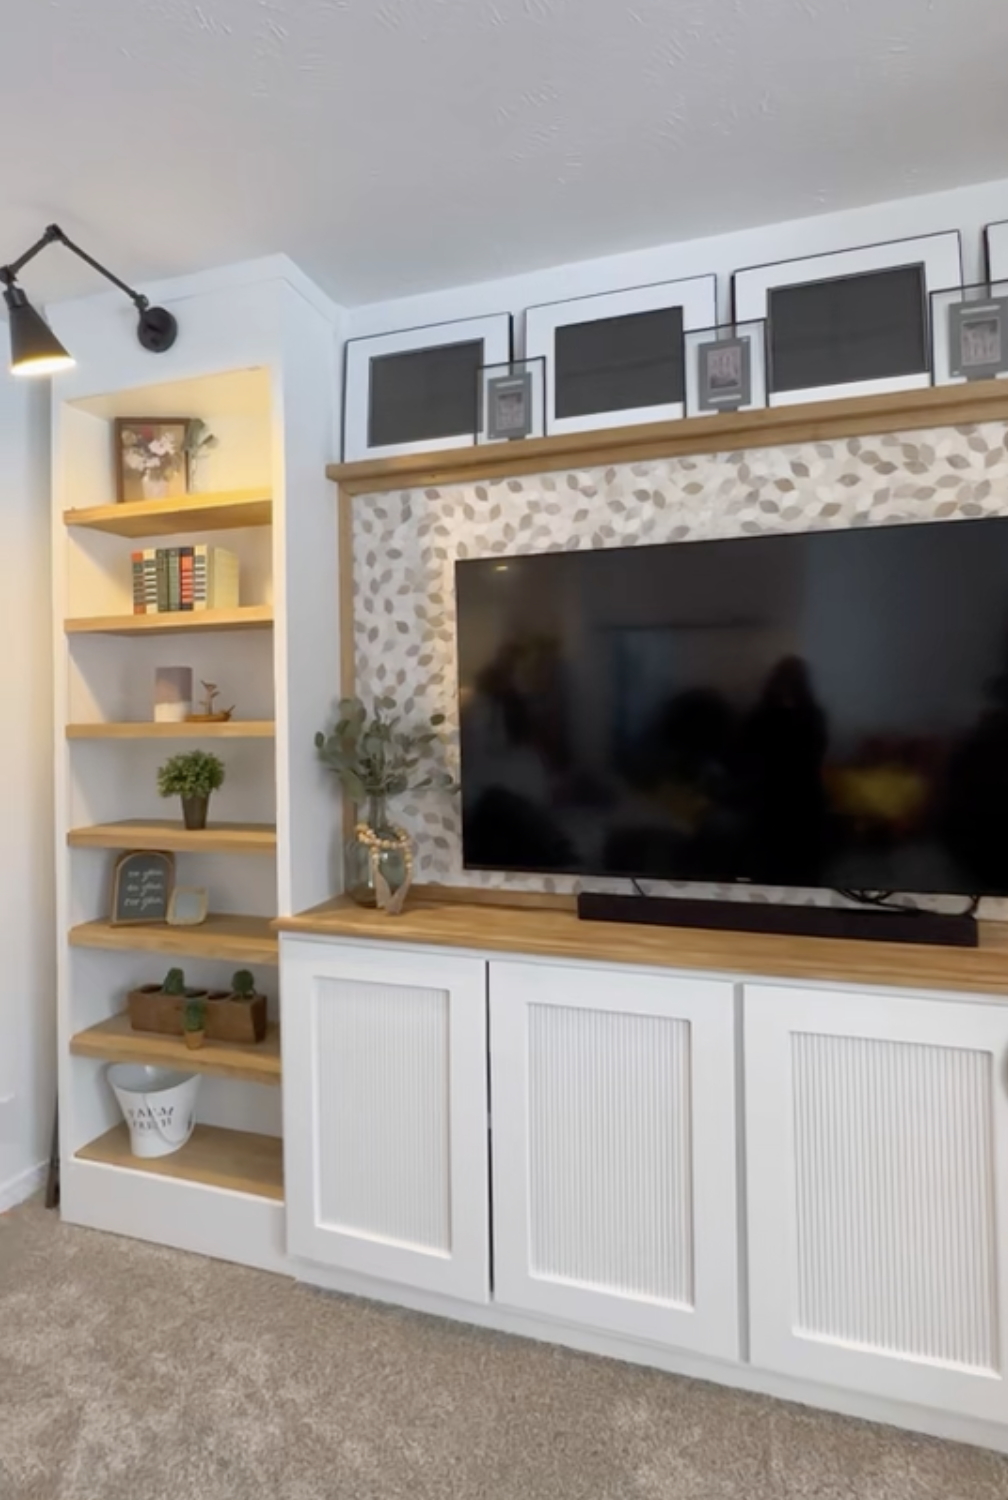

Final touches were mainly decorating it, paint touch ups, and another coat of poly on the shelves.
What do you guys think? Ready to take it on yourself? Be sure to drop all questions in the comment boxes below and TAG @timberntwine as you transform your space into something you’re proud of.


Comments