

I found this dresser at my local restore for $50. I knew it was the PERFECT piece for my bedroom.

I removed all the old hardware and sanded the entire piece using 60 grit sandpaper. I’m working with veneers, so I was sanding very carefully until I got into a rhythm.
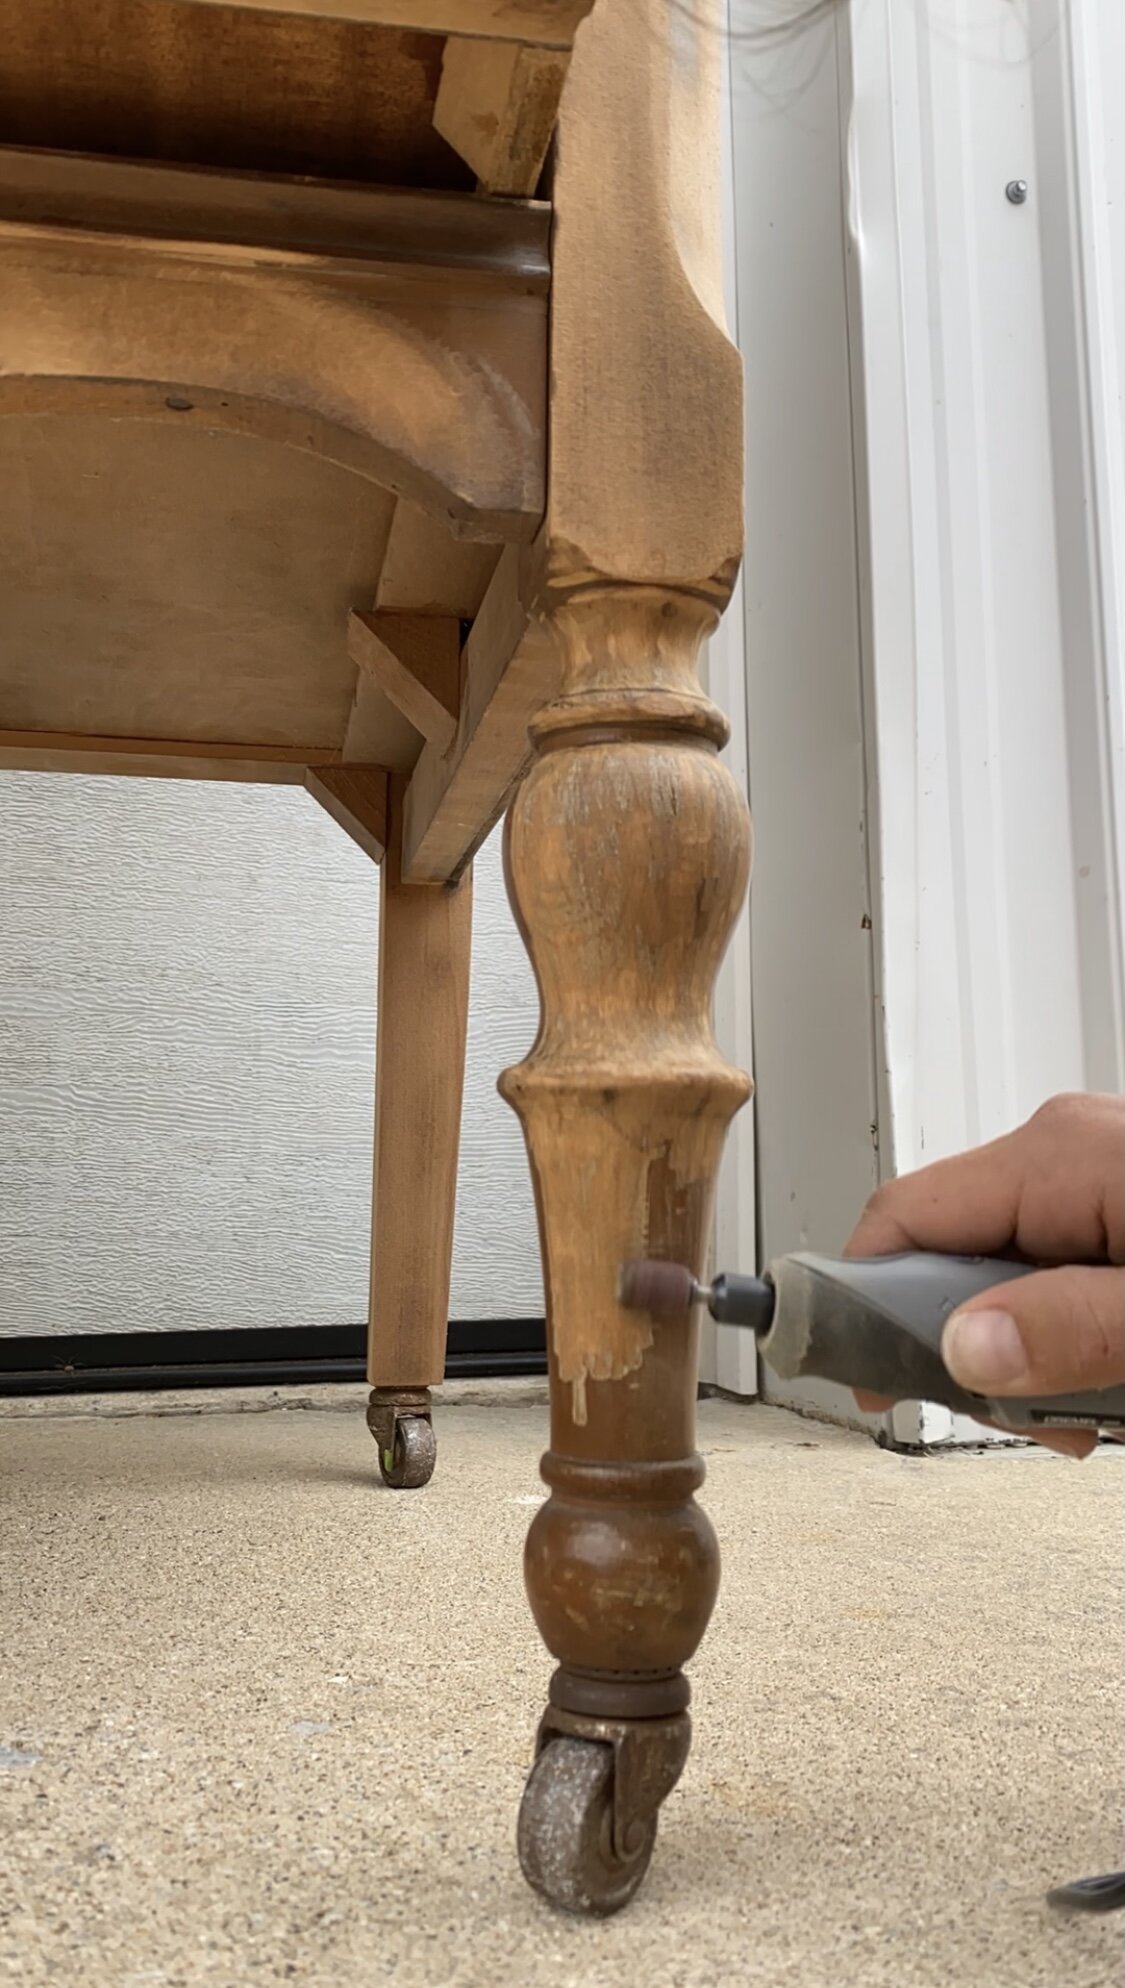
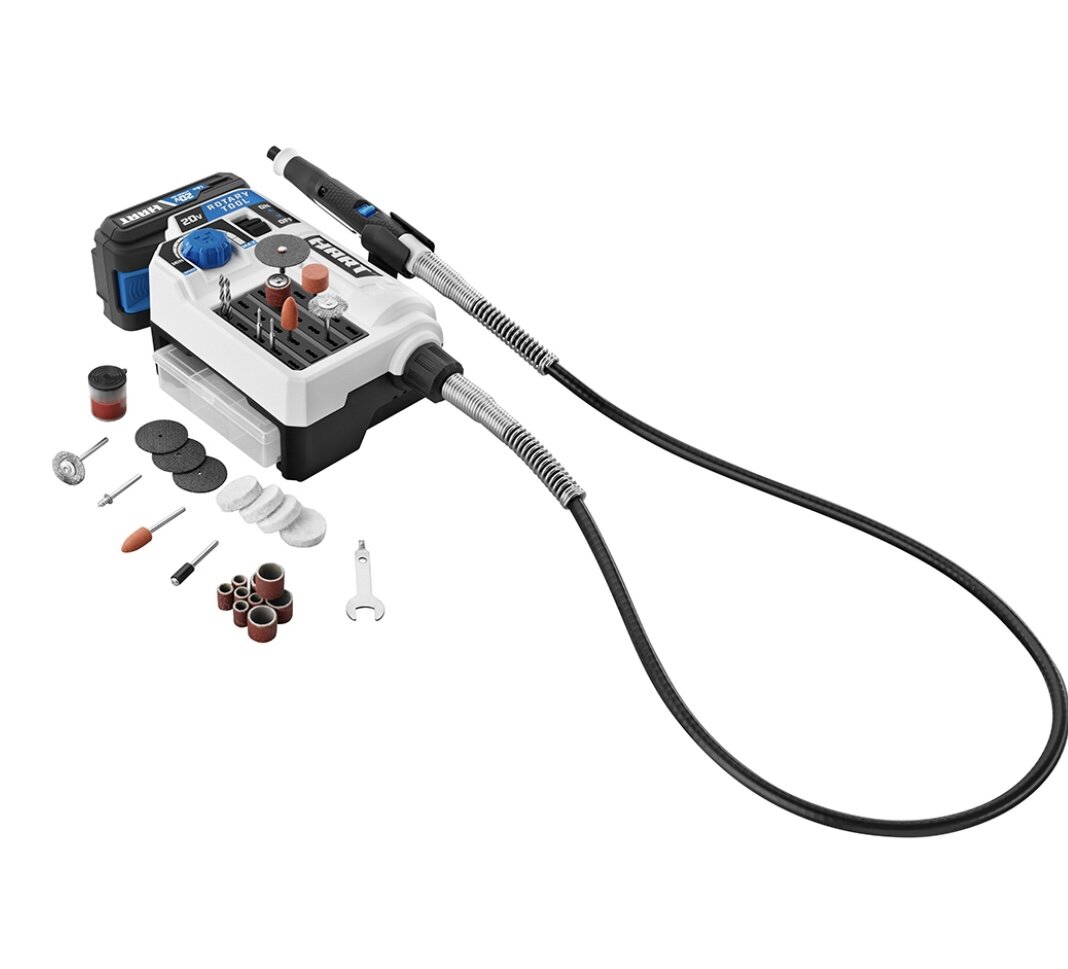
For the hard to reach places, I used a rotary tool with the sandpaper attachment. this worked like a DREAM! (I used my rotary tool often for this project. I will link an affordable option at the bottom of this post)

After I had everything sanded, I used wood bleach by Savogran. I followed the instructions on the container it made a HUGE difference. This was after 2 applications, 10 minutes in between.
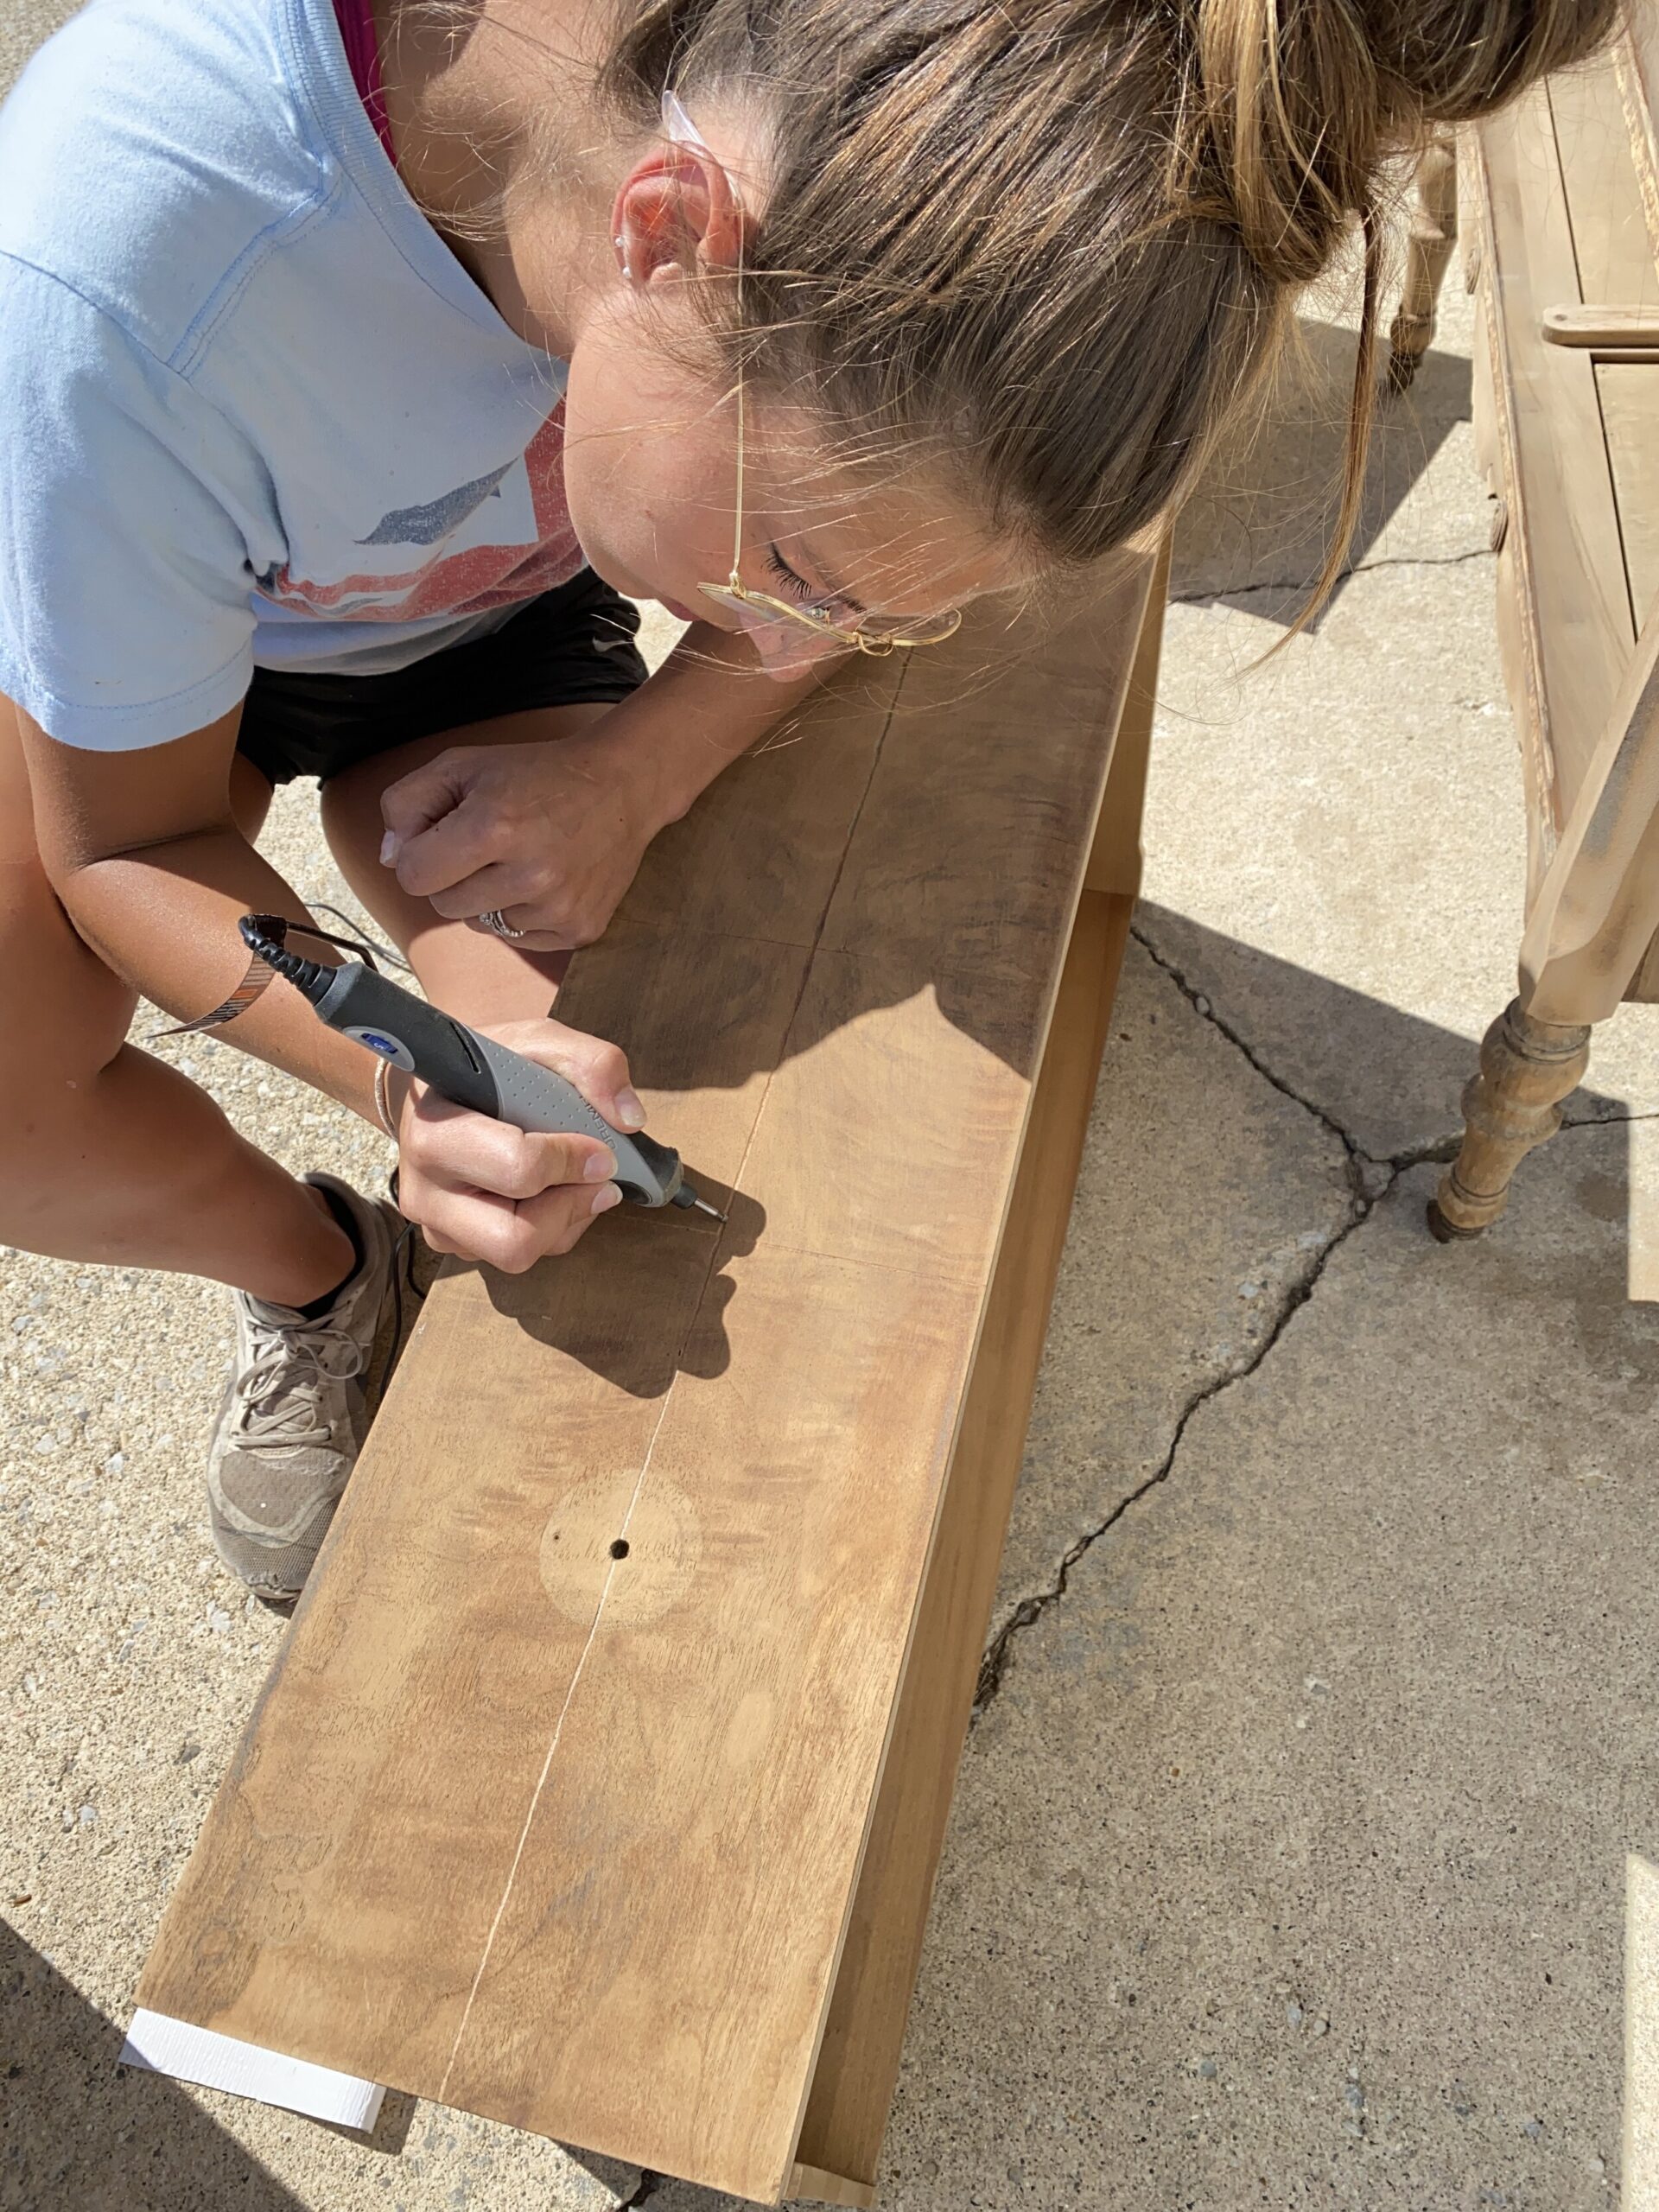
This seems like the tricky part, but its really not too bad! I used my rotary tool for this as well. I wanted one line in the center horizontal, and I wanted 3 column of 2 drawers. So basically I wanted 6 “drawers” on each face. I did this free hand so the lines are by no means perfect, but honestly, I love that, it looks authentic.
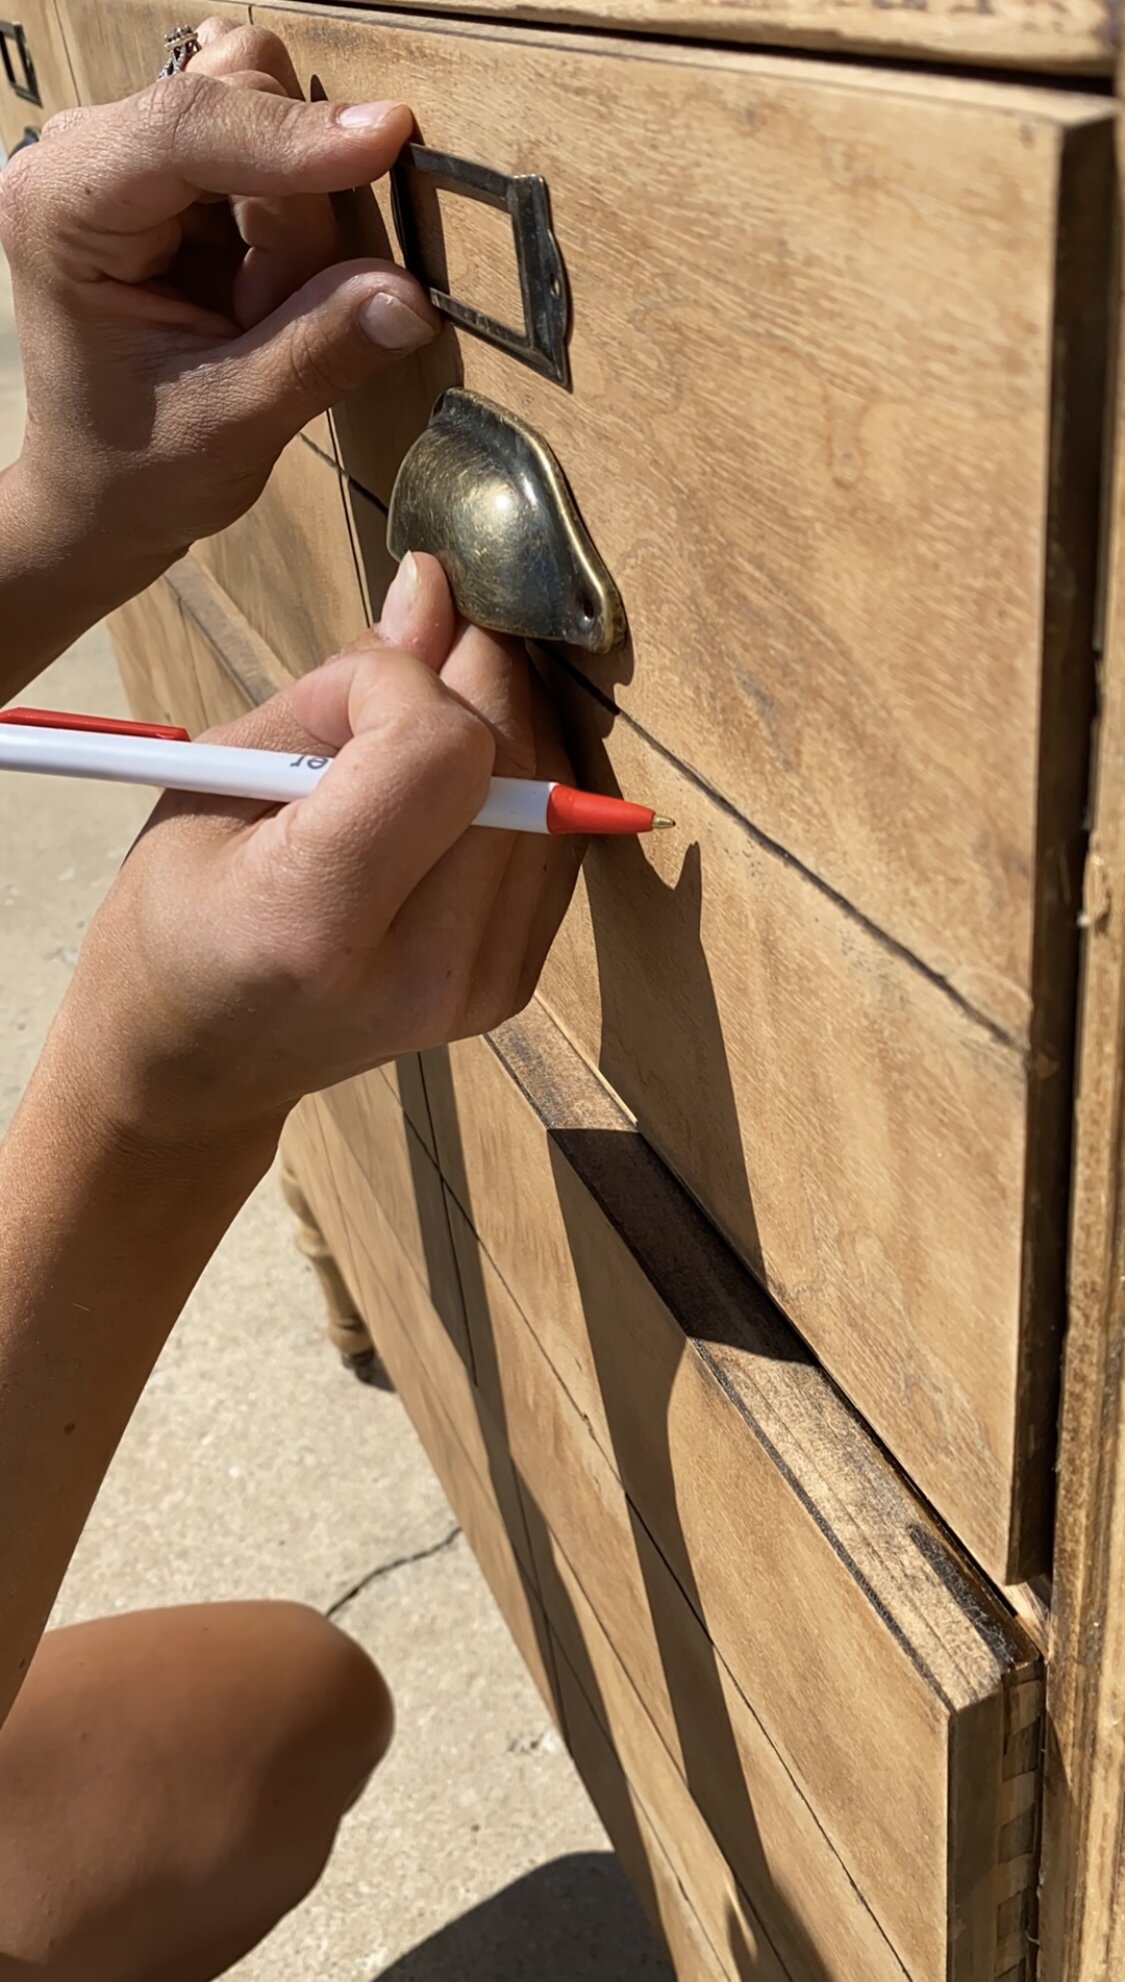
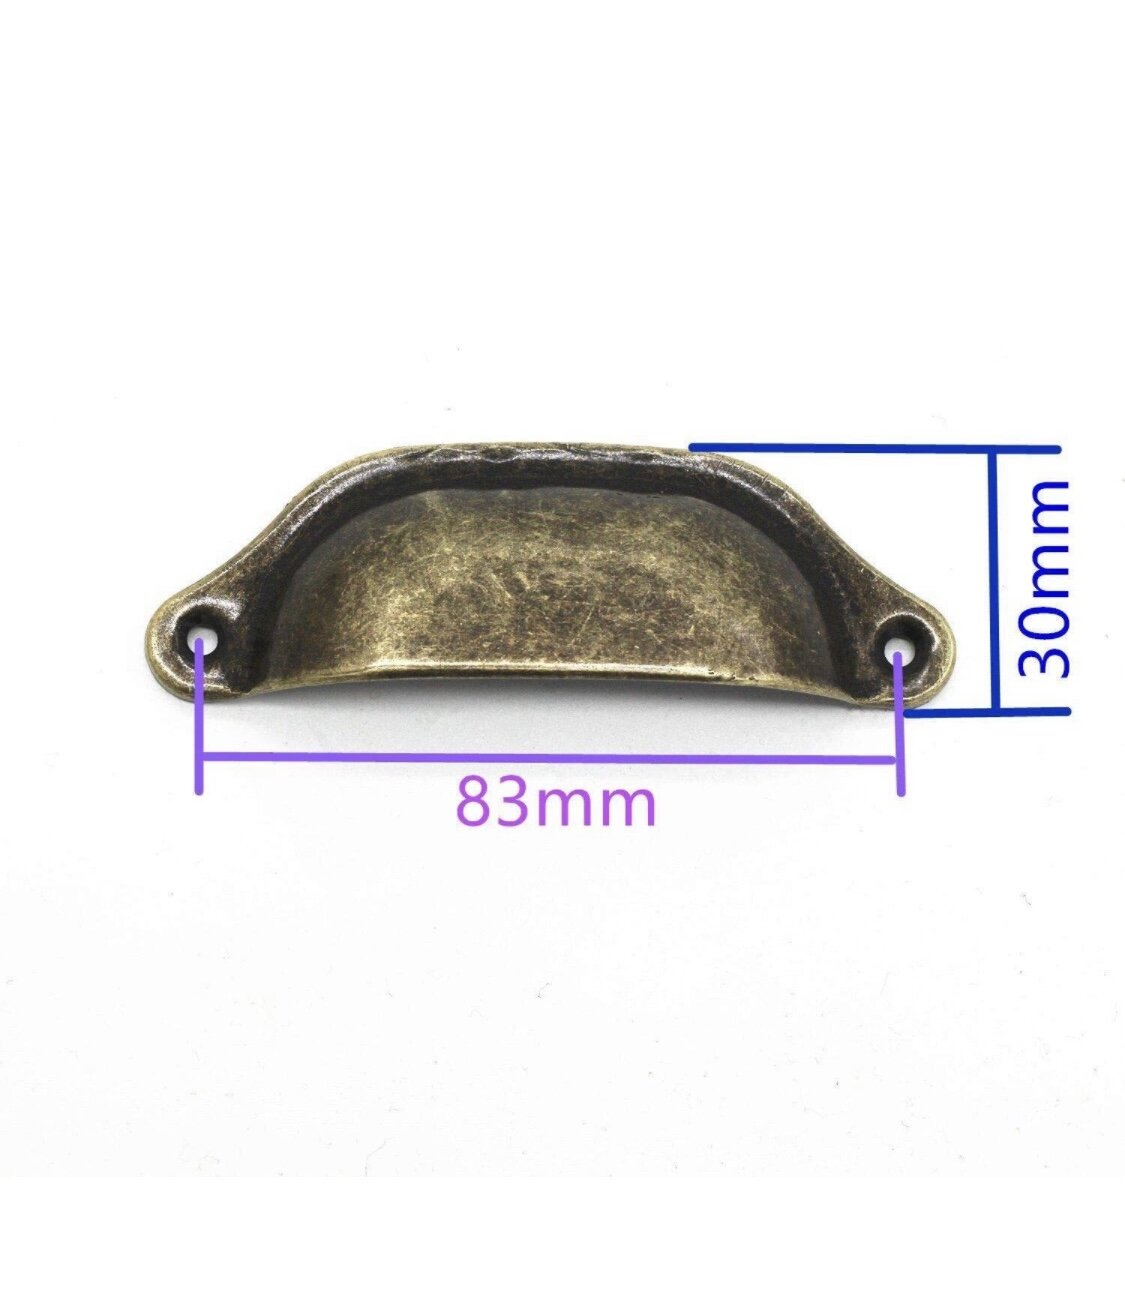
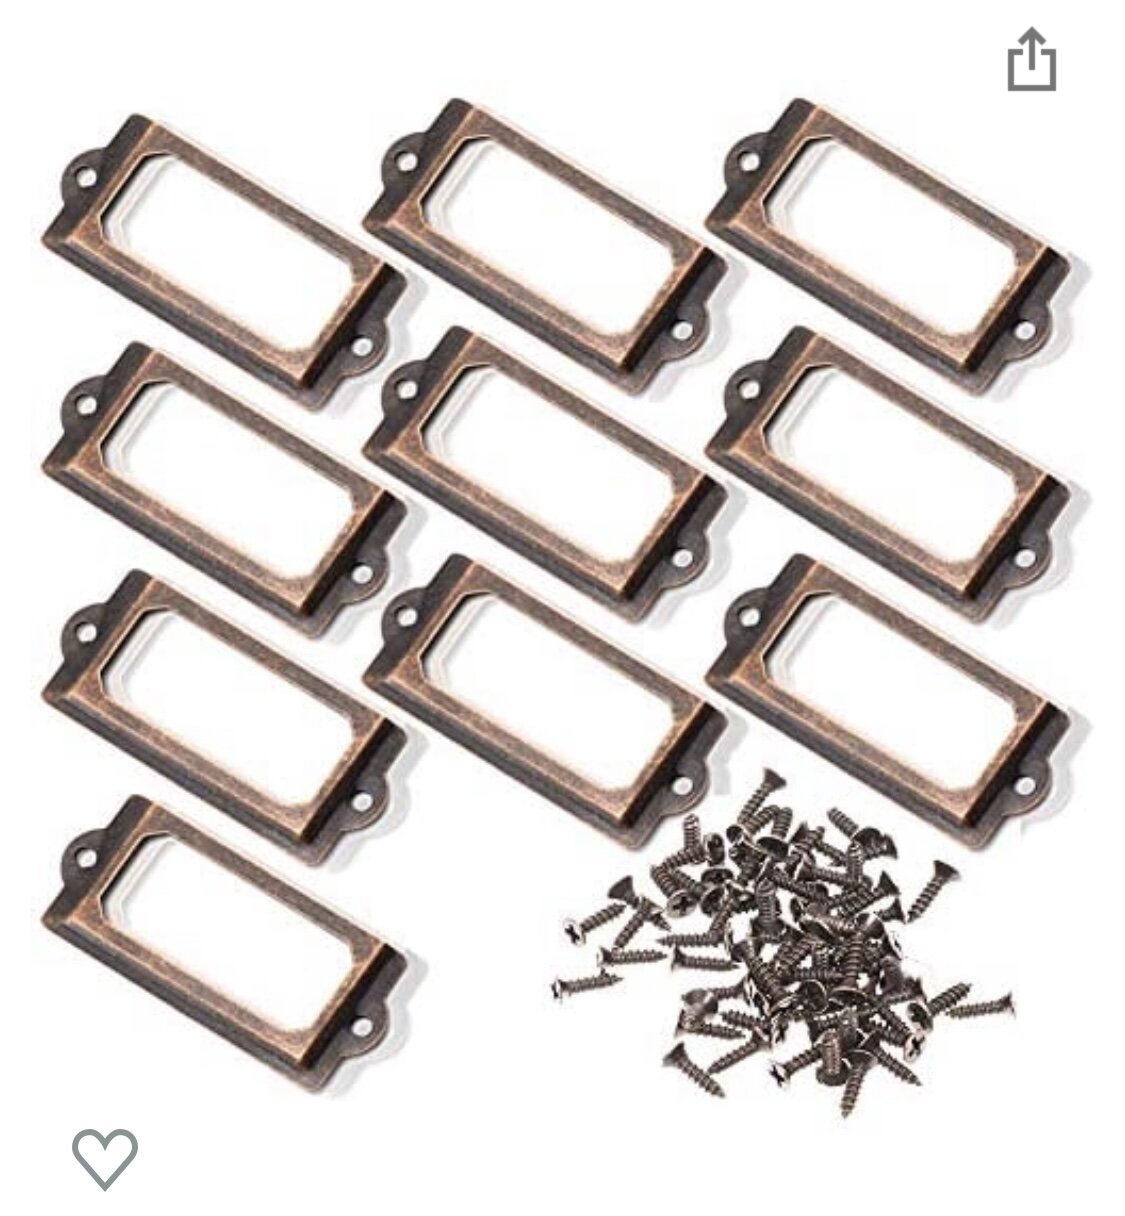
After I routed the lines in, I did use a dark stain to make them stand out more and create a shadow like an actual drawer would. (I just used a tiny craft paint brush and sanded any that got out of the lines.) Then I added all the hardware. (Linked below).
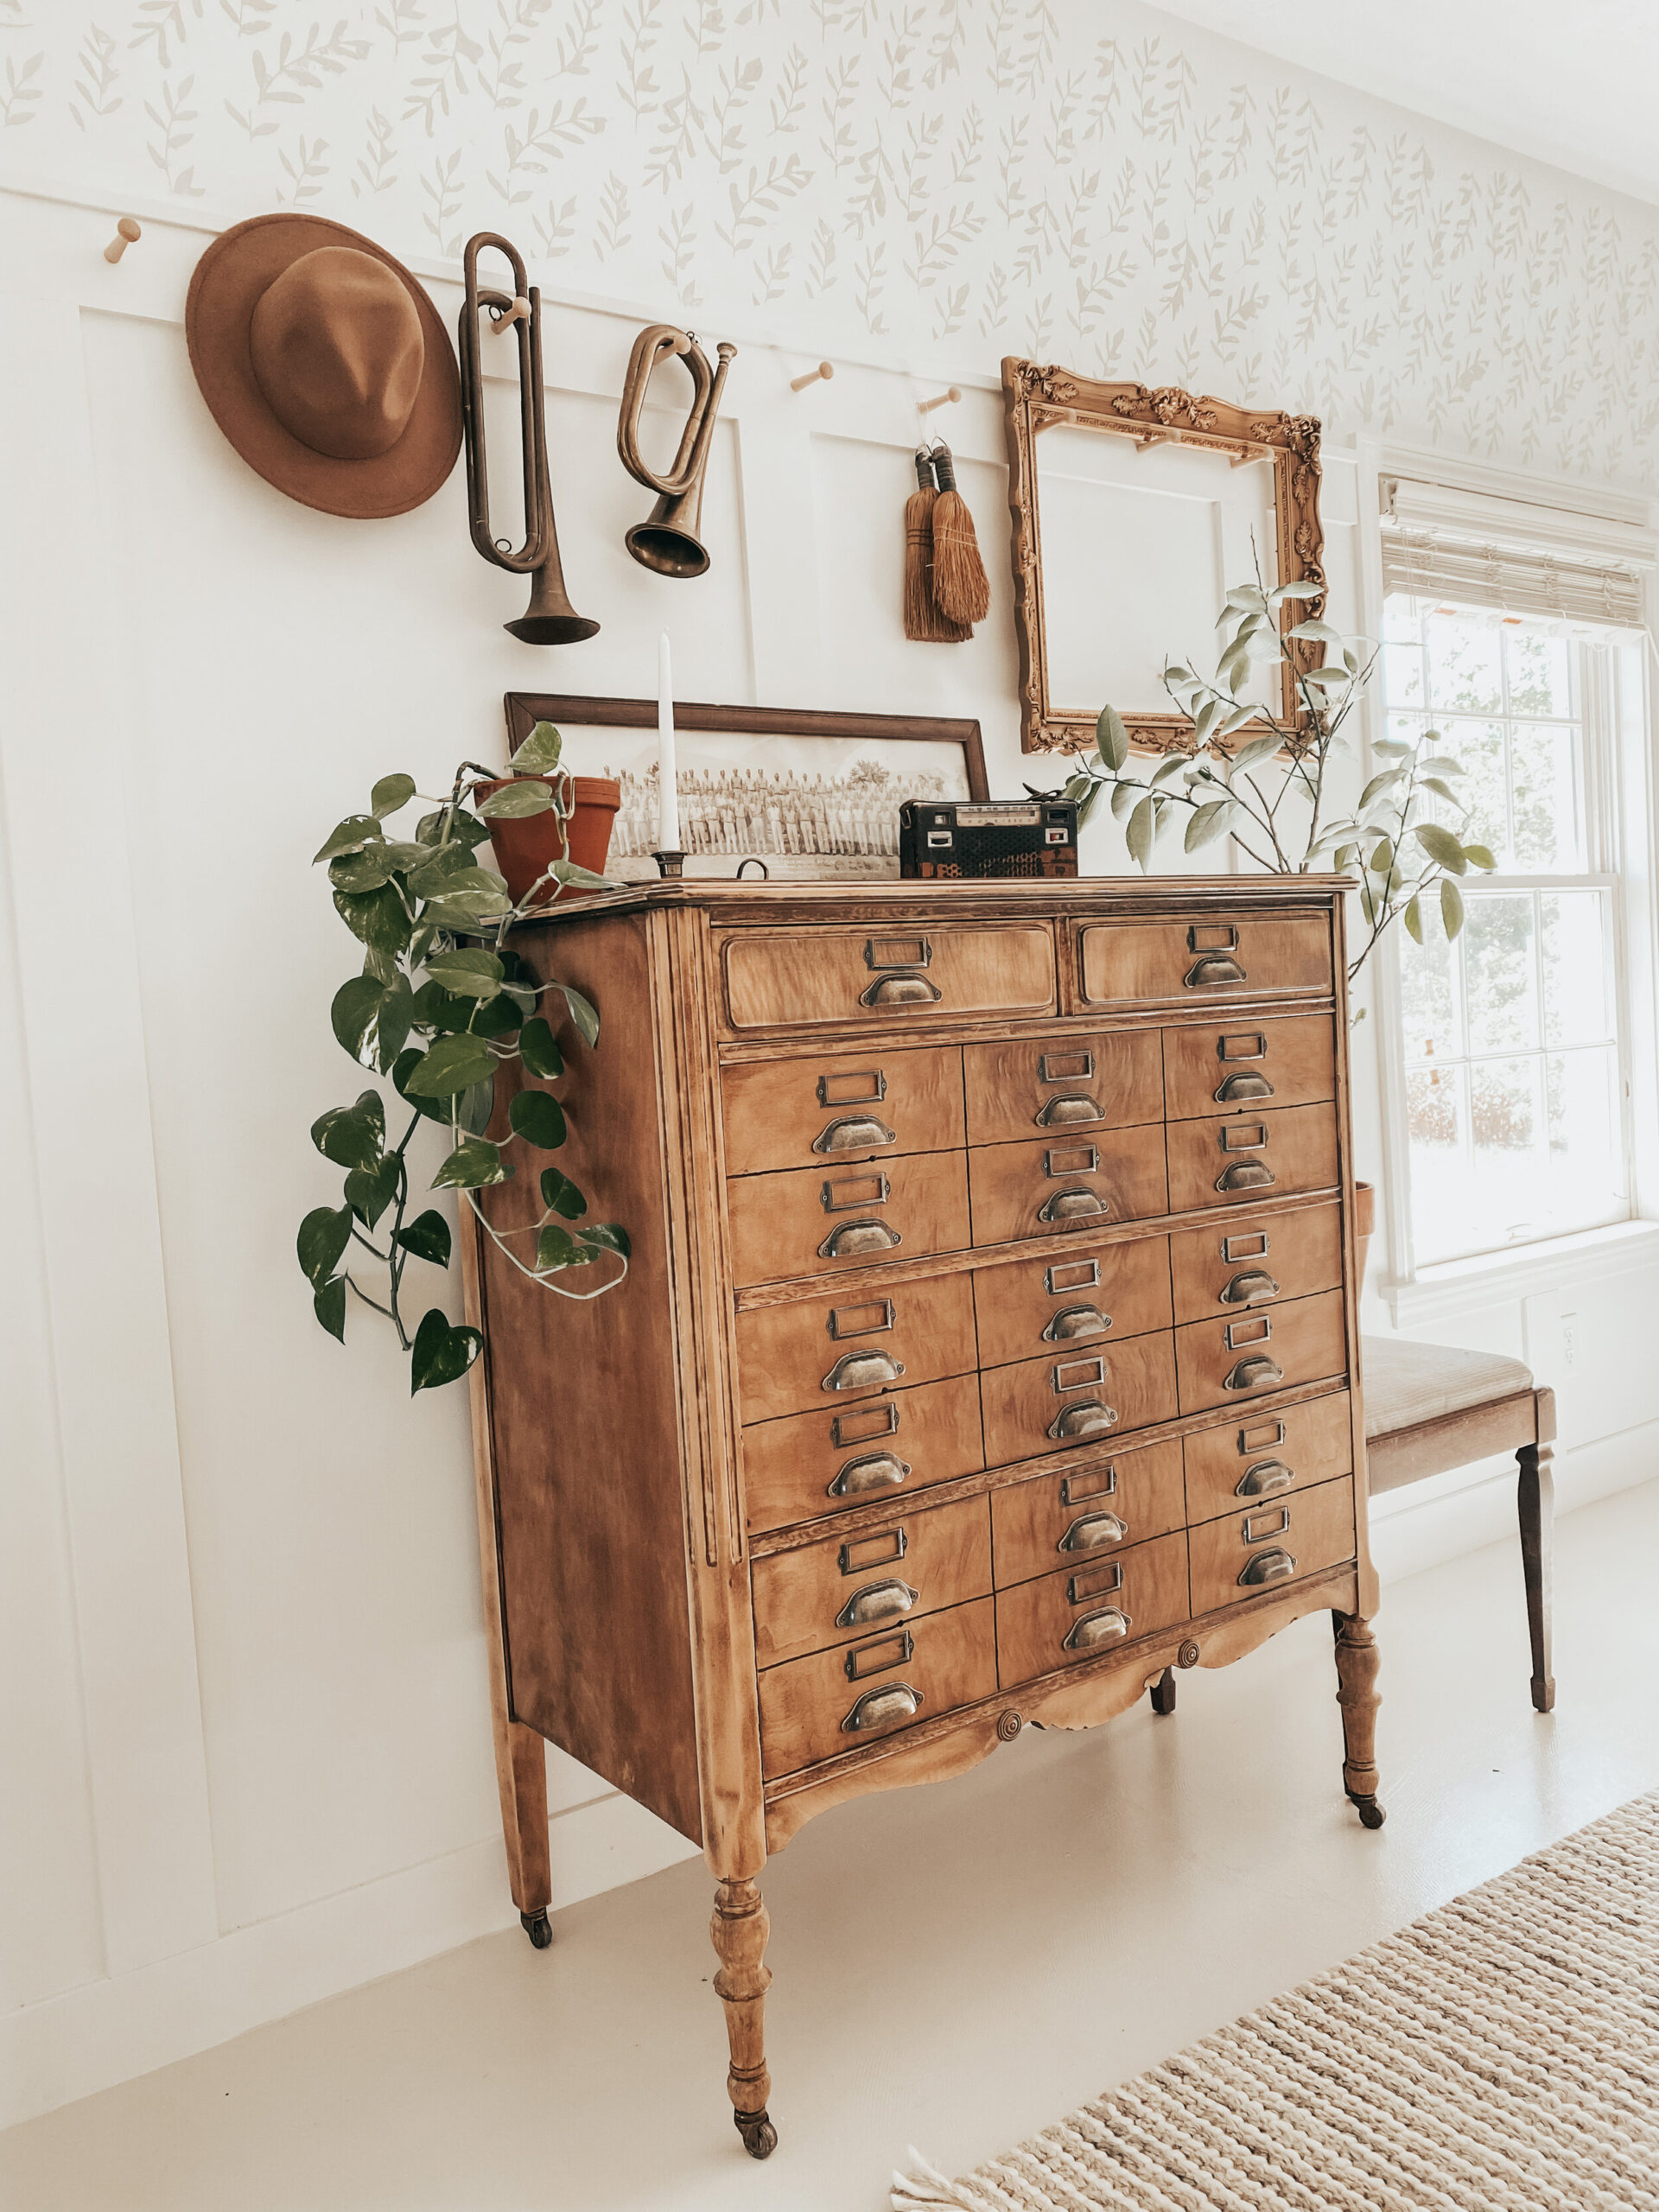
Thats it! It was a fairly simple flip and I am SO over the moon in love with the way it turned out! Don’t forget to tag @TimberNTwine on IG if you try this out!


Comments