
I want to start off by saying, I will never be able to NOT have one of these in my house. Its been hanging for a few days and we’ve already been using it non stop! Especially right now during winter with wet snow pants and such, its been SO nice to have! I can’t wait for summer to use it for swimsuits and who knows what else!

Material List (Links listed at bottom of post):
3- 1” oak dowels 3 foot long
2- 1×2 @6 select pine boards
2- packages of cotton 1/8” X 45’ rope
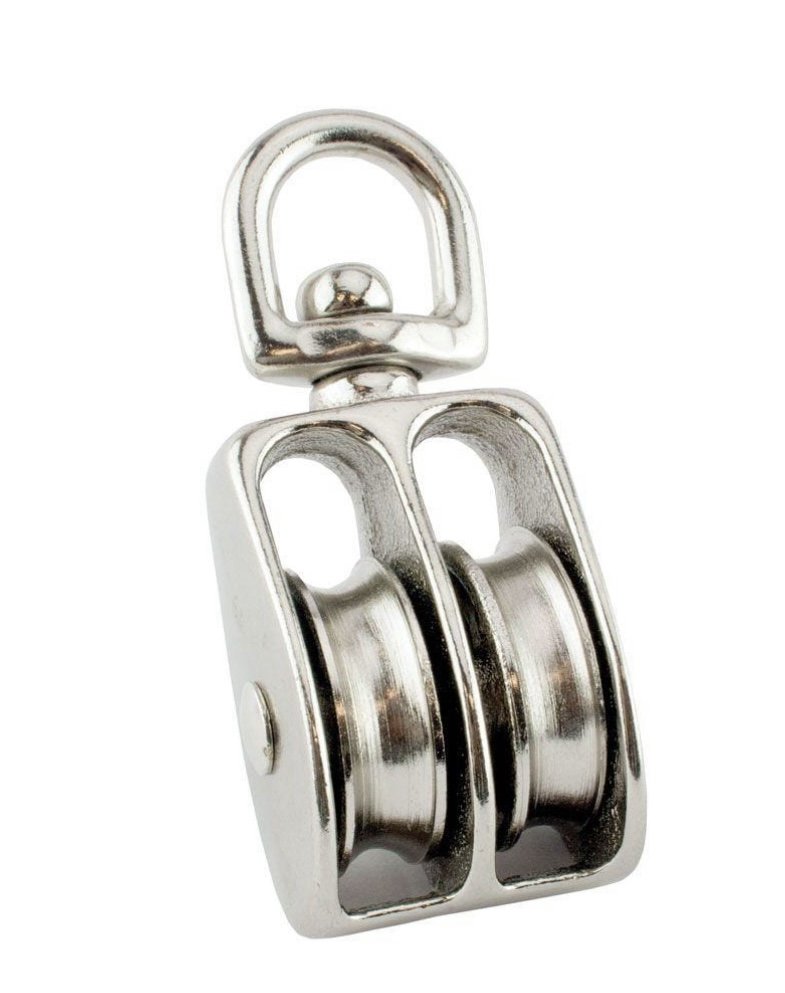
1- double pulley
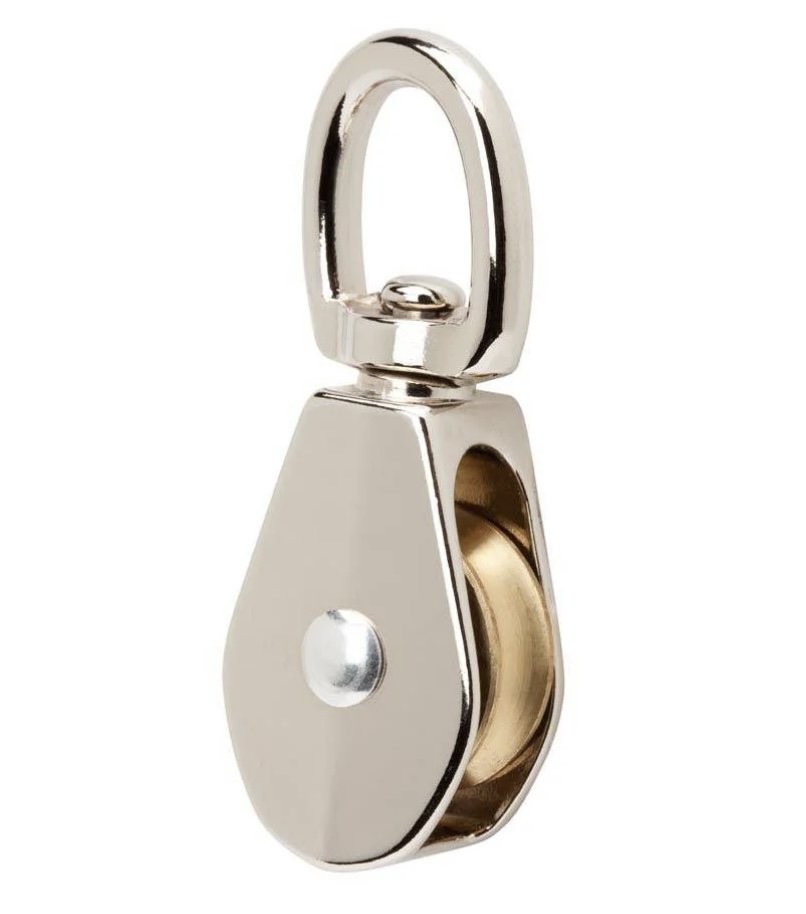
1-single pulley
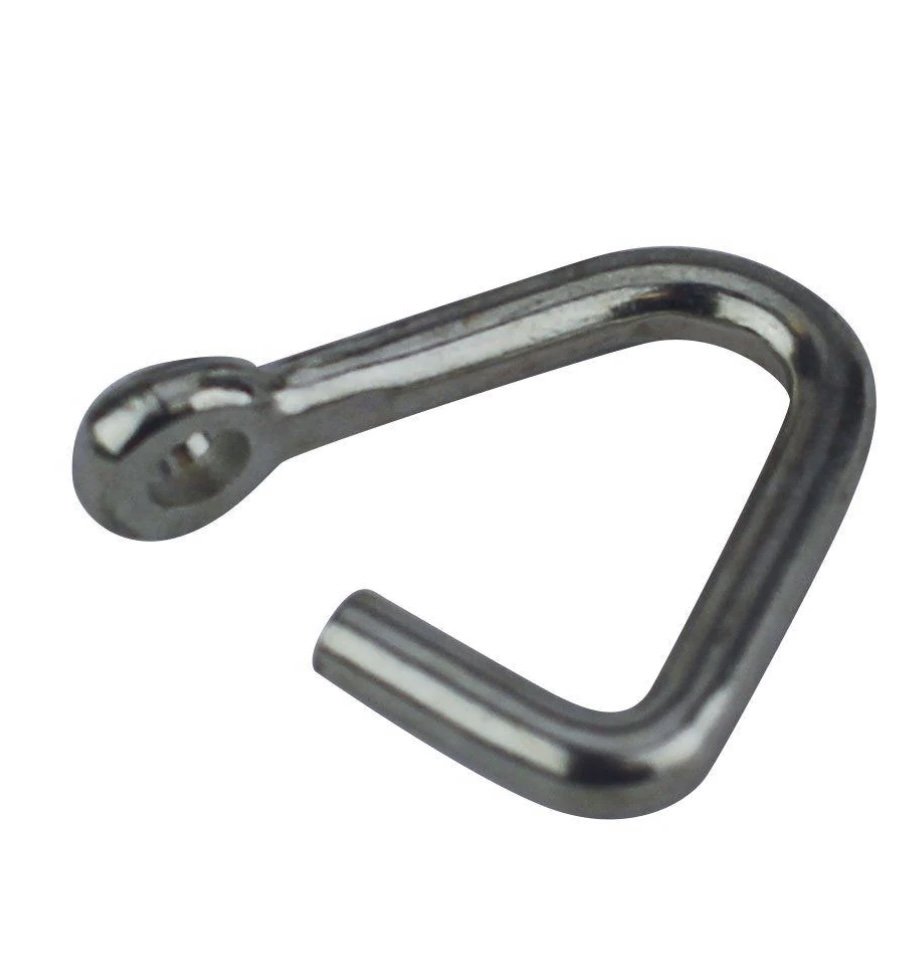
2- 3/16” cold shut clamps
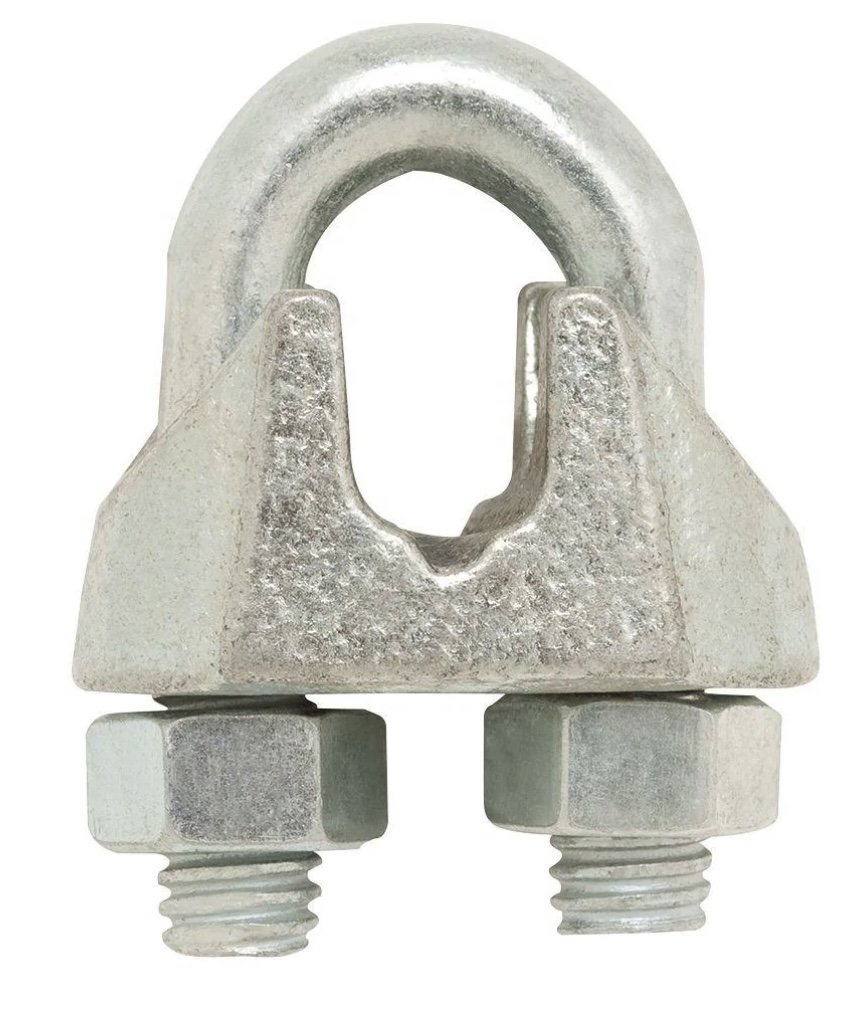
2- 1/8” Cable Clamp
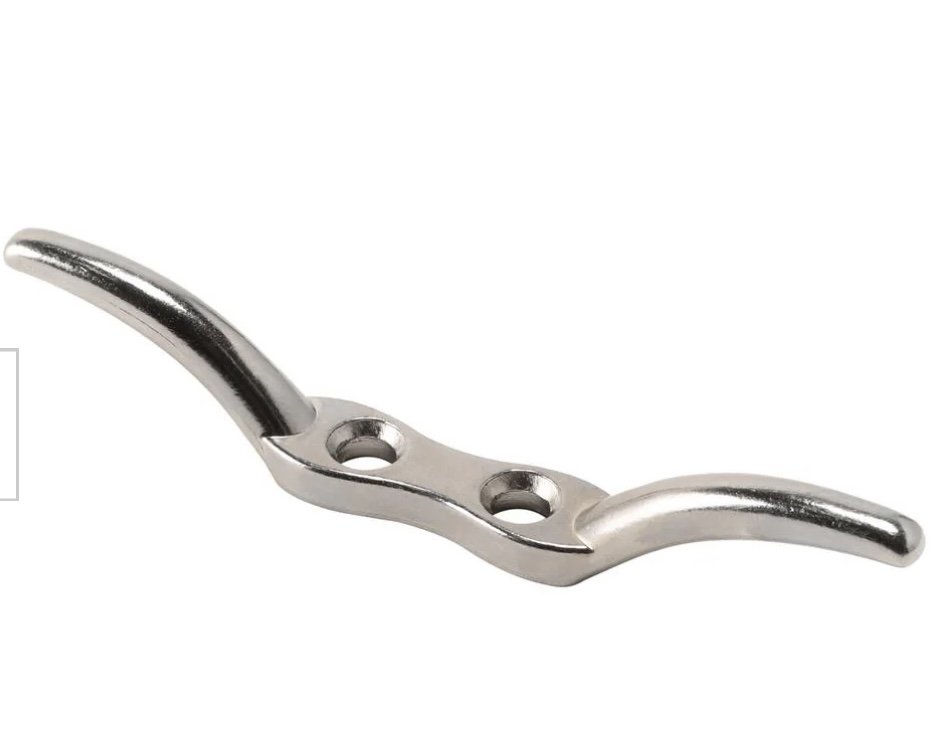
1- 4 1/2” Zinc Rope Cleat
1- box of 8 x 1 1/2” trim head screws
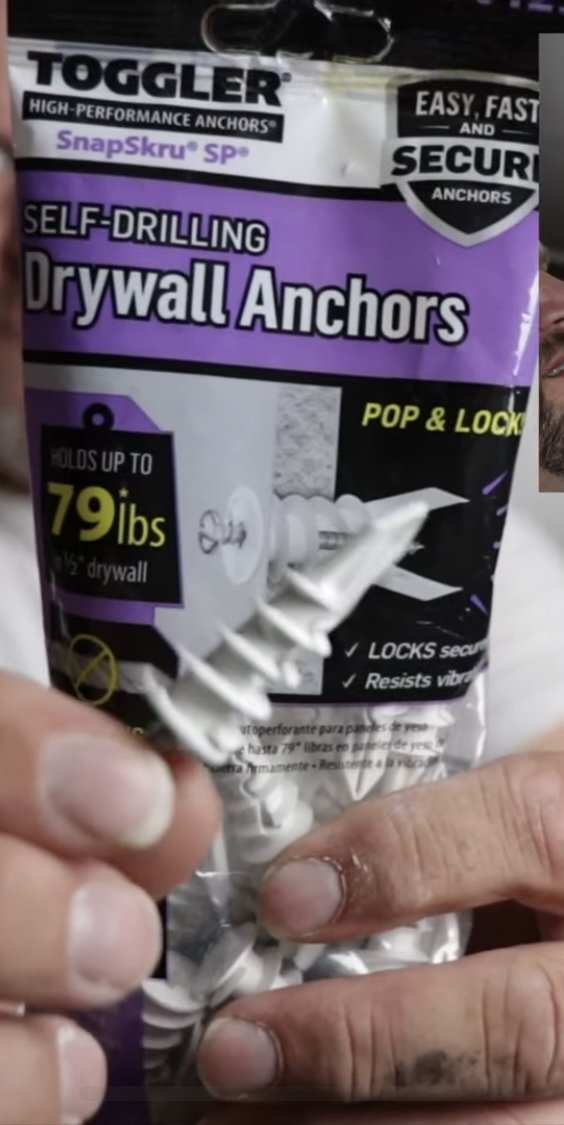
1- package of Toggler self drilling drywall anchors (only need if there’s no ceiling stud)
wood glue
1” Spade drill bit
Antique Gold Spray Paint
Paint/stain of your choice
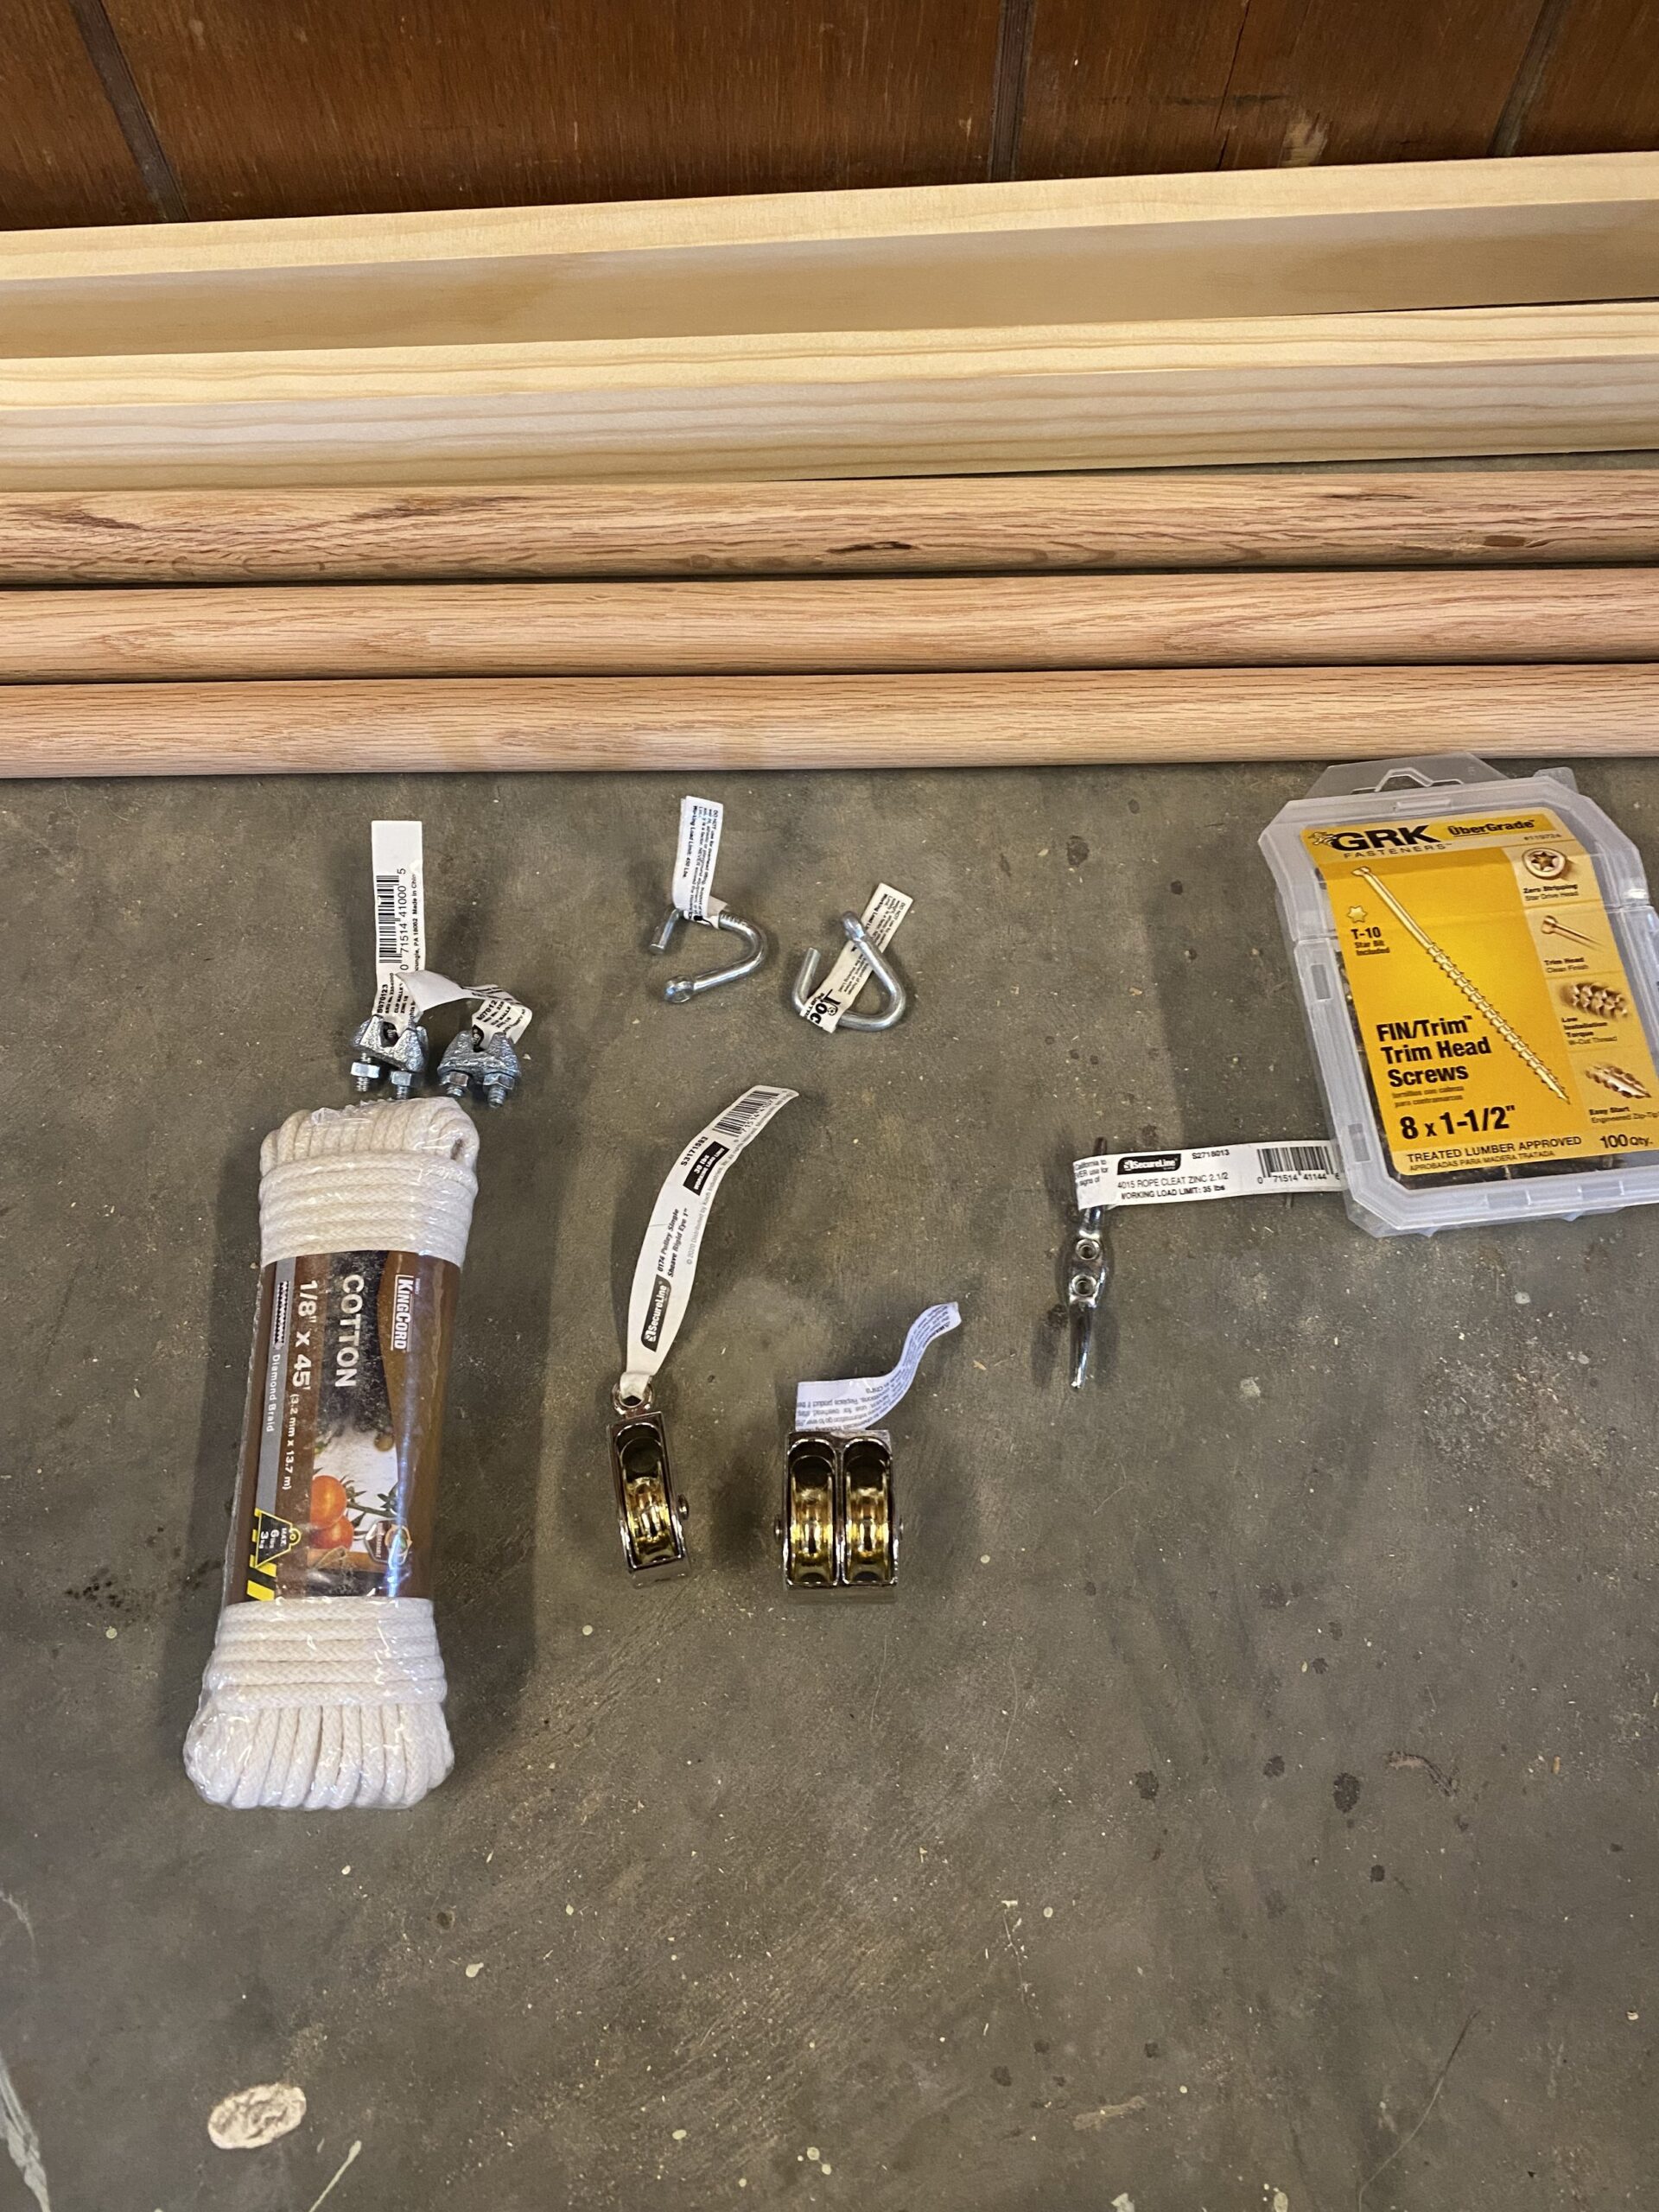
These are all the materials you will need to make the hanging air dryer. I did end up using two rolls of the cotton rope only so it was easier to hang without cutting off the same roll. I will link all the materials at the bottom of this blog post.

I started by measuring my space and I knew I wanted the rack to be 5’ long and 12’ deep. So I cut my 1×2@6’ down to 5’. I then cut my dowels down to 11”. I ended up with 9 dowels total.
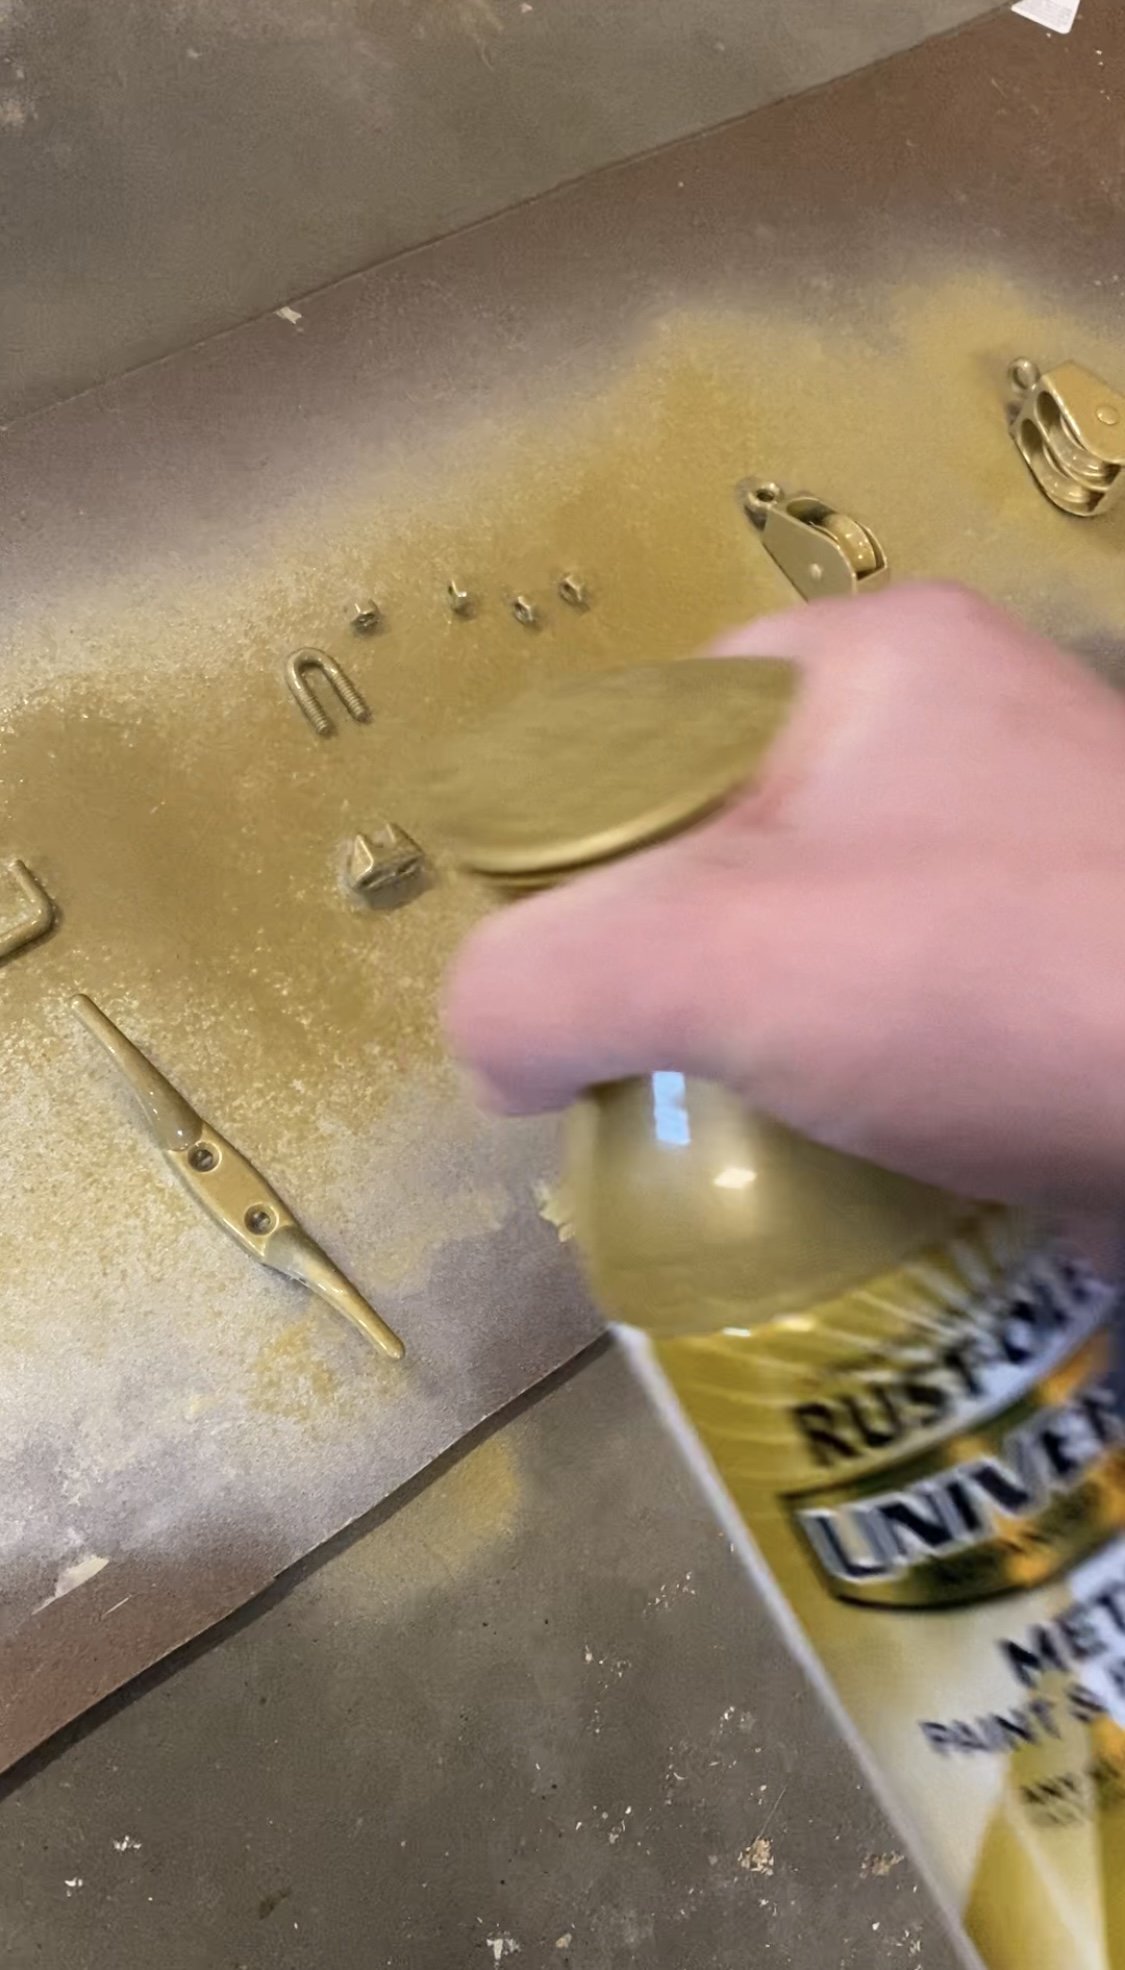
Now is a great time to paint your hardware if you wish. It will give you time to apply another coat and speed up the drying time so you’re not waiting at the end of the project.
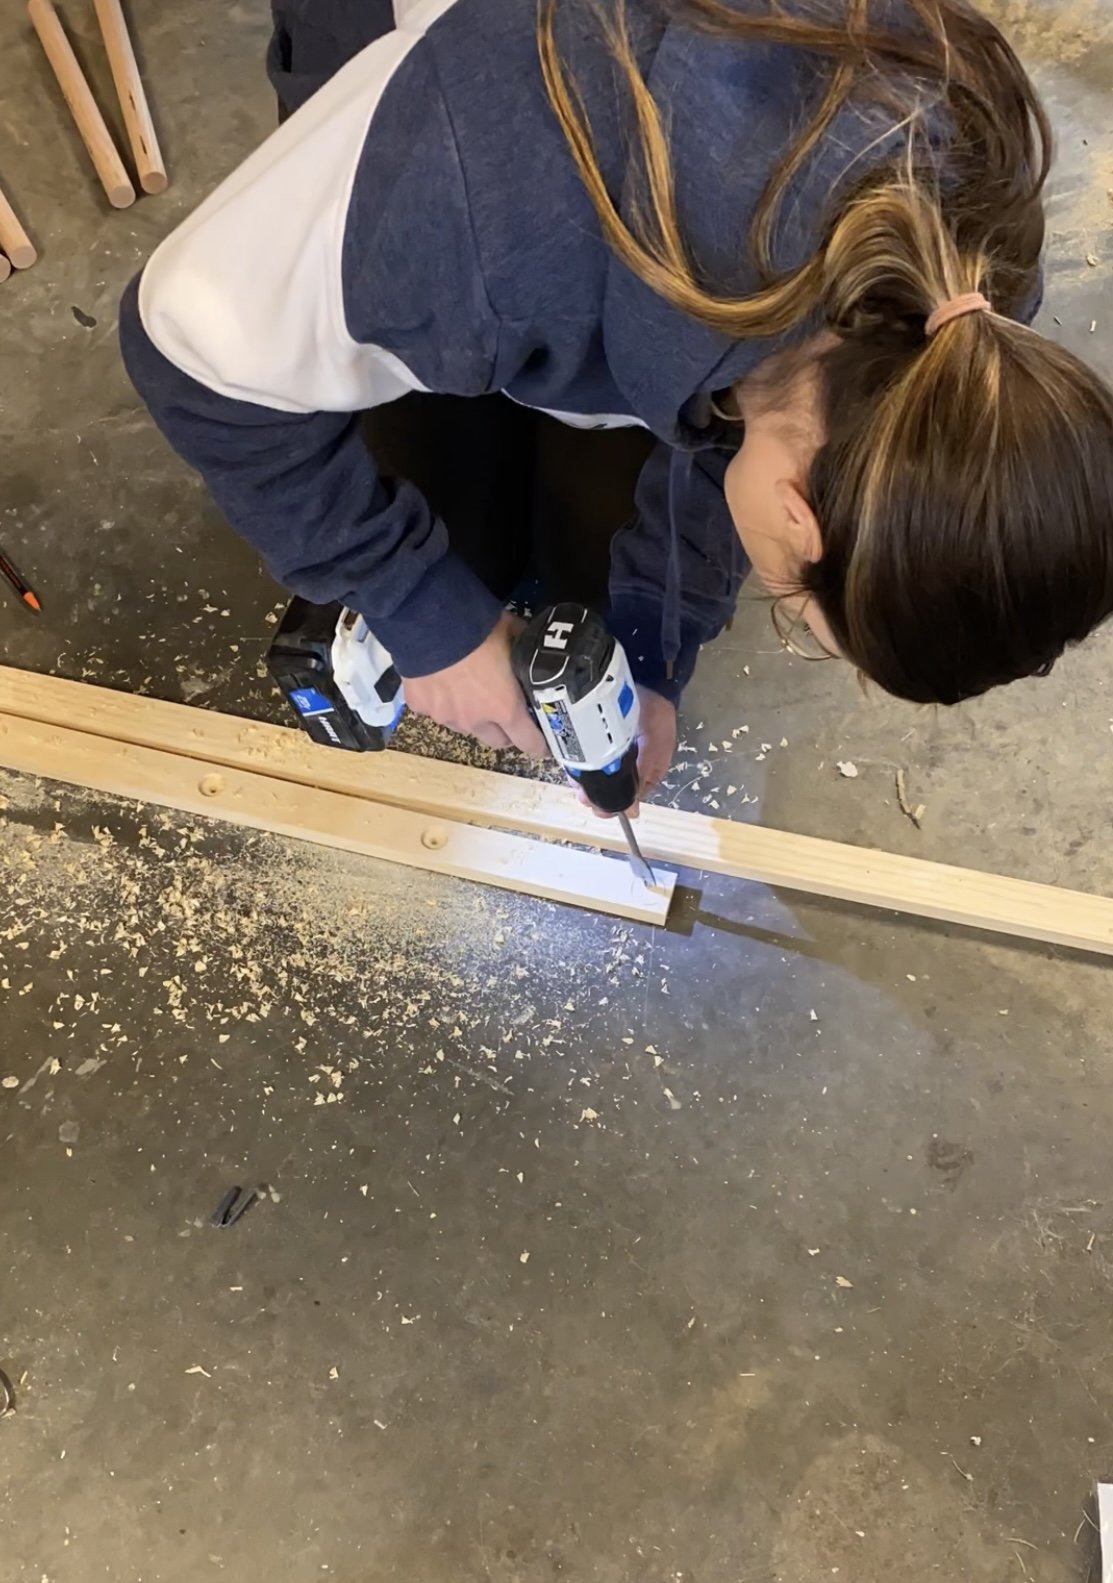
Next I used my 1” Spade drill bit to carve out places for the dowels to rest. I drilled the holes about 1/4” deep. (This will give me an overall depth of 12”) I even spaced out my holes by finding the center of each one. They were rough spaced 7 3/8” apart on center.
After my holes were all drilled and lined up on each board. I lightly sanded everything with 120 grit sandpaper and rounded all the edges of the 1×2 boards.
This would also be a great time to paint/stain. I waited until everything was assembled and it ended up being a pain to paint around the dowels.
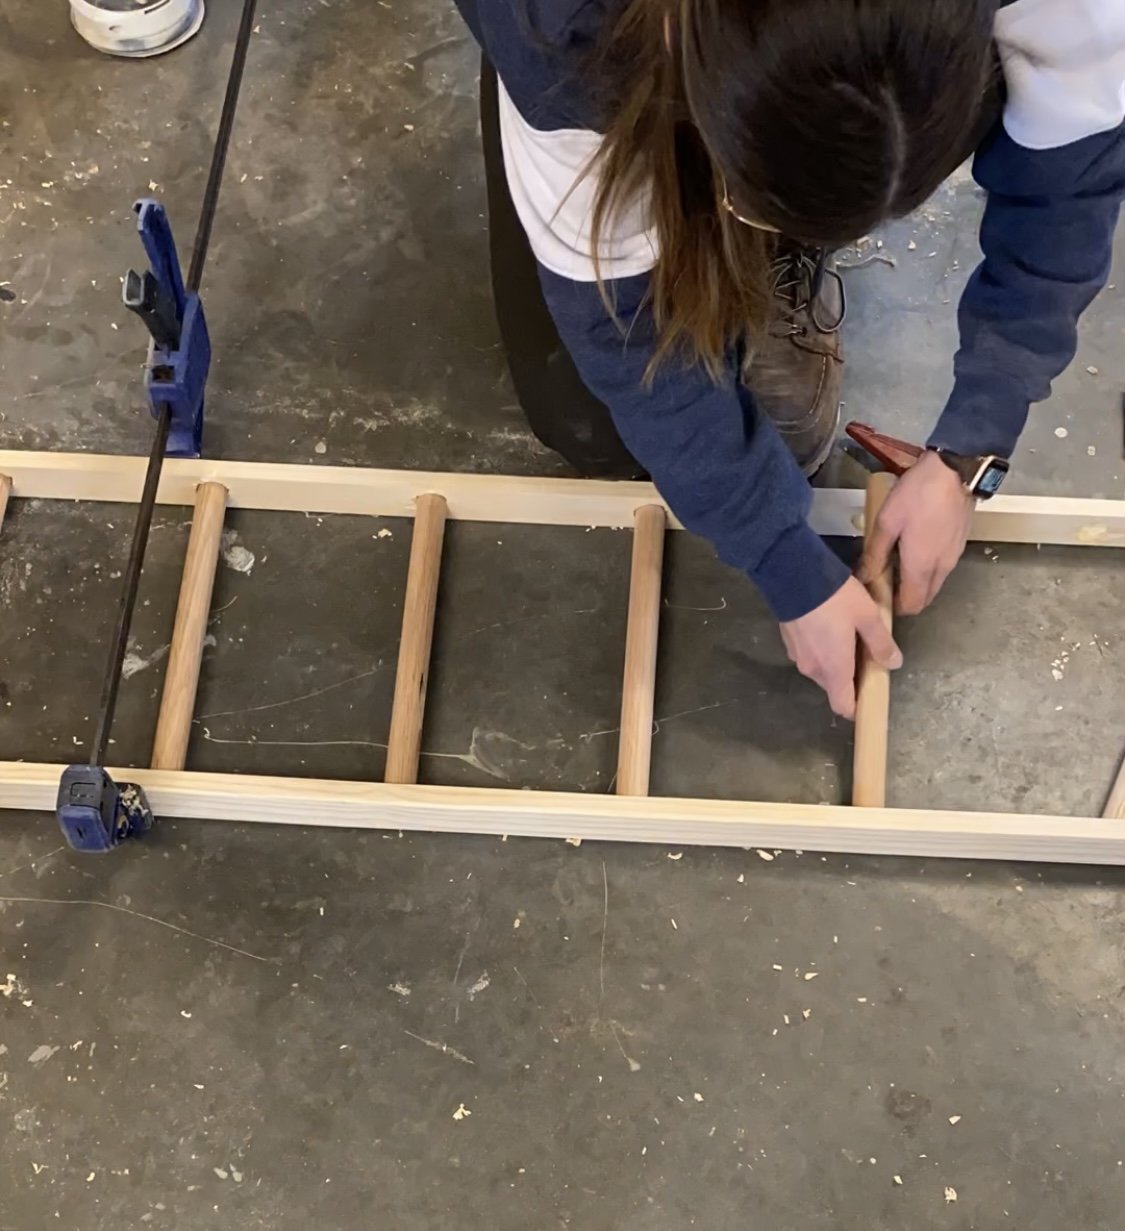
To attach everything, I used wood glue in all the holes I had just drilled, and used clamps to hold the dowels in place. I then drilled the 1 1/2” trim head screws going from the outside into the end of the dowels to hold everything in place.
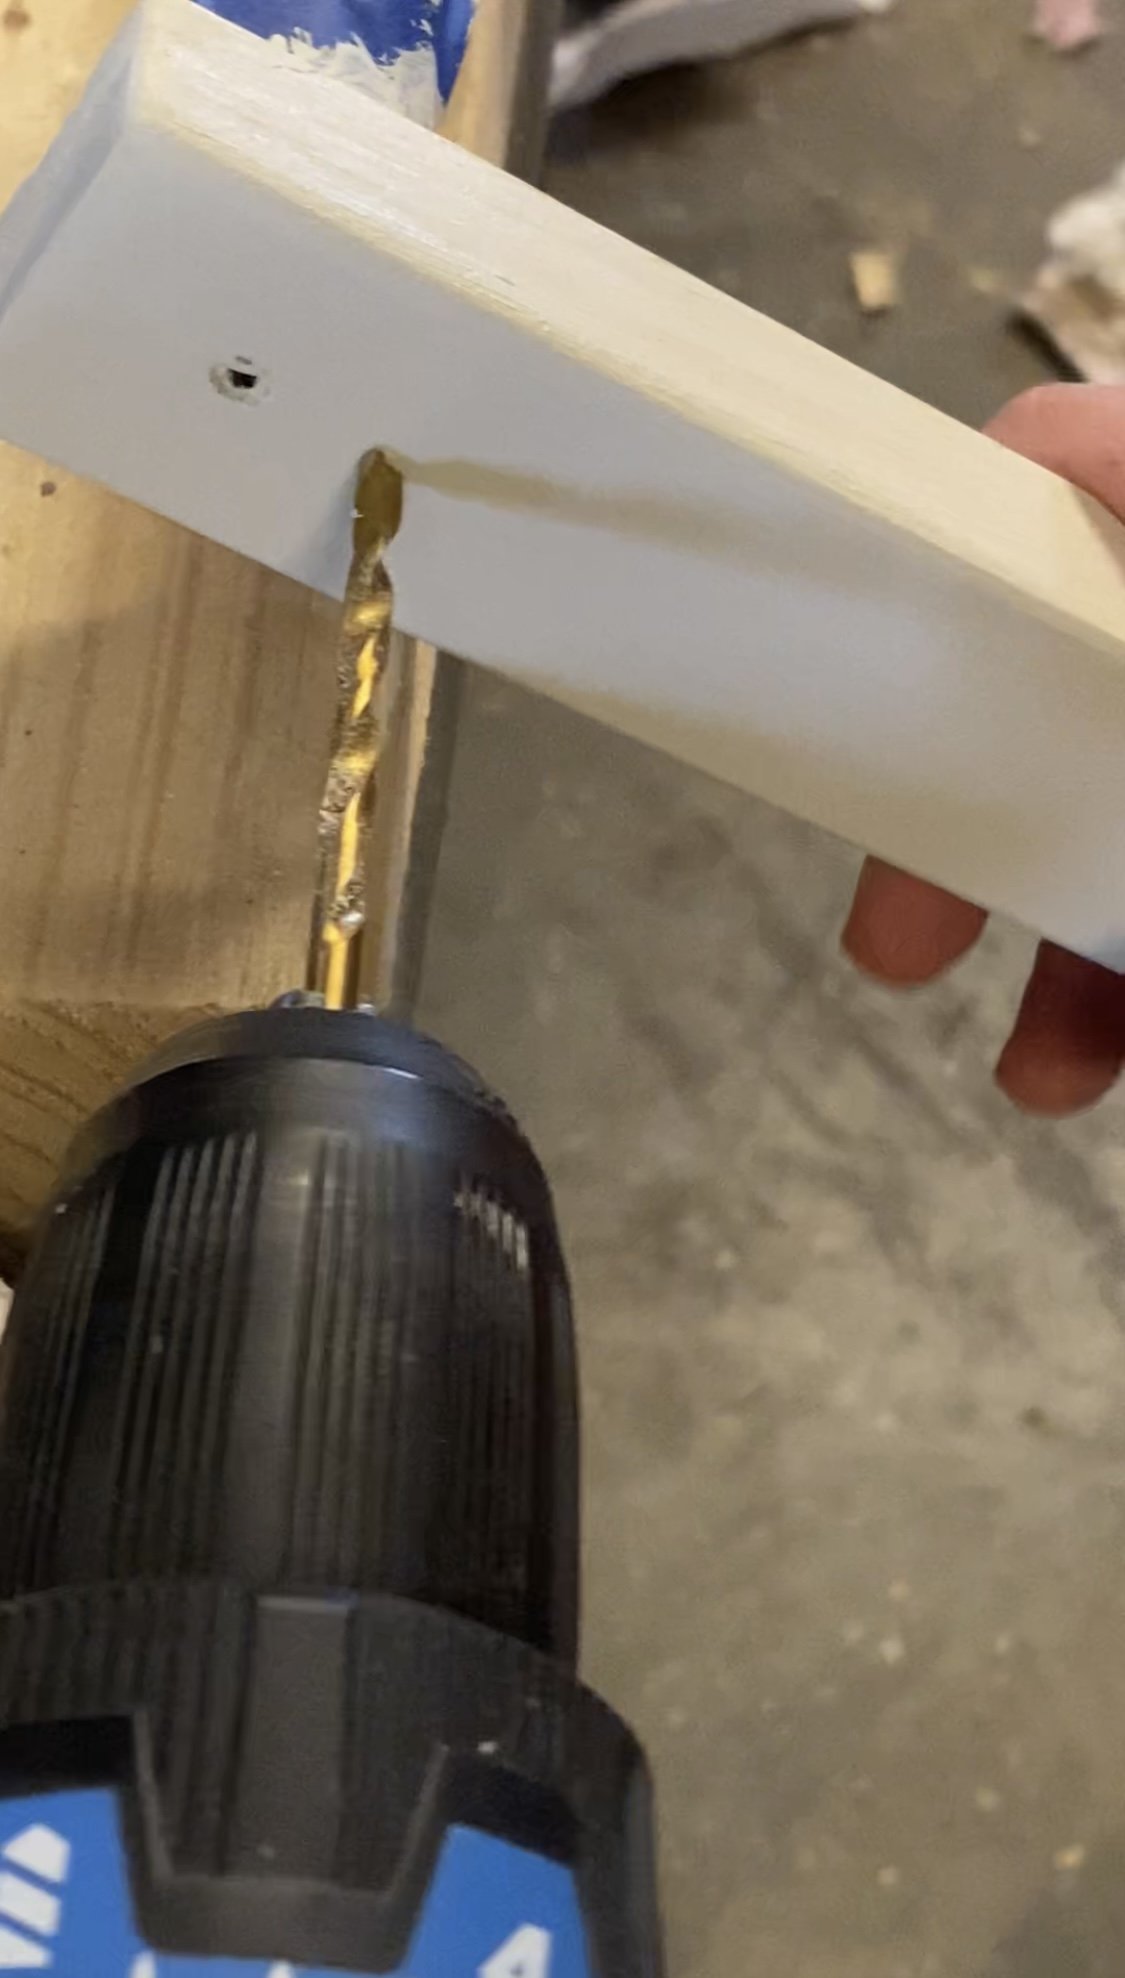
At this point you’re ready to assemble the rope. I drilled 2 holes at each end for the rope to run through using a 1/8” drill bit. Feed the rope through starting from the outside of one side, and into the inside of the other side.
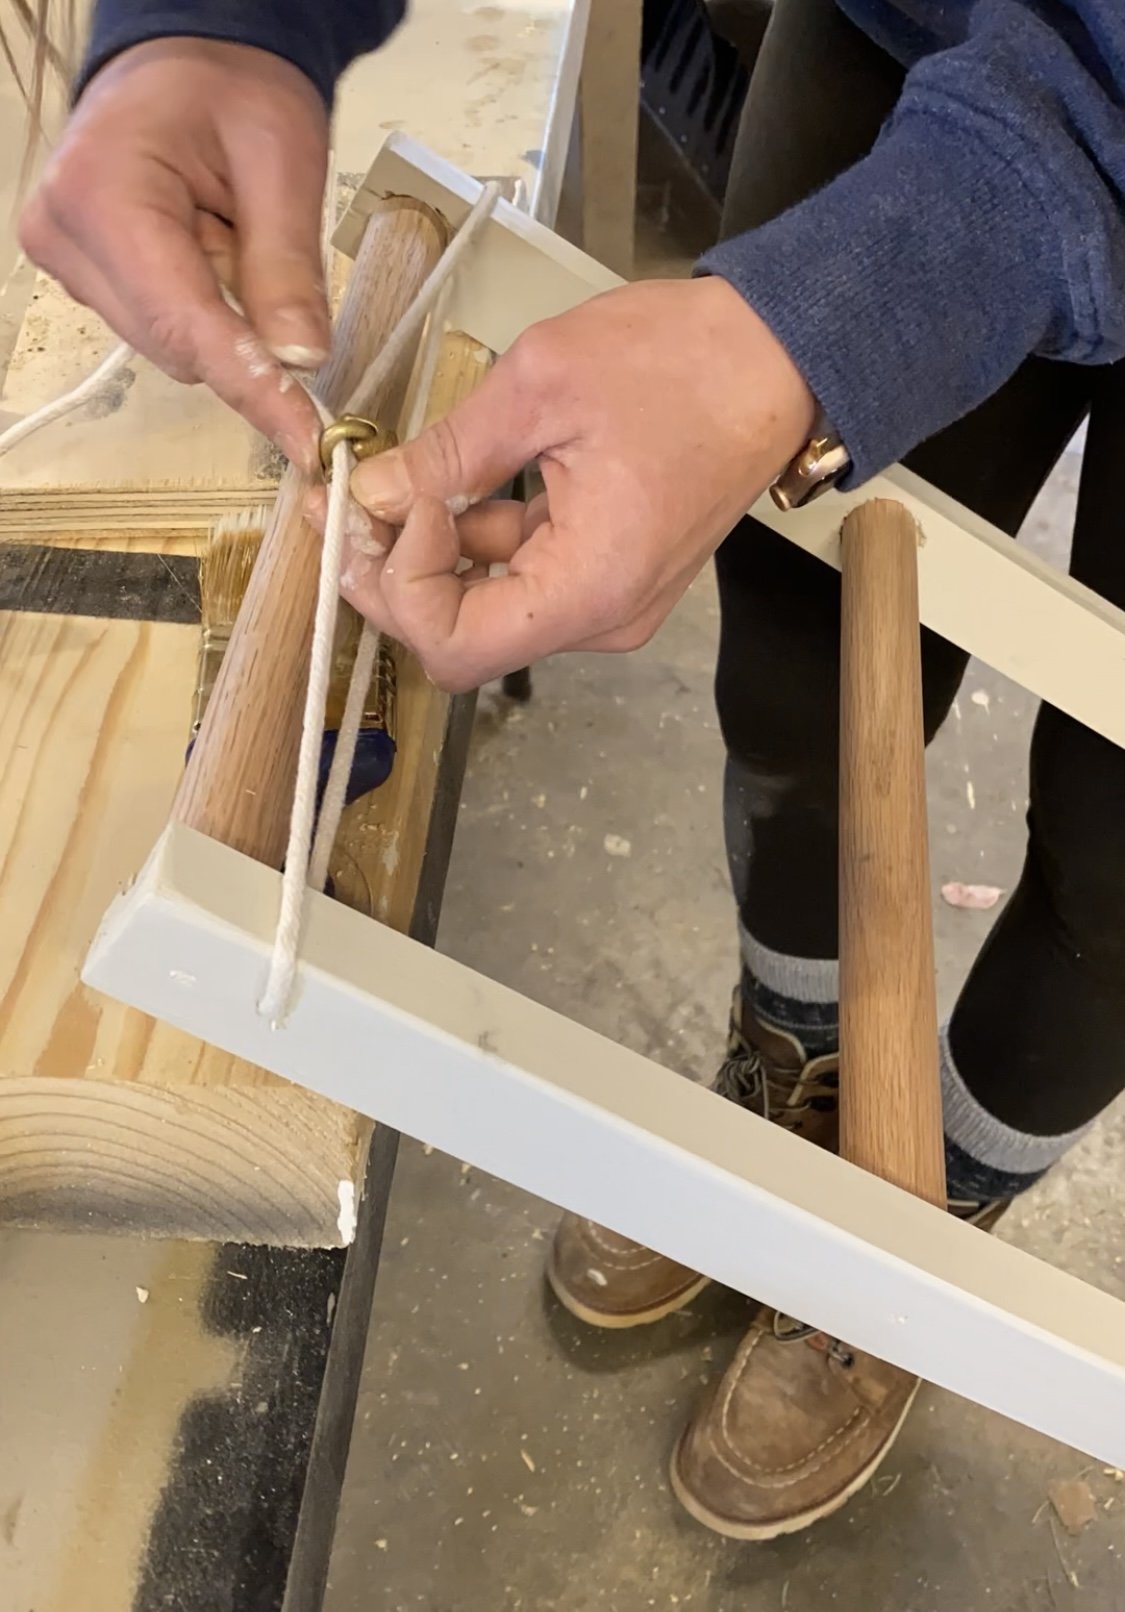
Like the photo above, pull the rope tight and clamp it using the 1/8” cable clamps.
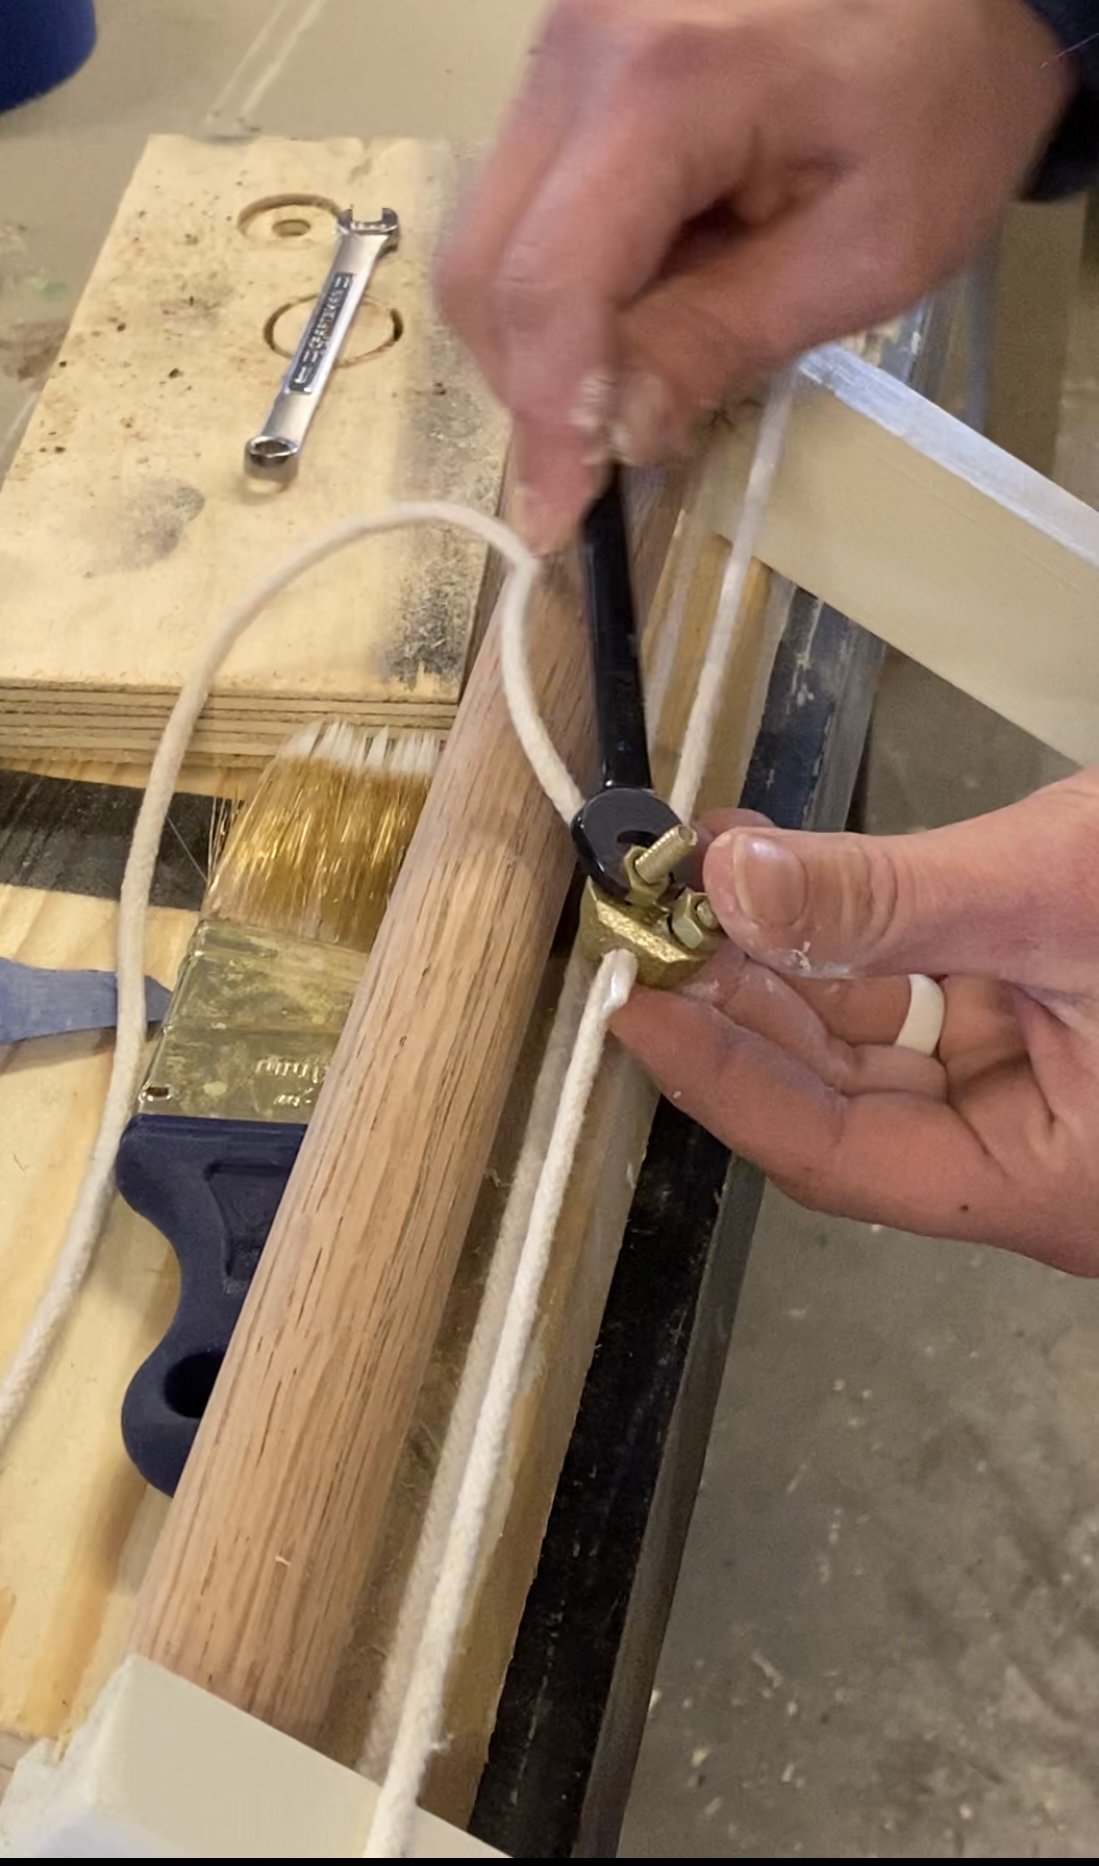
Repeat on both ends and tighten with a wrench or pliers. This is where having two separate sets of rope came in handy. Instead of measuring ahead of time and cutting the right amount of rope, I just used one package on each end so I could cut after everything was installed. Just FYI if you go that route, you will be left with plenty of left over rope, but its cheap enough that it was worth saving myself from the headache of math!
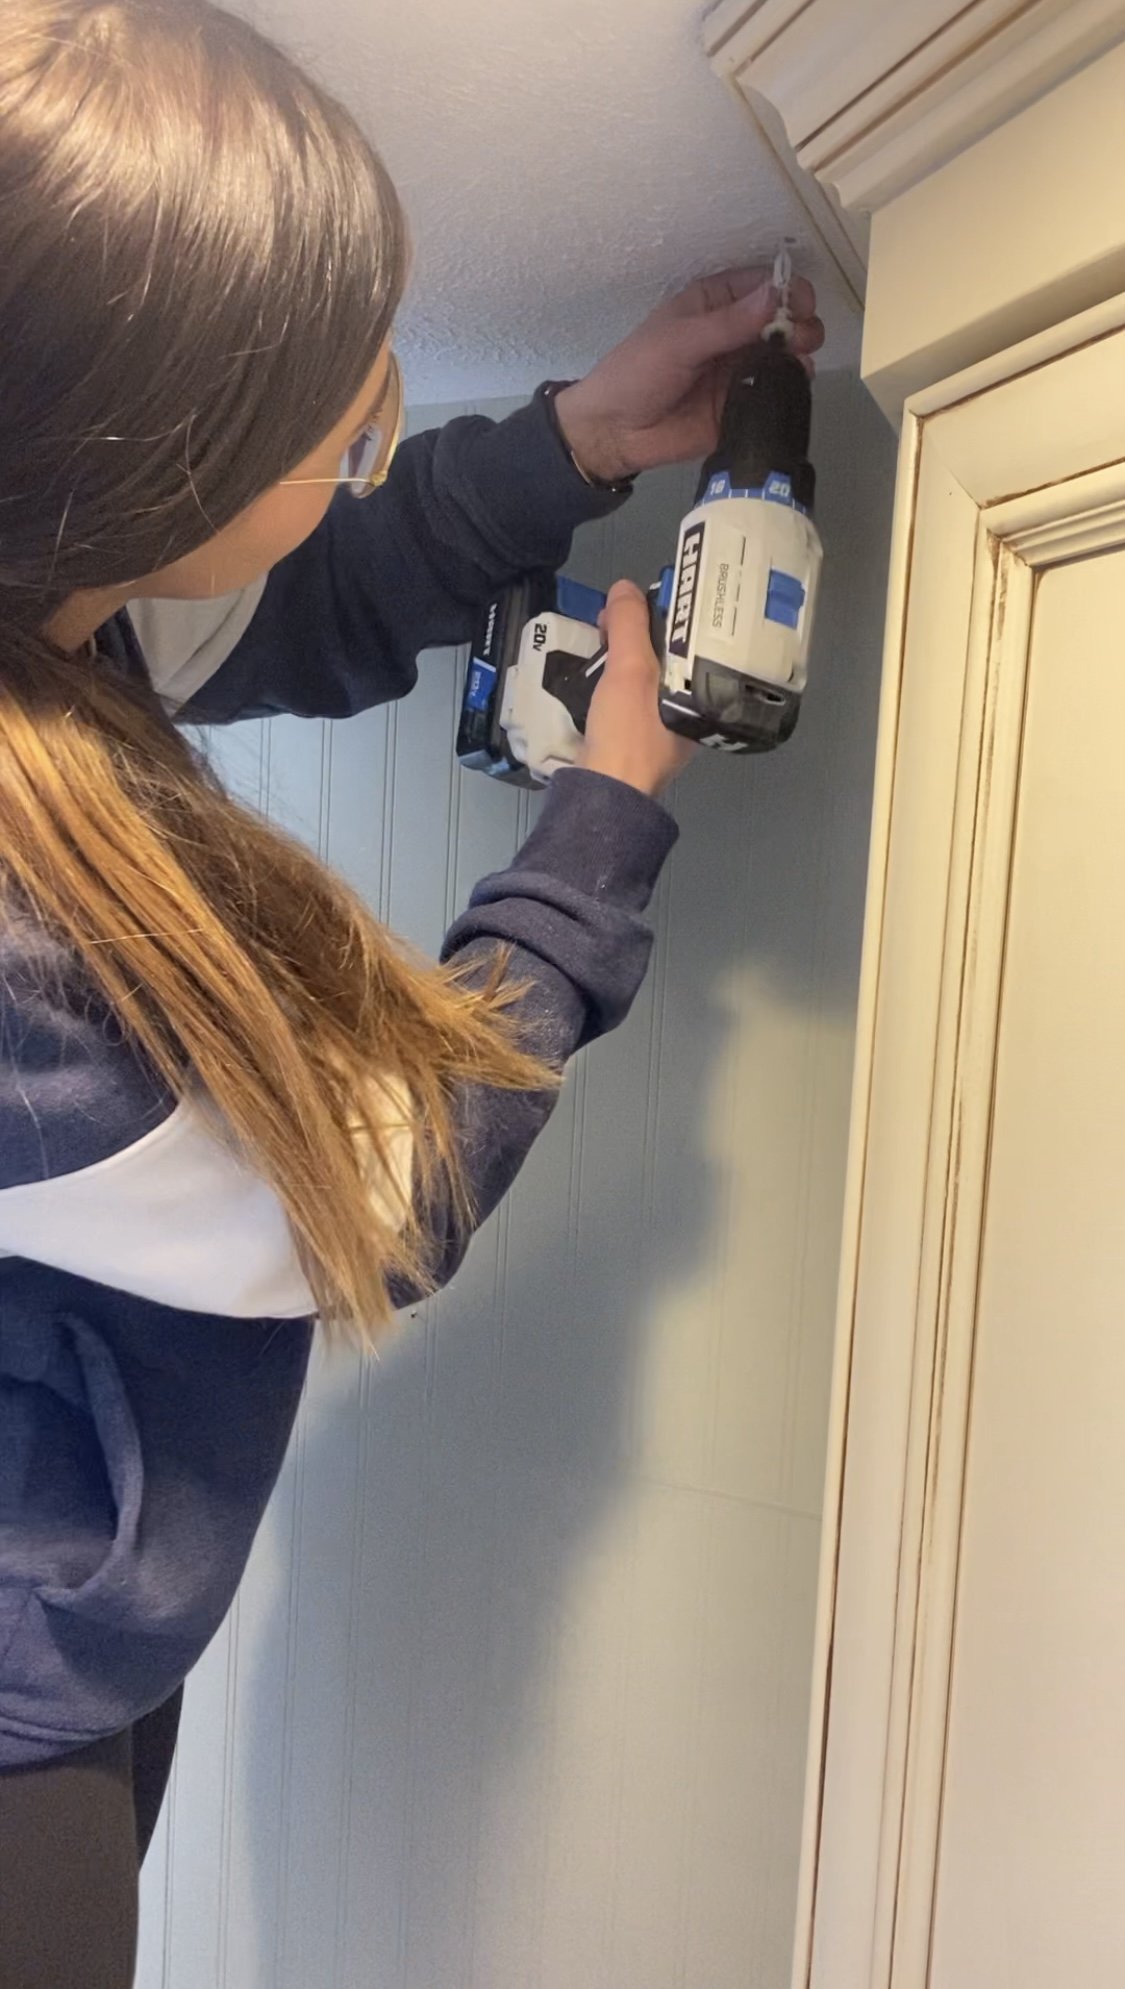
If you’re not screwing into a stud, this is where the Toggler Drywall anchor comes in. These hold 97lbs and are easy to work with. (Youtube was a great help to me for my first install of these!)
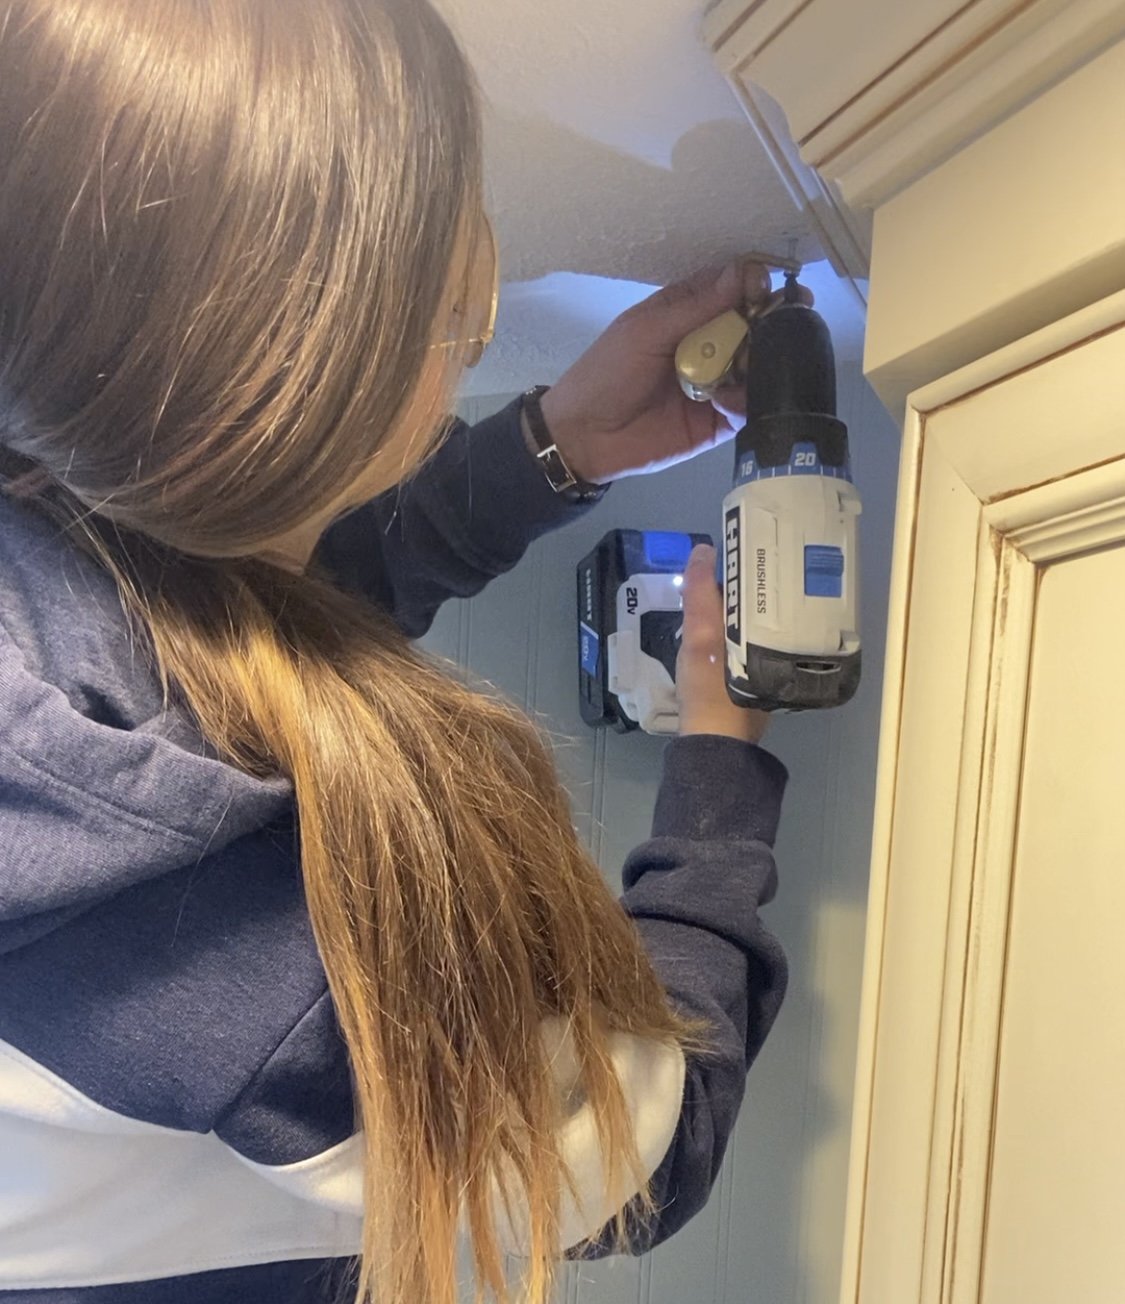
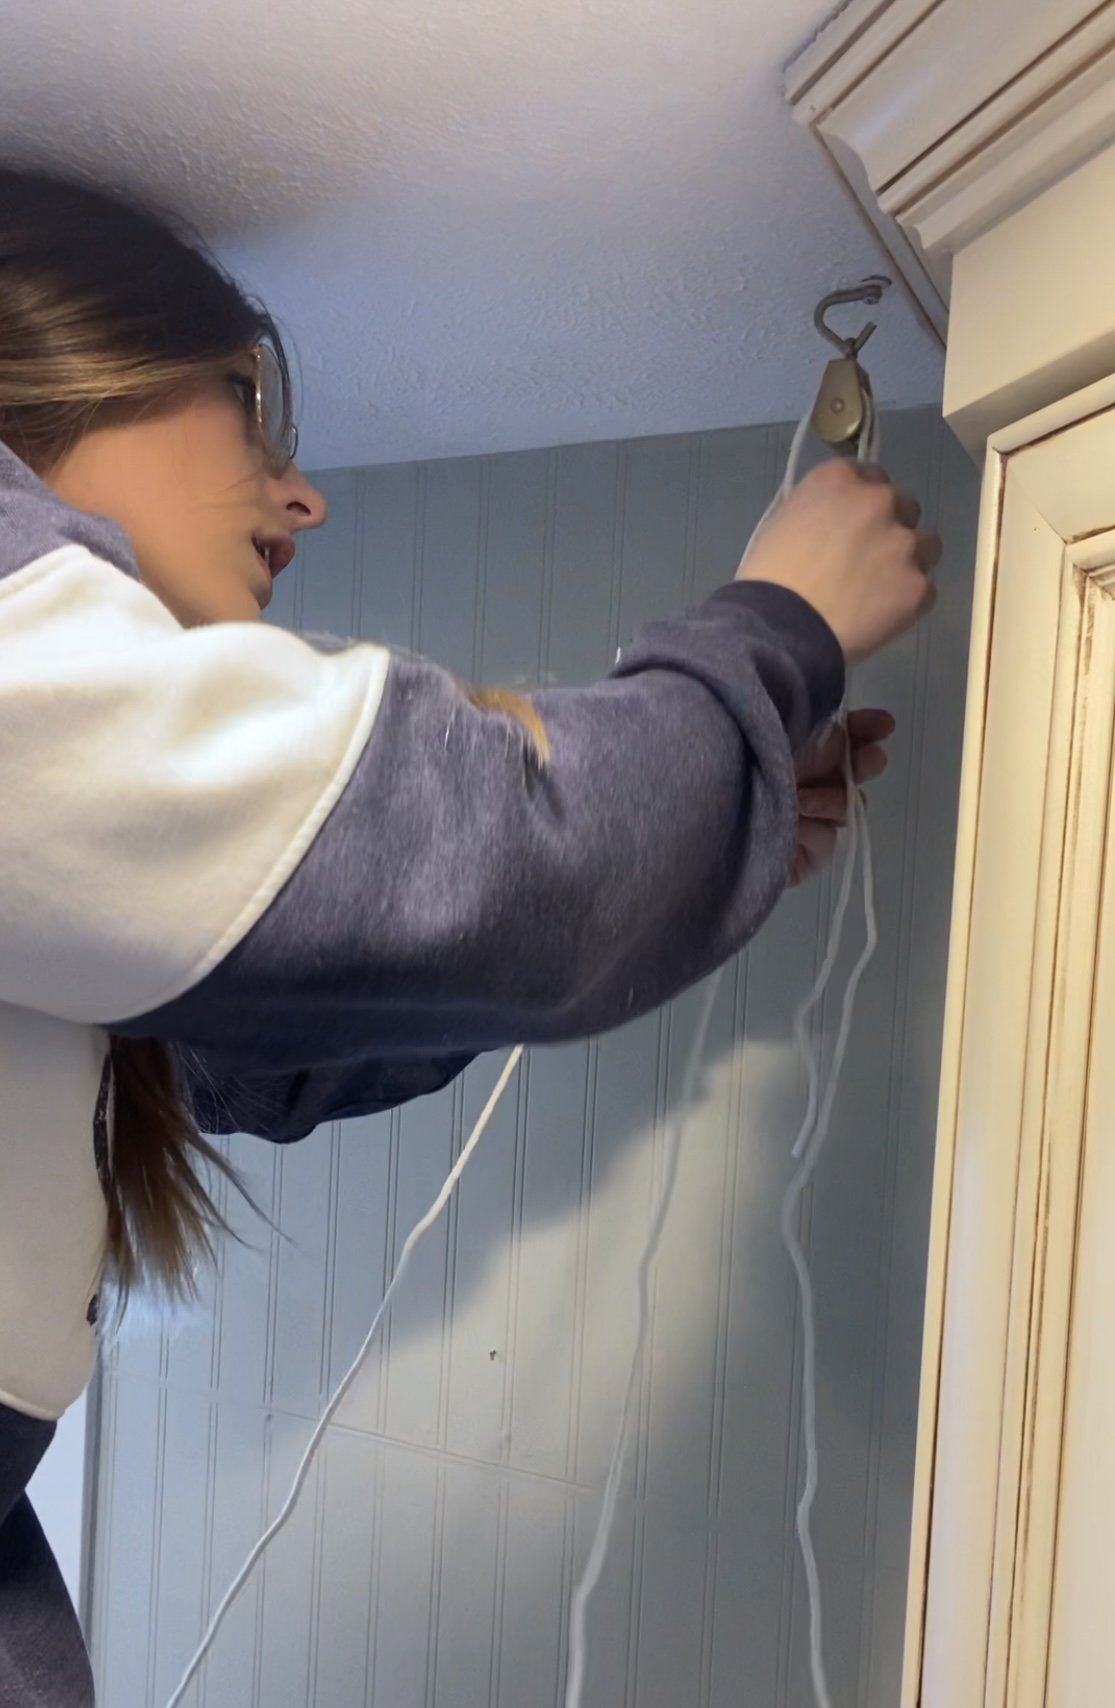
Once your drywall anchor is installed and flush with the ceiling, you can place your 3/16” cold shut onto the screw (this screw comes with the toggler anchor) and drill it up into your anchor. String your pulley onto it and repeat for the other side!
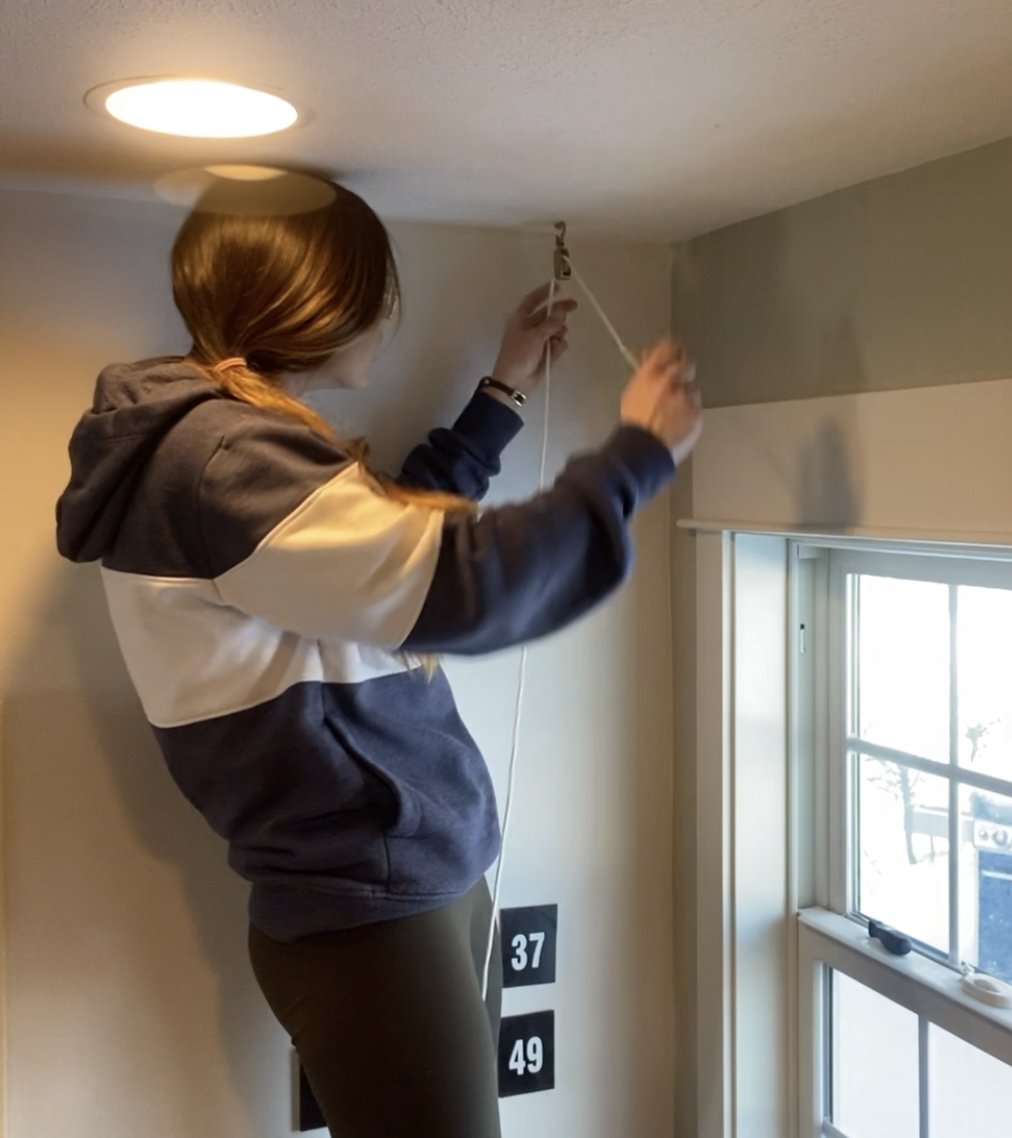
Set your rack down and string your rope up and through your single pulley.
Take the rope from your single pulley and run it through the wall side of your double pulley. Then string your other rope through the double pulley. You should now have a hanging drying rack that smoothly goes up and down.
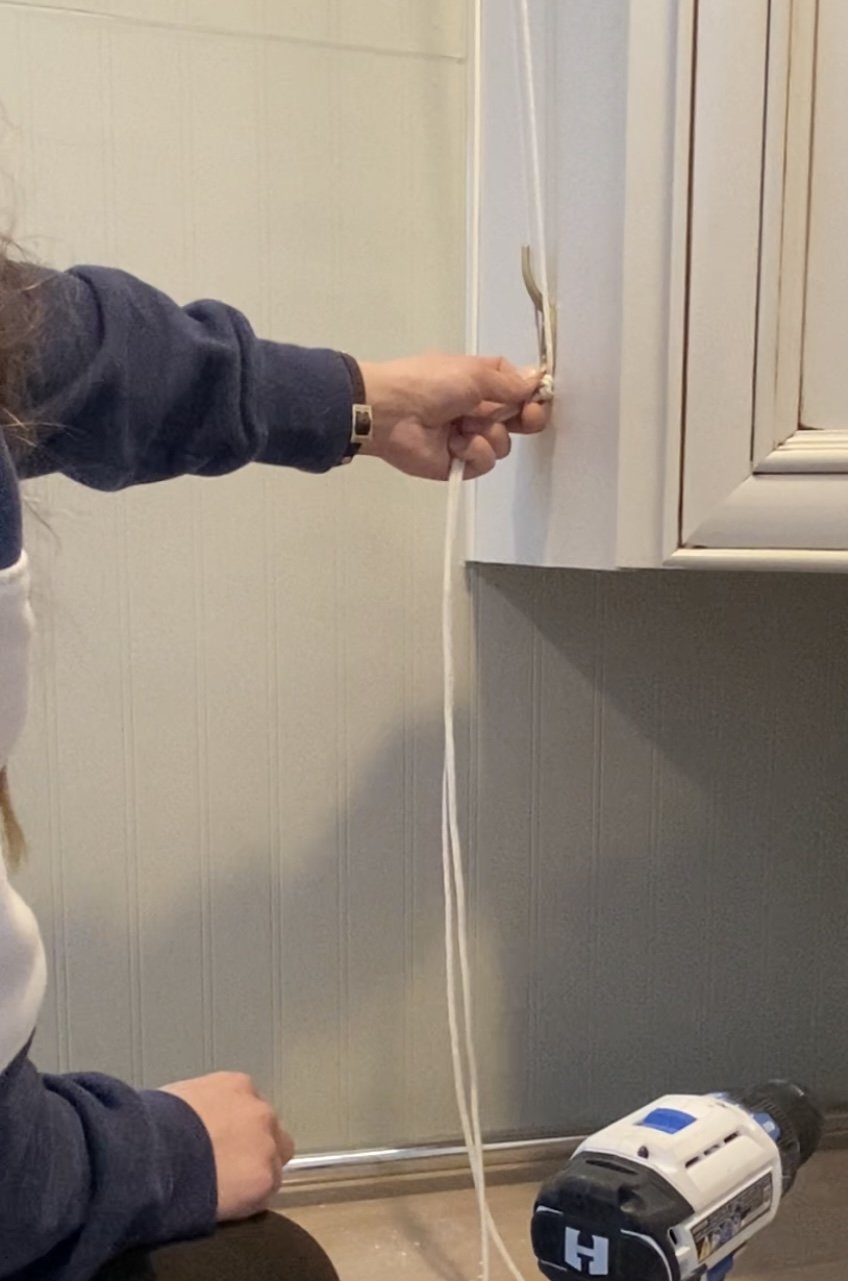
This step is dependent on your personal preference. I knotted my ropes together at a length that suited me. Now I can lower my rack and am able to let go of my rope while I load my laundry onto it because the knot will not go through the pulley. I then added my rope cleat to the side of my cupboard so I could easily hook my rope on it to keep it close to the ceiling. I did end up adding a loop under my knot so I could easily hook it onto the wall cleat. You can see this saved on my Instagram in a highest bubble called “Air Dryer”.

That it! If you run into any questions on this build, don’t hesitate to send me a DM on instagram and I’d be happy to clarify anything for you! I would LOVE to see photos of what you build using these plans! Tag me on IG @TimberNTwine!


Comments