
The Details
Time Spent: 1 hour
Skill Level: Beginner
Cost: Pine Box = $20 OR Cedar Box =$50
Tool List: Miter Saw/ Circular Saw, Kreg Jig, Brad Nailer, Measuring Tape, Power Drill, Clamp
Materials List
-
Cedar or Pine Wood with the following cuts: Bottom Board, Front Board, Side Boards, Back Board
-
Wood Glue
-
1 1/4” size Screws
-
1 1/14” size nails (optional)
-
Stain (optional)
Build the Flower Box
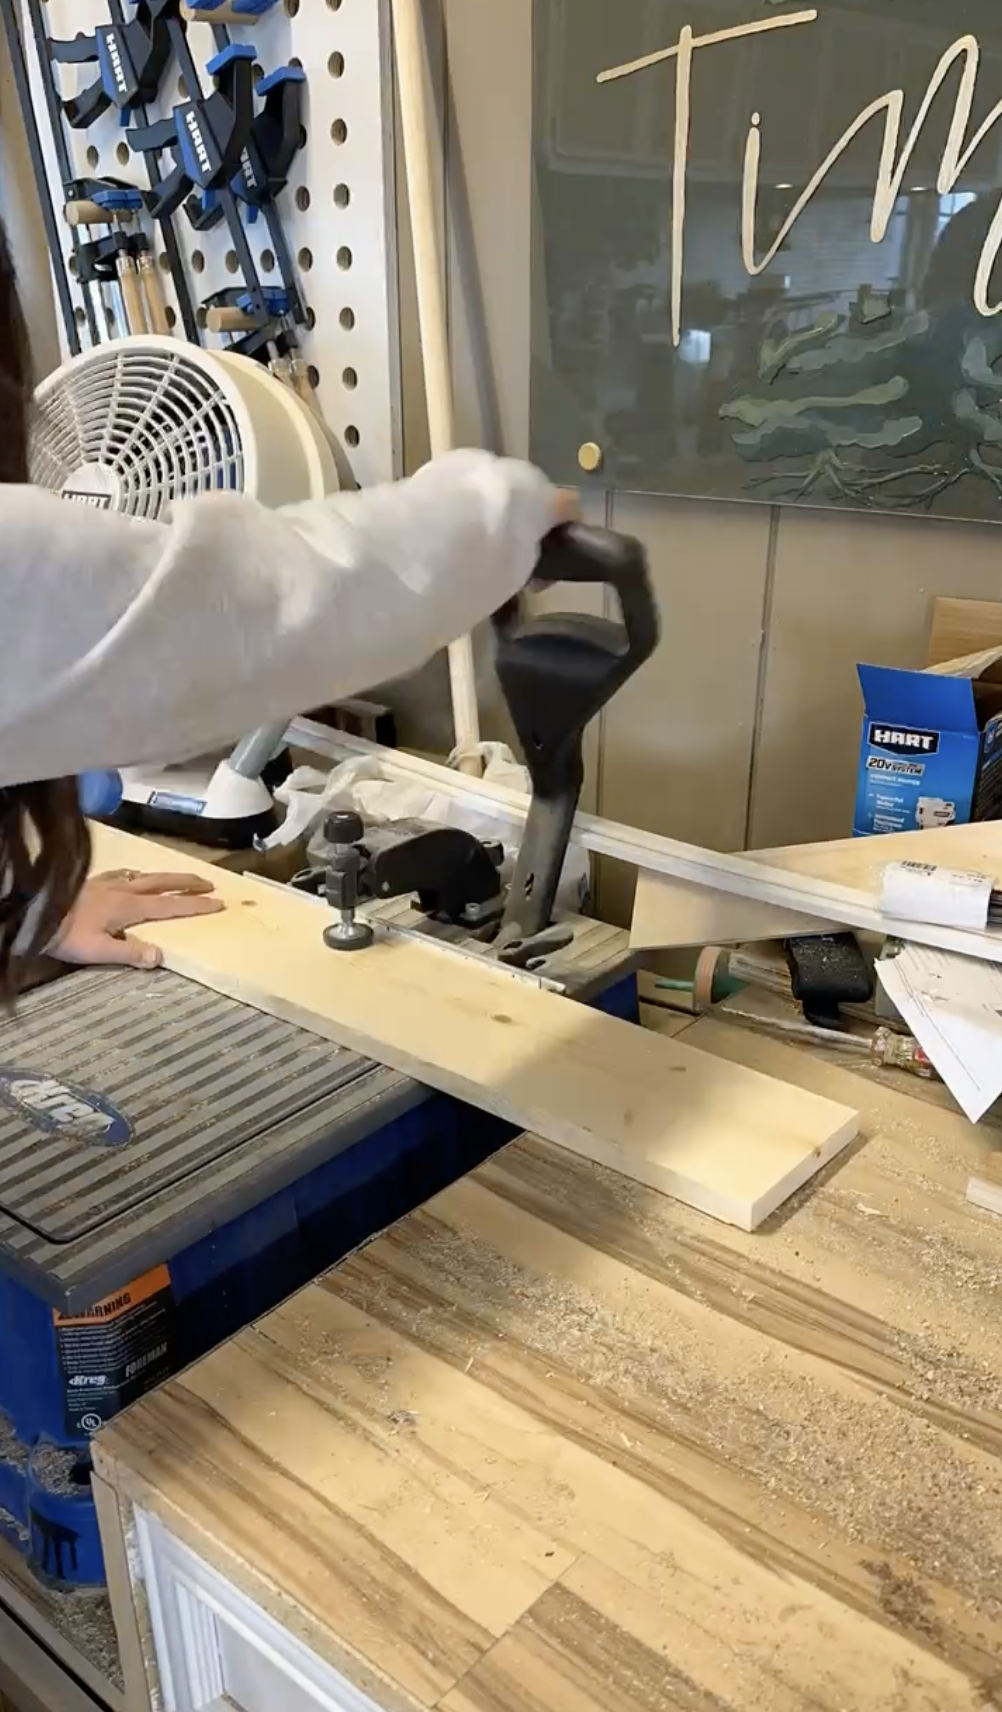
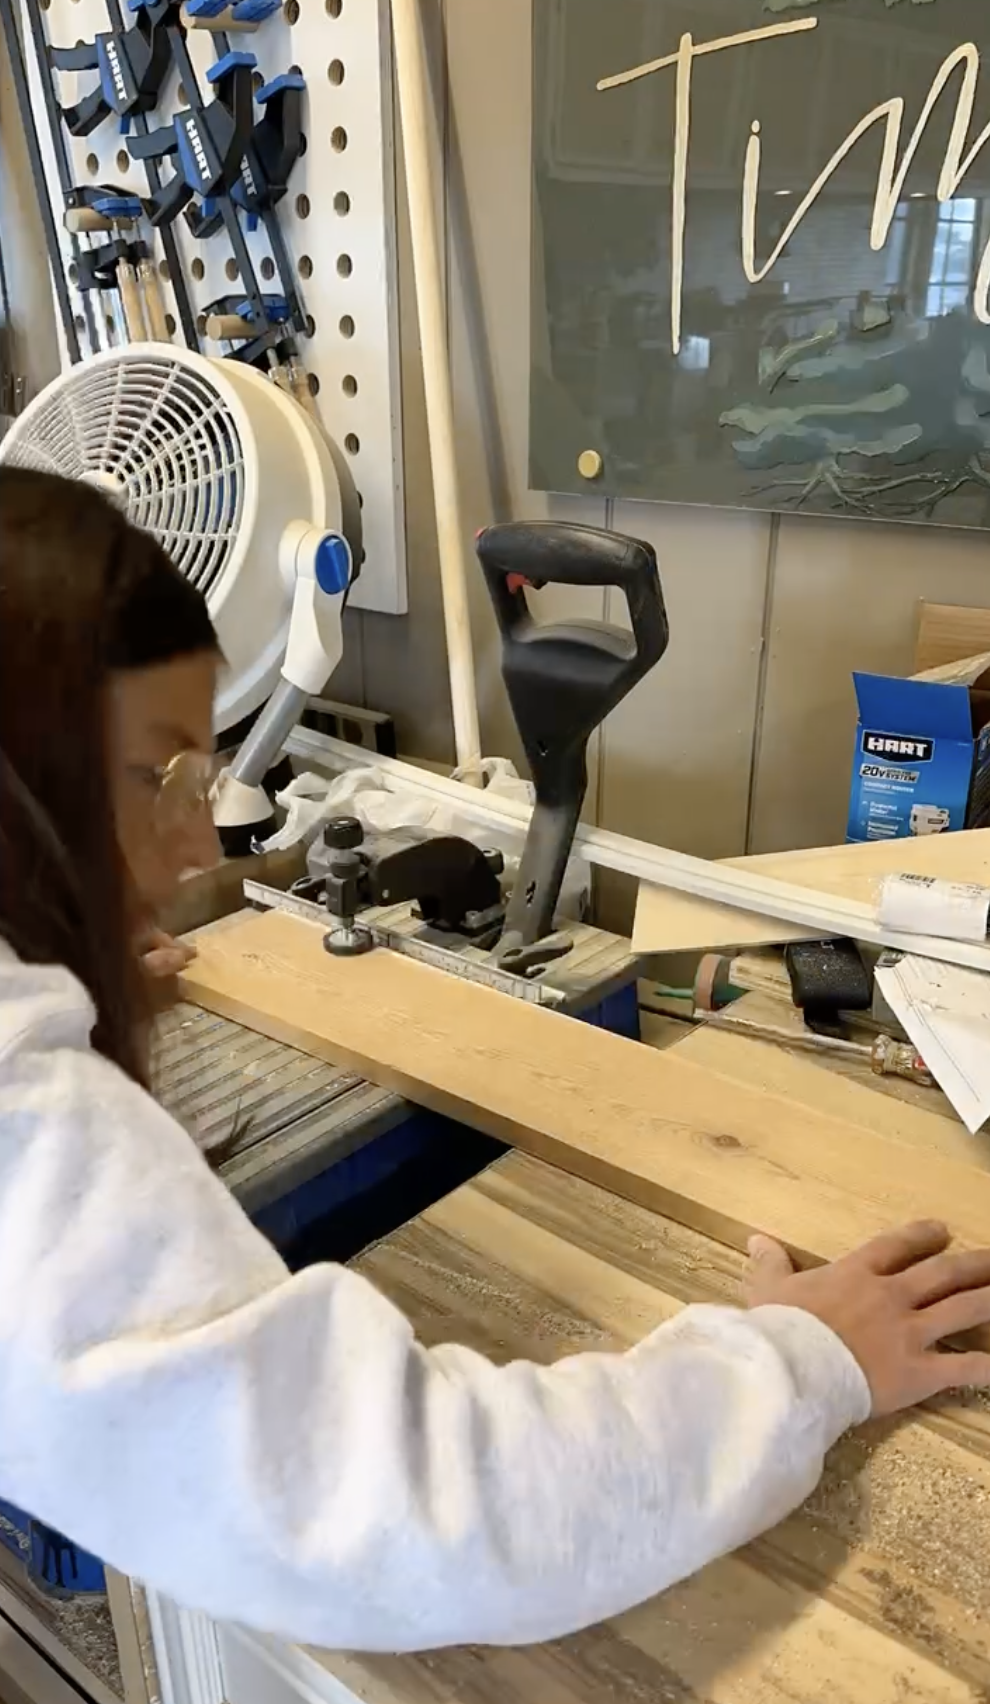
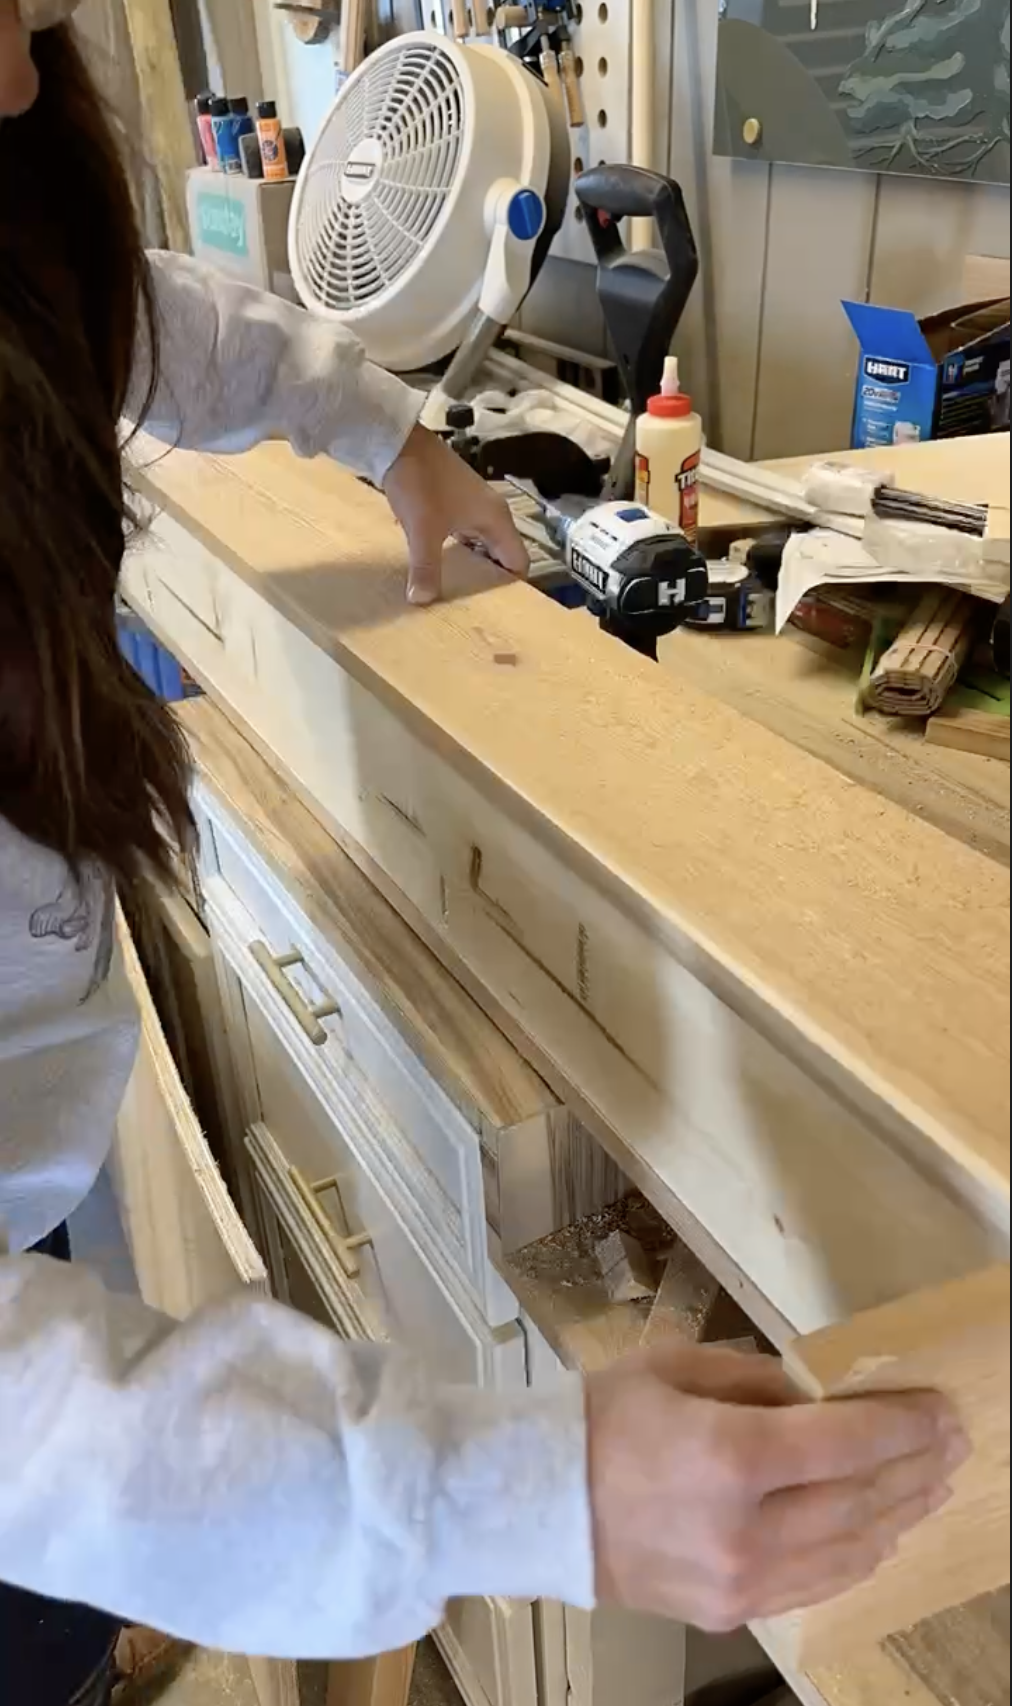


Step 1: Cut everything down to size. Your bottom board will be an 1.5” shorter than your front and your back board.
Step 2: Add Pocket holes on the bottom board of the flower box where the front side will be. You will want to have a pocket hole every 6-8 inches.
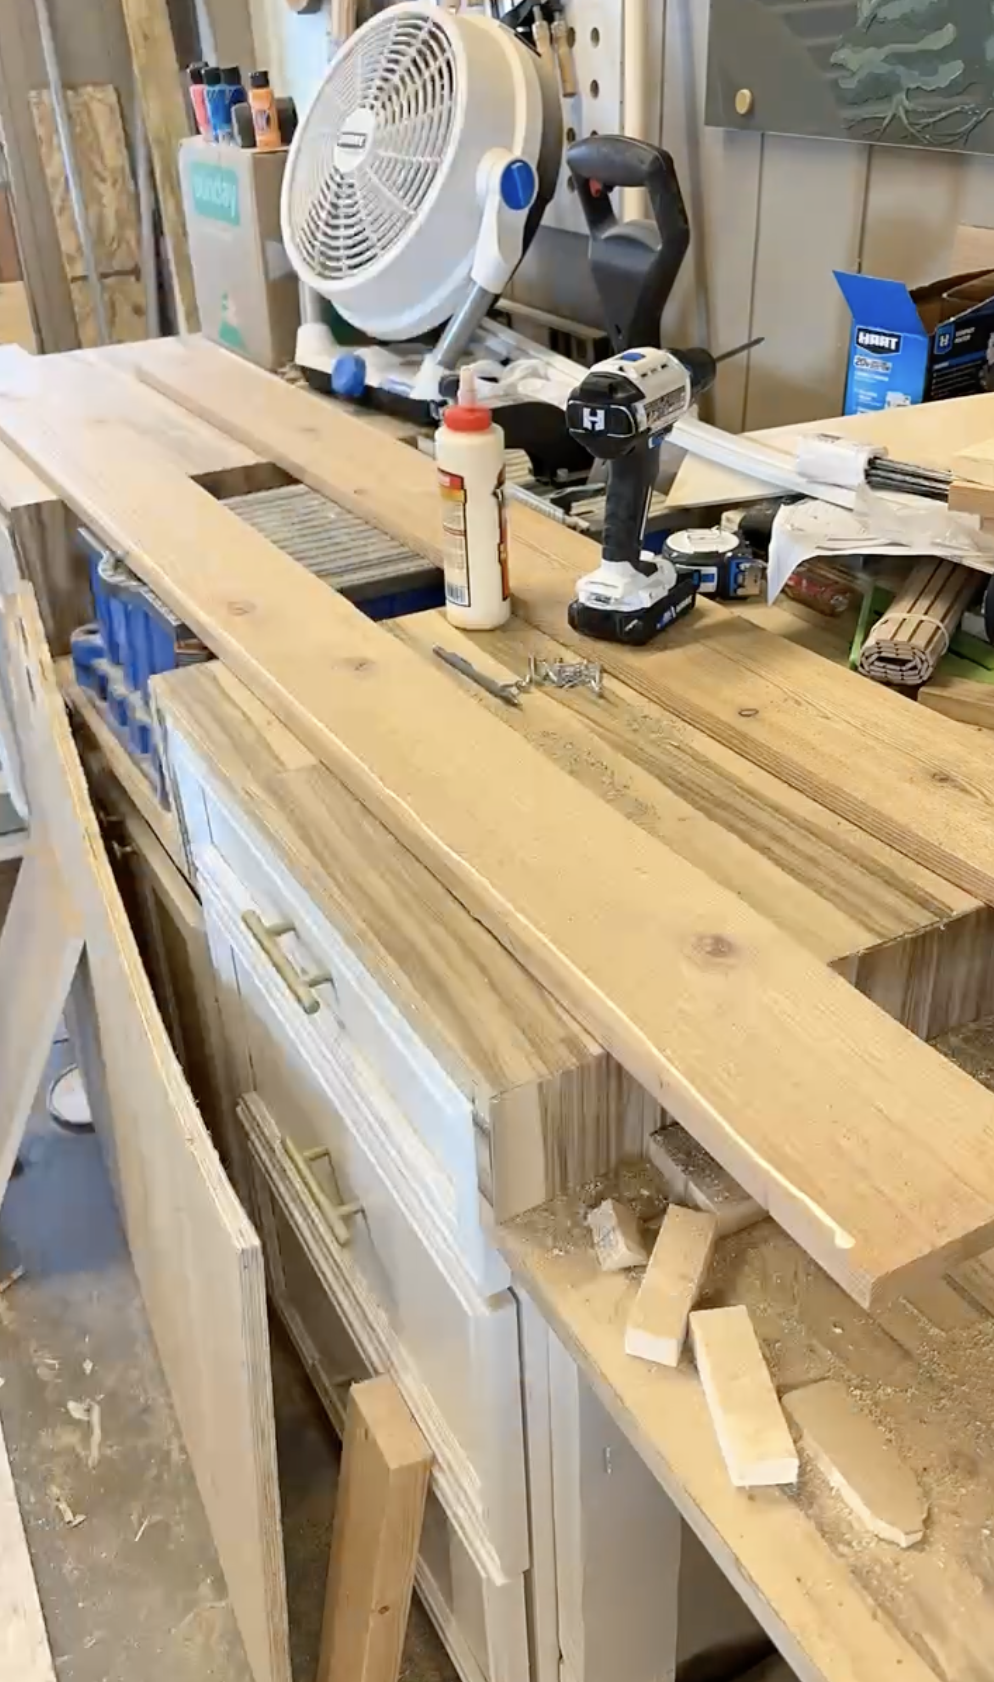
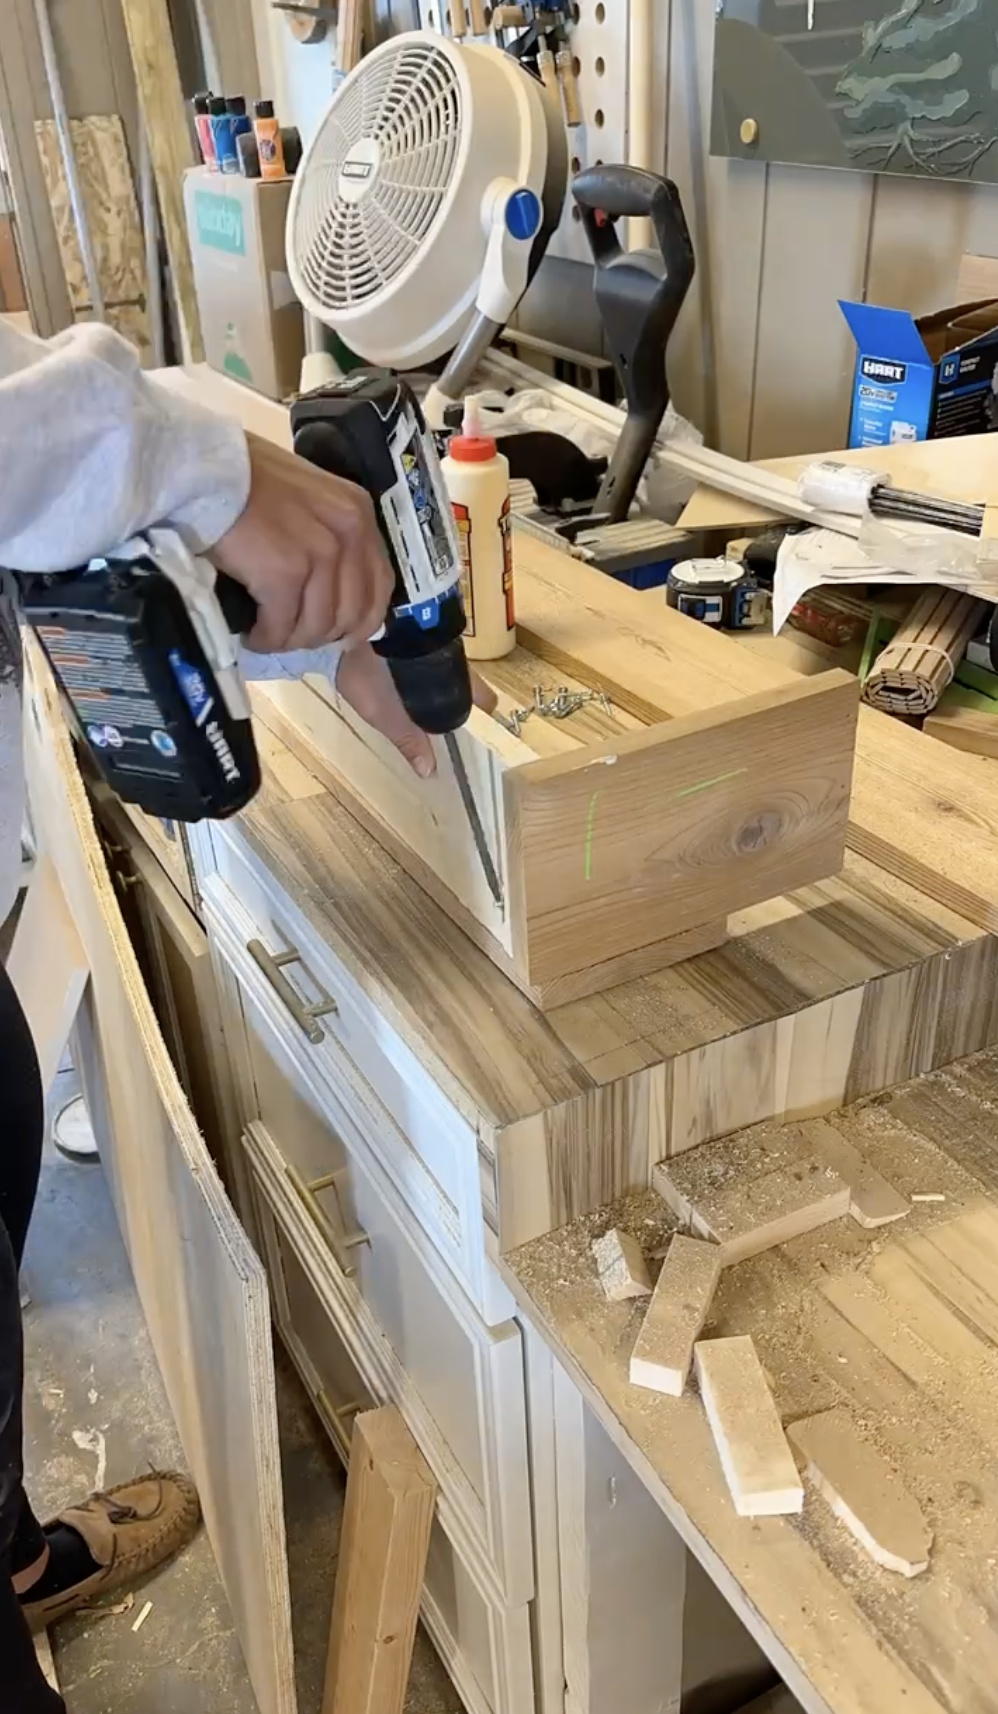
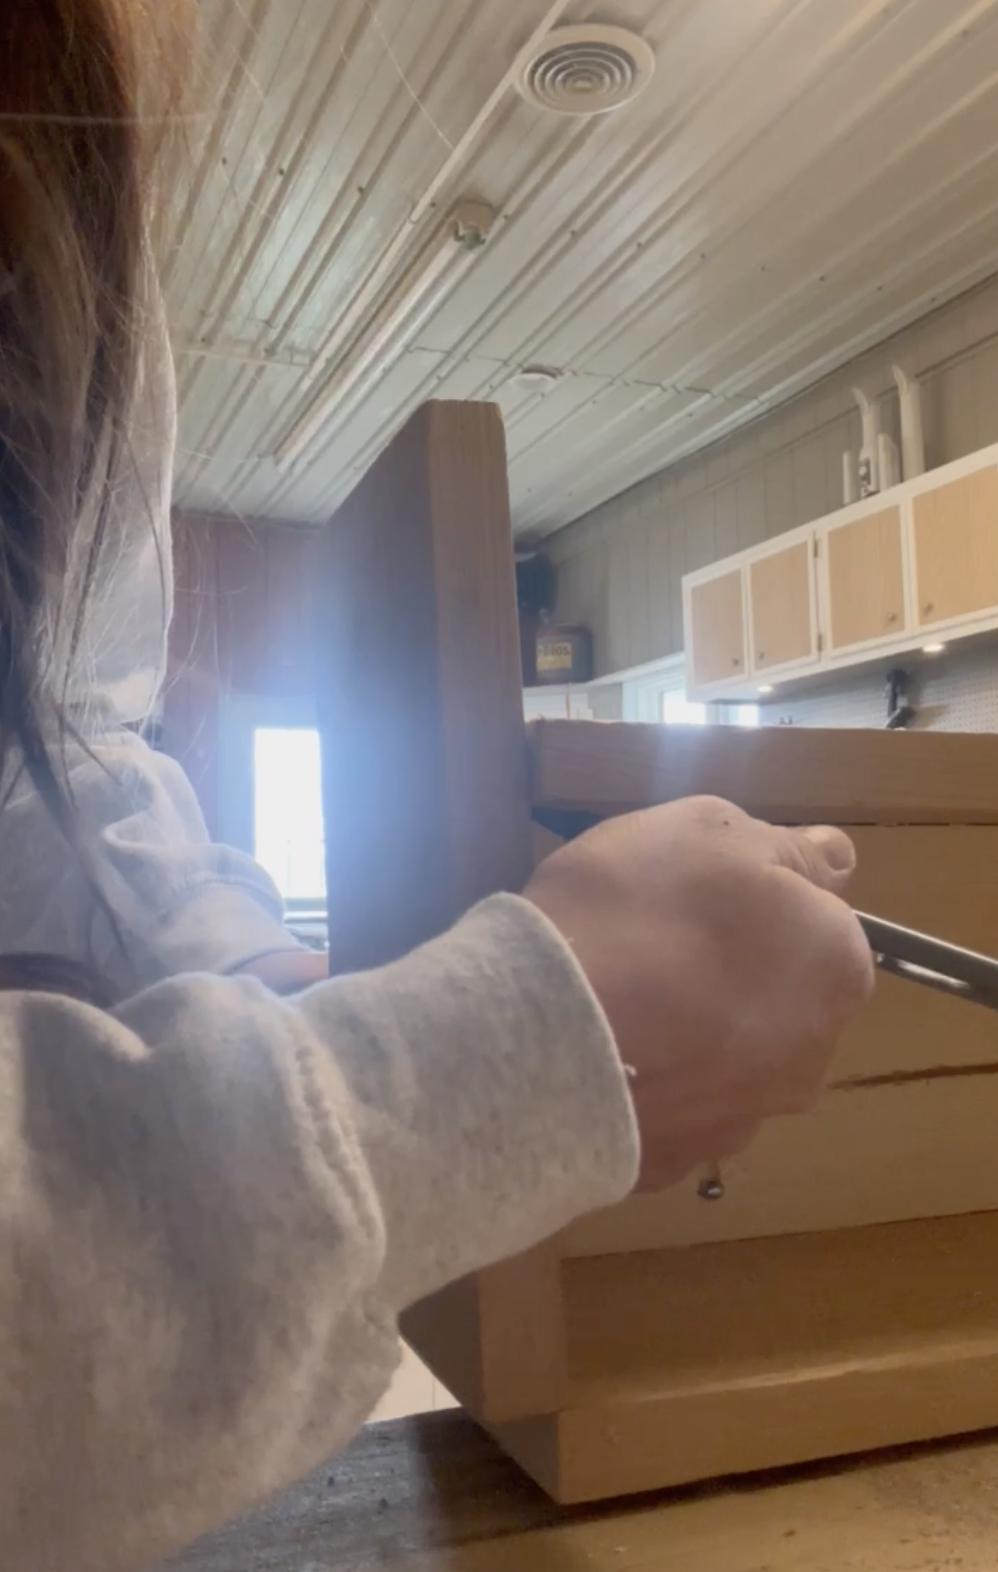
Step 3: Add glue to either side of the bottom board and reinforce that with screws. Since you will not see the backside of the flower box I am not using pocket holes on the bottom of the board for the back side.
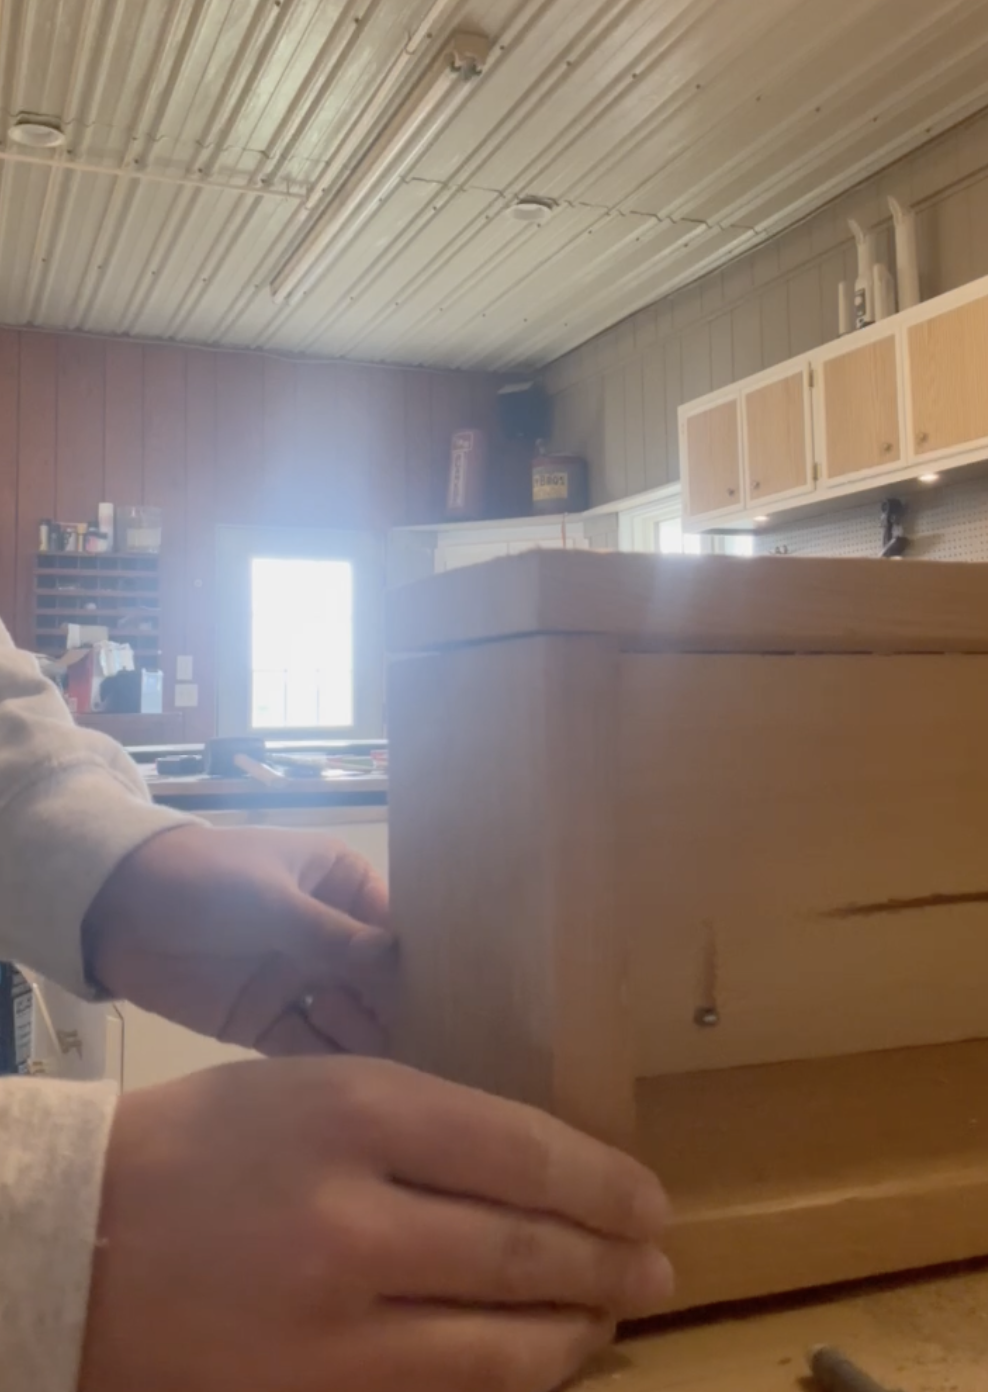
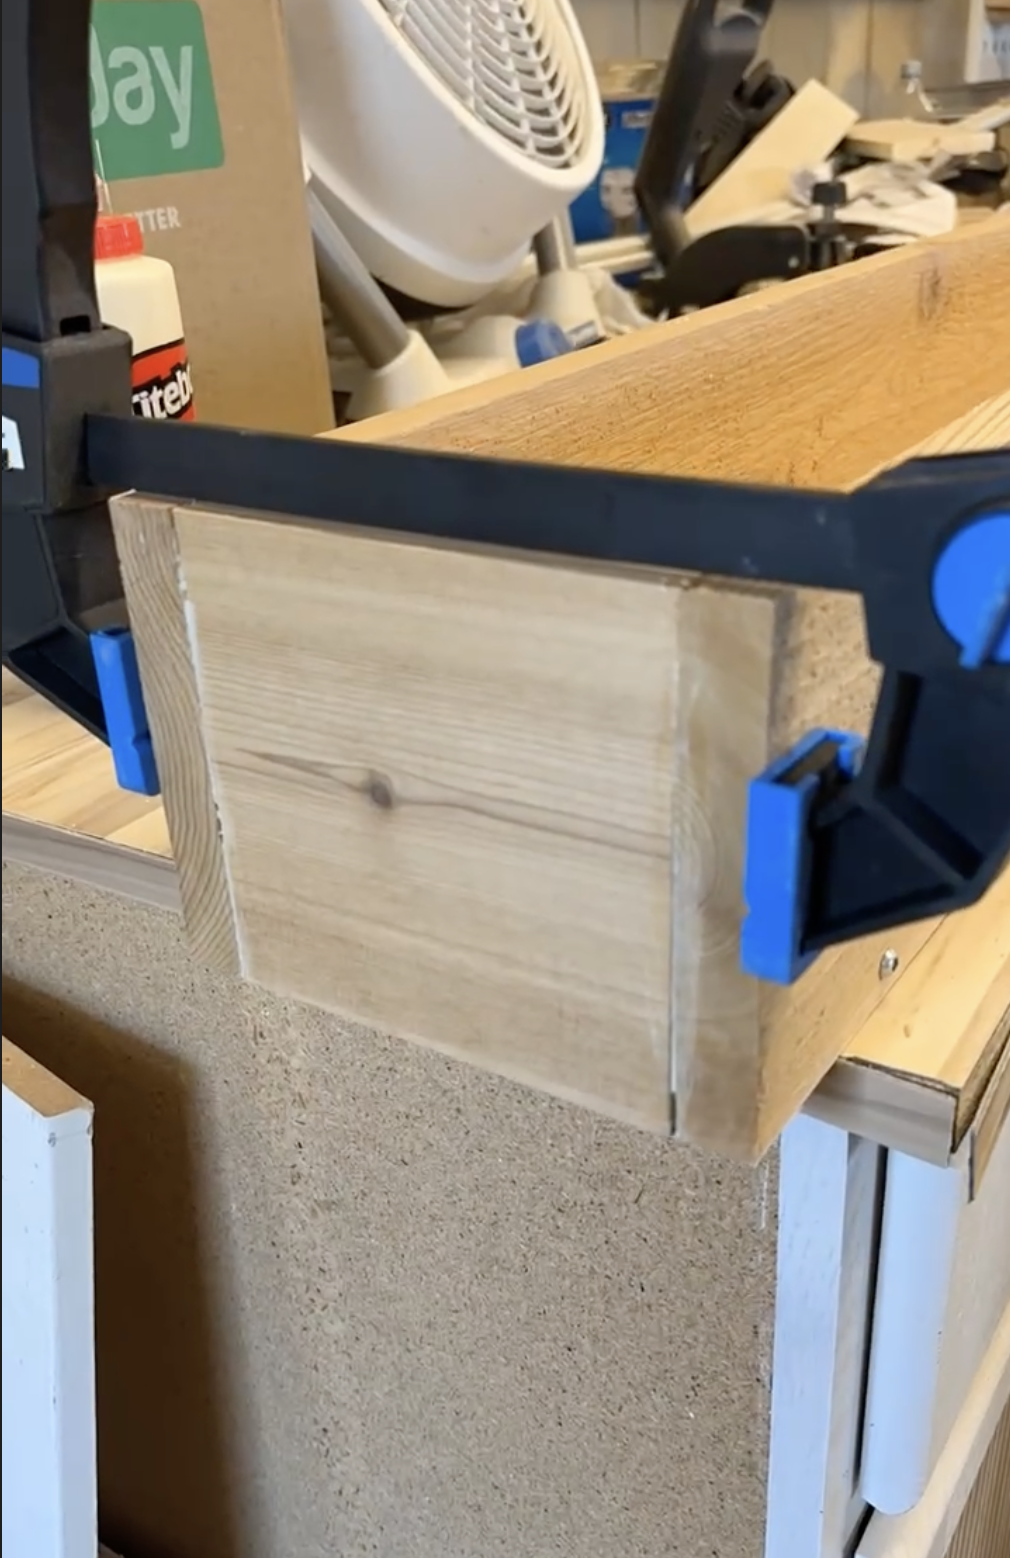
Step 4: Add your running boards/side pieces. Use wood glue and a clamp to secure. Once the glue dries, nail those pieces together.
Step 5: Add finishing touches to your flower box such as a stain/ paint color, etc.


Comments