

Materials and Tools
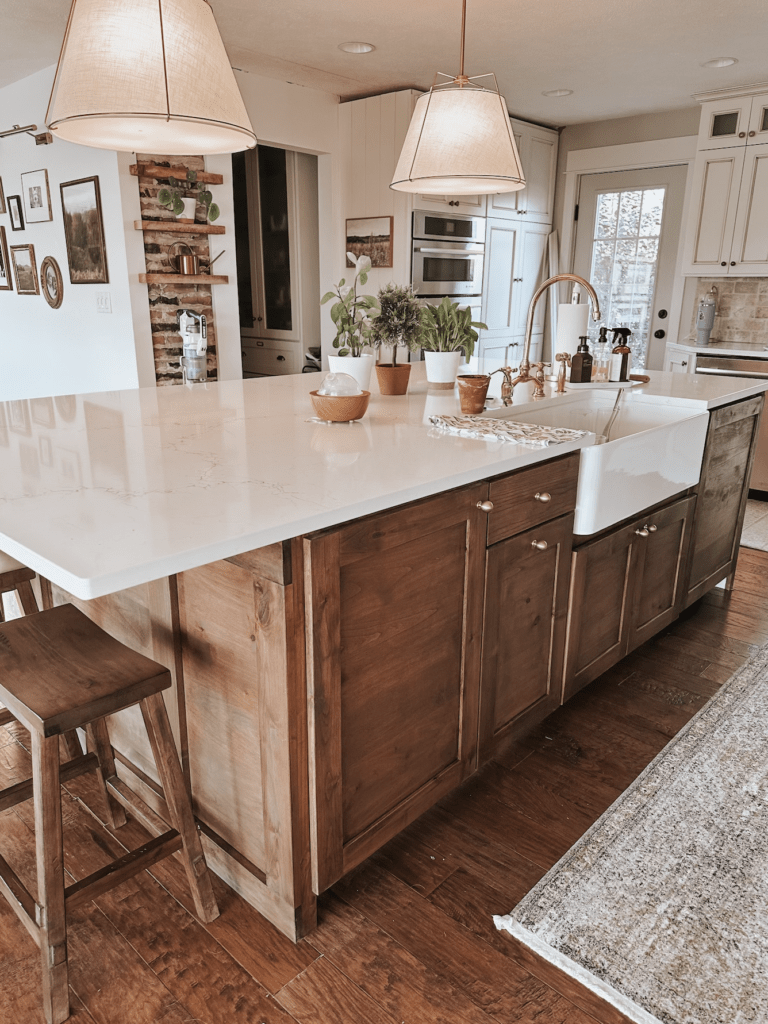
- Alder Wood for Face Framing, Trim and Drawers/Doors.
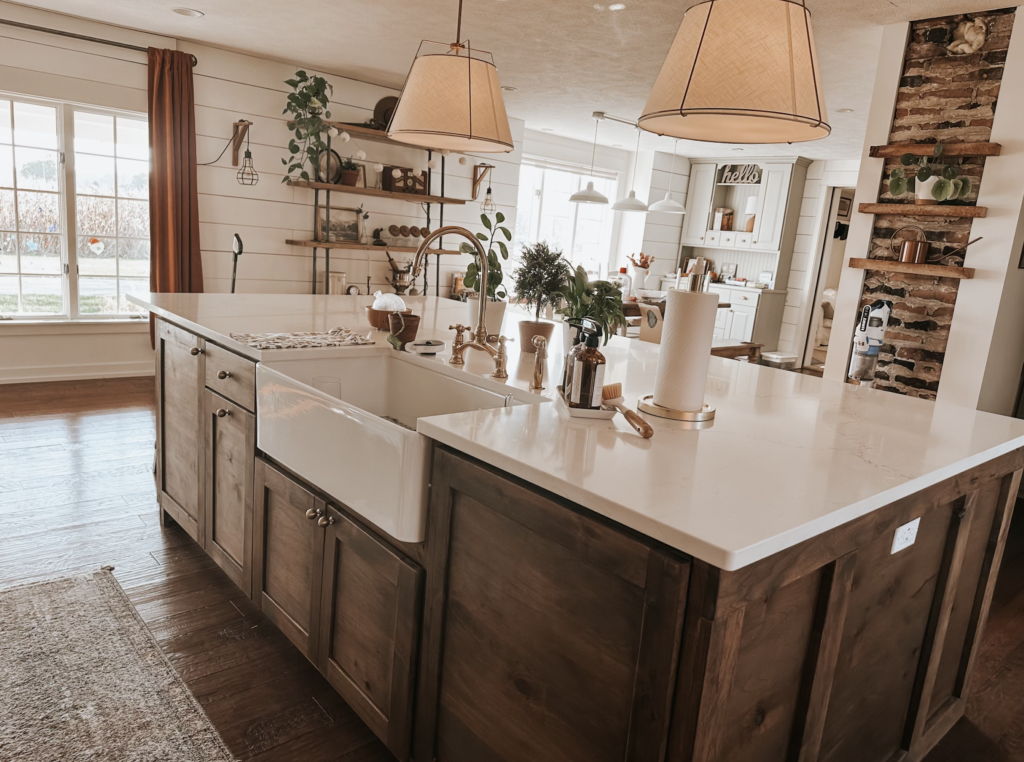
- White Fireclay 33 inch Sink from Home Depot
- Antique Brass Faucet from Inside East
- Now that I have this faucet I’m even more impressed with it.Basically it comes new and shiny but it is unlacquered brass and it will patina over time. Which I LOVE.
- Countertop in Vicostone Quartz 3cm: Misterio Gold | BQ8820
- Light Pendents
- Bar Stools
How I designed it:

Before I started this project I had two mini islands. One was a tall upper island that my kids would eat breakfast at with a sink, garbage and dishwasher that was far away from the main part of the kitchen. The 2nd island was closer to cooking but served as a catch all.
I wanted to design something that could serve as a focus point for my family. It’s NOT just about the “pretty kitchen”. It’s where my kids will grow up doing homework, baking Christmas cookies, where I’ll bathe my future baby/’s, where we will have the “hard” talks and “the talk”, where I’ll probably be sitting and waiting when they come home past curfew. This is going to be where my family grows up.
I also wanted the sink placement and dishwasher to be more functional to when my kids sit at the island so I designed the kitchen island to be a long rectangle with 6 bar stool seating options. The total island is 114.5″ (9.5 feet) x 62″ (5 feet).

On the side that my refrigerator and stove/oven are on I put the sink in with the garbage on one side and the dishwasher on the other. I repurposed the skeleton framing from the original tall upper island for this half of the island and then face framed it with Alder Wood and Trim. I completed the dishwasher and garbage can with custom face frames to match the frame. I made the walk way on this half of the island wide enough so that the dishwasher could be fully down and people could still get by. On the opposite side of the island, the walk way is almost equivalent which means the island is centered to the space.
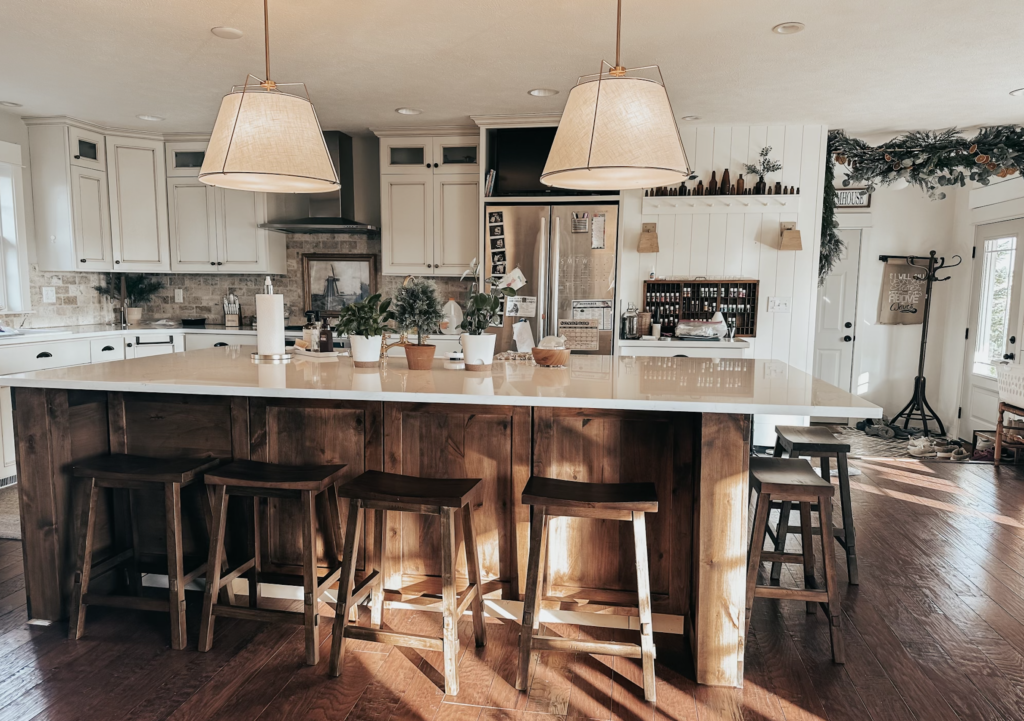
I made sure that the island was long enough so that I could have 4 stools on the side of the island opposite the food prep zone. This way my kids can eat breakfast while I prep lunches or do homework while I cook dinner. To make it so that there was enough seating for our family, I overhung the countertop on the far end to fit two bar stools for Riley and I. Which actually worked out well because of where the countertop extension lands is parallel with the end of a cabinet next to my fridge.
When designing the length of the island I also took into consideration when we do our Island the living room will flow right into the kitchen and this will allow for the kitchen to feel apart of that space when we have our community over.
Something that not a lot of people know is that when I designed the Island I created extra storage where the barstools tuck away. This is where I will store extra appliances and items for hosting gatherings.
While designing something like a kitchen island or pantry might seem daunting with proper experience it is totally doable! I encourage you to start with smaller projects and work your way towards custom pieces like this.
-Alyssa


Comments