
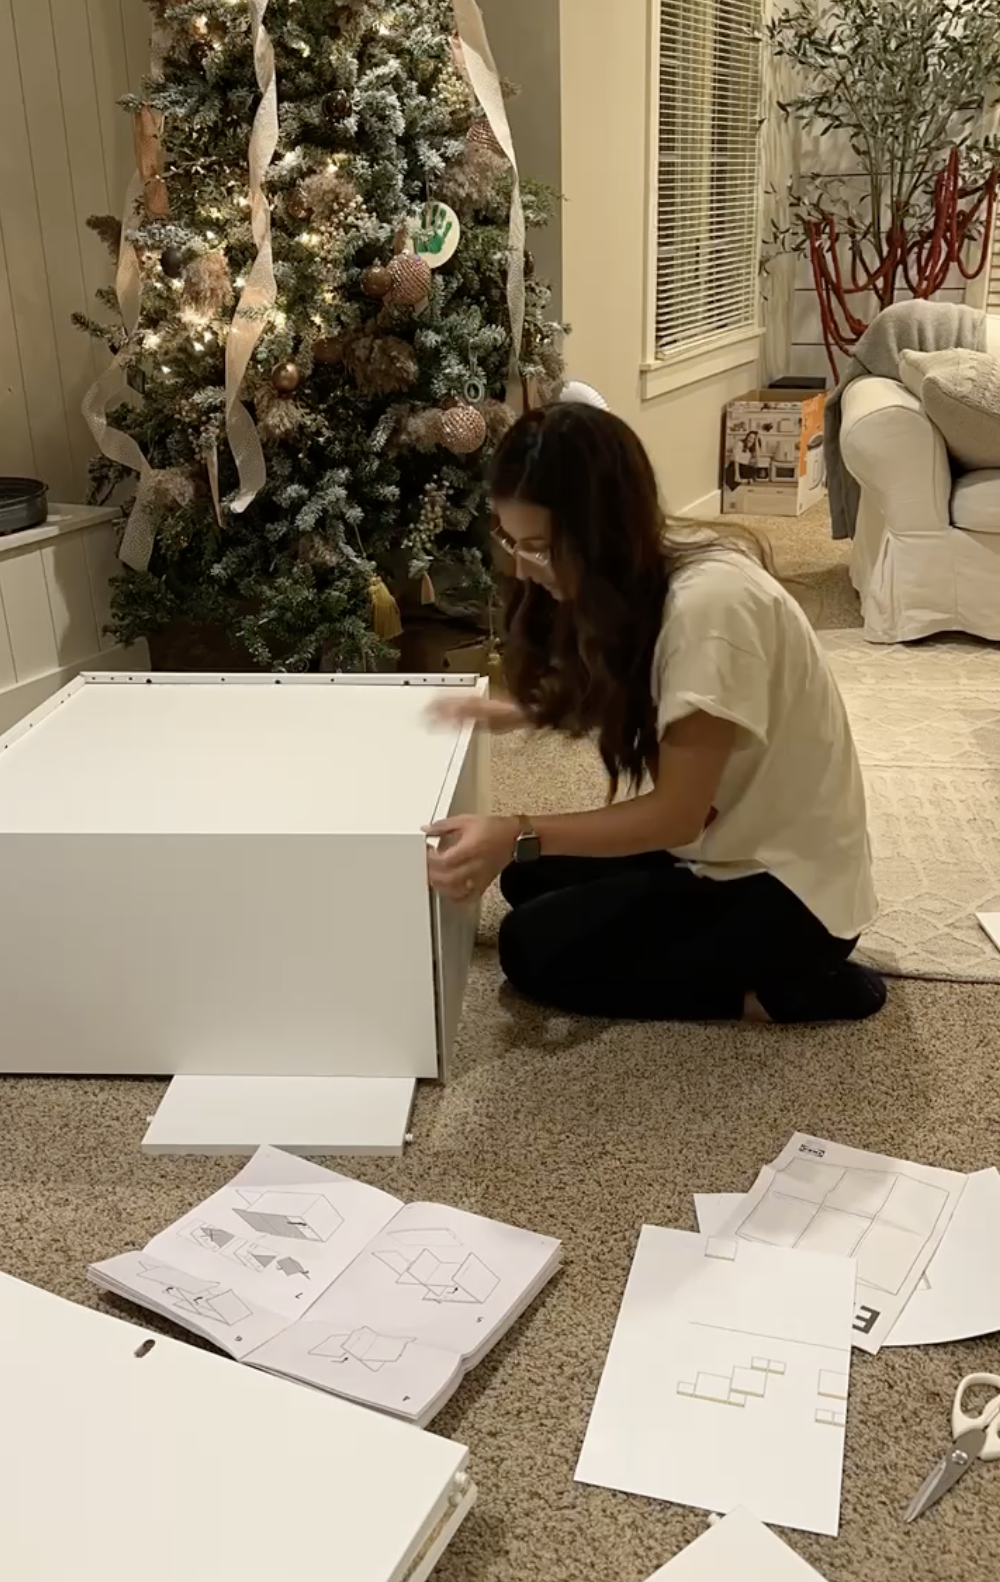
This week I turned 4 of Ikea’s Eket Cube’s into a long Check In/Welcome Desk for the children’s wing at my church! This desk is the perfect children’s wing tool, complete with caster wheels and fun design on the front of the desk.
The Details
Time Spent: 8 hours
Skill Level: Beginner
Cost: $500
Tool List: Power Drill, Circular Saw, Kreg Jig Pocket Hole, Jig Saw Brad Nailer, Orbital Sander, Clamps
Materials List
-
4 Eket Cubes
-
Square Dowels for design on front of welcome desk.
-
2×4’s to create the base of the Welcome Desk.
-
You will want 2 pieces the length of the cubes and then 2 small pieces of 2×4 that will be on the ends so that the width also matches the cubes (see image below).
-
-
Paneling
-
6 Casters for bottom of welcome desk so that it roles.
-
Edge Glued Pine for tops and sides of welcome desk.
-
Acrylic Paint for the square dowels.
-
2.5” kreg jig Screws for 2×4 Base
-
1 1/4” Screws for Edge Glued Paneling
-
Liquid Nails
-
Wood Filler
-
1/2” Brad Nails for Square Dowels
-
Frog Tape
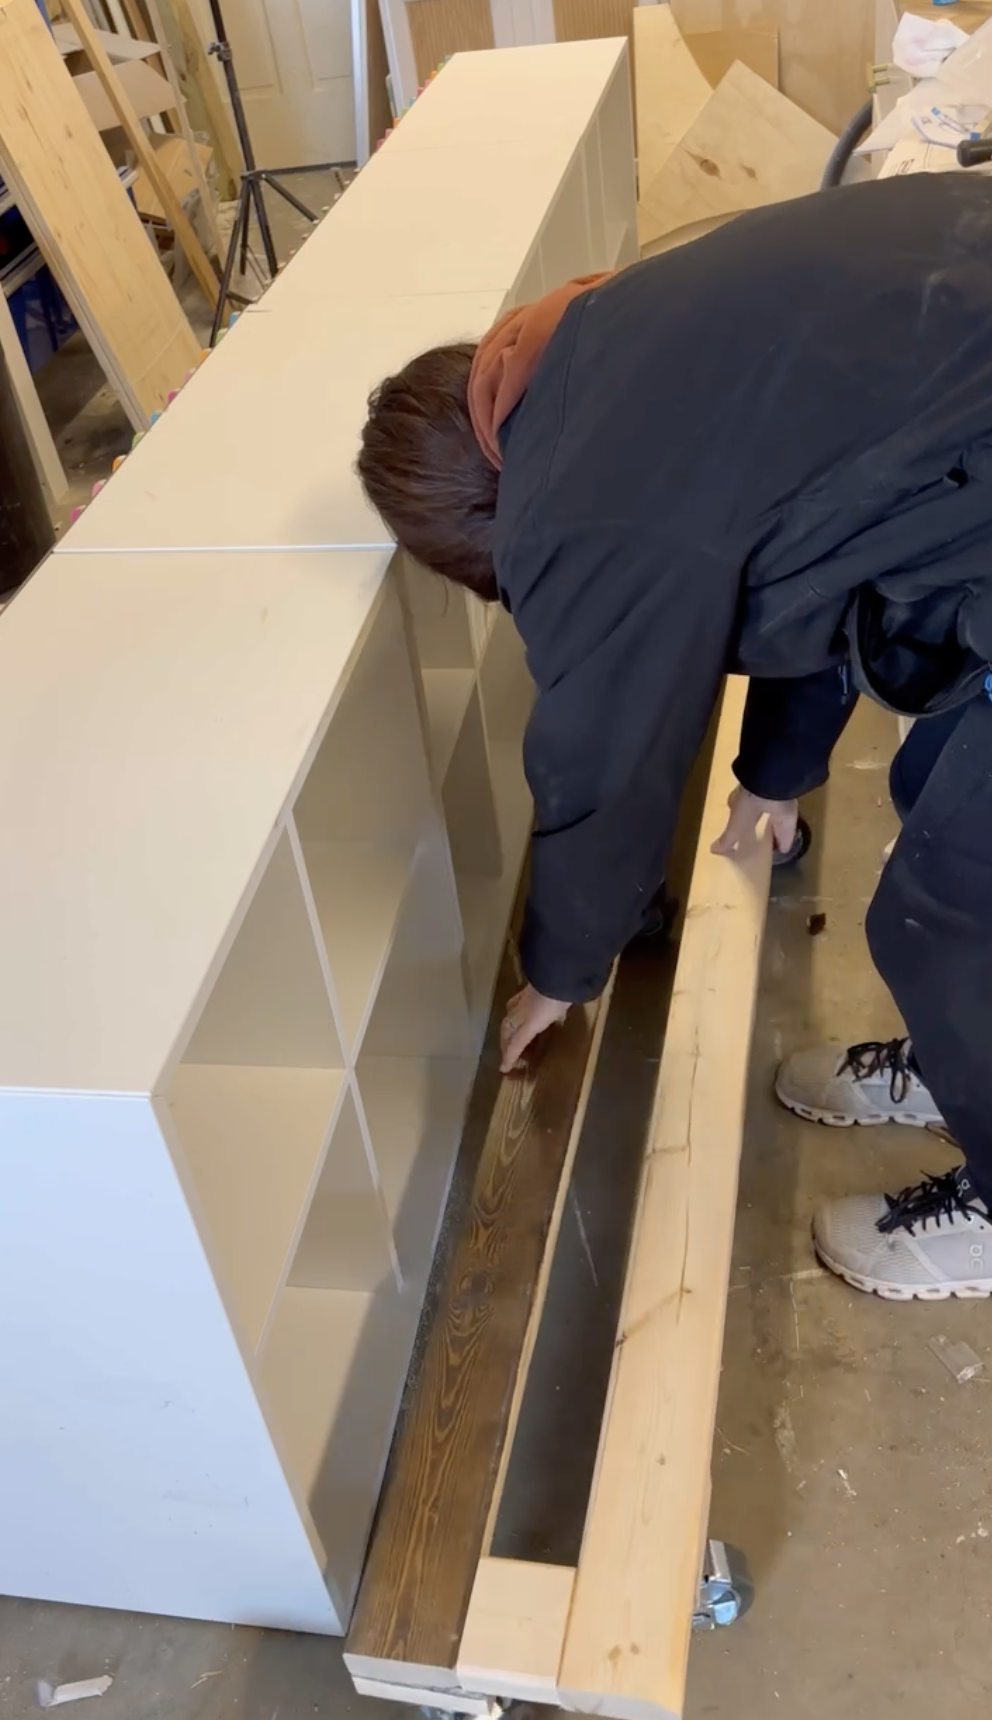
Create the base and Attach the Cube’s
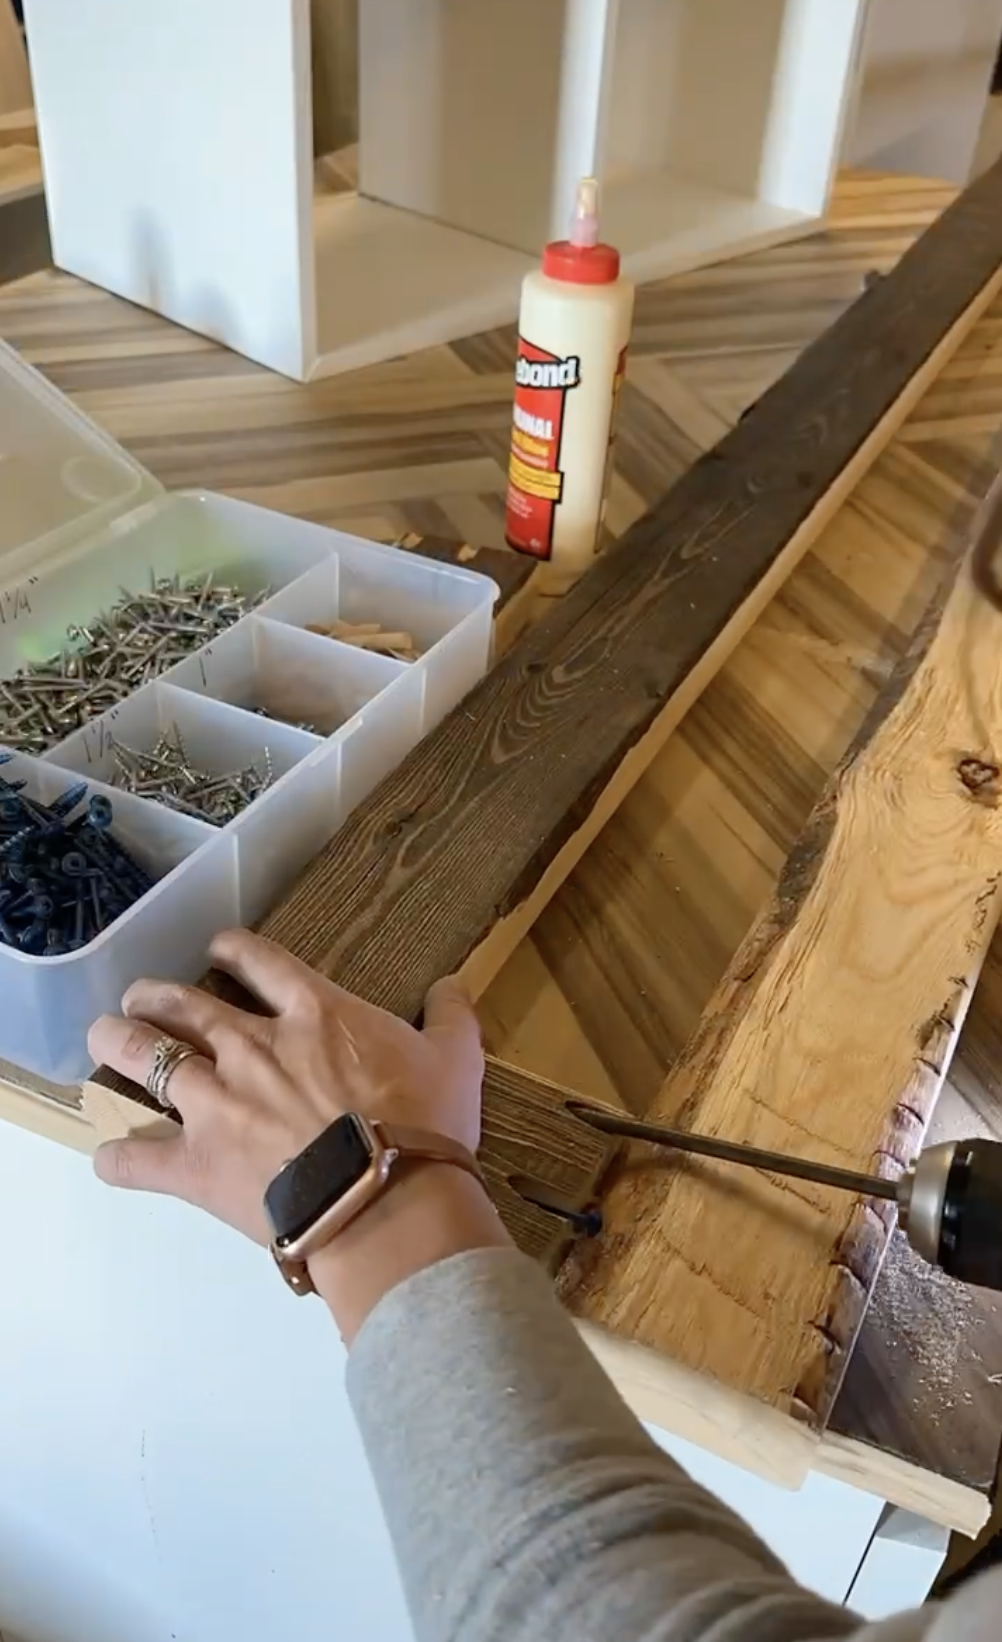

I’m making a 2×4 base to attach the cubes to and casters to. Use liquid nails and screws to attach the sections together.
Cut the 2×4’s to length using a circular saw. Add Kreg Jig holes to the smaller piece of 2×4. Screw the small piece into each end of the long pieces of 2×4. You should have 4 screws and 4 Kreg Jig holes per small piece.
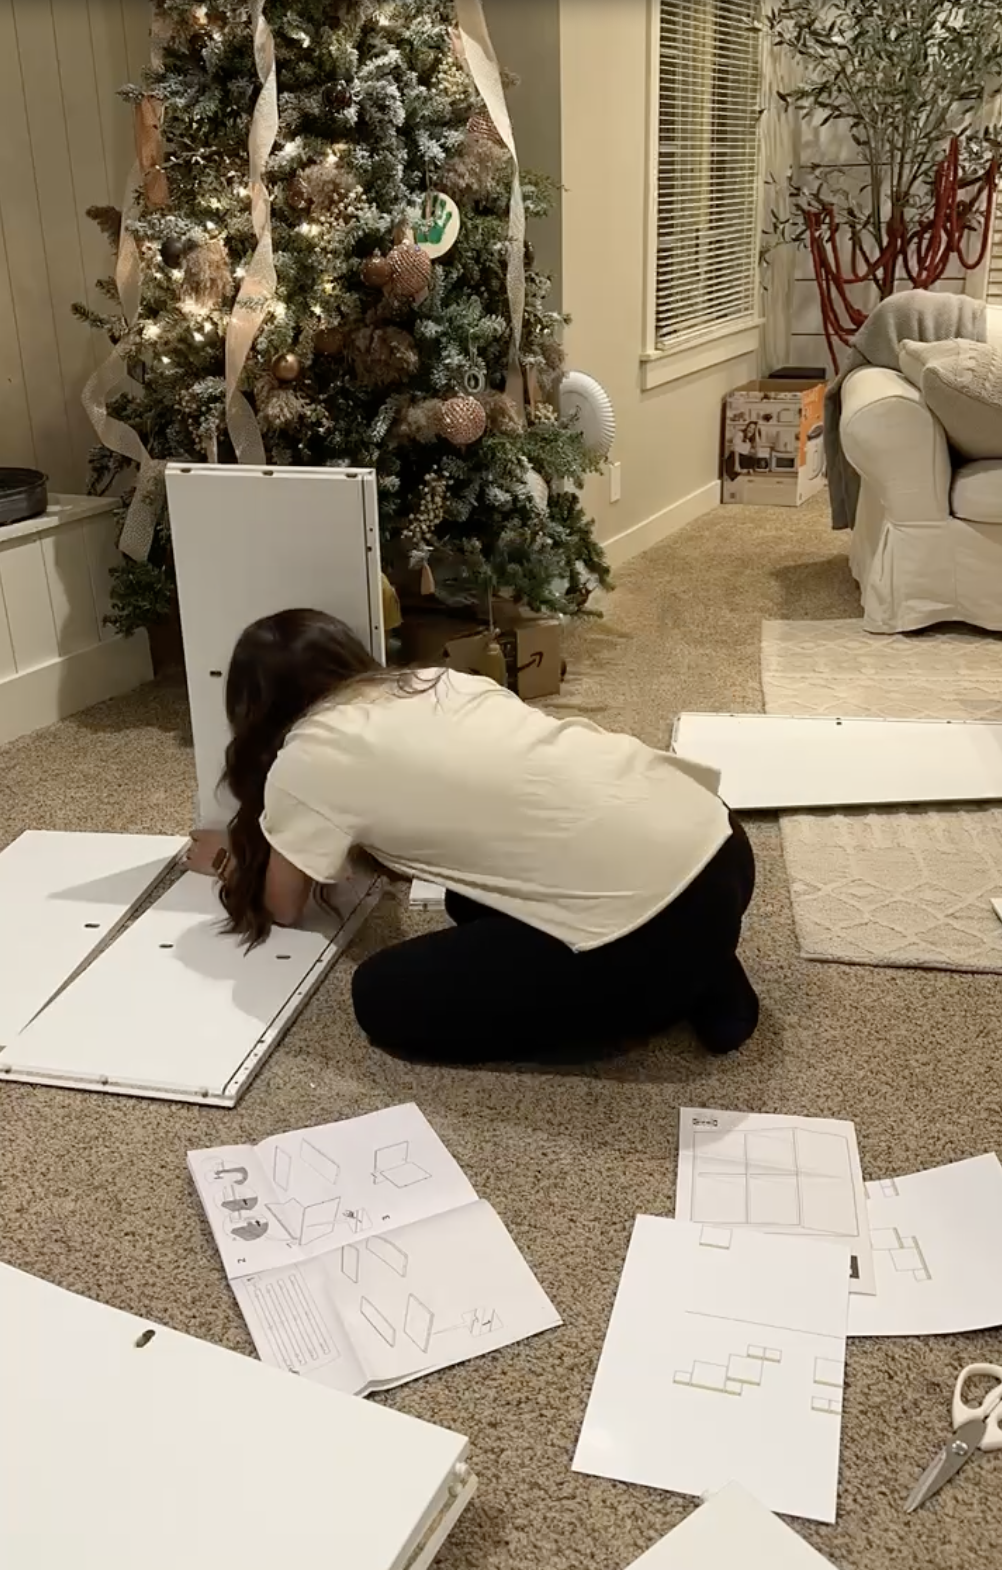
Build the Eket Cubes following the directions from Ikea.
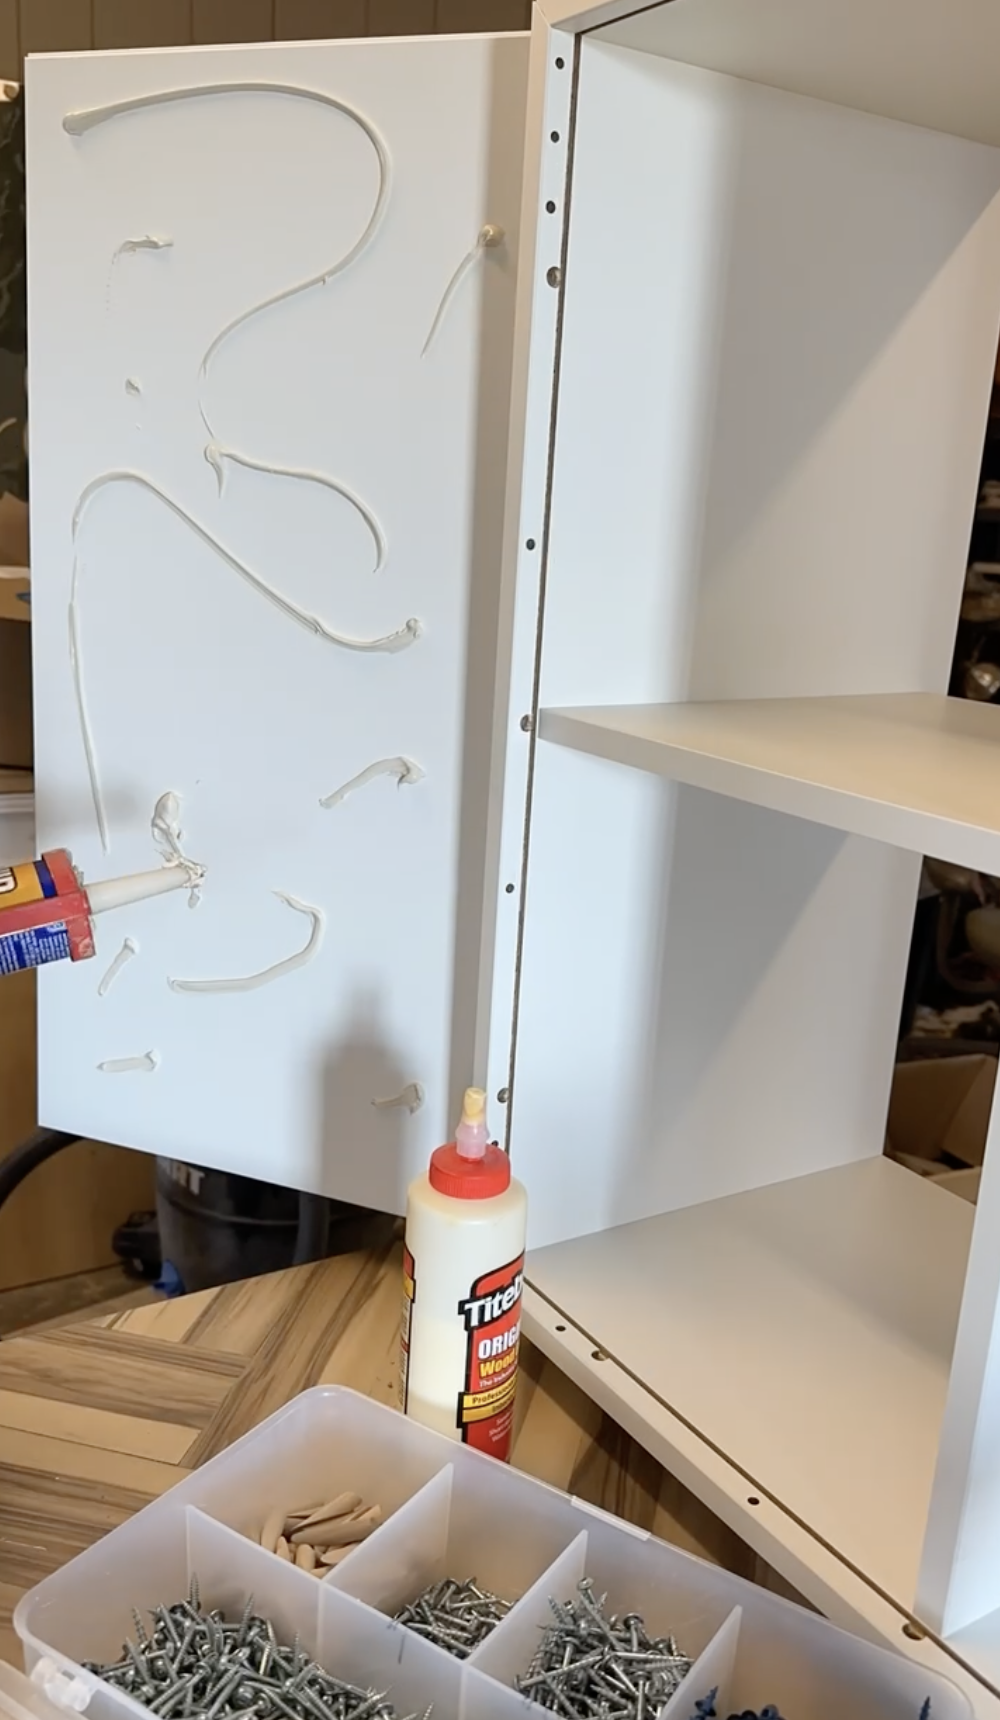
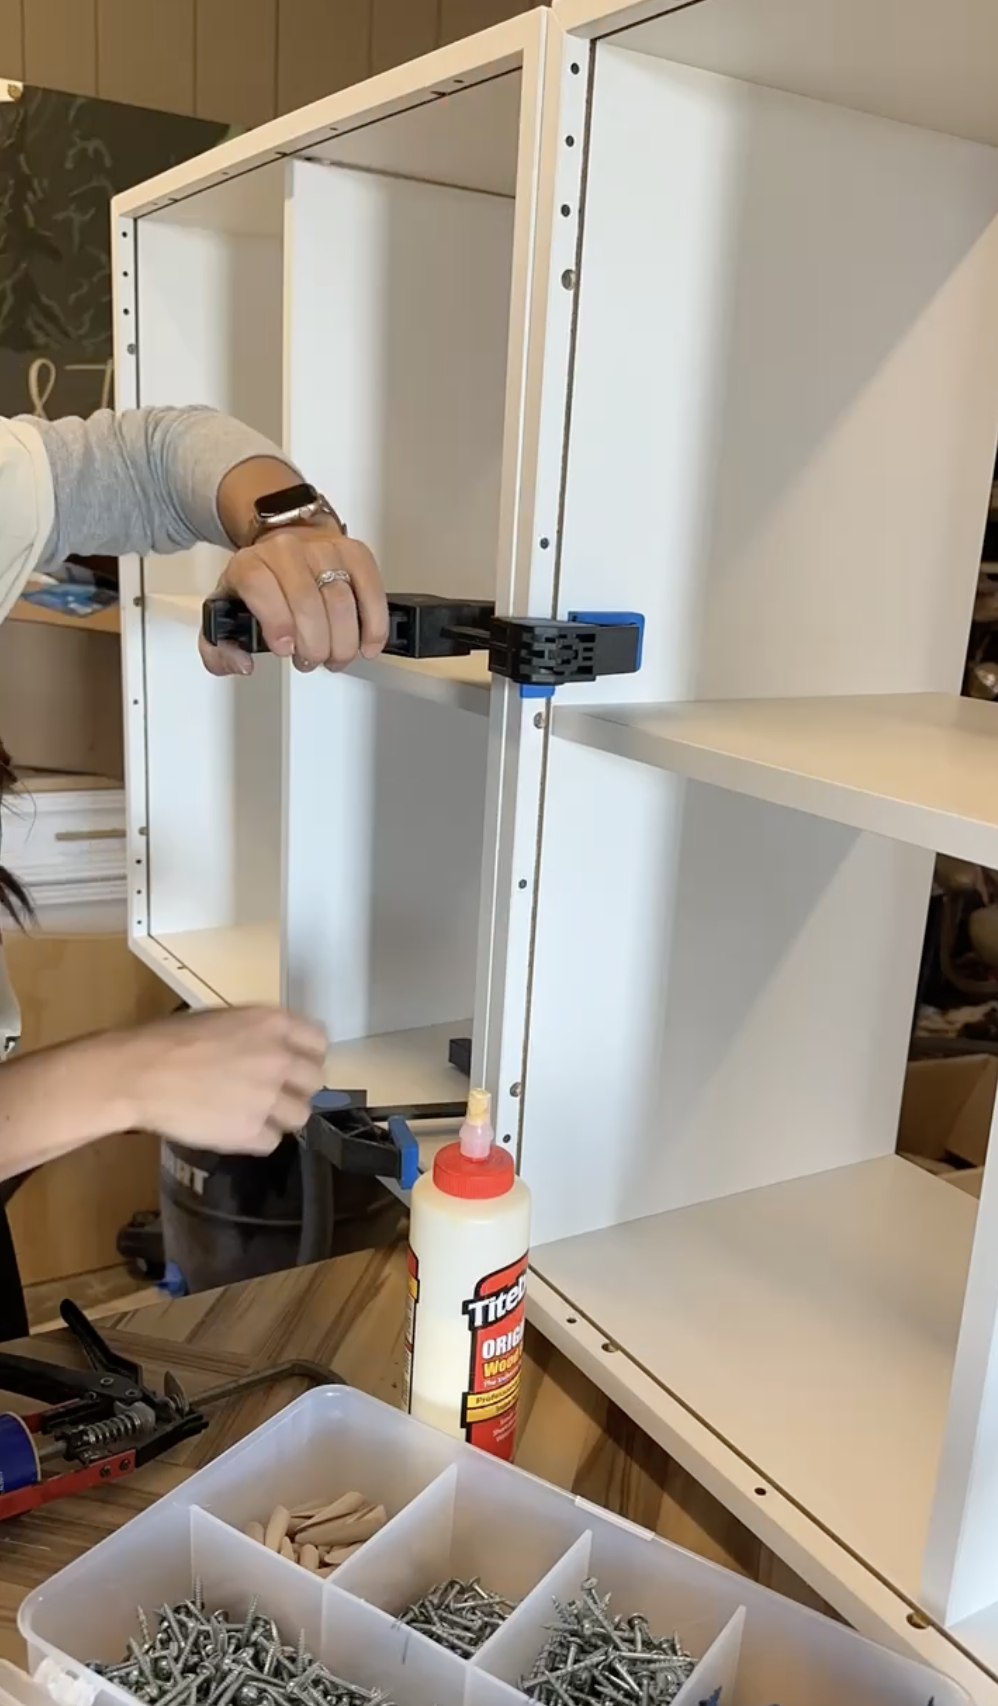
Use Liquid nails and clamps to attach the cubes together. Then screw together the cubes to add additional reinforcement.
Attach the Paneling
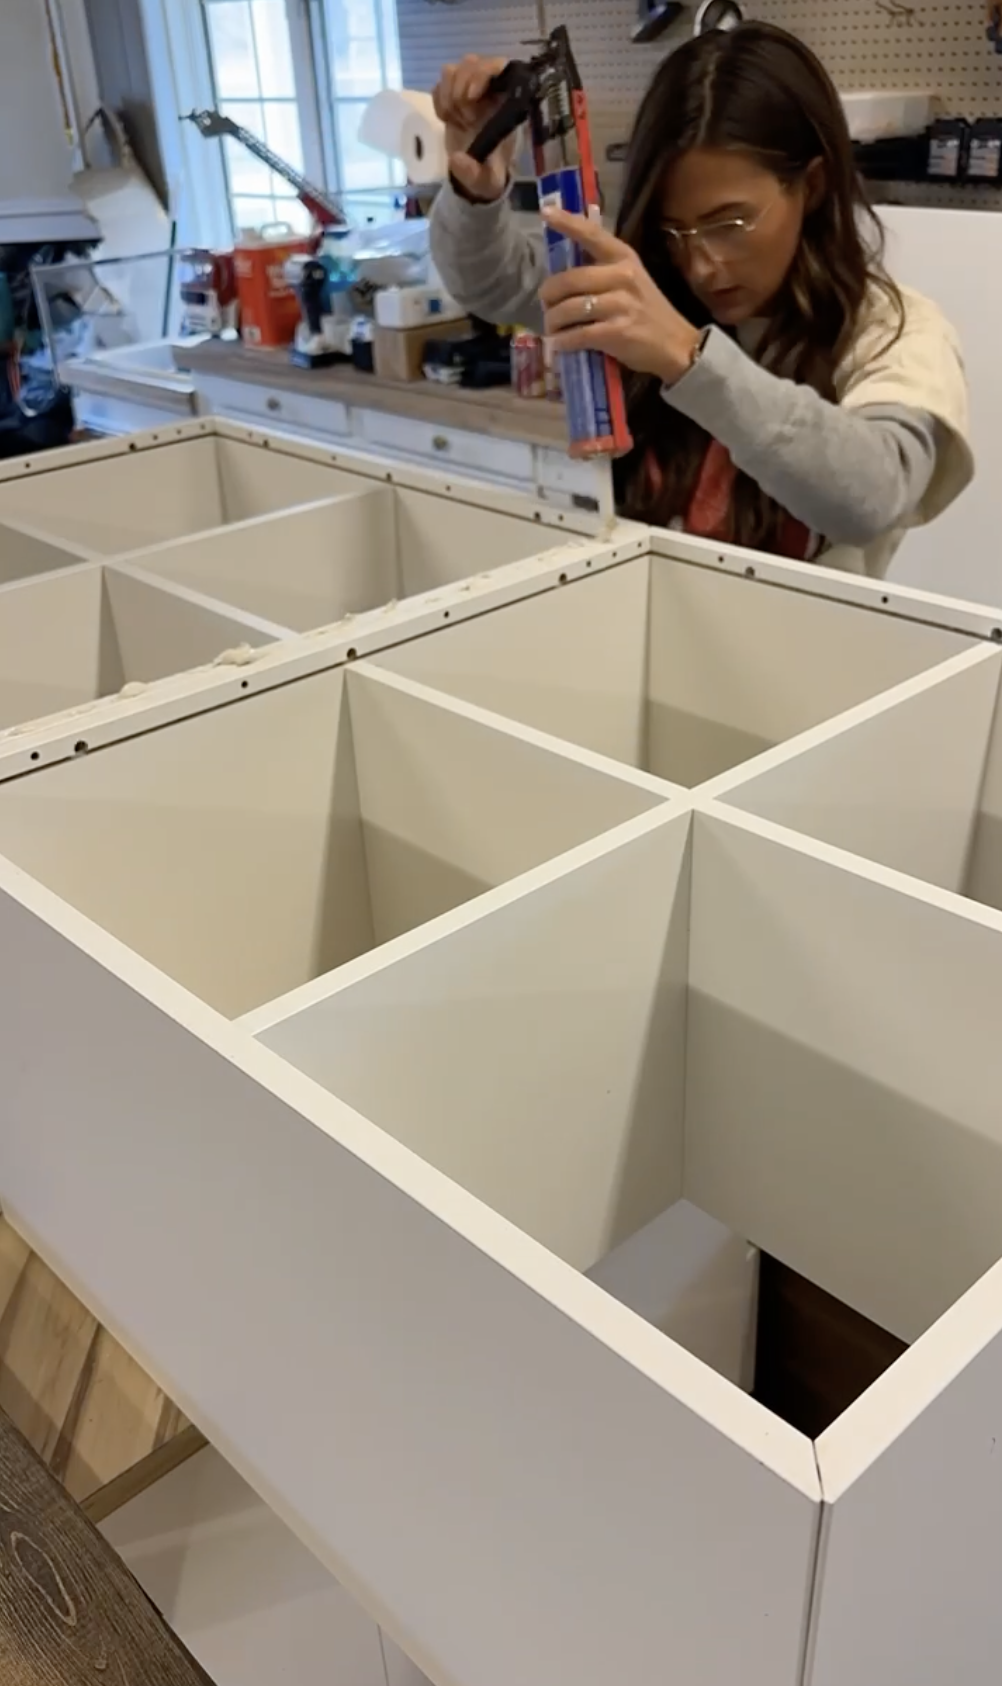
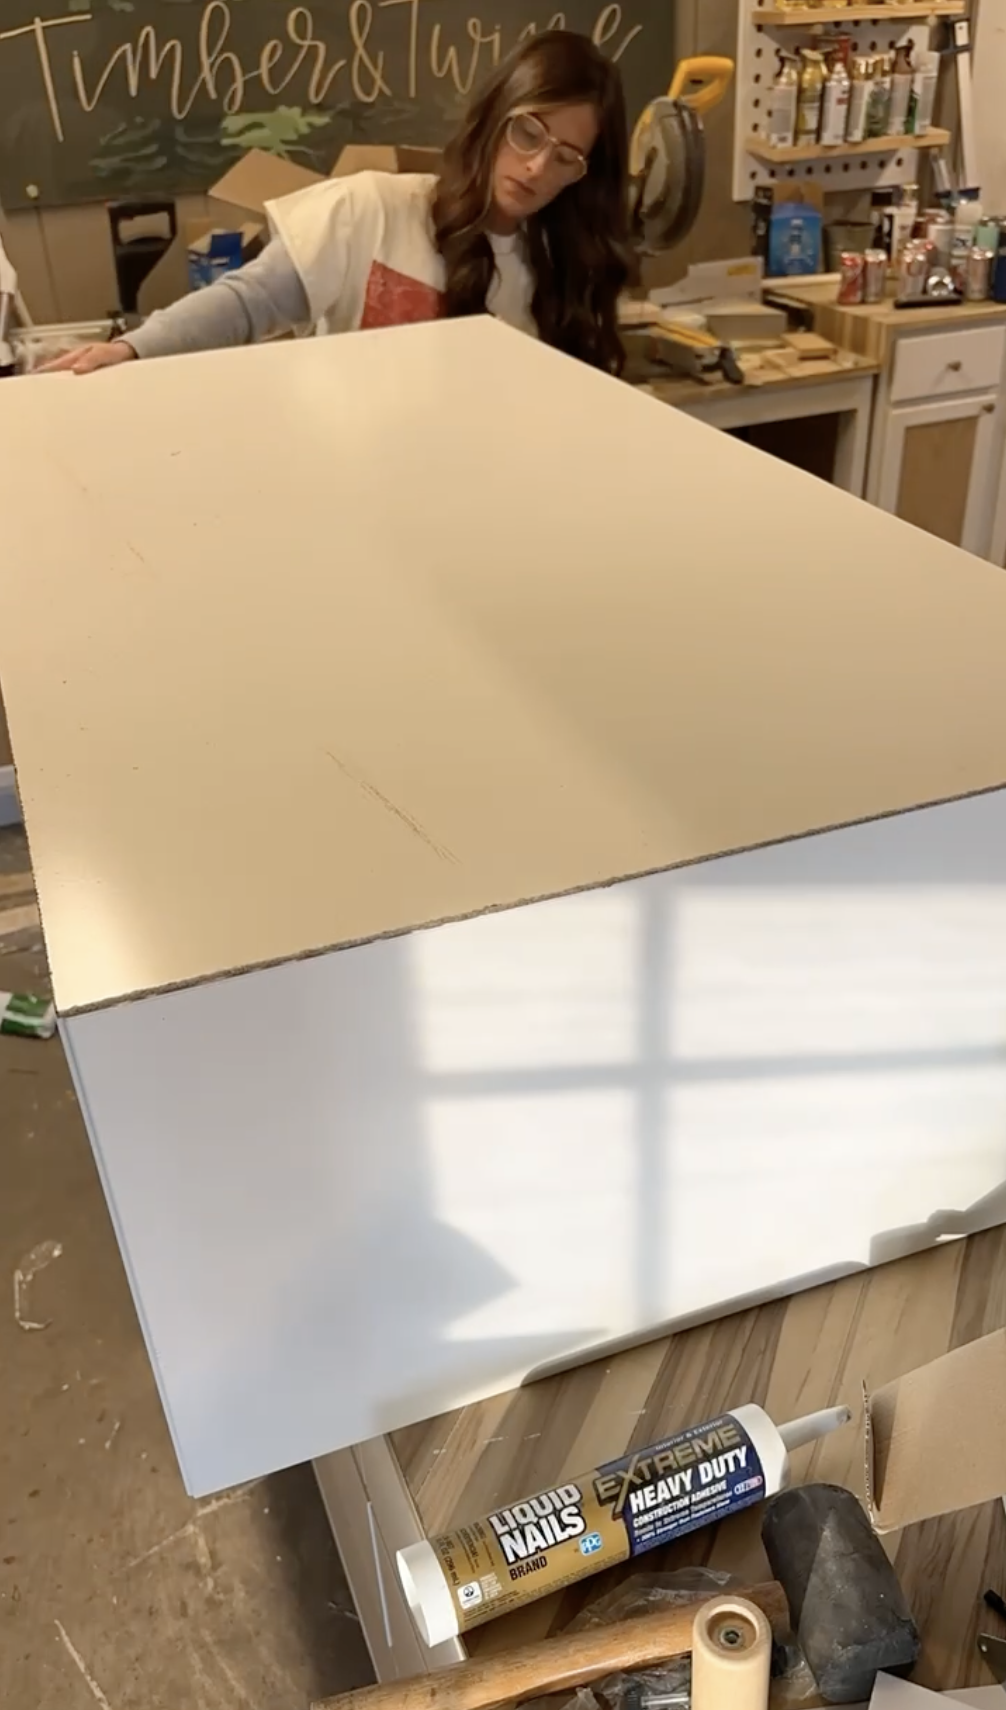

Add liquid nails to the entire front side of the cubes. Press the paneling down to adhere.
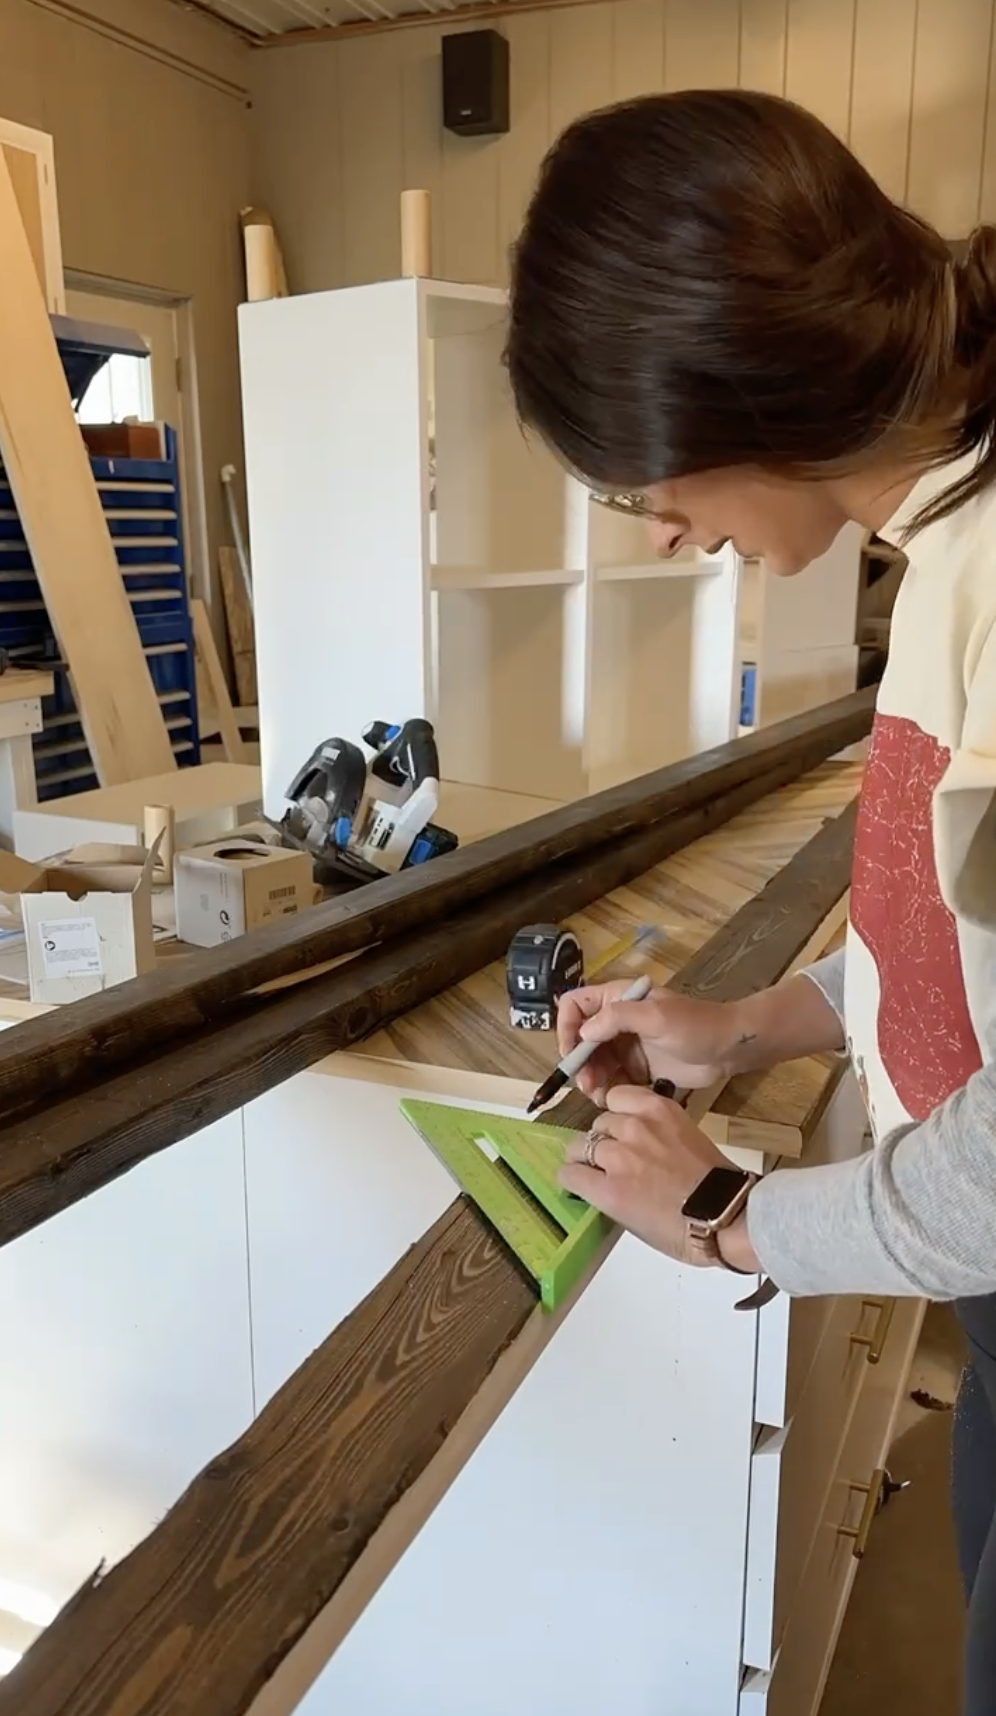
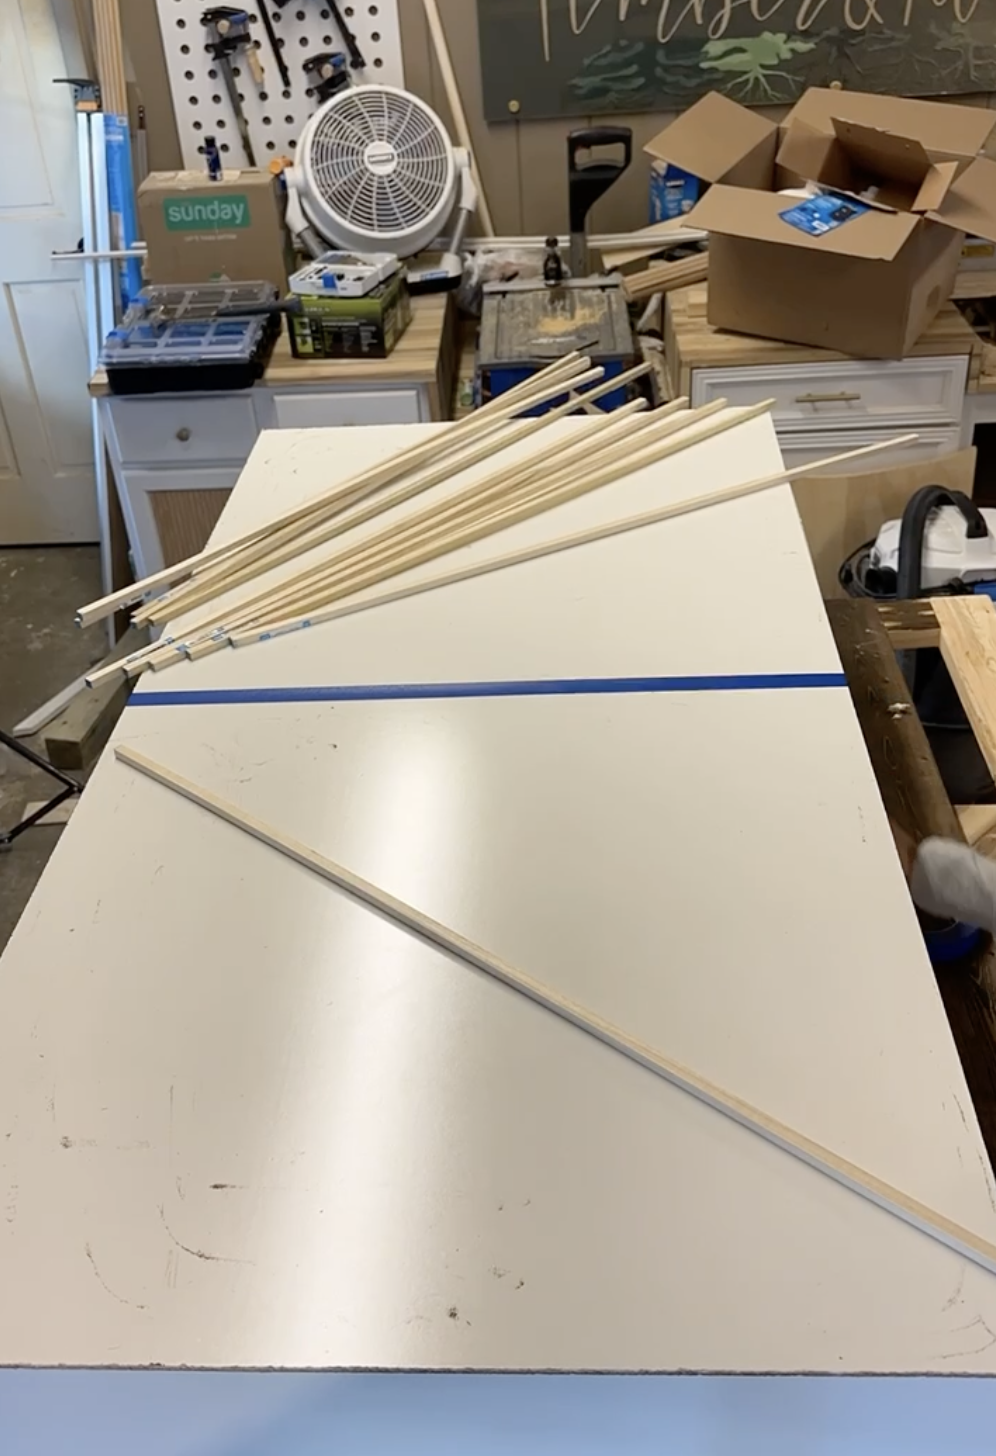
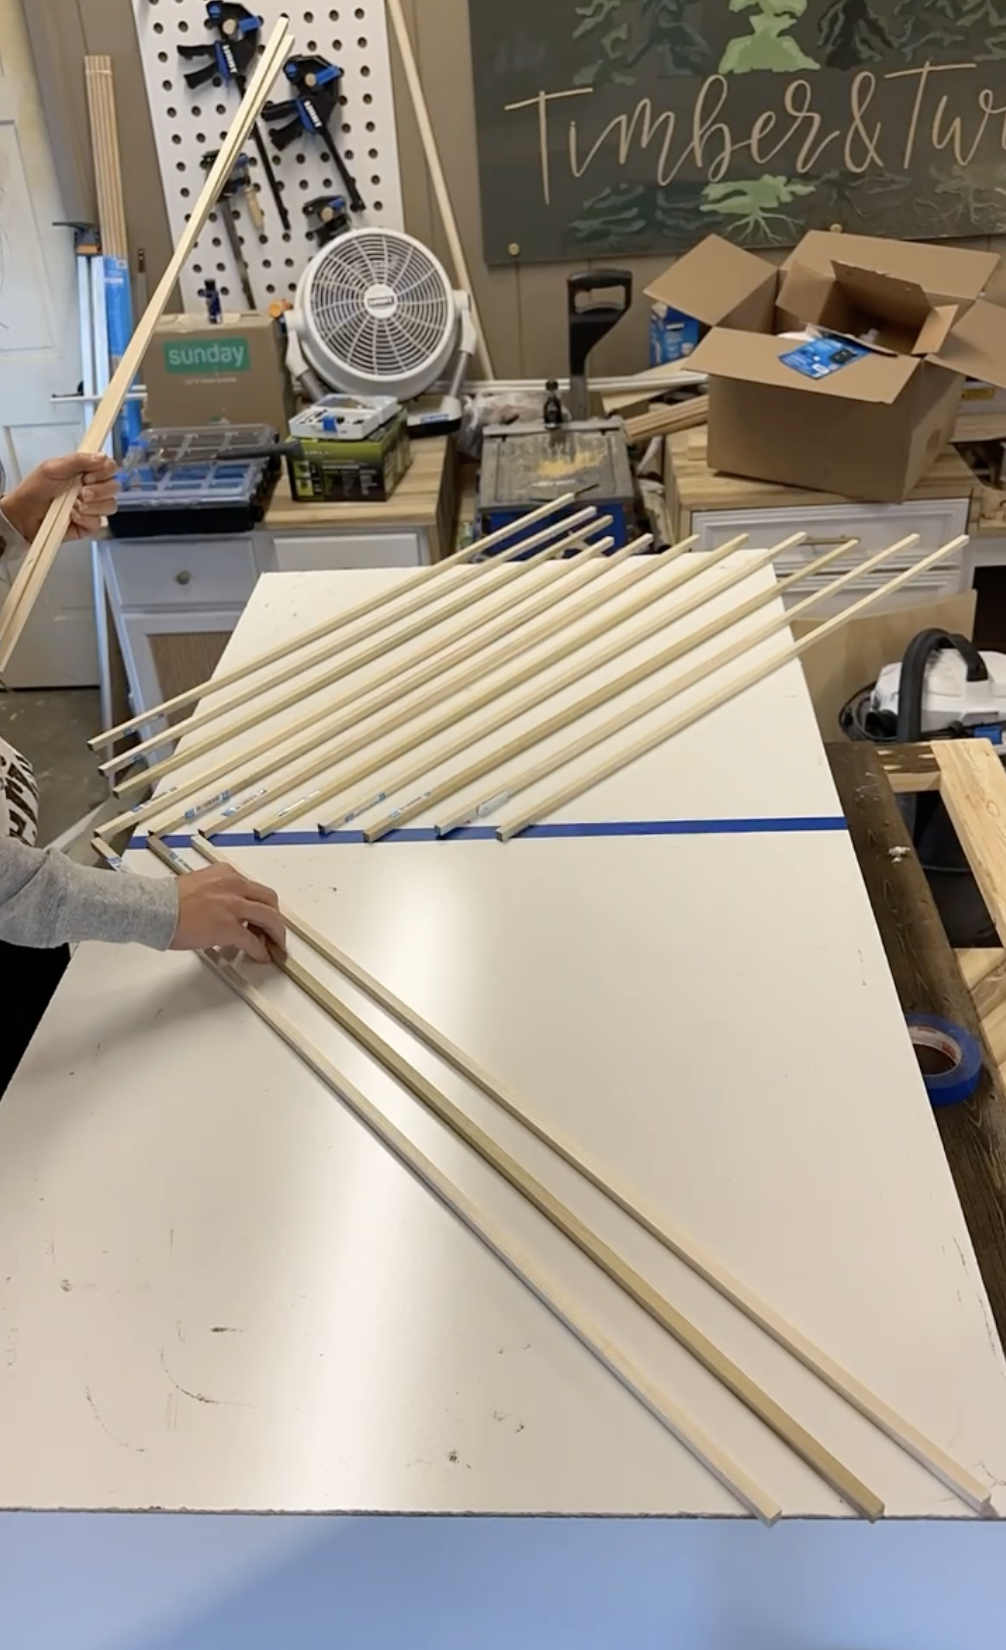
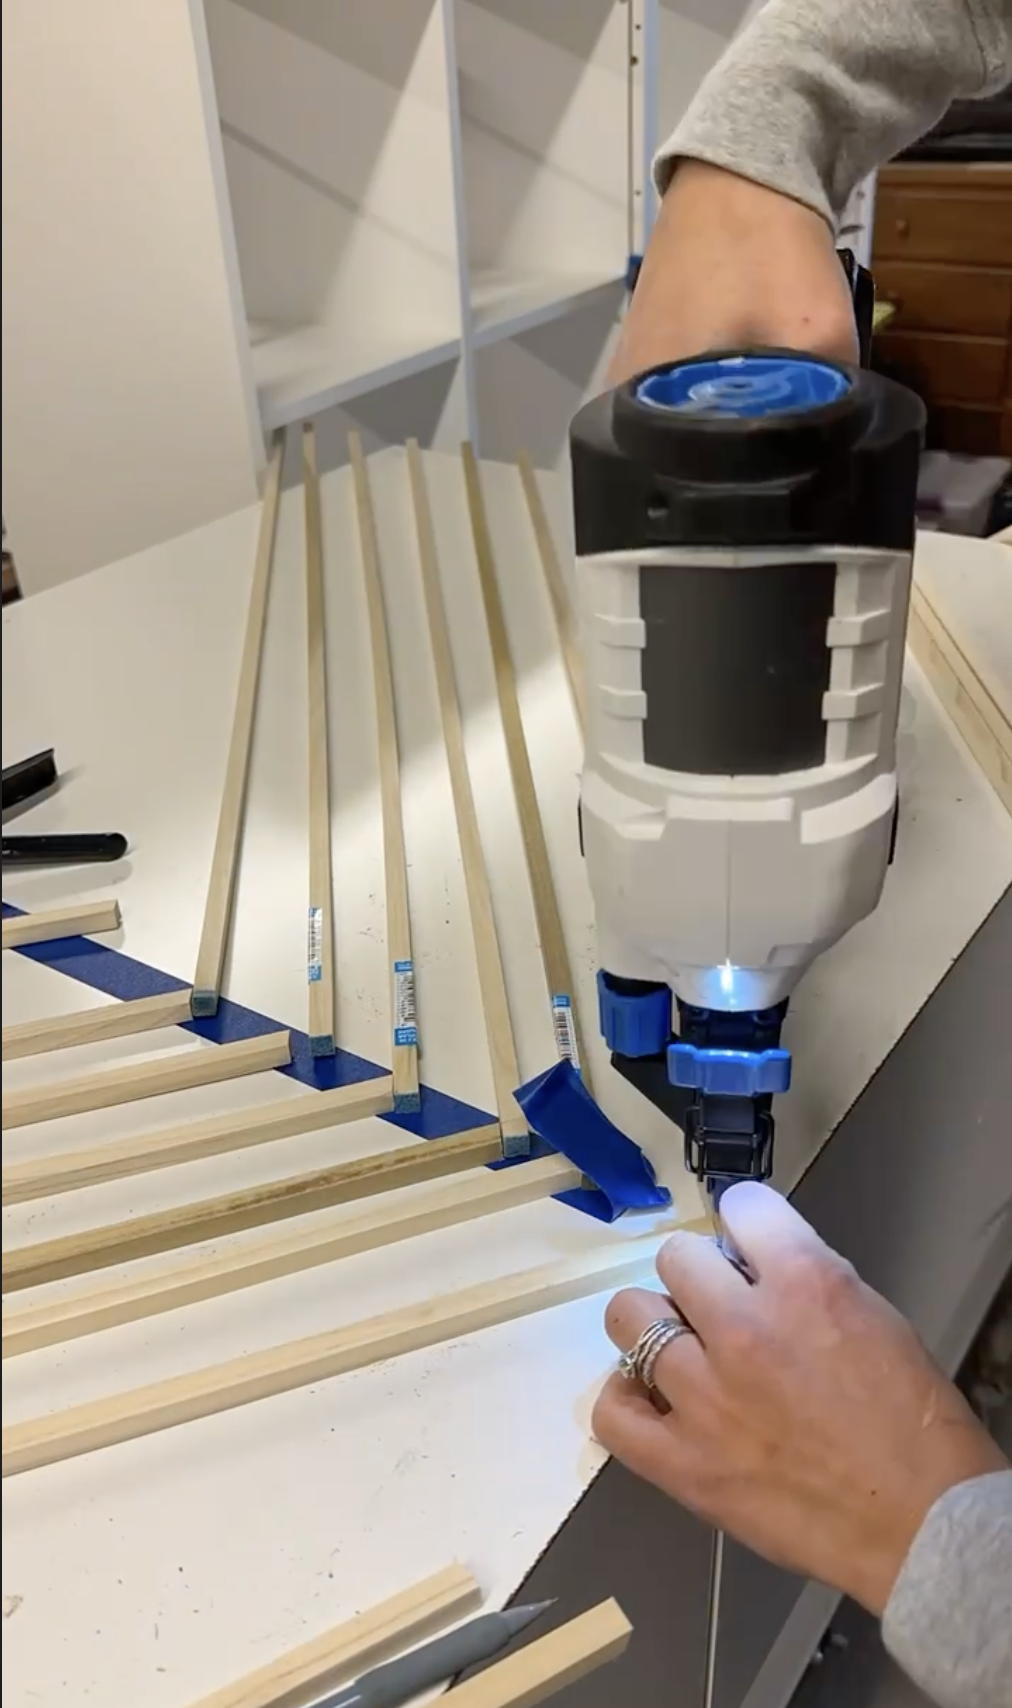
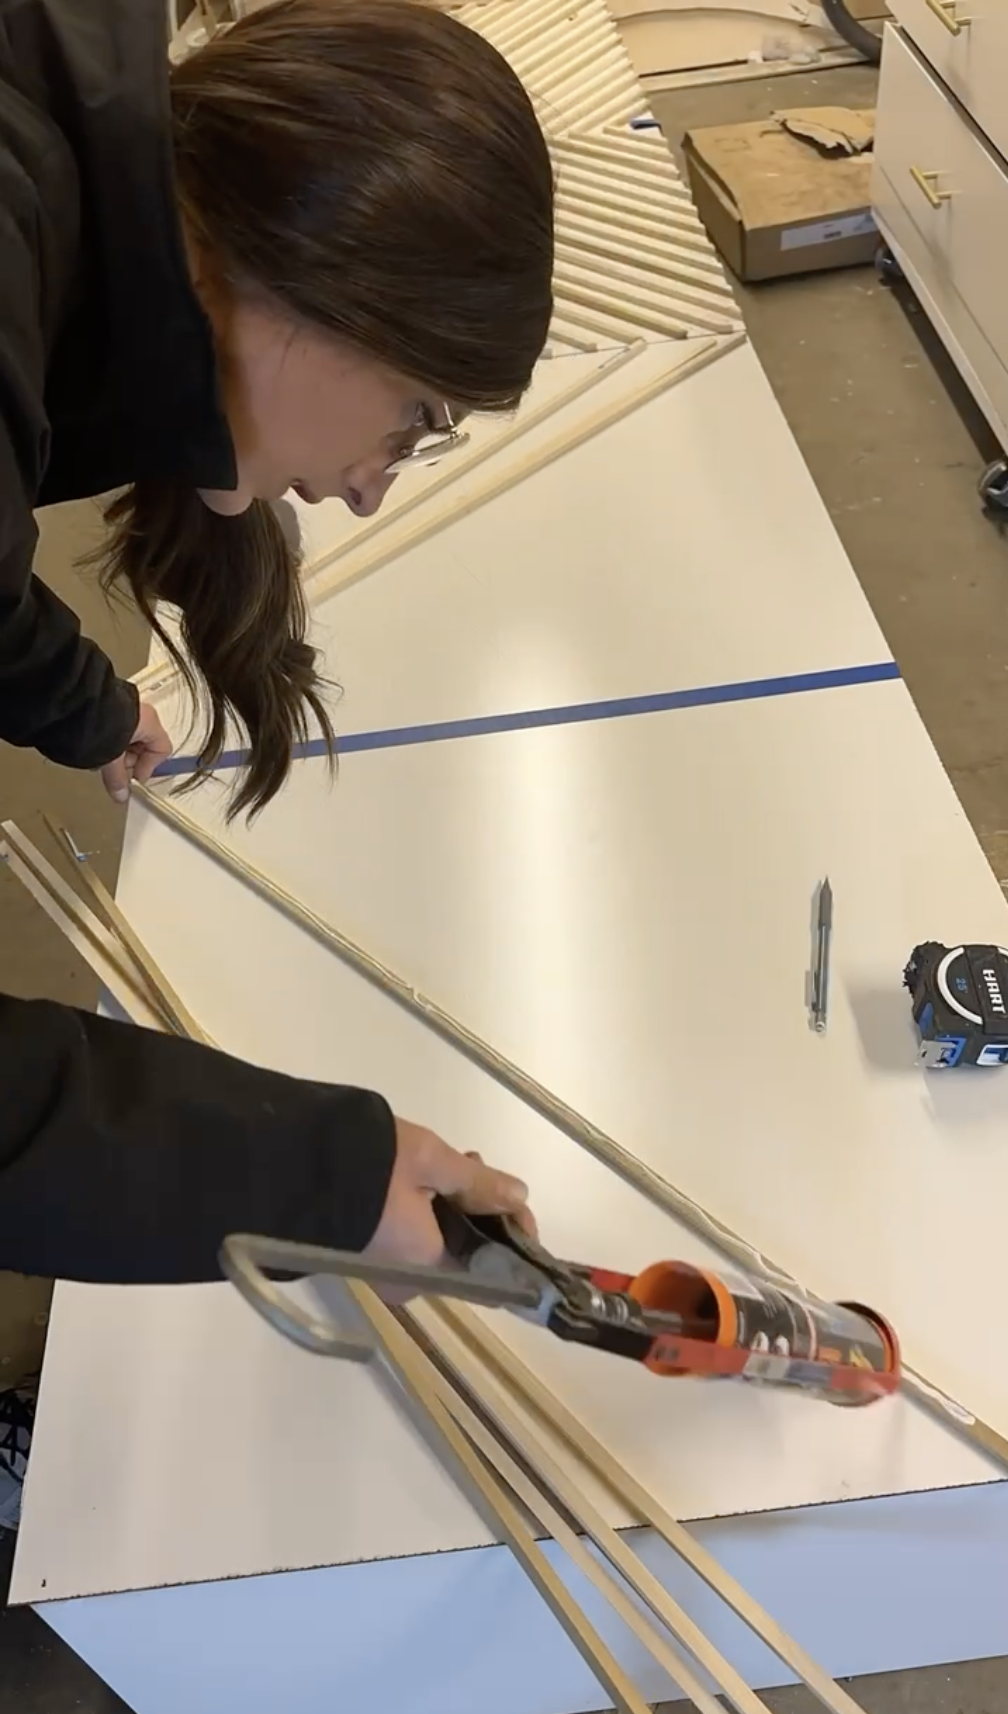
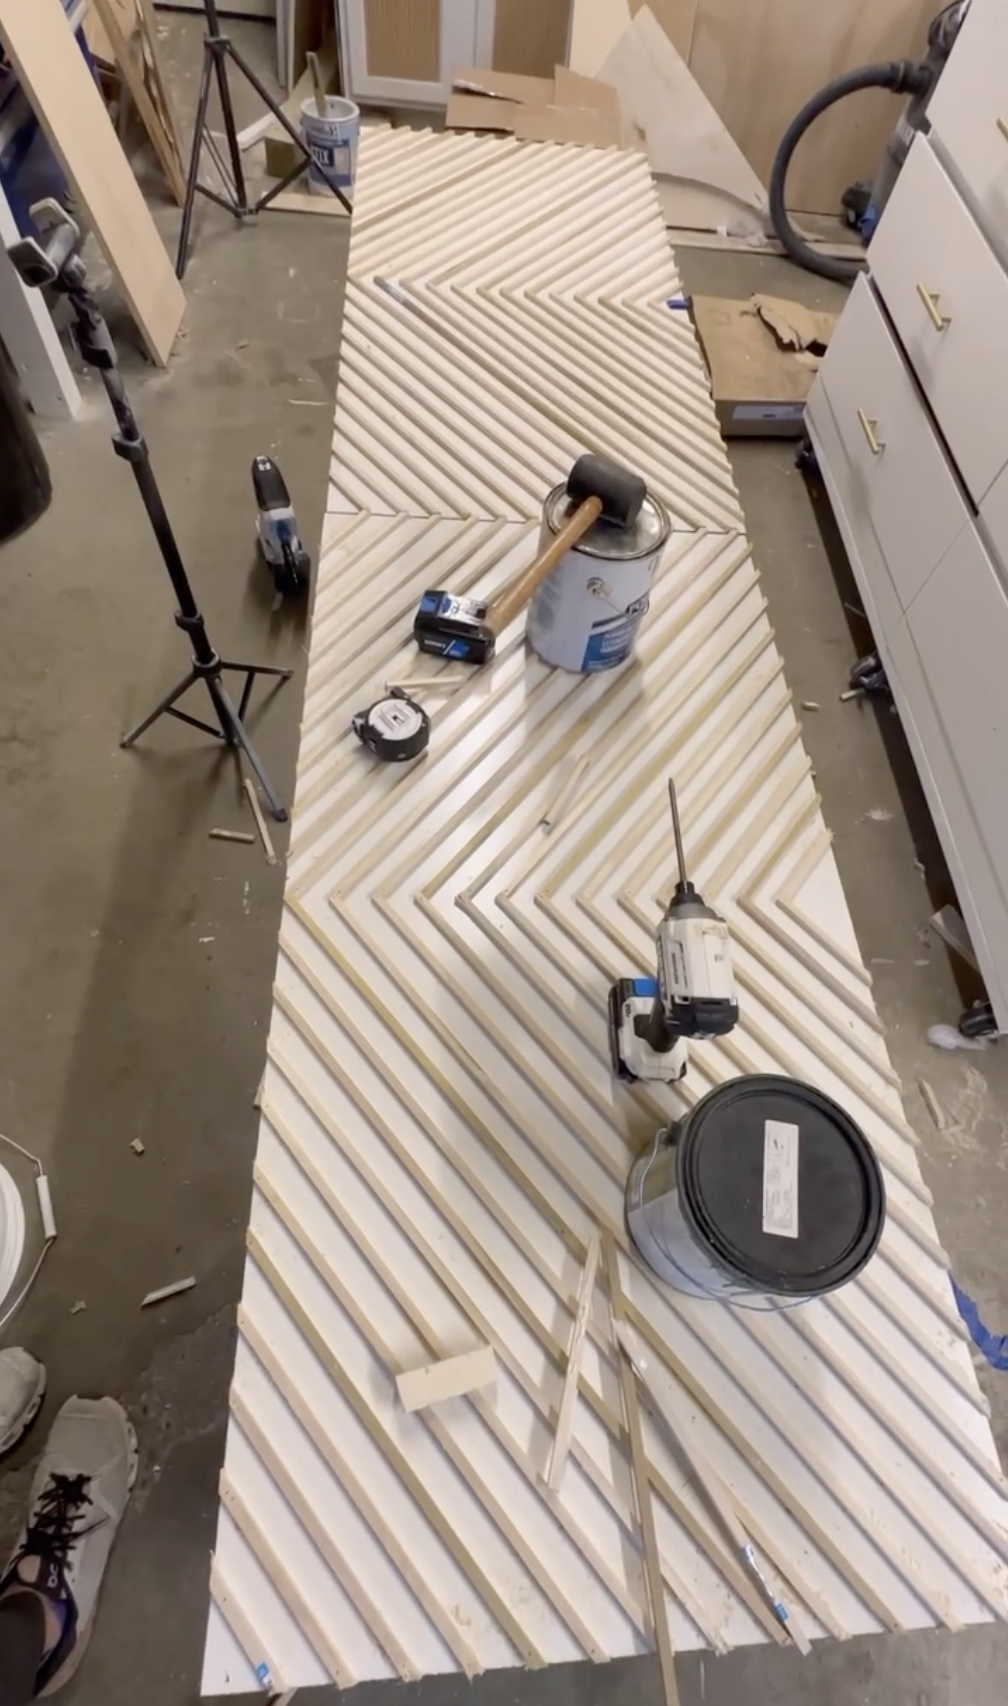
Add a piece of blue painters tape at center. Then add square dowel rods in a diagonol pattern.
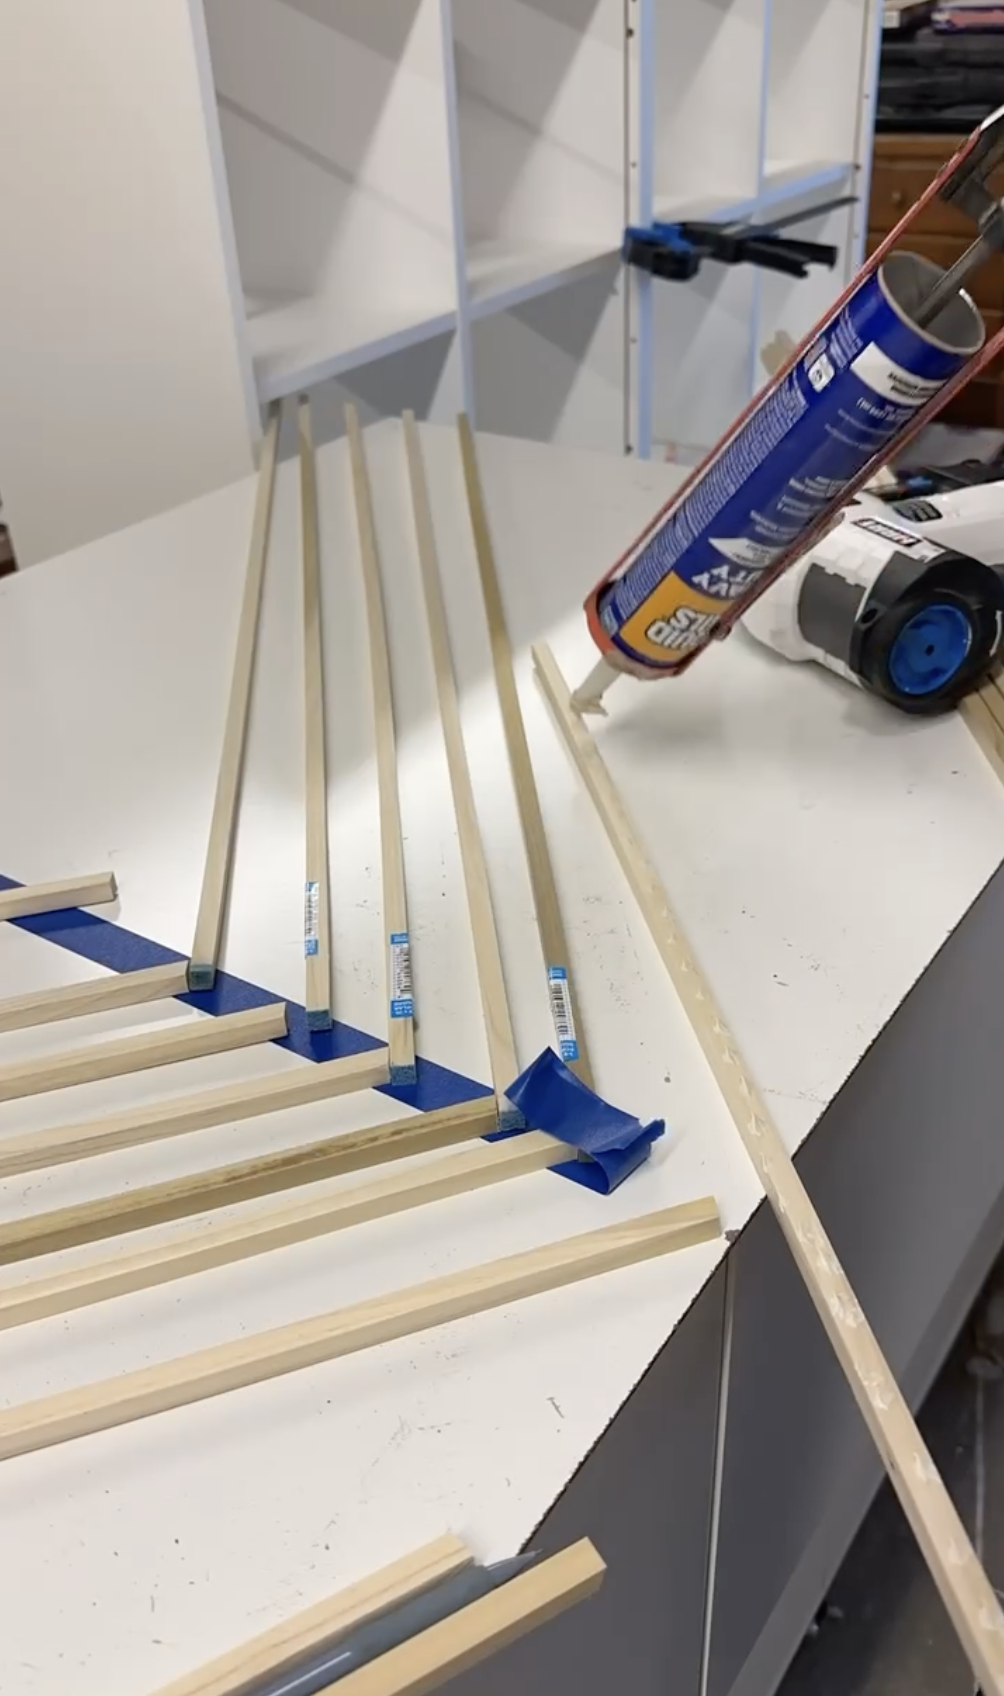
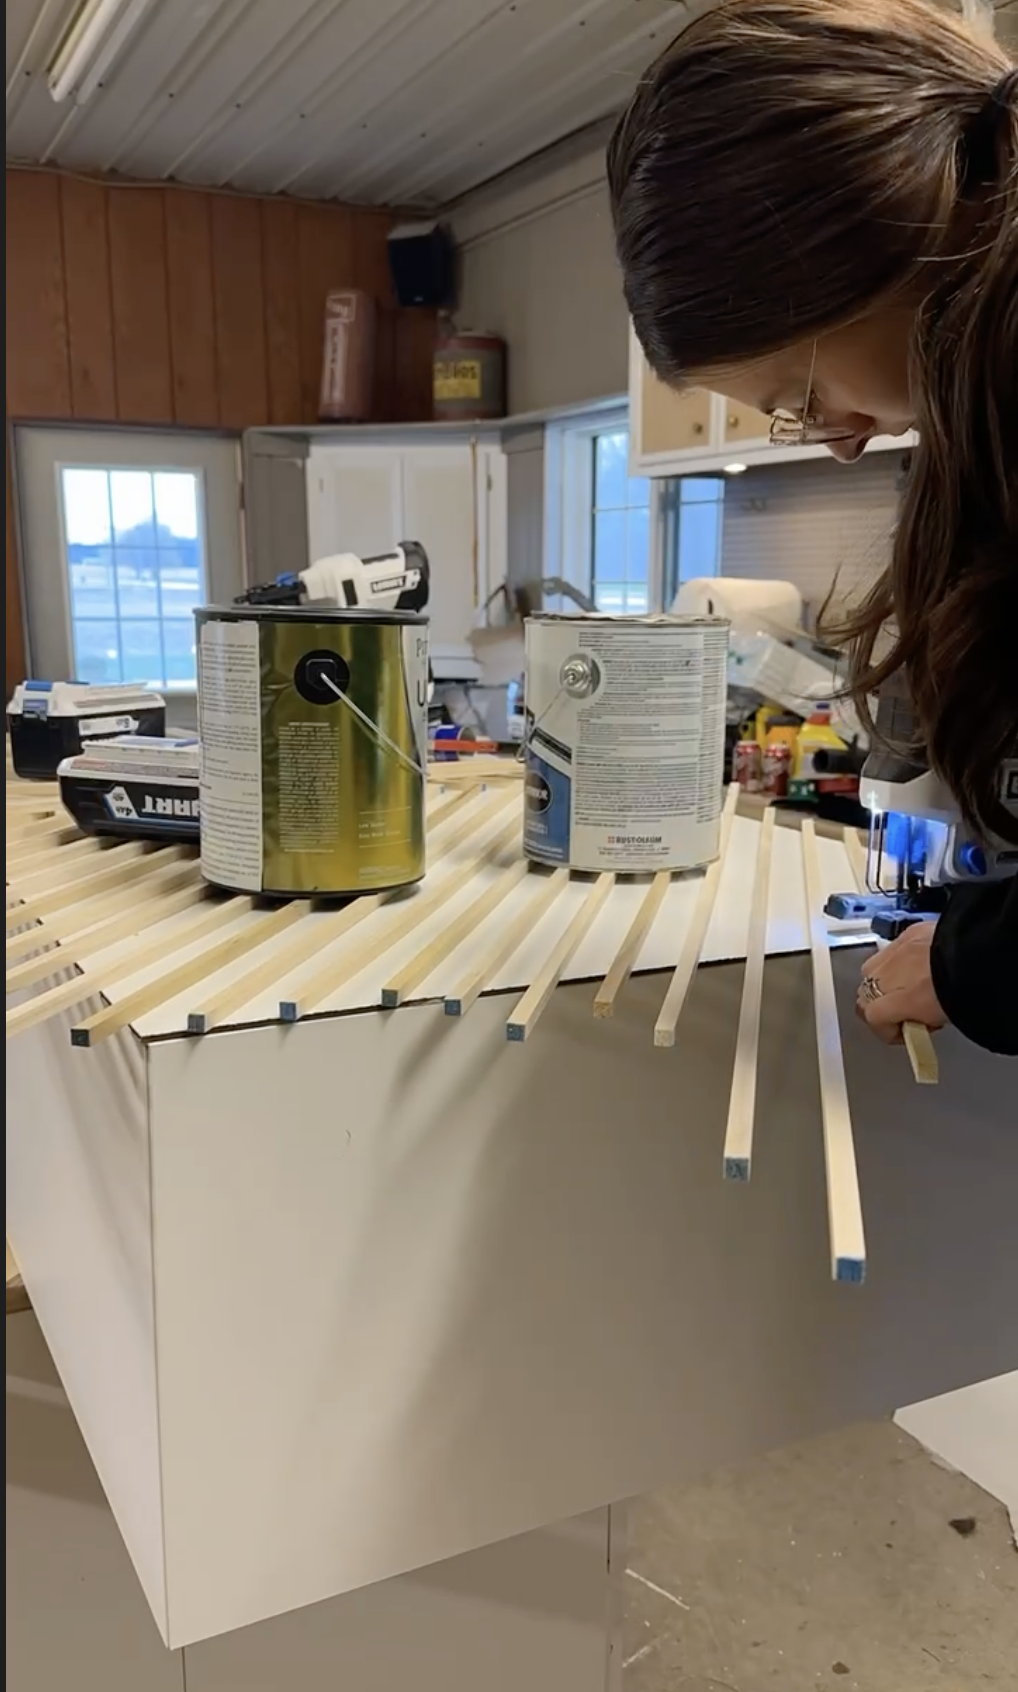
Once you establish your pattern starting with the bottom, slowly peel up the tape and attach down the rods using liquid nails and 1/2 inch brad nails. Repeat this process. for the rest of the desk. When you get to the bottom and top you will notice pieces of the rod hanging off the edge. We will cut these down later.
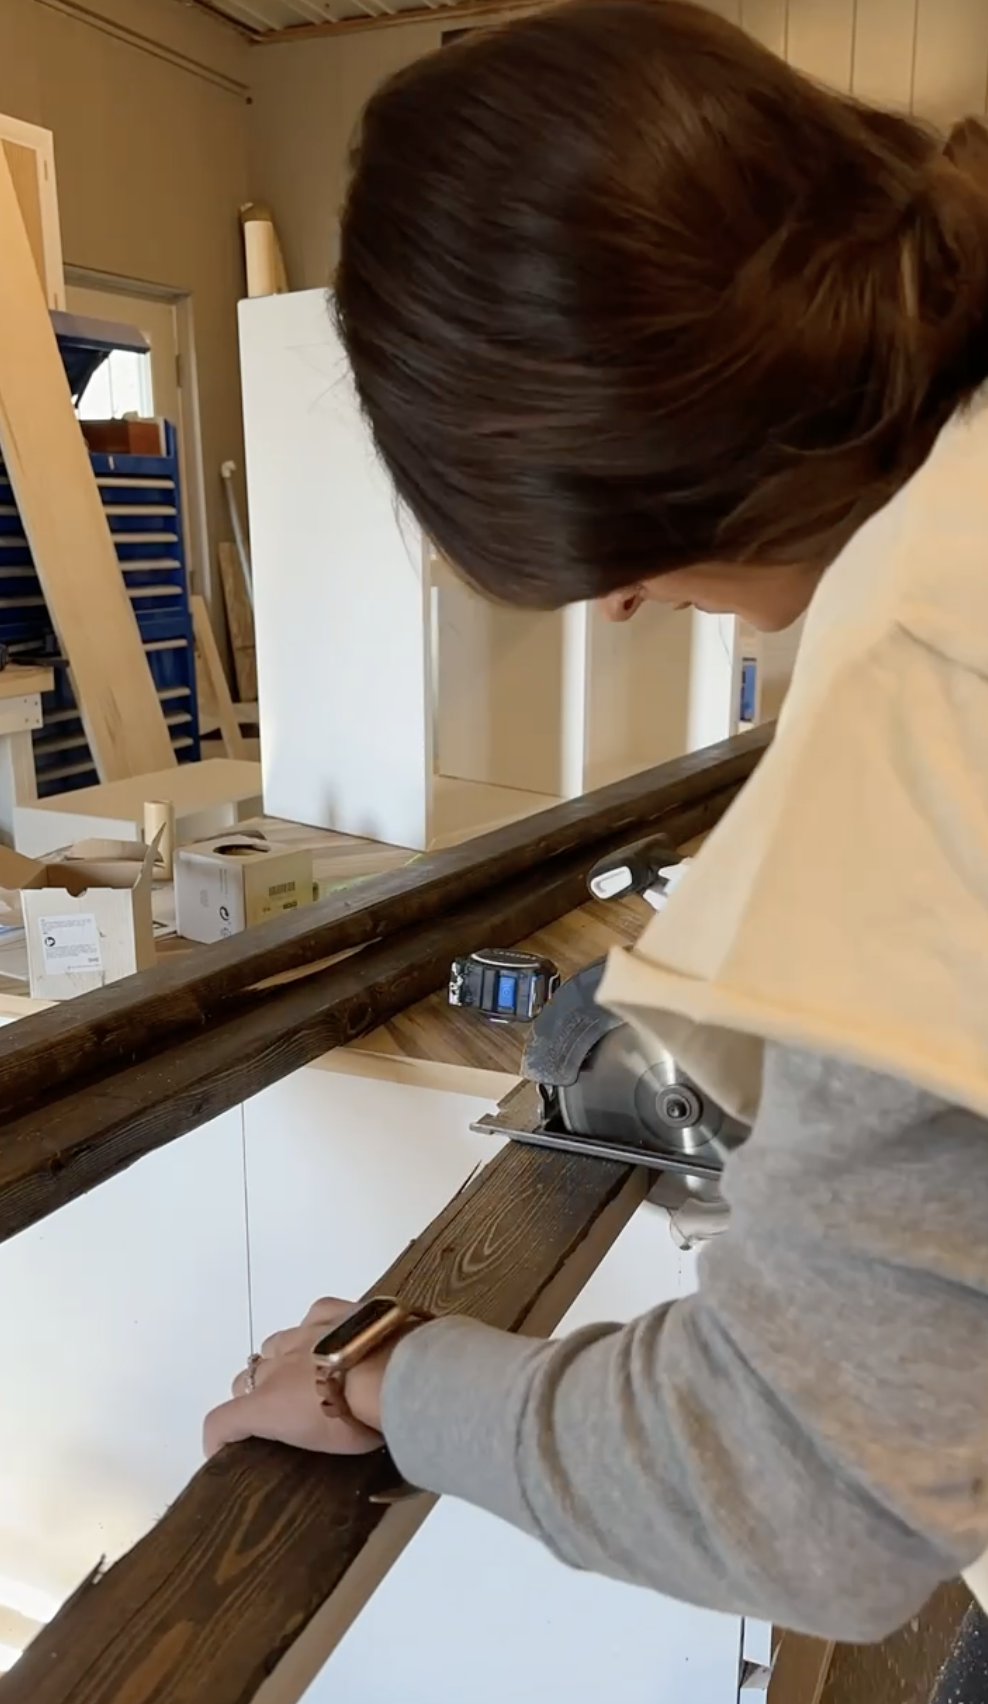
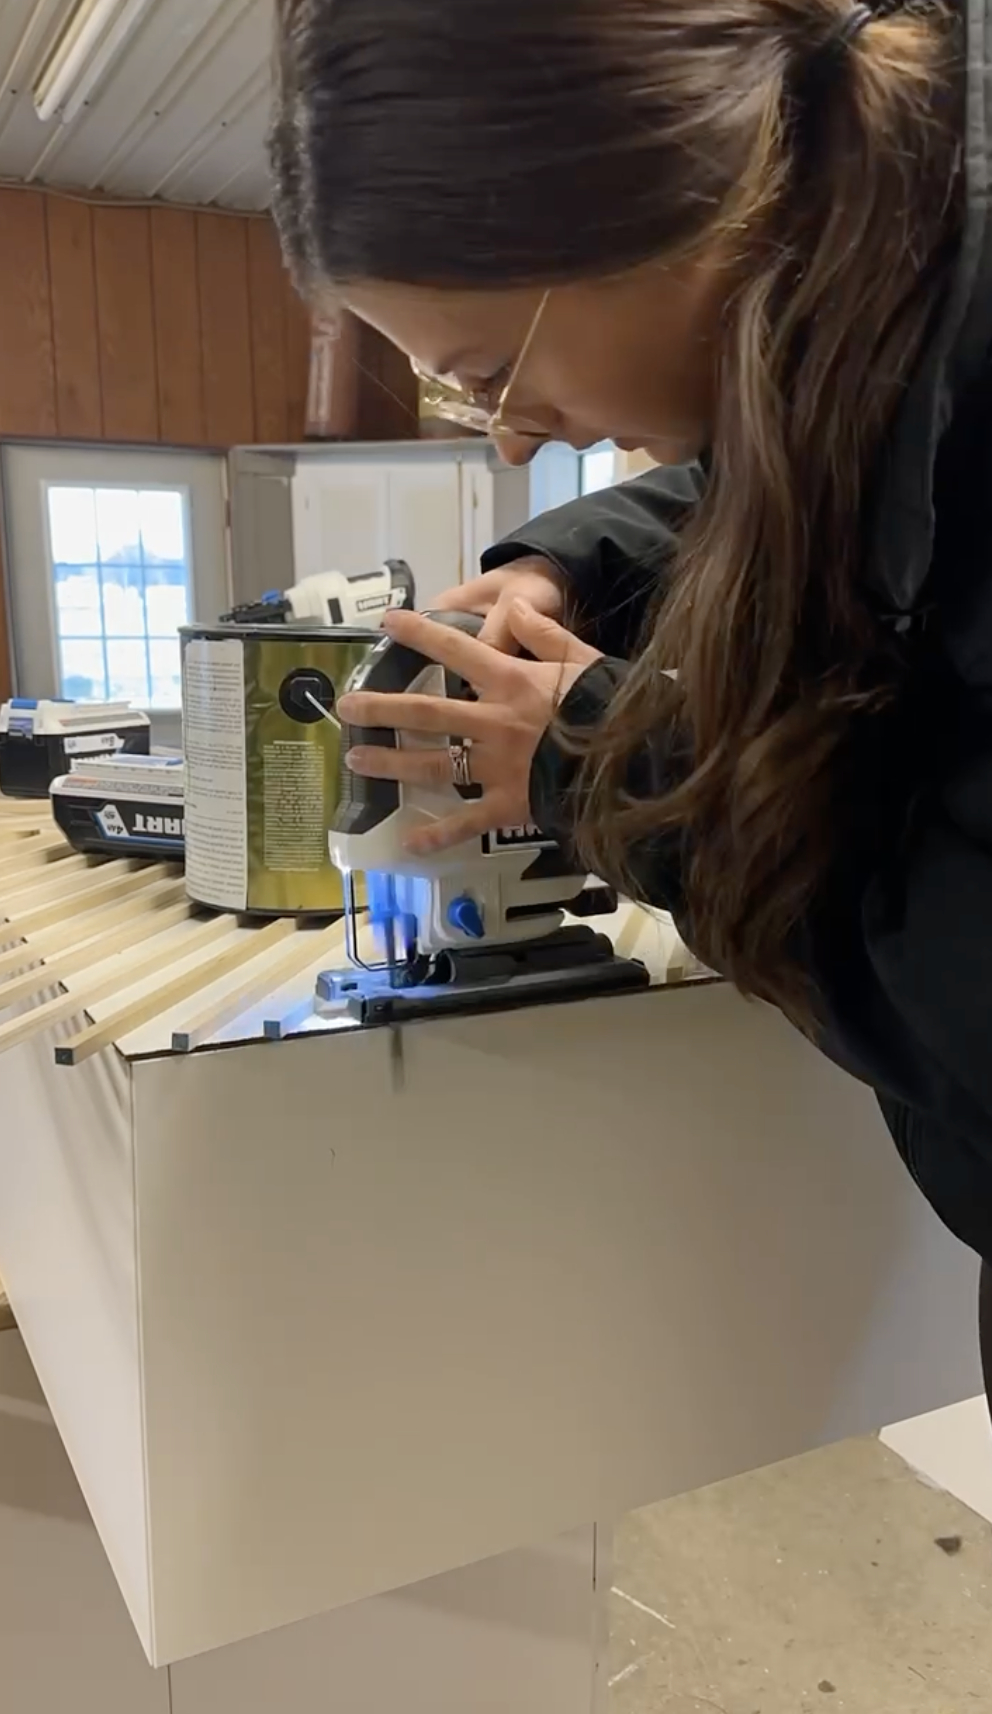
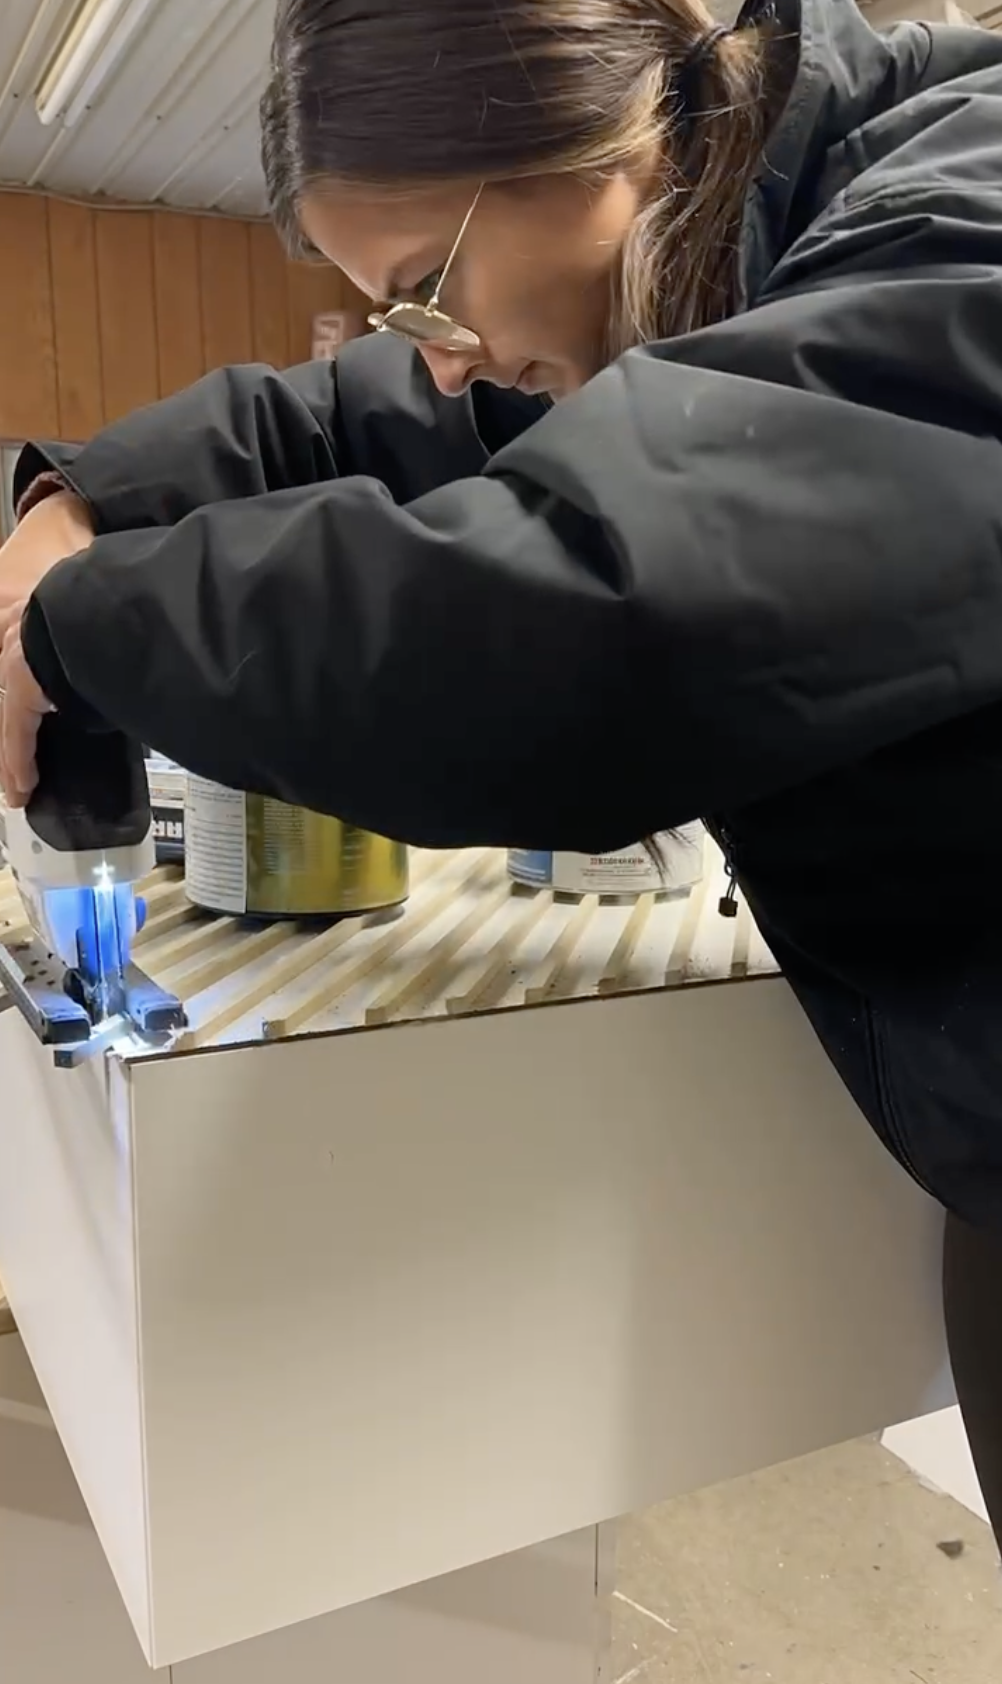
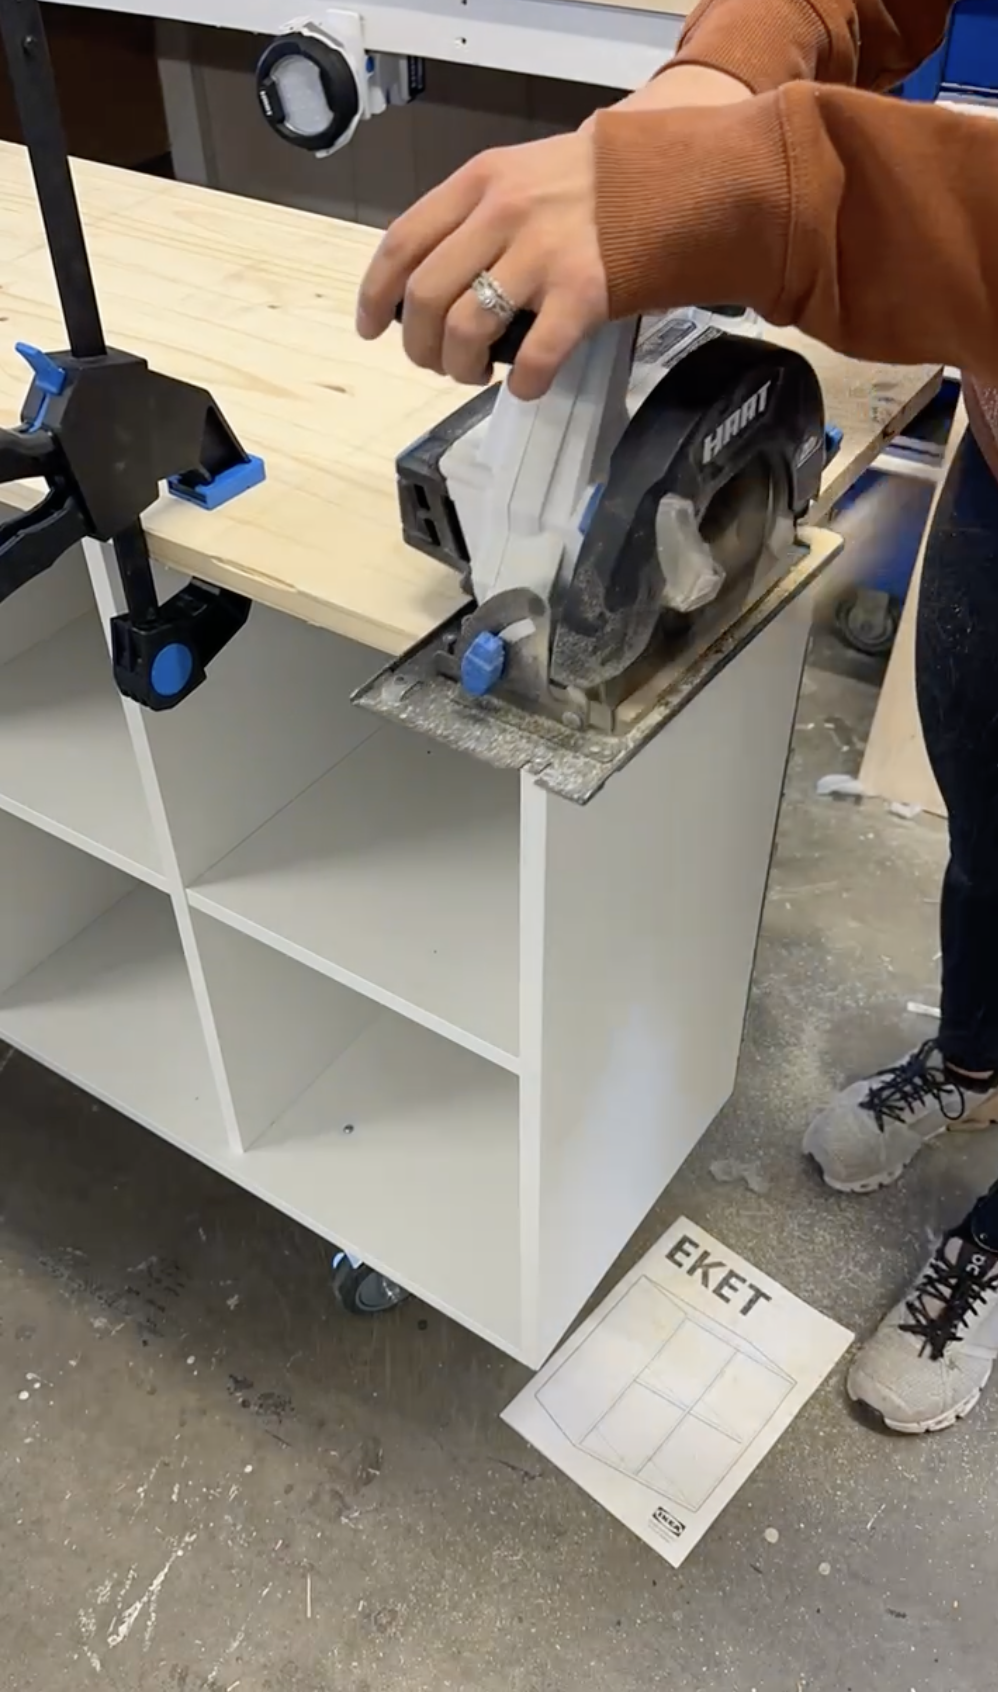
Using a Jig saw, even the edges of the square rods to match the edge of the welcome desk.
Add Wood filler over nail holes.
Sand the square rods with an orbital sander.
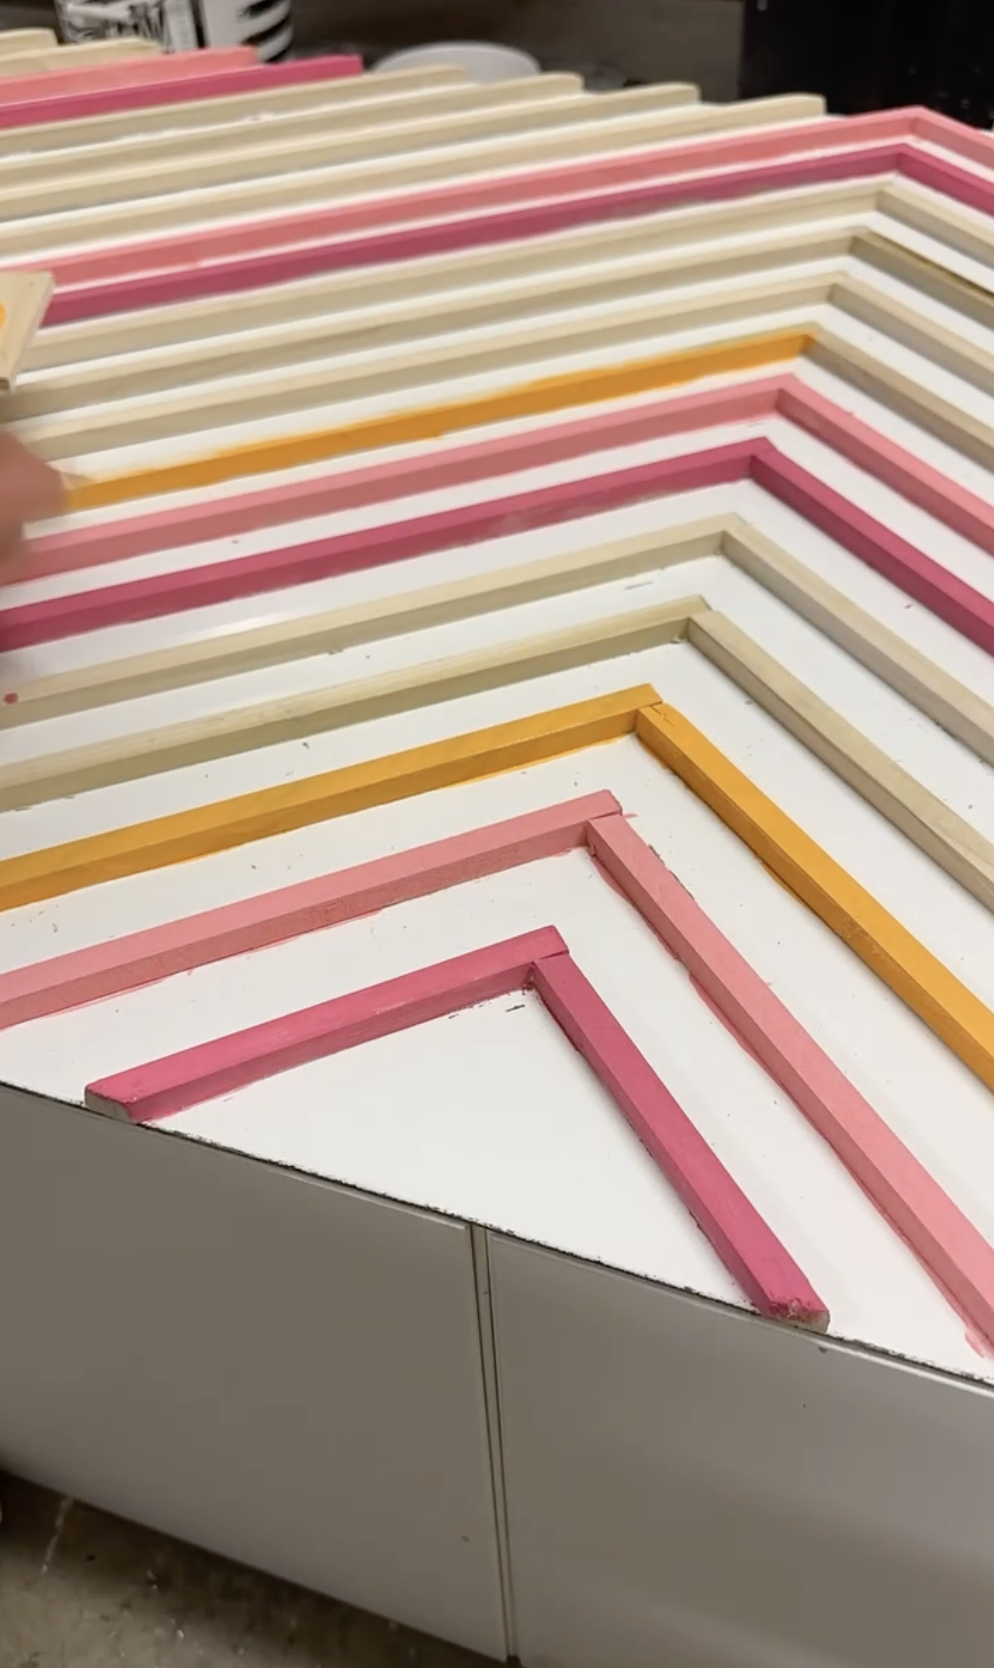
Paint the rods in whatever color you want.
Add Casters and boards to the Desk

Attach 2×4’s to each corner of the base.
Pre-drill caster holes.
Attach Casters to the wood making sure there is enough spacing for the wheels to fully spin around without hitting each other (I made this mistake).
Attach cubes to the top of the base with liquid nails and screws.
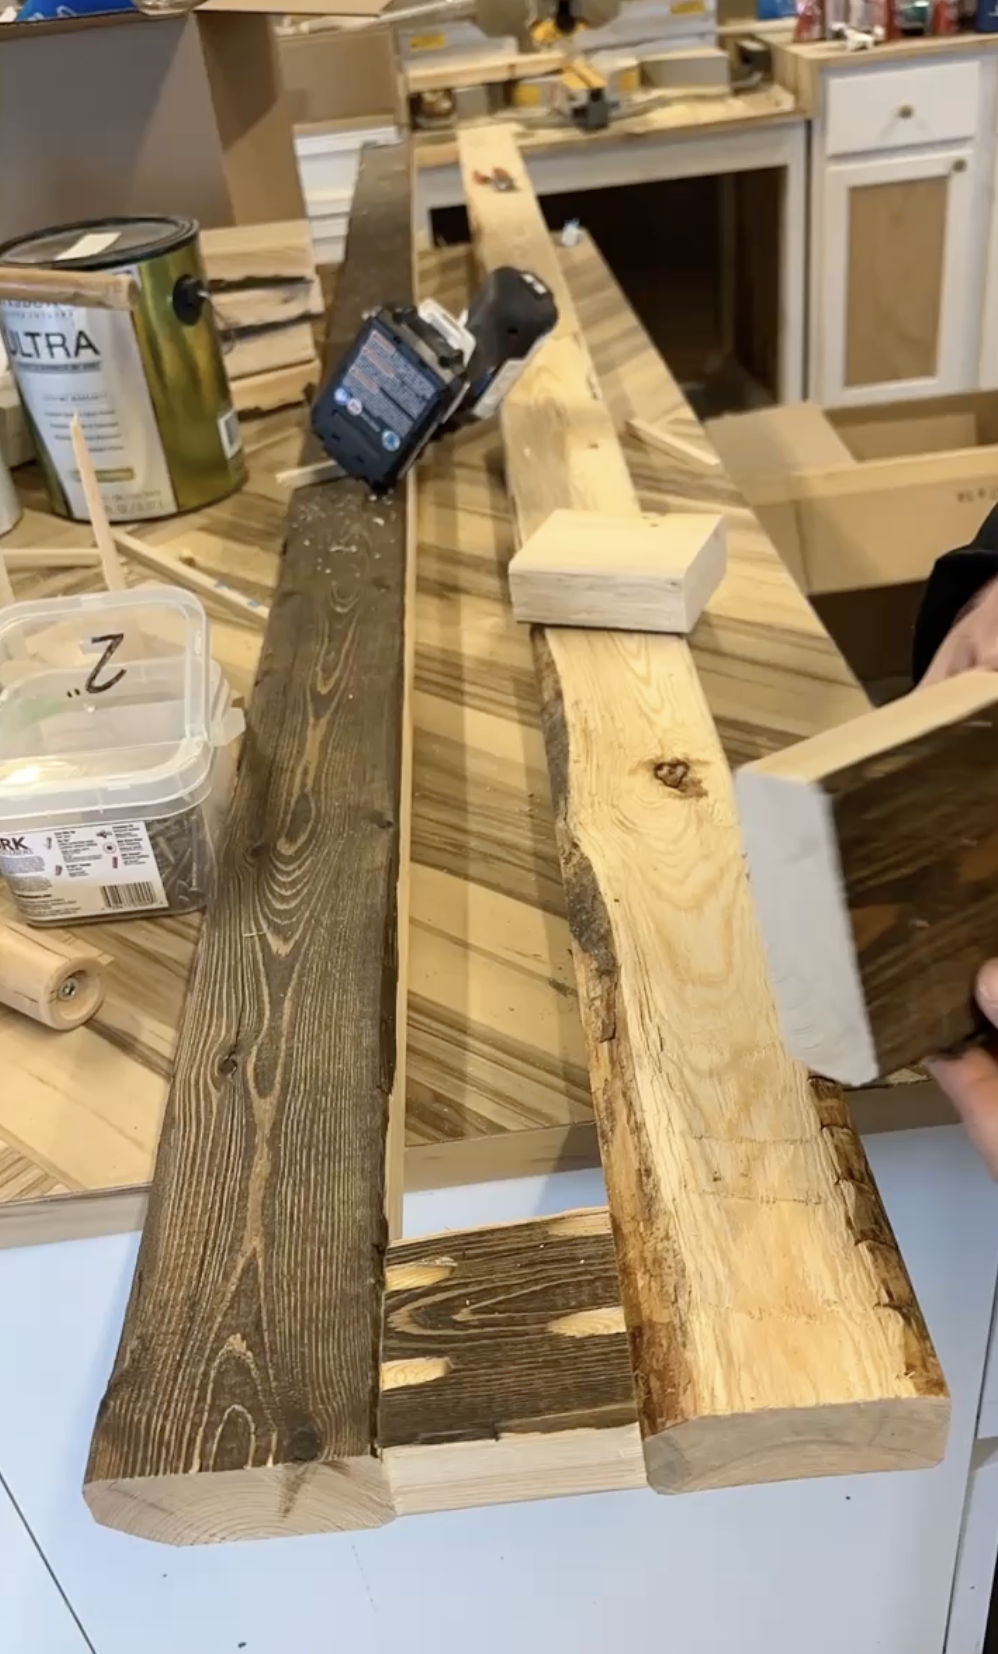
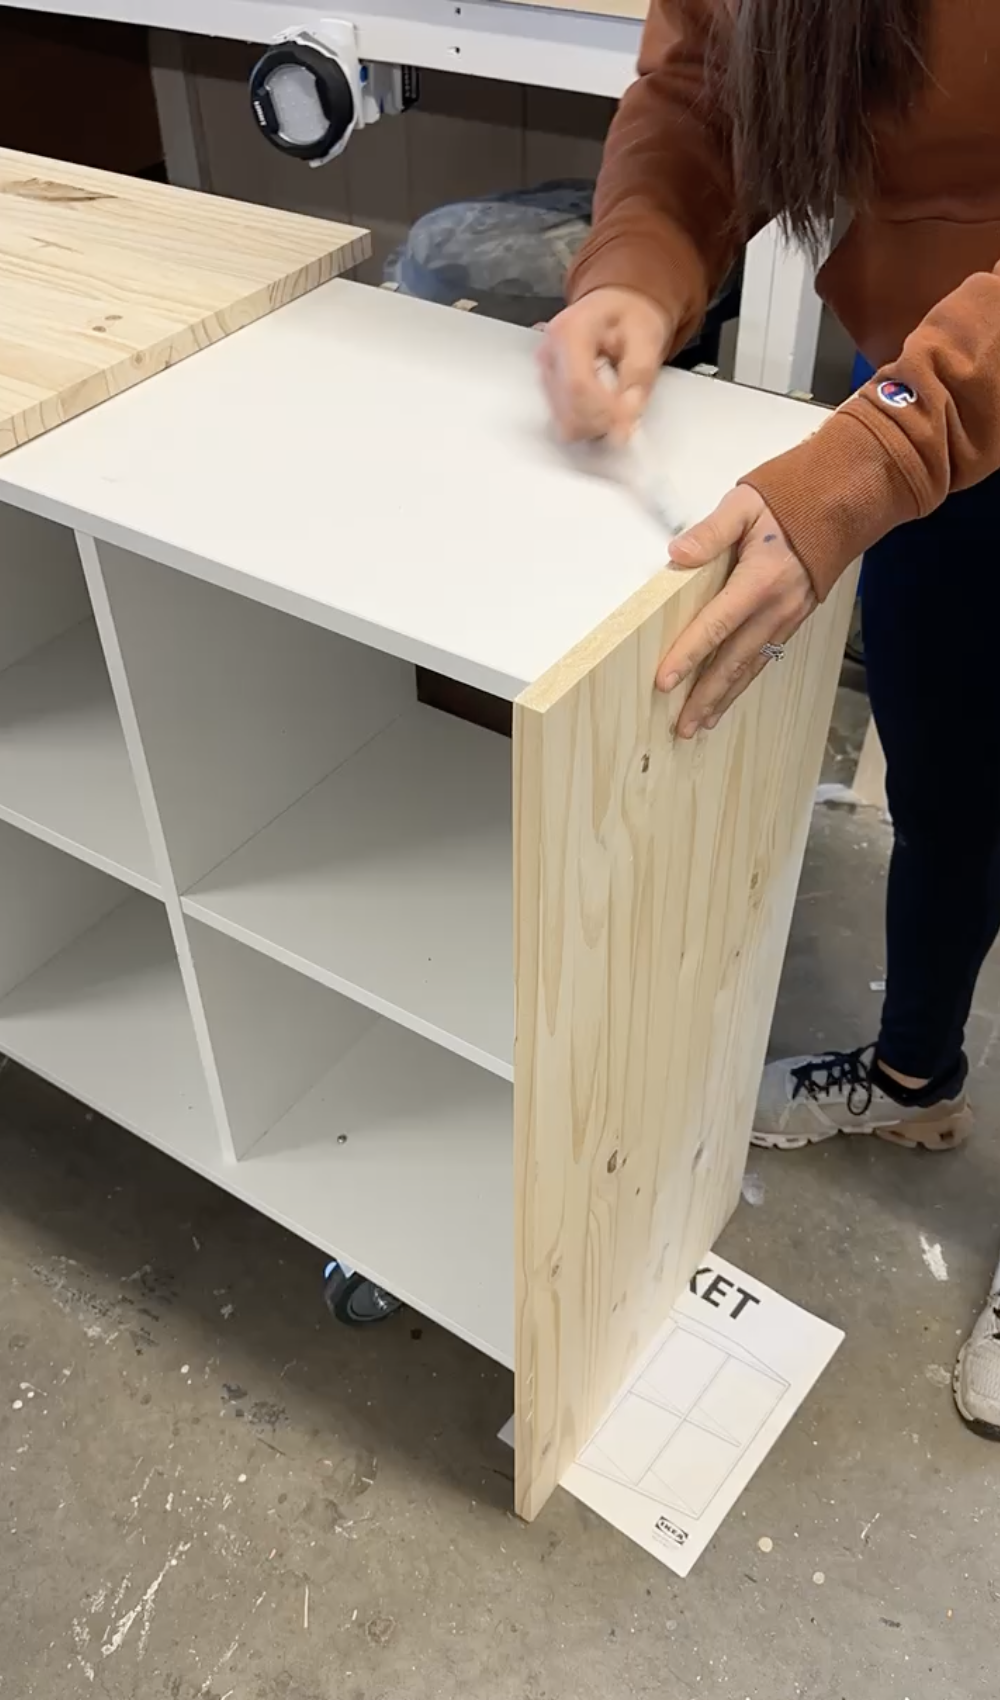
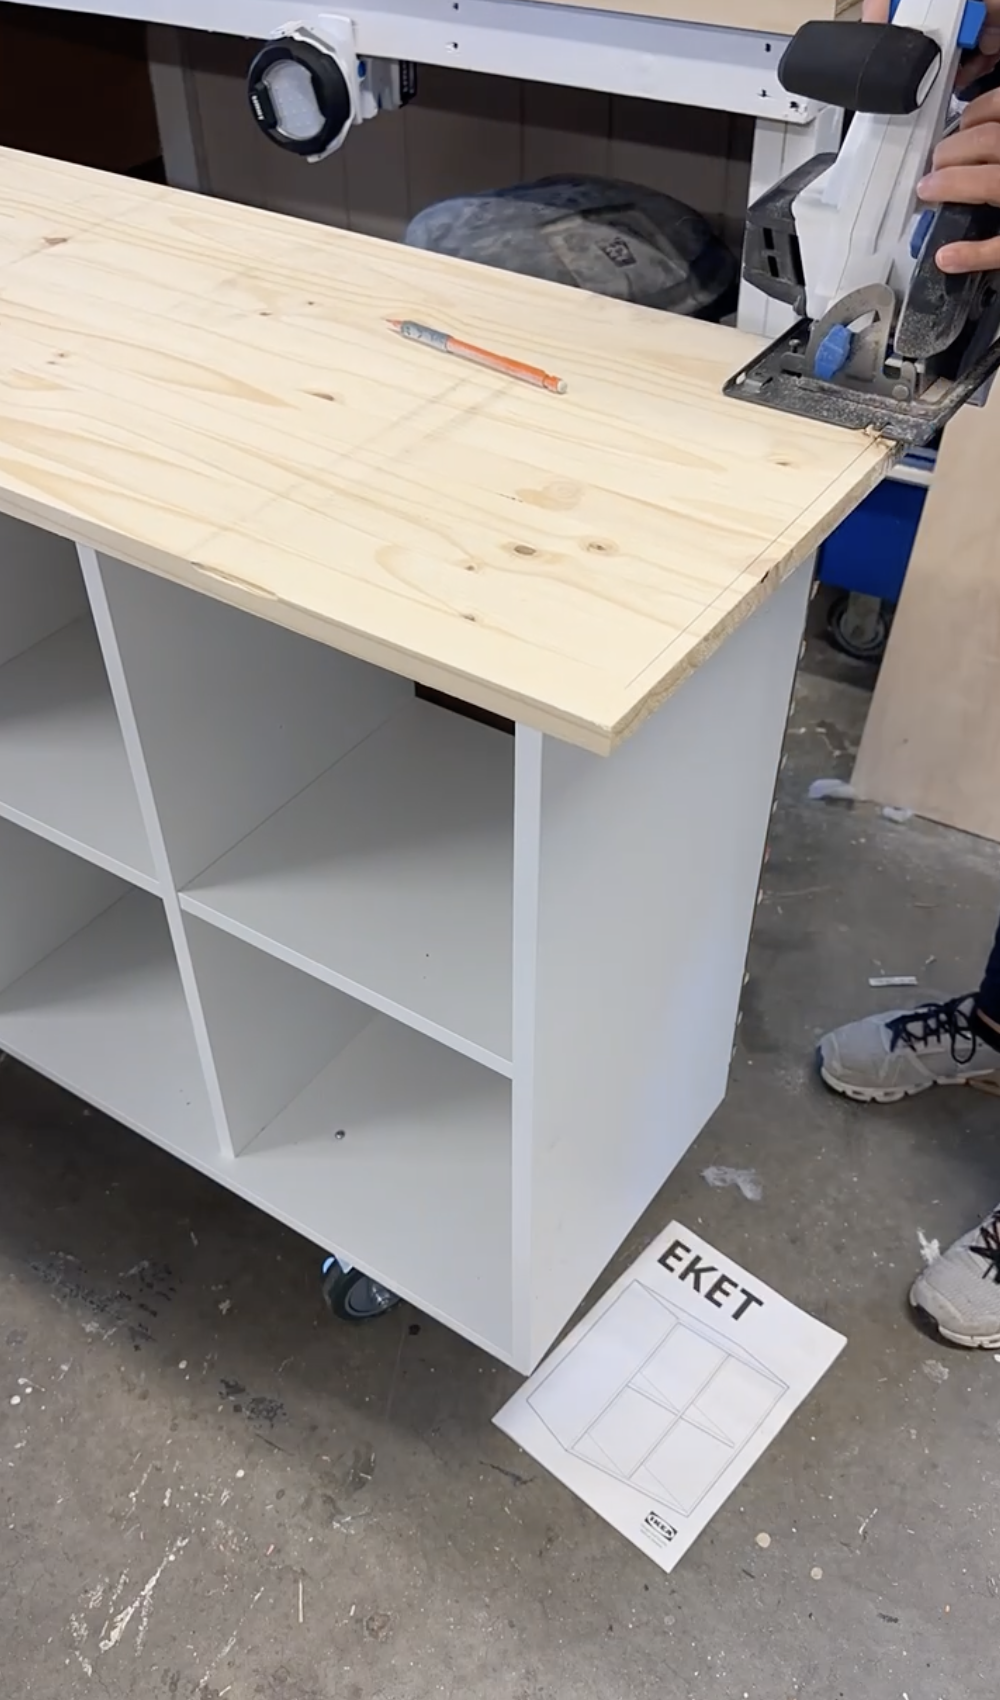
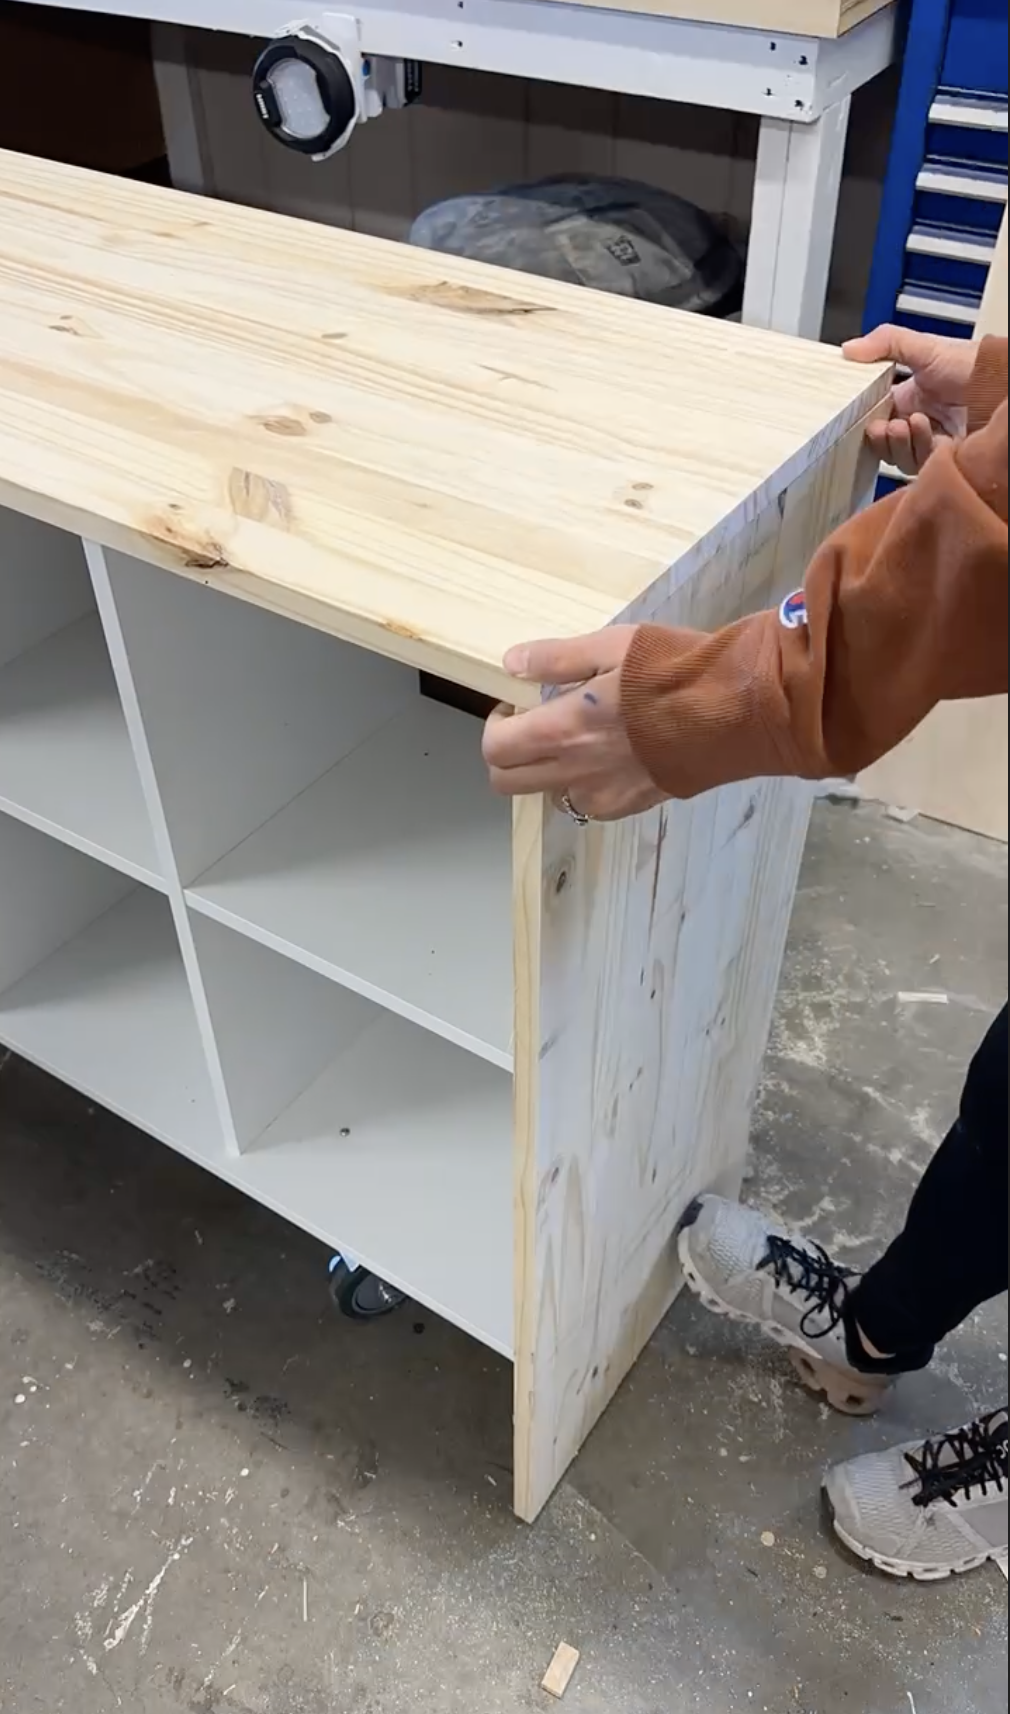
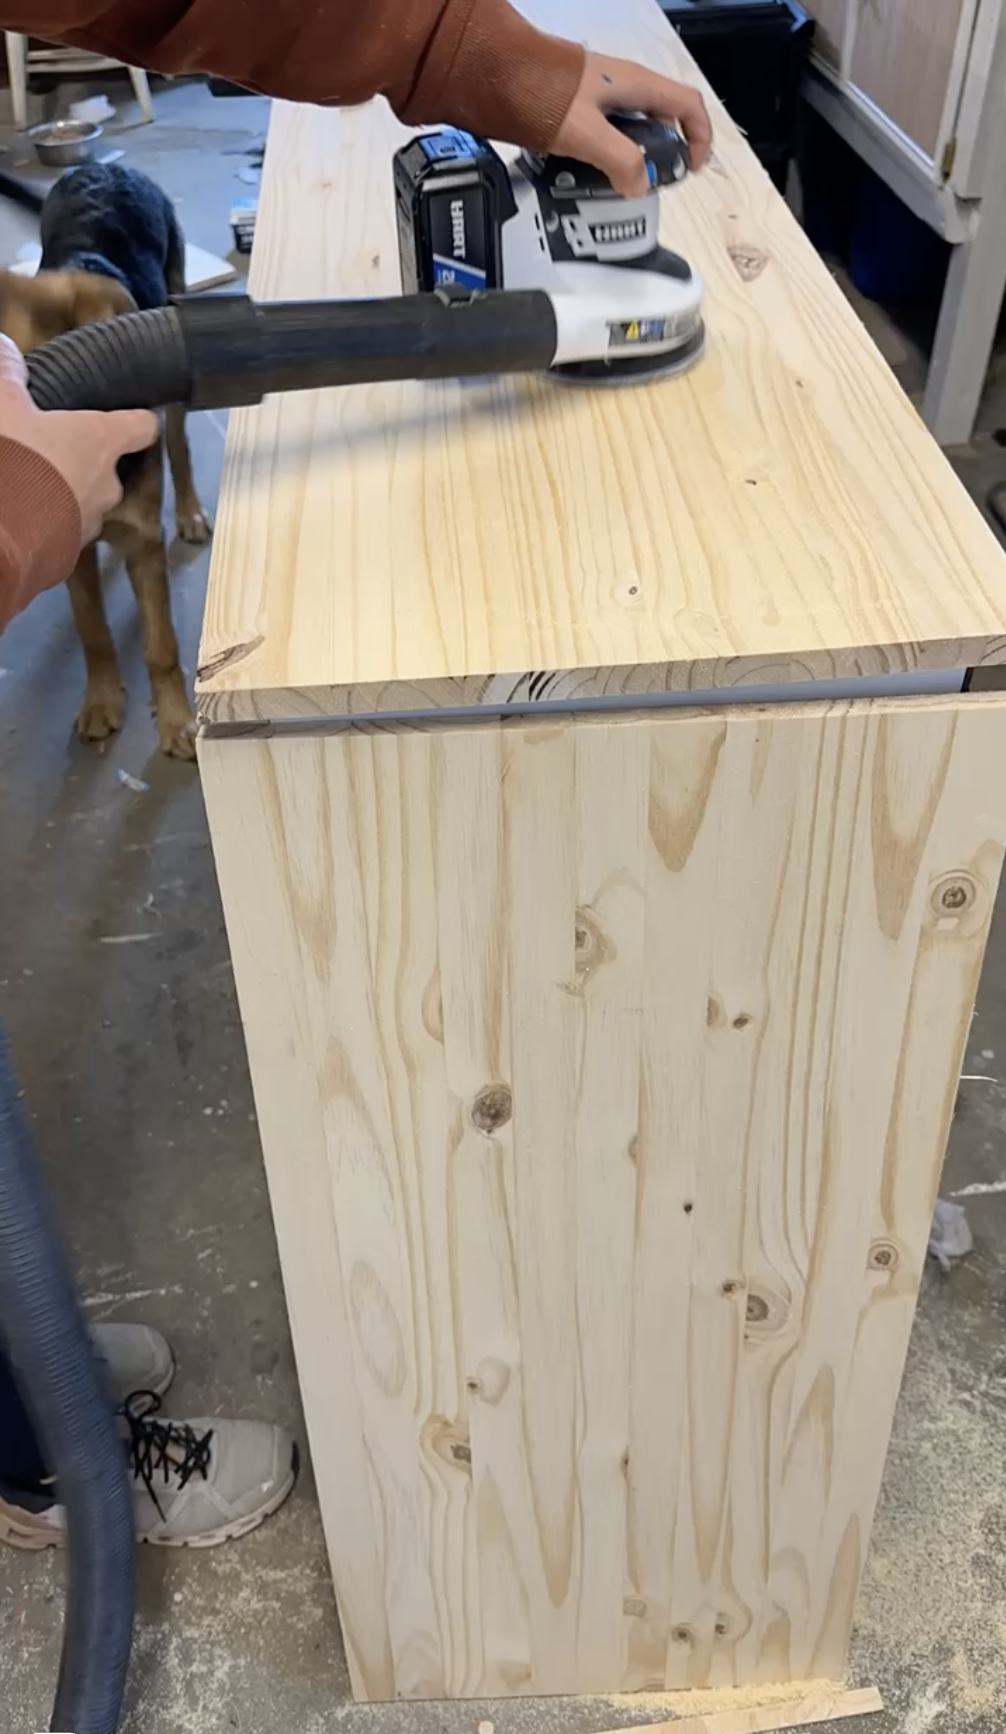
I’m using edge glued pine for the counter top and waterfall edge.
Sand the wood with an orbital sander.
Stain the wood.
Attach wood with liquid nails and screws.
This project was a lot of fun to make and definetly out of my comfort zone! If you make it please share it with me on Instagram, TikTok or Facebook!


Comments