
Baseboards are the finishing touch that can transform any room from ordinary to extraordinary. If you’re a beginner looking to add a professional touch to your home, you’re in the right place. In this blog post, we’ll guide you through the process of installing baseboards step-by-step.
If you’d rather watch a YouTube tutorial. Click Here.
Materials You’ll Need
- I used 7/16″ x 4-1/4″ Primed MDF Craftsmen Base Mouldings E1E for my tallest trim piece and 3/8″ x 1-1/4″ Primed MDF Stop Moulding 887 for the small trim.
- Measuring tape
- Pencil
- Miter saw
- Brad nailer or hammer and finishing nails
- Caulk and caulk gun
- Sandpaper
- Wood filler
- Paint or stain (optional)
Step 1: Assessing the Wall Length

My main wall is greater than my trim board length, since my trim board is eight feet, and this wall exceeds that length. I am going to need to cut both end of the boards at 45 degree angles. The reason for this is what when I put this board together with another one, the seam will be practically invisible. Where if I let the end be a zero-degree angle when I put the next board up to it, the seam will be larger and more immediately obvious.
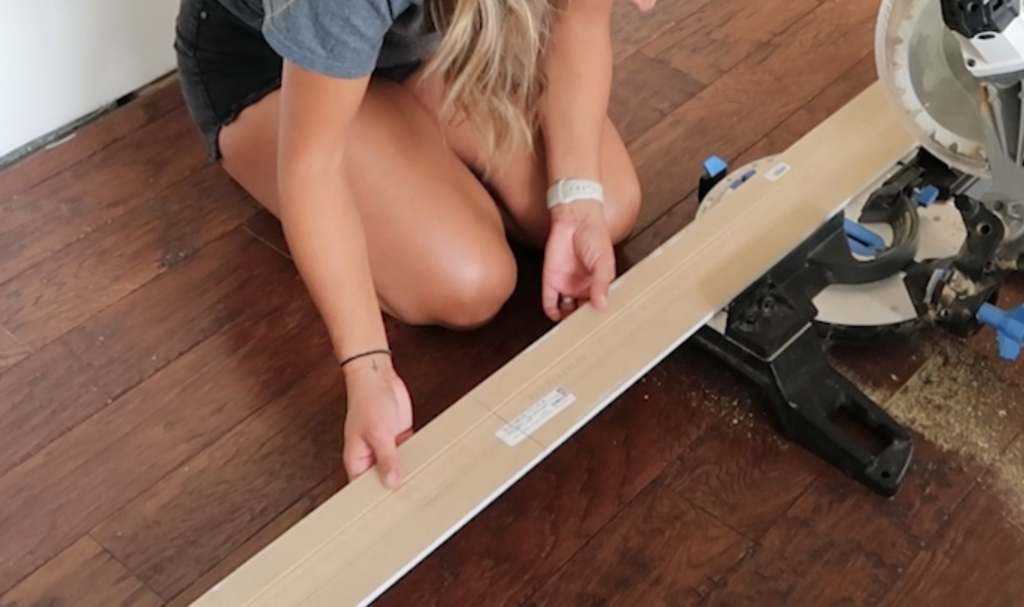
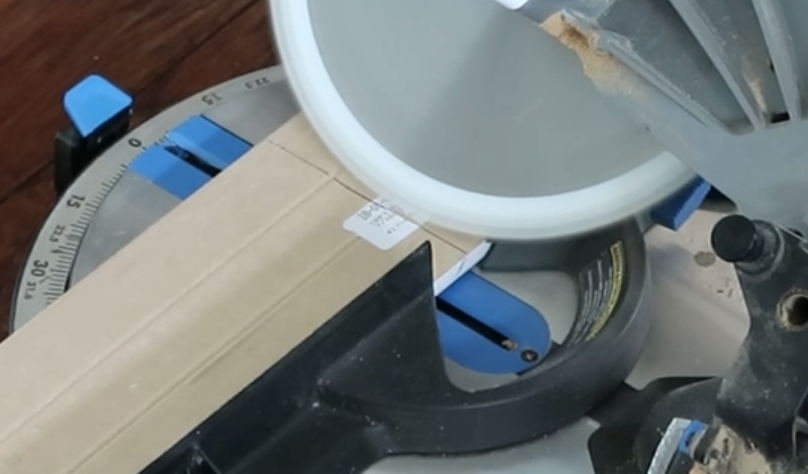
Step 2: Cutting at 45-Degree Angles


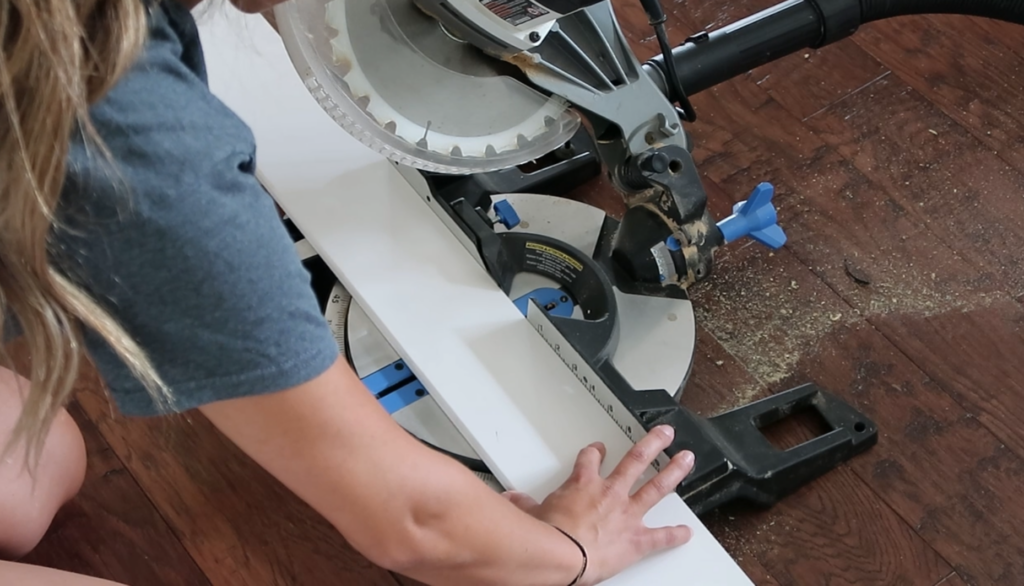

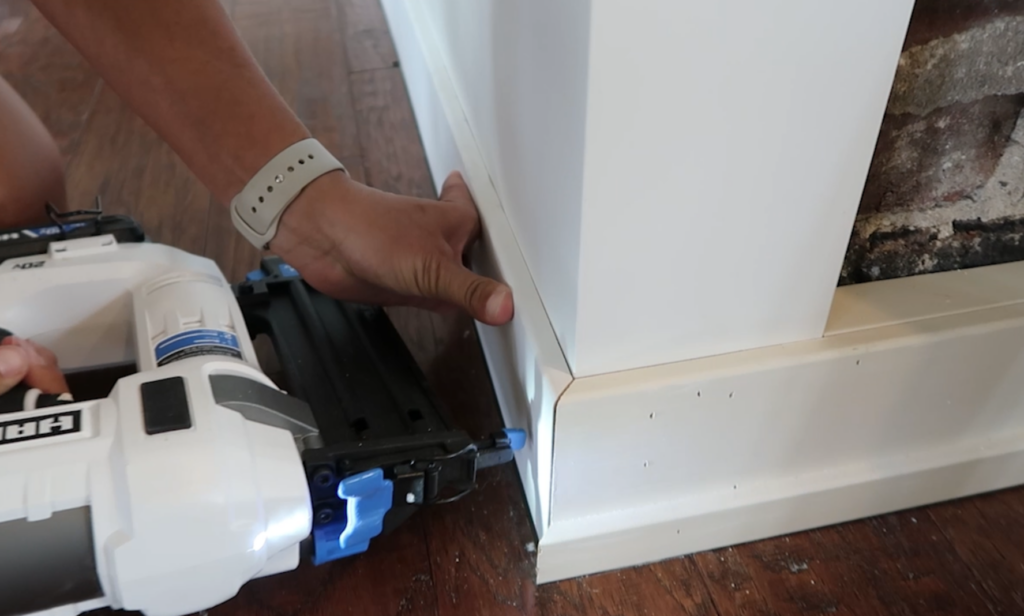

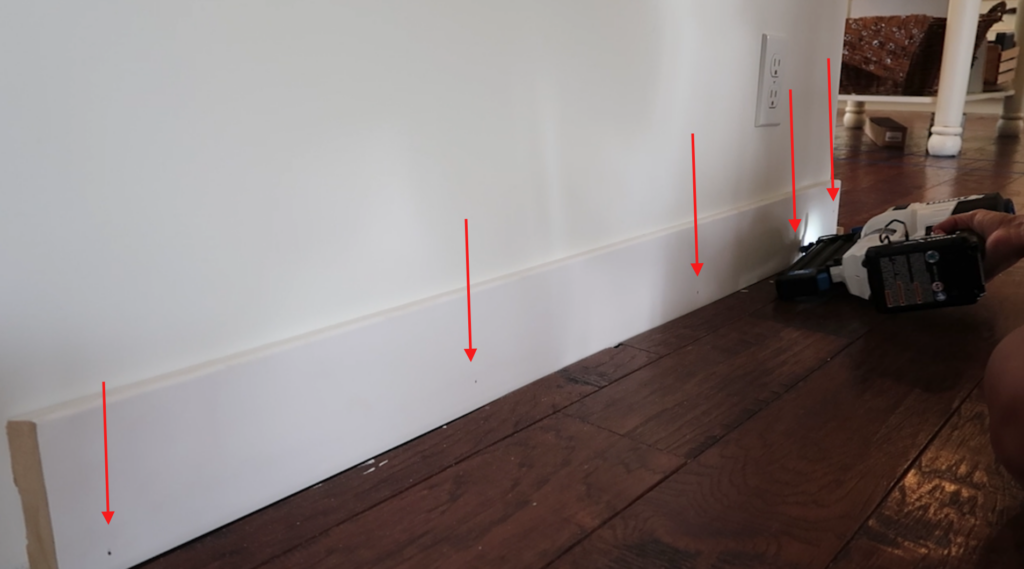
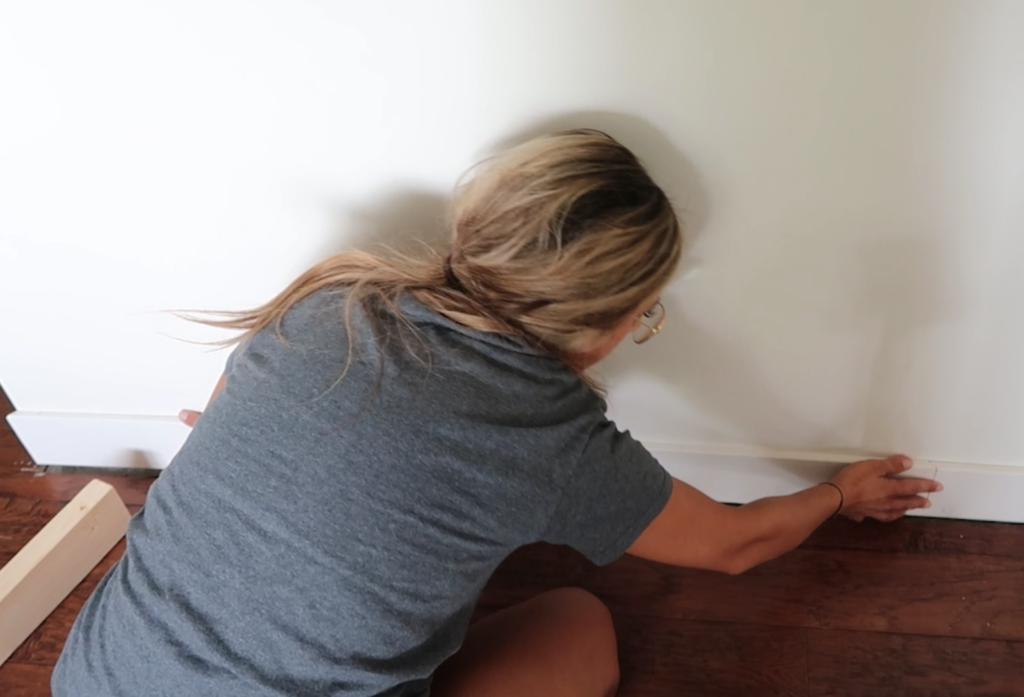
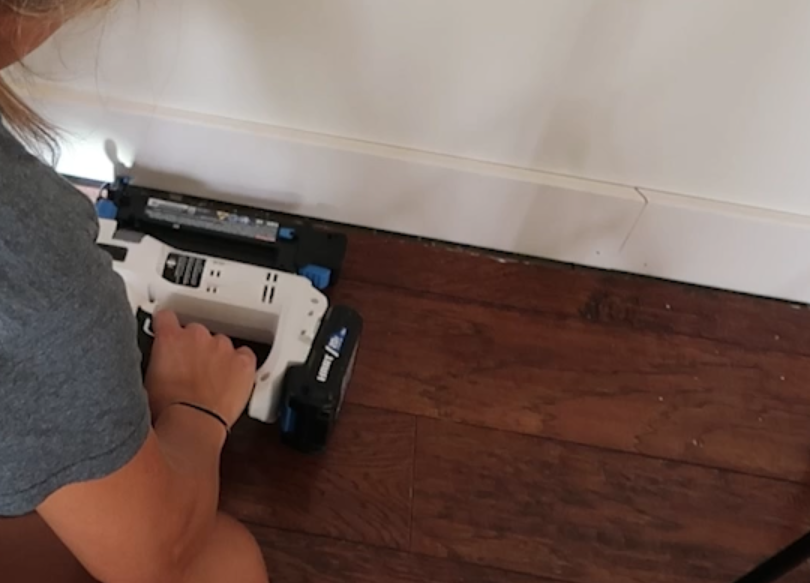
Take your trim piece and cut it at a 45-degree angle using your miter saw. Remember to do the same on the other side. This ensures a seamless fit when joining the 45 degree angles of both boards. Align the board with the wall ensuring that the seams match up to the corners. Using your brad nailer nail into the wall stud. Go to the other end of the board, verify it is level with the floor and secure board with a nail into the wall stud. Secure along the remainder of the wall.
Note: Pay Attention to Edge Types– When working with trim, note that one edge is square (floor-side), while the other is rounded. Ensure the rounded edge faces up, creating a snug fit against angled corners.
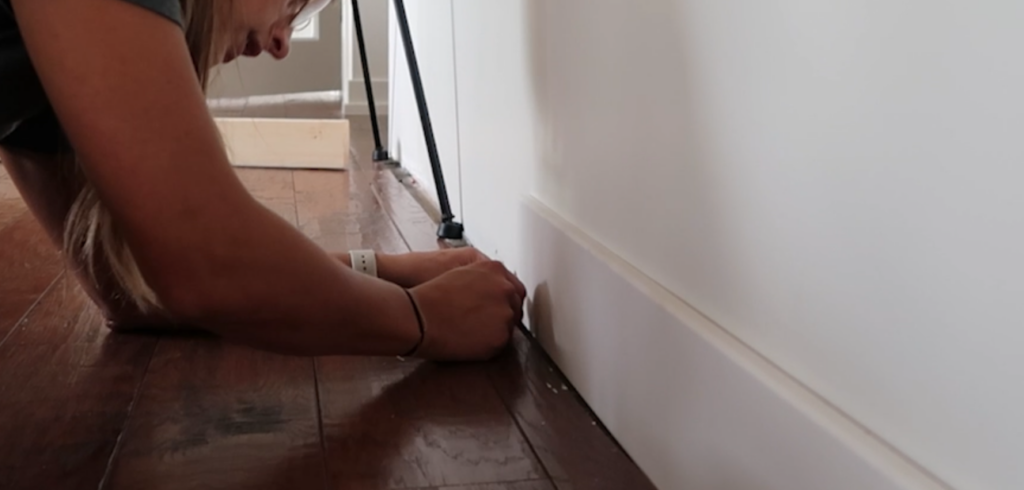
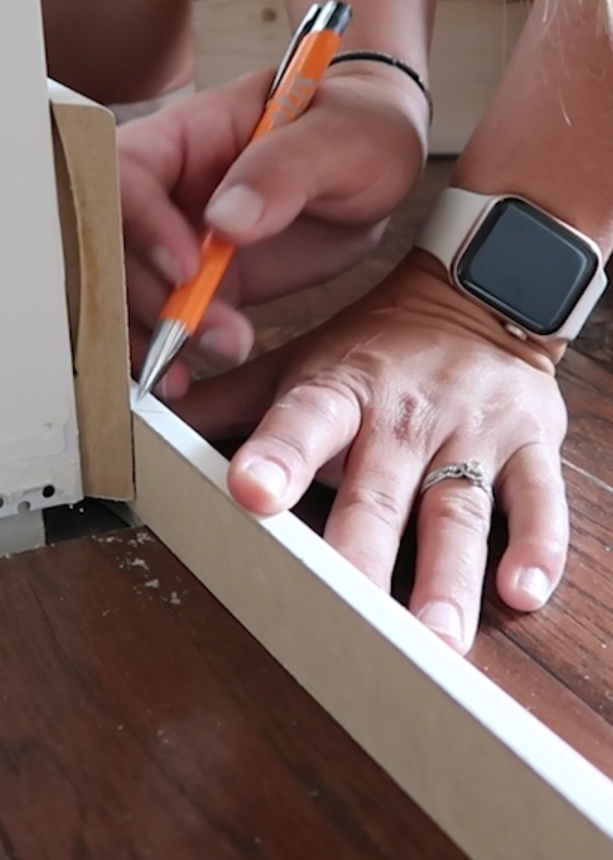
Step 3: Cutting the 2nd Board
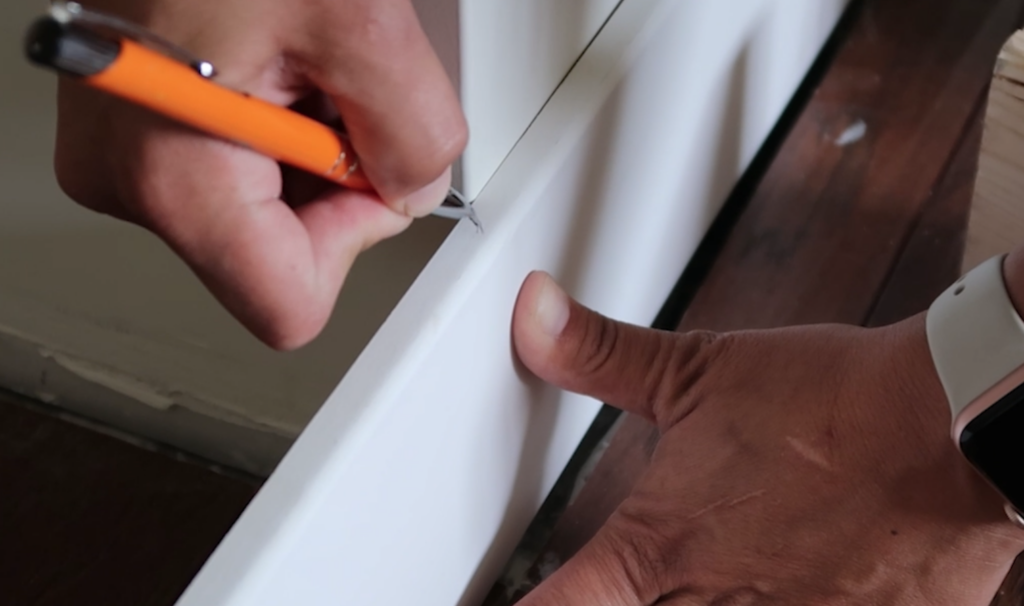
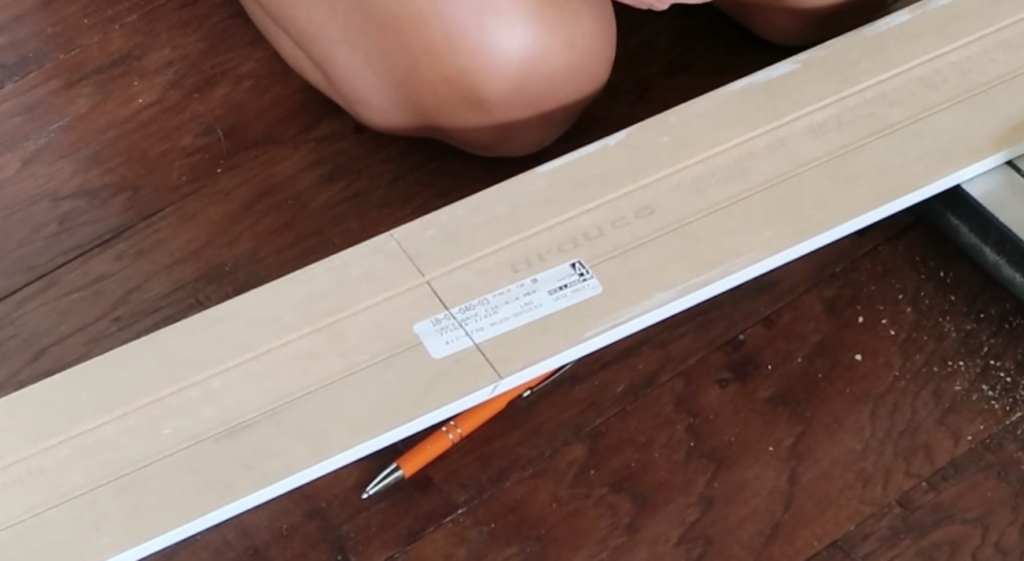
For the 2nd board cuts, mark the angles on the backside of the trim. This will allow you to not get confused when you take the board back to the saw and this ensures a perfect fit. Align the saw with your marks and cut the board.
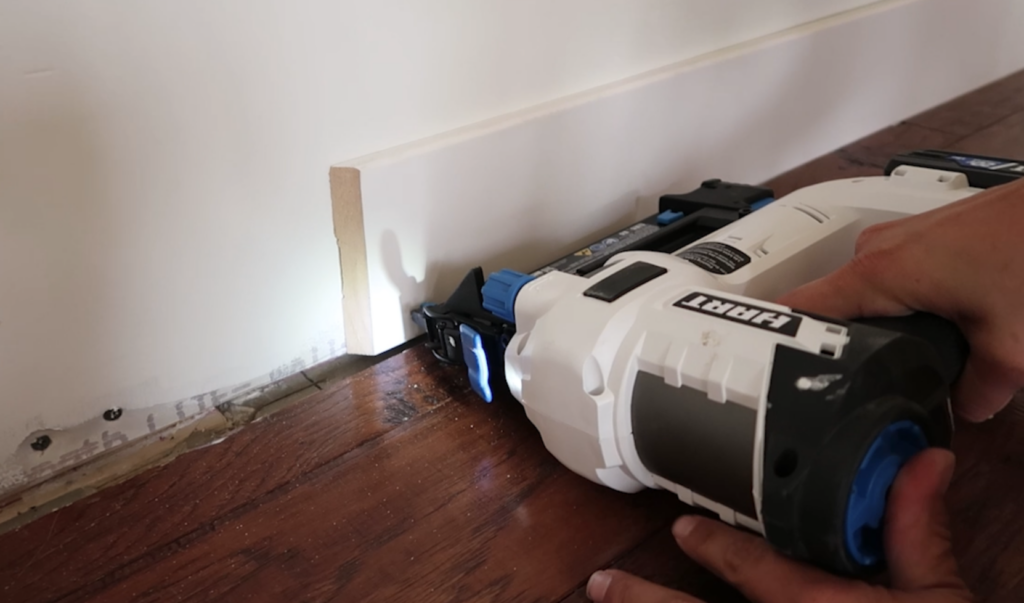
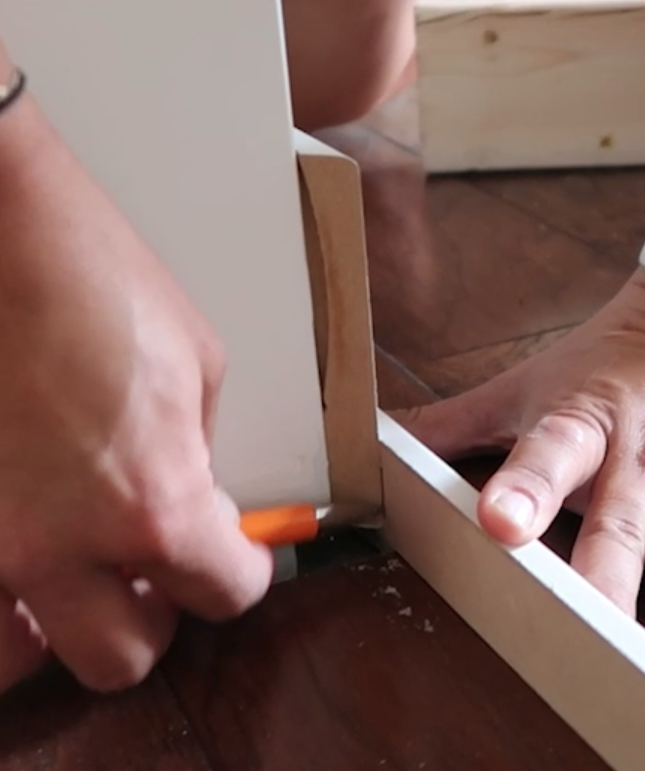
Step 4: Handling Corners


For corners, use a 45-degree angle for the joint. Measure and cut accordingly with the angle technique as outlined in the above step. When transitioning to a straight wall, make a zero-degree cut for a flush fit against the door jam.
Step 5: Adding Dimension with small trim pieces.


For a seamless look, stagger the seams between adjacent pieces if you are adding multiple boards to create a professional look like below. This creates a natural flow and minimizes visible joints.
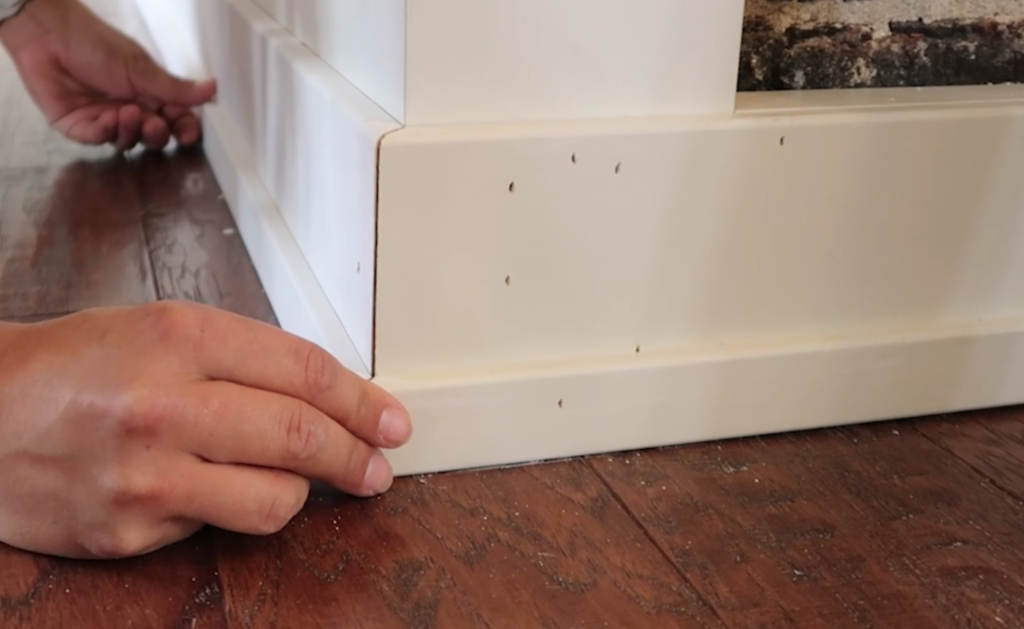
Step 6: Filling Holes and Gaps
Use wood filler and caulk to fill any holes, gaps, or imperfections. This step ensures a polished finish.
Step 7: Preparing for Painting
Once your baseboards are in place and the gaps are filled, you’re ready for painting. Choose a color that complements your room’s aesthetic.
Congratulations! You’ve successfully installed baseboards as a beginner. With practice, you’ll master this skill and achieve a professional finish every time. Happy DIY-ing!
-Alyssa


Comments